Material Required:
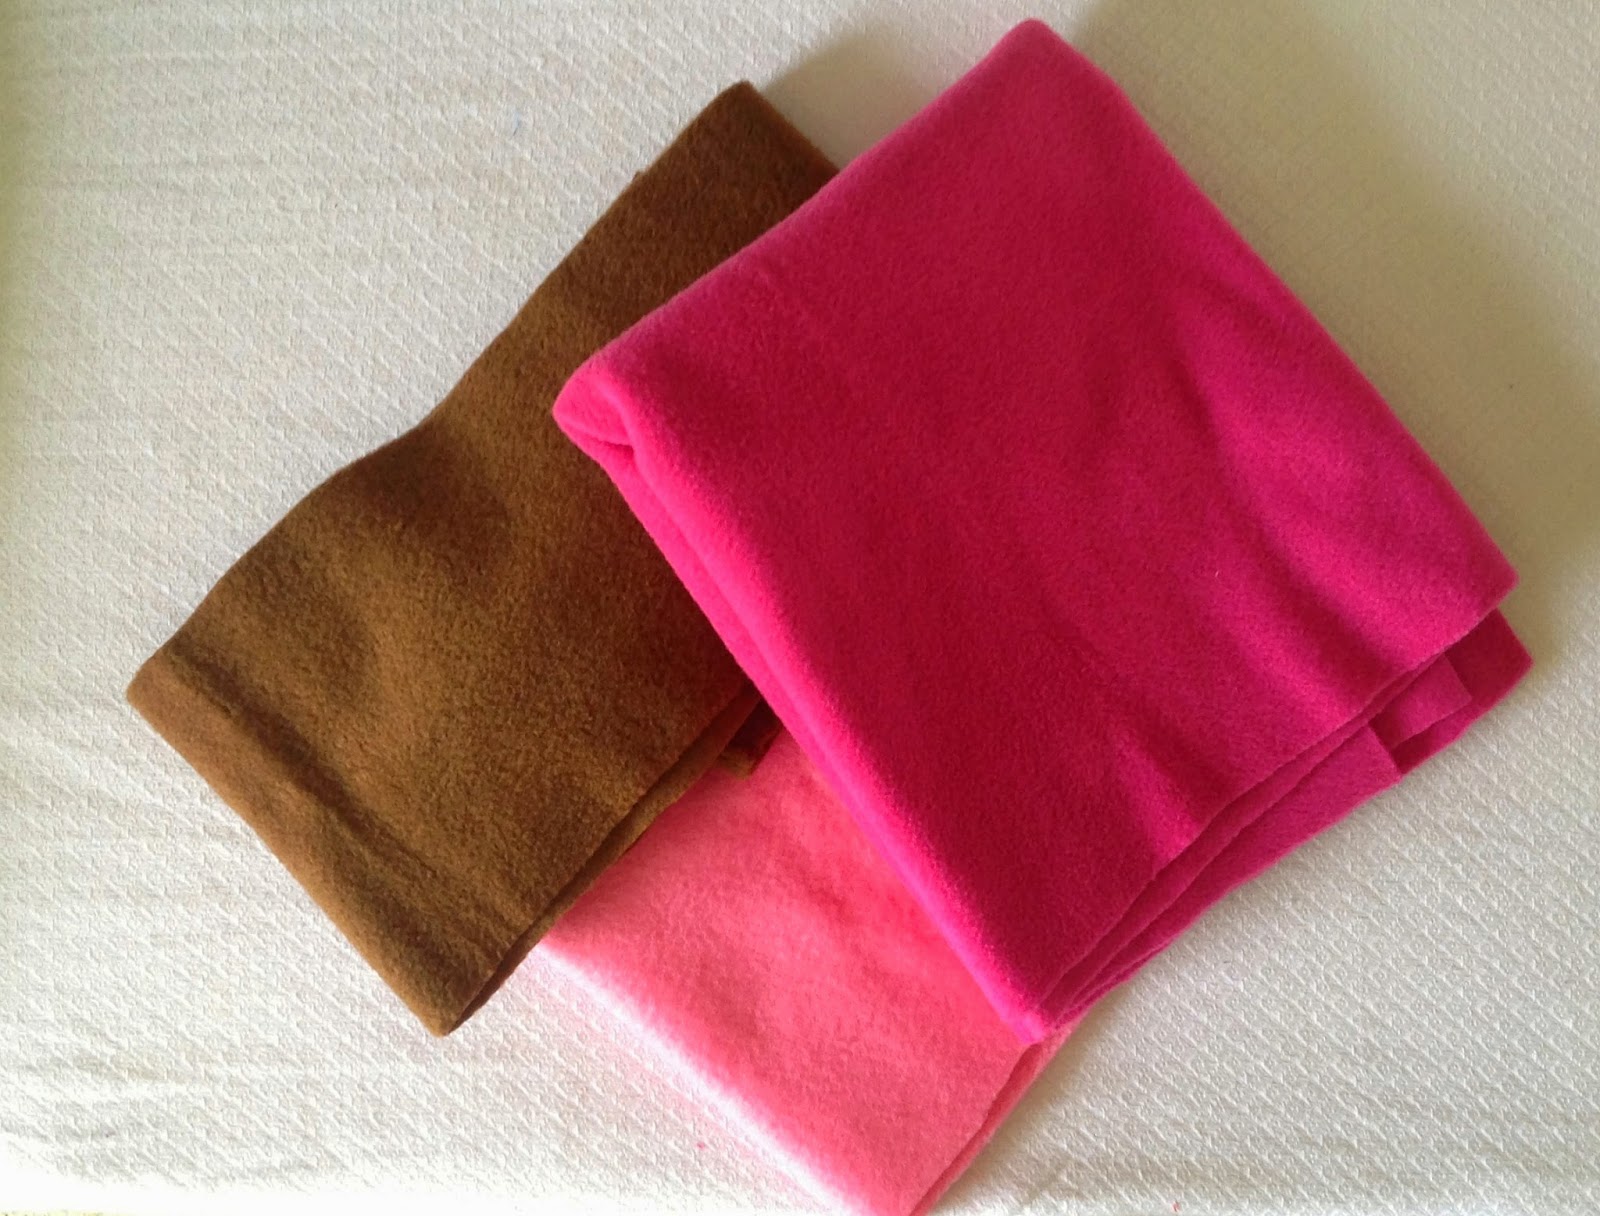
1) Fleece scraps in three desired solid colors.
You are viewing: How To Make Polar Fleece Fingerless Gloves
2) Ornamental wooden buttons- 4 numbers.
* Seam allowance is 1/2-inch throughout unless otherwise specified.
* Use a straight stitch or a narrow zig-zag stitch.
* You may use a regular sewing machine needle.
Sewing
Read more : How Many Boxes Of Nitrile Gloves In A Carton
Take the three fleece fabrics.
Cut one rectangle each of dimension, 5-inch length x 9-inch width from each piece. This would give you a glove that is 12-inches long and should fit an average woman.
If you would want the fit to be more accurate, measure around the palm of your hand excluding the thumb and add 1-inch for seam allowance. That would be the width of your piece. Arrange the pieces in a way that is pleasing to the eye.
Take two of the pieces, keep them overlapping with the right sides together and aligning the edges. Sew along one of the longer edge to join.
Take the third rectangular piece and join it along the longer side with the joint pieces.
Trim off the extra to reduce the bulk at the seam.
Finger press the seams flat. Here you may use a mild iron but take care not to press at high heat or it would melt the fleece.
Let’s sew the glove shut along the side seams.
Fold the piece over with the right sides together and aligning the edges. Before sewing the side seam, we need to mark the two points for the thumb-hole. Mark one point at 2-inches from the top edge and the other at 4.5-inches.
Read more : How Often Do Electrical Gloves Need To Be Tested
Sew the glove shut, leaving the thumb-hole open. Make sure to reinforce the stitches above and below the thumb-hole.
Next we need to hem the lower and upper edges.
Finger press the side seam or here again you may use a mild iron.
Let’s do the upper and lower hem.
Fold the upper and lower edge by 1/2-inch and sew the down the hem.
We need to finish the thumb-hole.
Sew down the seam allowance on either side of the thumb-hole using a needle and thread.
Turn the glove over to the right side.
You may sew wooden buttons on the side for embellishment. Repeat the steps to sew the other fingerless glove and we are done with our pair!
Source: https://t-tees.com
Category: HOW