
Link to gloves
Link to boots
You are viewing: How To Make Cat Noir Gloves
Link to suit- custom sized with two frontal zippers.
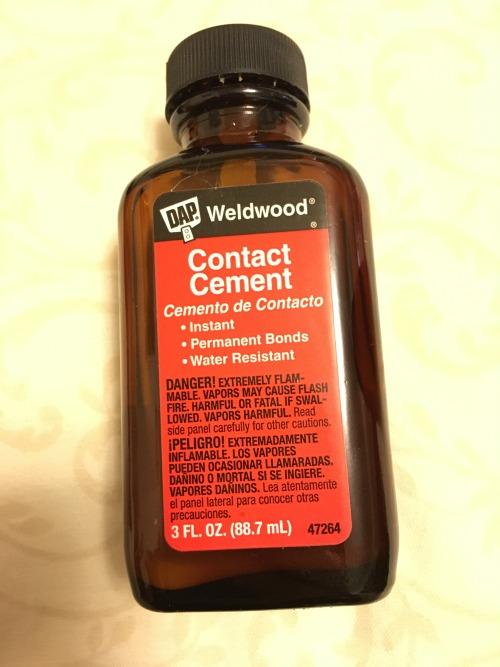
Materials: 4-way-stretch spandex, craft (EVA) foam, contact cement, sharp scissors/rotary cutter, silver rivets, tape, chalk, hot glue gun
I made my own patterns for each of these items, but I scanned them for you guys. Make sure you adjust each of the cuff sizes according to your wrist and boot measurements.
Boot Cuff:

Note: I used a legal sized paper for the boot cuff ONLY. It is LARGER than a regular letter-size. Print to scale on legal-sized paper. (Basically if you print it on 8.5×11 letter-sized paper it’s not going to be the right size).
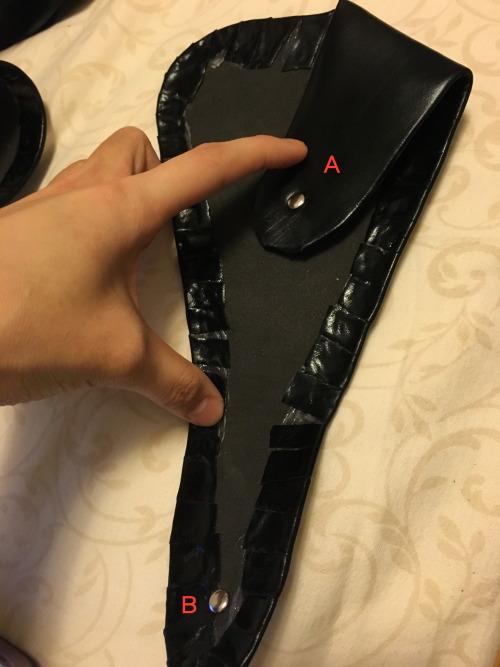
**Make sure the straightest edge of the bottom of boot cuff pattern (section C) is as long as the side of your boot, because that’s what it should be covering.
Section A should be on top and crossing over B for whichever foot you’re working on.
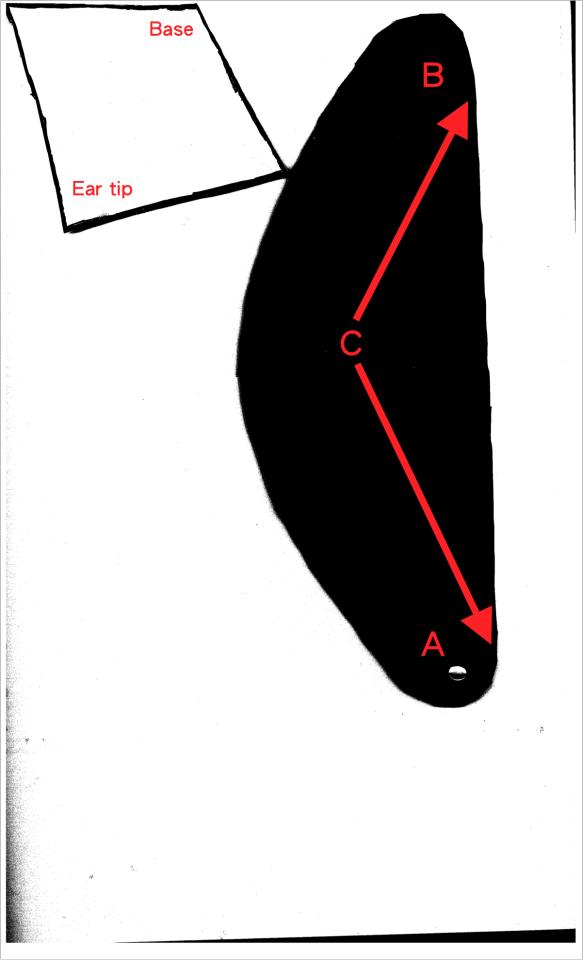
Ears and Wrist Cuff:
Read more : How Do Mice Get In Glove Box
Note: Print this to scale on regular 8.5×11 letter-sized paper. Size of the ear you can leave as is, wrist cuff you might need to adjust to fit around your own wrist as mine are tiny.
Section A should be on top and crossing over B for whichever wrist you’re working on. C as indicated by the arrows is the circumference of your wrist + a little wiggle room.
Trace each pattern using chalk twice onto foam, cut out using sharp scissors/rotary cutter. Then trace pattern onto spandex, but leave space and trace around the pattern to leave material for folding over and hot glueing.
Each were made using this tutorial by rufflebuttcosplay on deviantart (bless them)
Contact Cement:
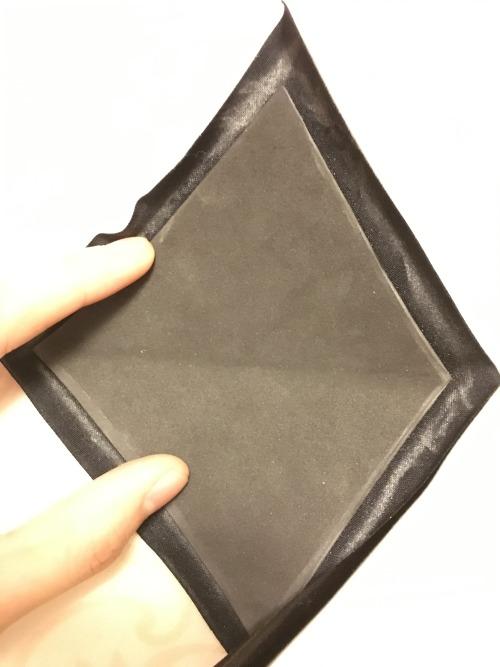
This is what any piece should look like after you glue them together (relatively)
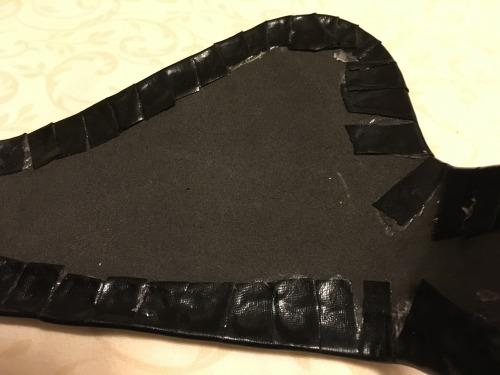
Next you cut the edges into fringes that you can hot glue over like so:
The silver accents are going to be the silver rivets, and that comes after all the cutting and gluing.
Read more : How To Don Amtryke Gloves
This is what the rivets look like:
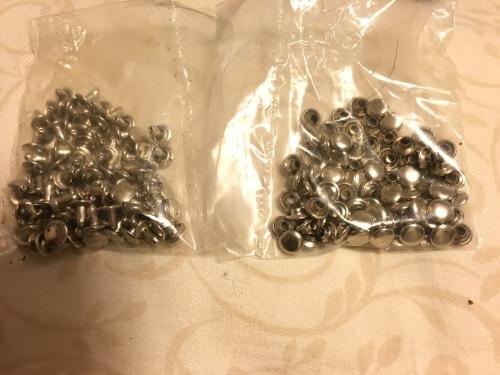
There are two sides: I’ll call them a cap and a stem
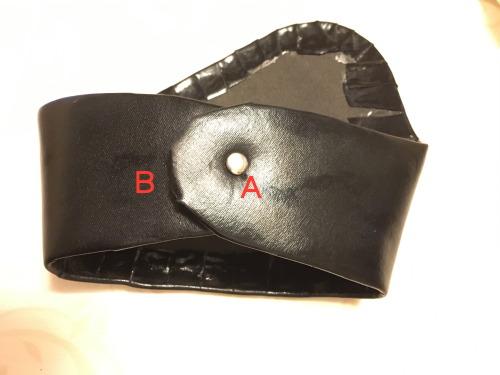
You want to fold each foam piece over and make a mark (by pressing a stem rivet into the foam to make an indent, or using a pen-whatever works). Then poke a hole through each mark so you can fit both parts of your rivet through like so:
Folding it over properly and pressing the rivet cap and stem together give you a piece like this:
The rivets are not permanently attached unless you glue them. I don’t just incase I need to pop them off for removal or such.
Hope this helped!
Any questions feel free to message or send me ask!
Source: https://t-tees.com
Category: HOW