Every vehicle we drive needs to have some sort of way to determine the road speed as the vehicle is in motion. Transmission speed sensors are designed to precisely calculate the road speed through the output shaft of the transmission. The sensor is very accurate to the standard vehicle equipment from the manufacture.
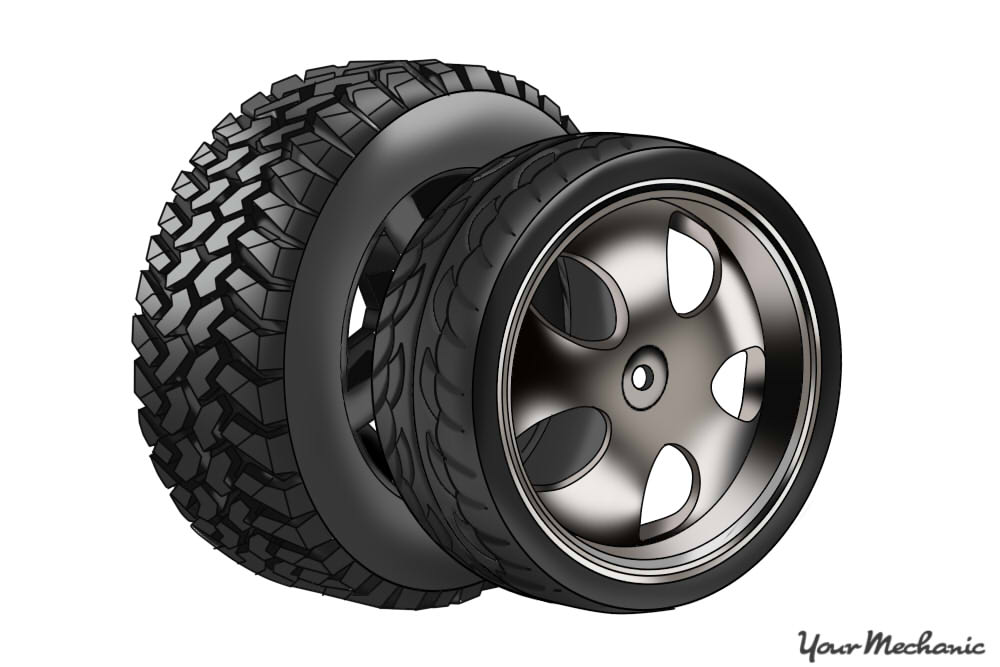
If your vehicle has smaller tires than normal, the road speed will be calculated at a higher speed, even though your are going slower. This is due to the output shaft spinning faster. If your vehicle has larger tires than normal, then the road speed will be calculated at a lower speed. In this case, even if you are driving at the speed limit you will be passing other vehicles.
The engine light codes for the transmission speed sensors are:
- P0720
- P0721
- P0722
- P0723
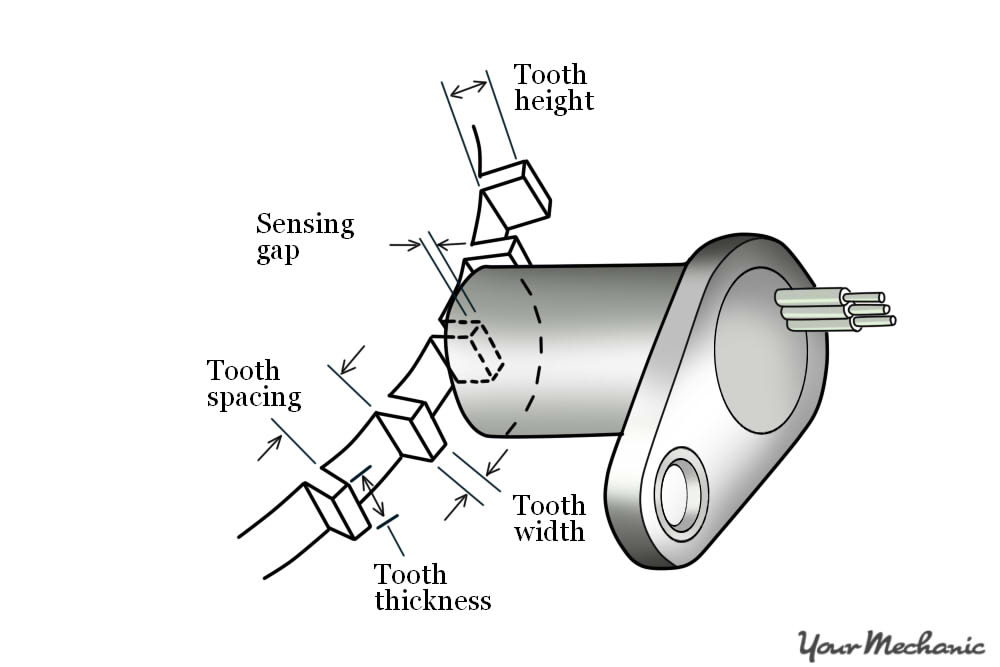
A failed transmission speed sensor could cause the engine light to come on. Some transmission speed sensors are driven by a gear making them like a governor, however, most speed sensors are magnets that change signal when the output shaft is turning.
The output shaft has a key cut design block on the shaft. The block rotates with the shaft and each key passes over the sensor magnet. As the magnet references a measurable resistance to a metal, it sends some voltage to the computer. When the magnet get too much metal particles on it or if the magnet loses its magnetism, then the sensor stops working. Sometimes, the sensor will fail if it is submerged in a different type of oil than what is recommended due to viscosity.
The signs of transmission speed sensor failure are:
-
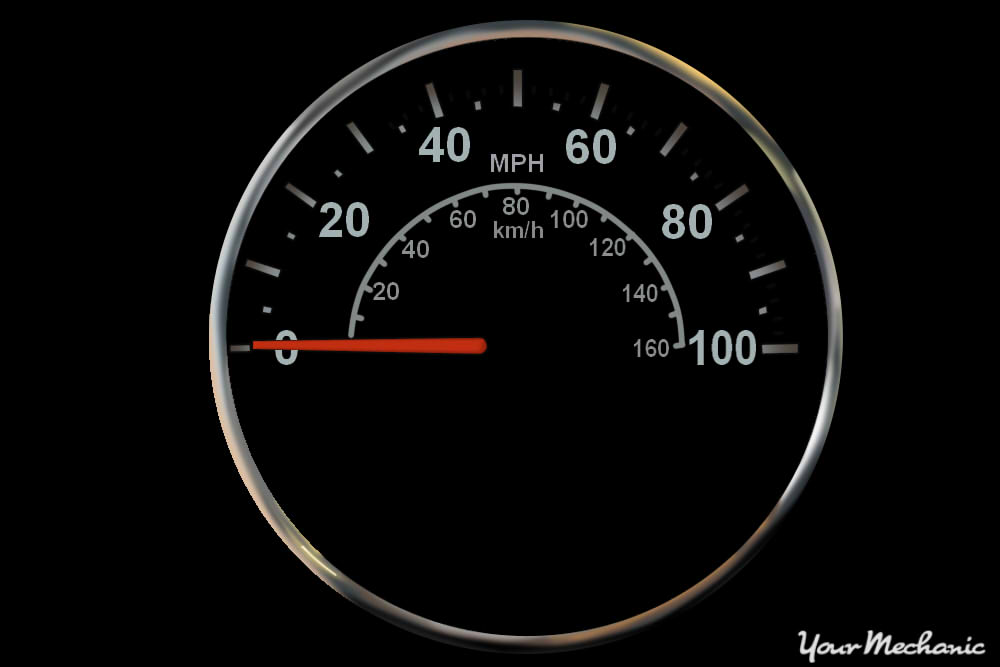
If you operate a vehicle and the speedometer does not register anything, or if the speedometer begins to move after the vehicle is in motion, then the transmission speed sensor has failed.
-
If the magnet comes off the speed sensor, it will lodge itself into the transmission making a grinding noise.
Depending on how the sensor failed, an engine light will illuminate to inform the driver that there is a problem.
Part 1 of 6: Check the condition of the transmission speed sensor
Material Needed
- Flashlight
Step 1: Turn on the ignition and start the engine. Drive the vehicle around the block to see if the speedometer will operate.
Step 2: Check under the vehicle. When returning from the test drive, grab a flashlight and go under the vehicle. Look for the transmission speed sensor and see if the harness is attached and secured.
Part 2 of 6: Prepare the vehicle
Materials Needed
- Allen wrench set
- Boxed end wrenches
- Drip pan
- Emery cloth 320 grit
- Flash light
- Funnel
- Floor jack
- Flat tip screwdriver
- Jack stands
- Oil resistant gloves
- Protective clothing
- Ratchet w/metric and standard sockets
- Safety glasses
- Torques bit set
- Wheel chocks
Step 1: Park your vehicle on a flat, hard surface. Make sure that the transmission is in park mode (for automatics) or in 1st gear (for manuals).
Read more : Where Is Chad Daybell
Step 2: Secure the wheels. Place wheel chocks around the tires that will remain on the ground. In this case, place the wheel chocks around the front tires since the rear of the vehicle will be lifted up.
Engage the parking brake to the lock the rear tires from moving.
Step 3: Install a nine volt battery saver into your cigarette lighter. This will keep your computer live and keep your setting current in the vehicle. If you do not have a nine volt battery saver, you can skip this step.
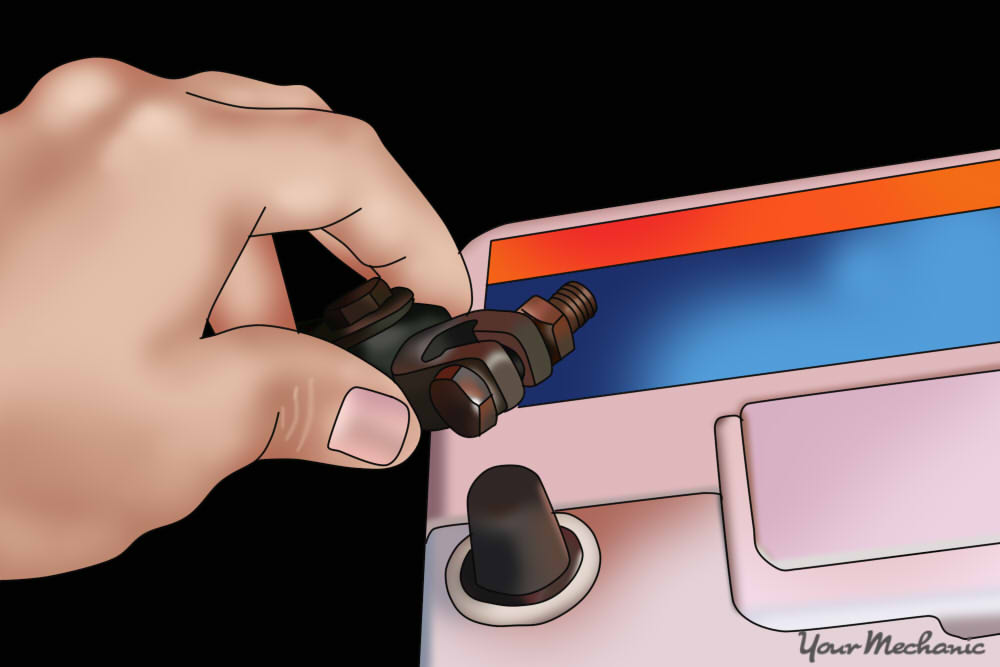
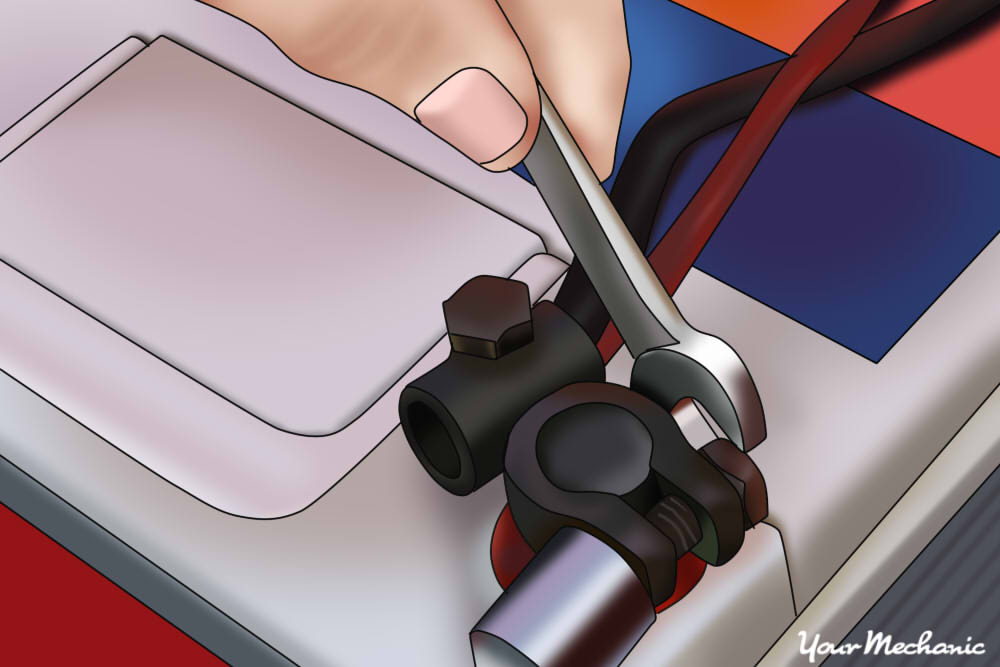
Step 4: Disconnect the battery. Open the vehicle’s hood and disconnect the car’s battery. Take the ground cable off the battery’s negative post to disable the power going to the ignition system and fuel system.
- Note: It is important to protect your hands. Make sure to put on protective gloves prior to removing any battery terminals.
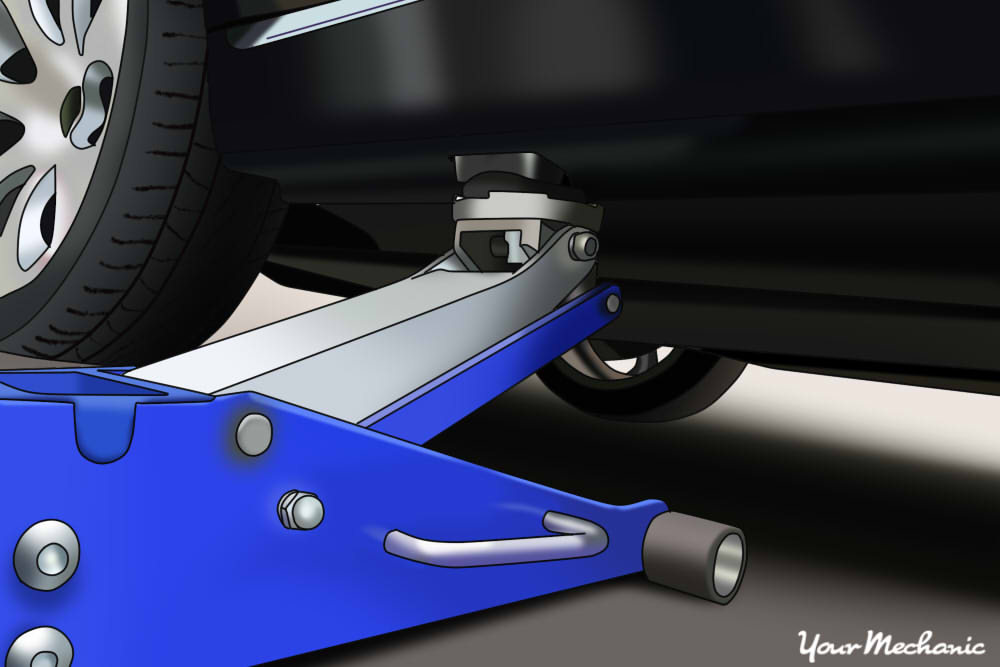
Step 5: Raise the vehicle. Using a floor jack that is recommended for the weight of the vehicle, lift the vehicle at its specified jacking points until the wheels are completely off the ground.
- Note: It is always best to follow the recommendations given in the owner’s manual of your vehicle and use the jack at the proper jacking points for your vehicle.
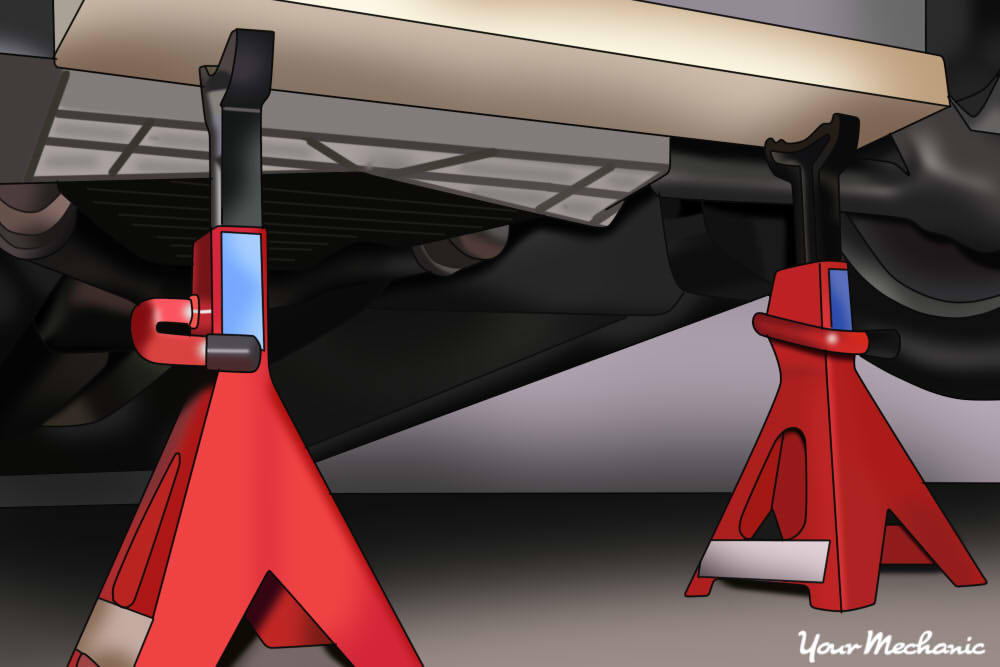
Step 6: Place the jack stands. The jack stands should go under the jacking point locations. Then lower the vehicle onto the jack stands.
- Tip: For most modern cars, the jacking points for jack stands will be on the pinch weld just under the doors along the bottom of the car.
Part 3 of 6: Remove the transmission speed sensor
Step 1: Take safety precautions. Put on protective clothing, oil resistant gloves, and safety glasses.
Step 2: Grab a creeper, flashlight, and tools for the job. Slide under the vehicle and locate the transmission speed sensor.
Step 3: Place a drip pan below the transmission. Get a drip pan and place it underneath the transmission output shaft housing where the speed sensor resides.
Step 4: Remove the mounting bolts. Remove the mounting bolts to the speed sensor. Unplug the harness from the sensor.
- Note: The mounting bolts that secure the drive shaft to the rear axle may have hex, allen, or torx heads.
Step 5: Use a flat tip screwdriver and pop out the sensor. Keep in mind that about one quart of transmission fluid will leak out when you remove it.
- Note: The transmission speed sensor is located in the rear of a longitudinal mount transmission. For transaxles, the speed sensor is located on the long side of the output shaft. This would be the end of the transaxle that faces the front of the engine.
Part 4 of 6: Install the new transmission speed sensor
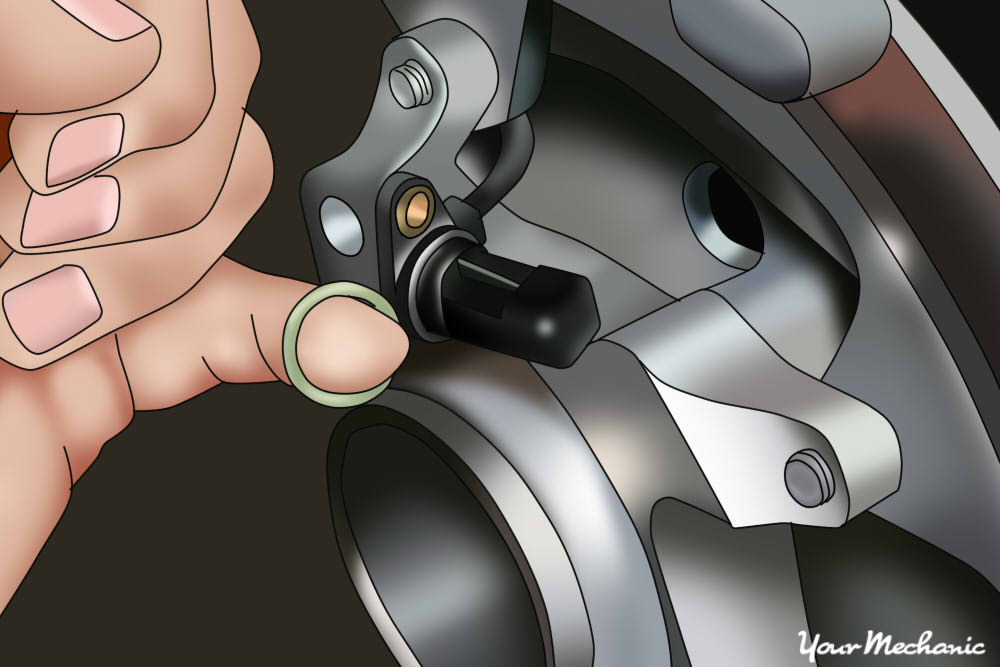
Step 1: Install the new sensor. Make sure that new o-ring is on the new transmission speed sensor. Install the new sensor into the output shaft housing. Hook up the harness to the sensor.
Step 2: Screw in the mounting bolts. Tighten the bolts finger tight and add an additional 1/8 turn.
- Note: Do not over tighten the mounting bolts or the sensor will crack.
Step 3: Refill the transmission oil. Open the hood of your vehicle. Remove the transmission oil dipstick or plug. Grab a funnel and add one quart of transmission oil or the amount that was drained out of the transmission during the sensor removal.
Part 5 of 6: Connect the battery and lower the vehicle
Step 1: Reconnect the battery. Open the vehicle’s hood. Reconnect the ground cable back onto the battery’s negative post.
Remove the nine volt battery saver from the cigarette lighter.
Tighten up the battery clamp to ensure that the connection is good.
- Note: If you did not use a nine volt battery saver, you will have to reset all of the settings in your vehicle, like your radio, electric seats, and electric mirrors. If you used a nine volt battery saver, you will need to clear the engine codes if any before starting the vehicle up.
Step 2: Clear up your tools. Collect all tools and your creeper and place them out of the way.
Step 3: Raise the vehicle. Using a floor jack that is recommended for the weight of the vehicle, lift under the vehicle at its specified jacking points until the wheels are completely off the ground.
Step 4: Remove the jack stands. Remove the jack stands and keep them far away from the vehicle.
Step 5: Lower the vehicle. Lower the vehicle to where all four wheels are on the ground. Pull out the jack and put it aside.
Step 6: Remove the wheel chocks. Remove the wheel chocks from the rear wheels and put them aside.
Part 6 of 6: Test drive the vehicle
Material needed
- Flashlight
Step 1: Drive the vehicle around the block. While you are driving around, check to see if the engine light comes back on. Watch the speedometer to see if it registers as the vehicle is in motion.
Step 2: Check for oil leaks. When you are done with the test drive, grab a flashlight and look under the vehicle for any leaking oil.
Look at the transmission speed sensor for signs of oil leakage. Also, check to see that the harness is still attached.
If your vehicle does not register the speed even after replacing the transmission speed sensor, then further diagnosis of the speed sensor may be necessary.
If the problem persists, then you should seek out help from one of the certified technicians at YourMechanic and get the transfer case inspected.
Source: https://t-tees.com
Category: WHERE

