
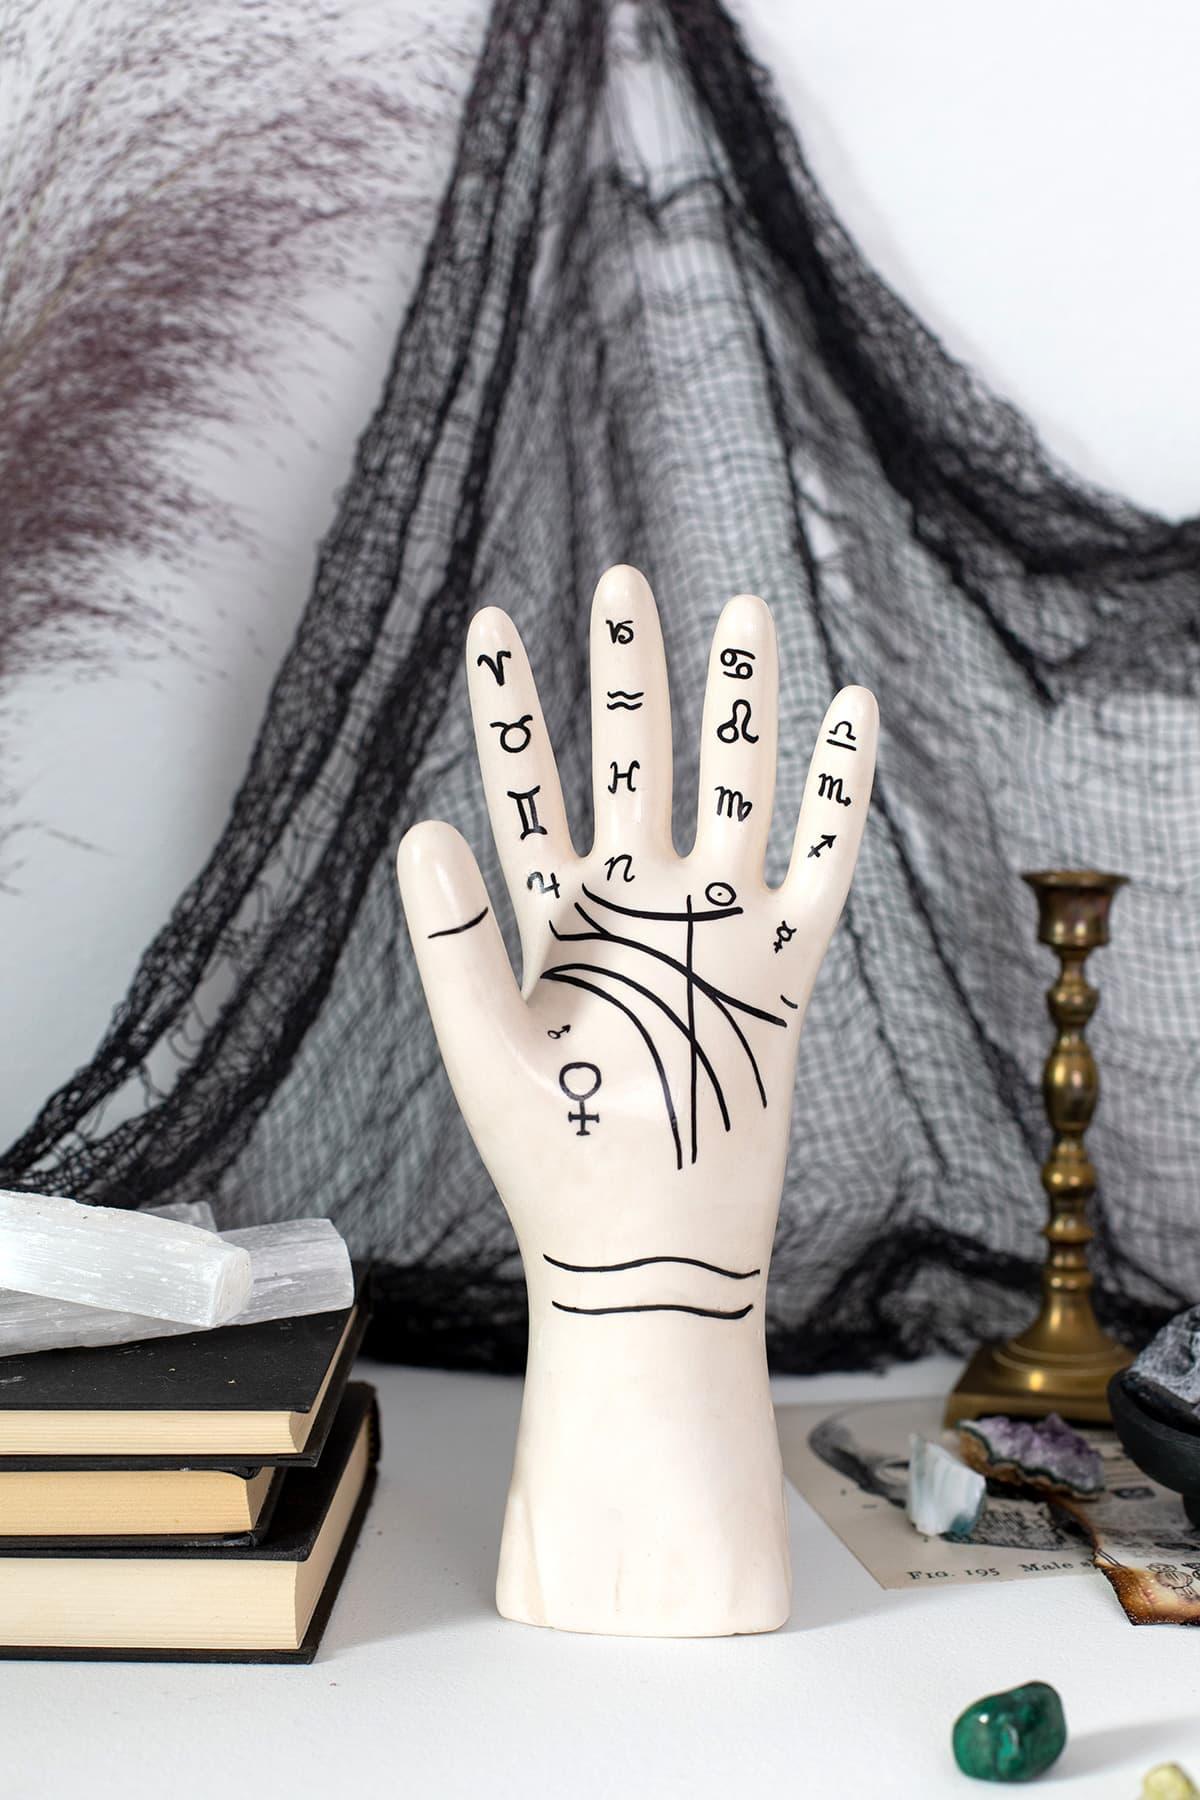
I always wanted a vintage glove mold. Something about the white porcelain and markings seemed perfectly classic but unexpected. The only problem was that they start at $40 and easily go higher. So like a good DIYer, I looked for another way. Making a hand mold or starting with an existing hand sculpture would be just as expensive as outright buying though. The solution?
You are viewing: How To Make Paster Of Paris Gloves From Rubber Gloves
Read more : How Are The Thickness Gloves Measured
A humble rubber glove. This quick grab from the dollar store saved me the hassle and cost of making my own mold (have you seen the cost of hand casting kits??). The biggest expense for this project is the plaster of Paris. You won’t need more than a pound and you can of course pick it up from your favorite craft store with a 40% off coupon. Besides that, if you already have spray sealant and paint, this project comes under $10!
You’ll Need plaster of Paris heavy duty rubber glove sandpaper black paint + brush or brush pen spray sealant
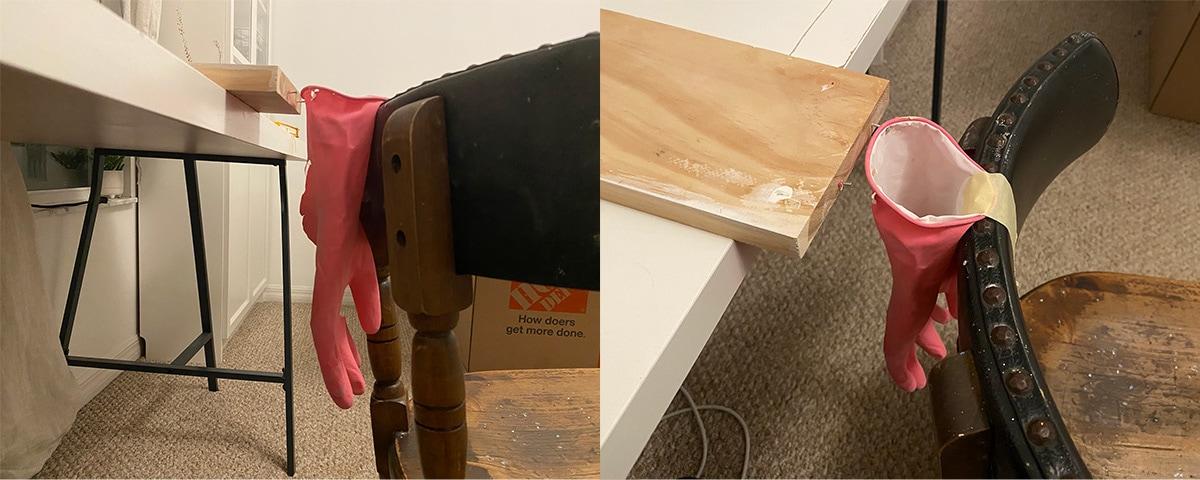
- Securely suspend your glove over a table edge. I recreated my setup in the above photo to show how non-professional it needs to be. I nailed and taped down half the glove to a clamped piece of wood and taped the other half to the back of my desk chair. And it worked beautifully.
- Mix your plaster according to directions. Pour into the glove making sure to get into all the fingers. Gently shake or tap the glove to get bubbles out.
- Let set for at least an hour or according to plaster instructions.
- Peel/cut away the glove while supporting the plaster (especially the fingers!).
- Let completely dry for at least 8 hours. Letting it dry will keep the paint or pen from bleeding.
- Sand off any glove texture.
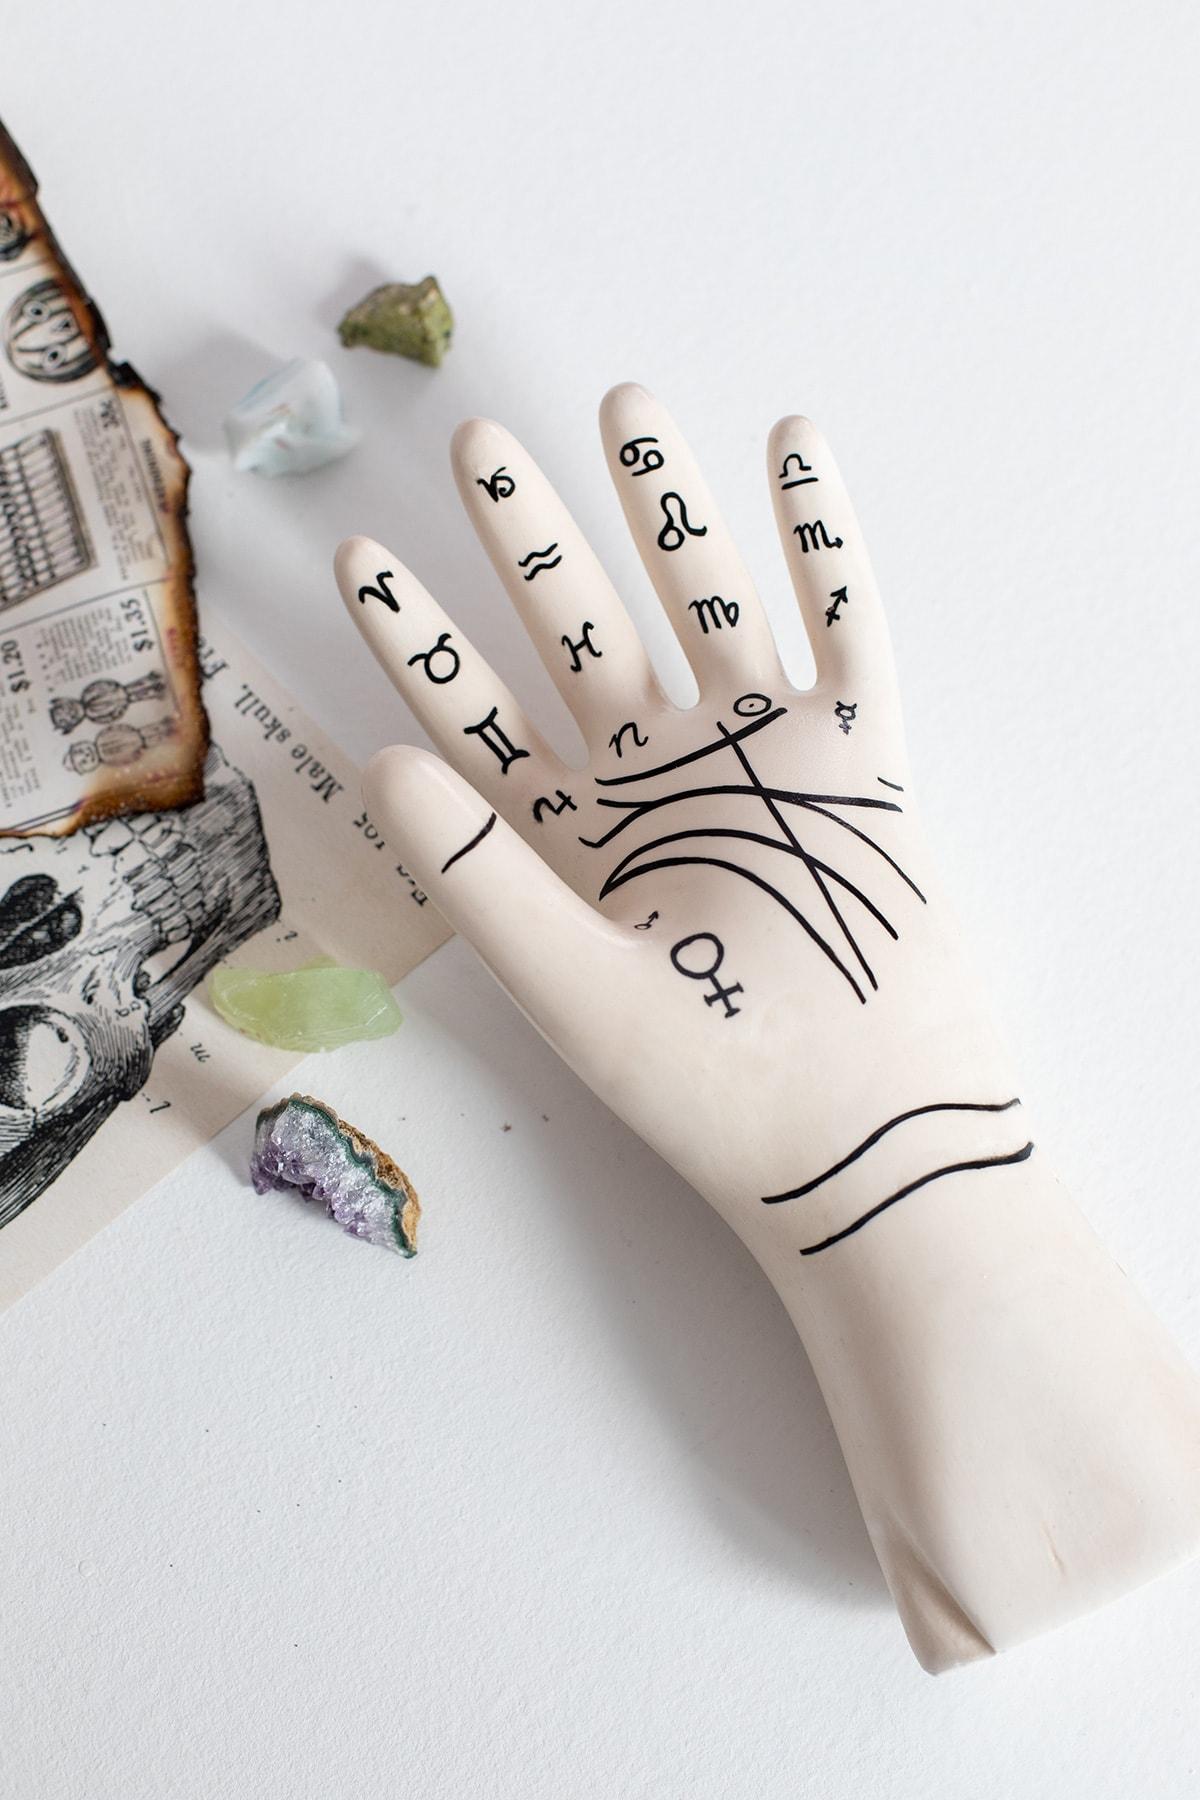
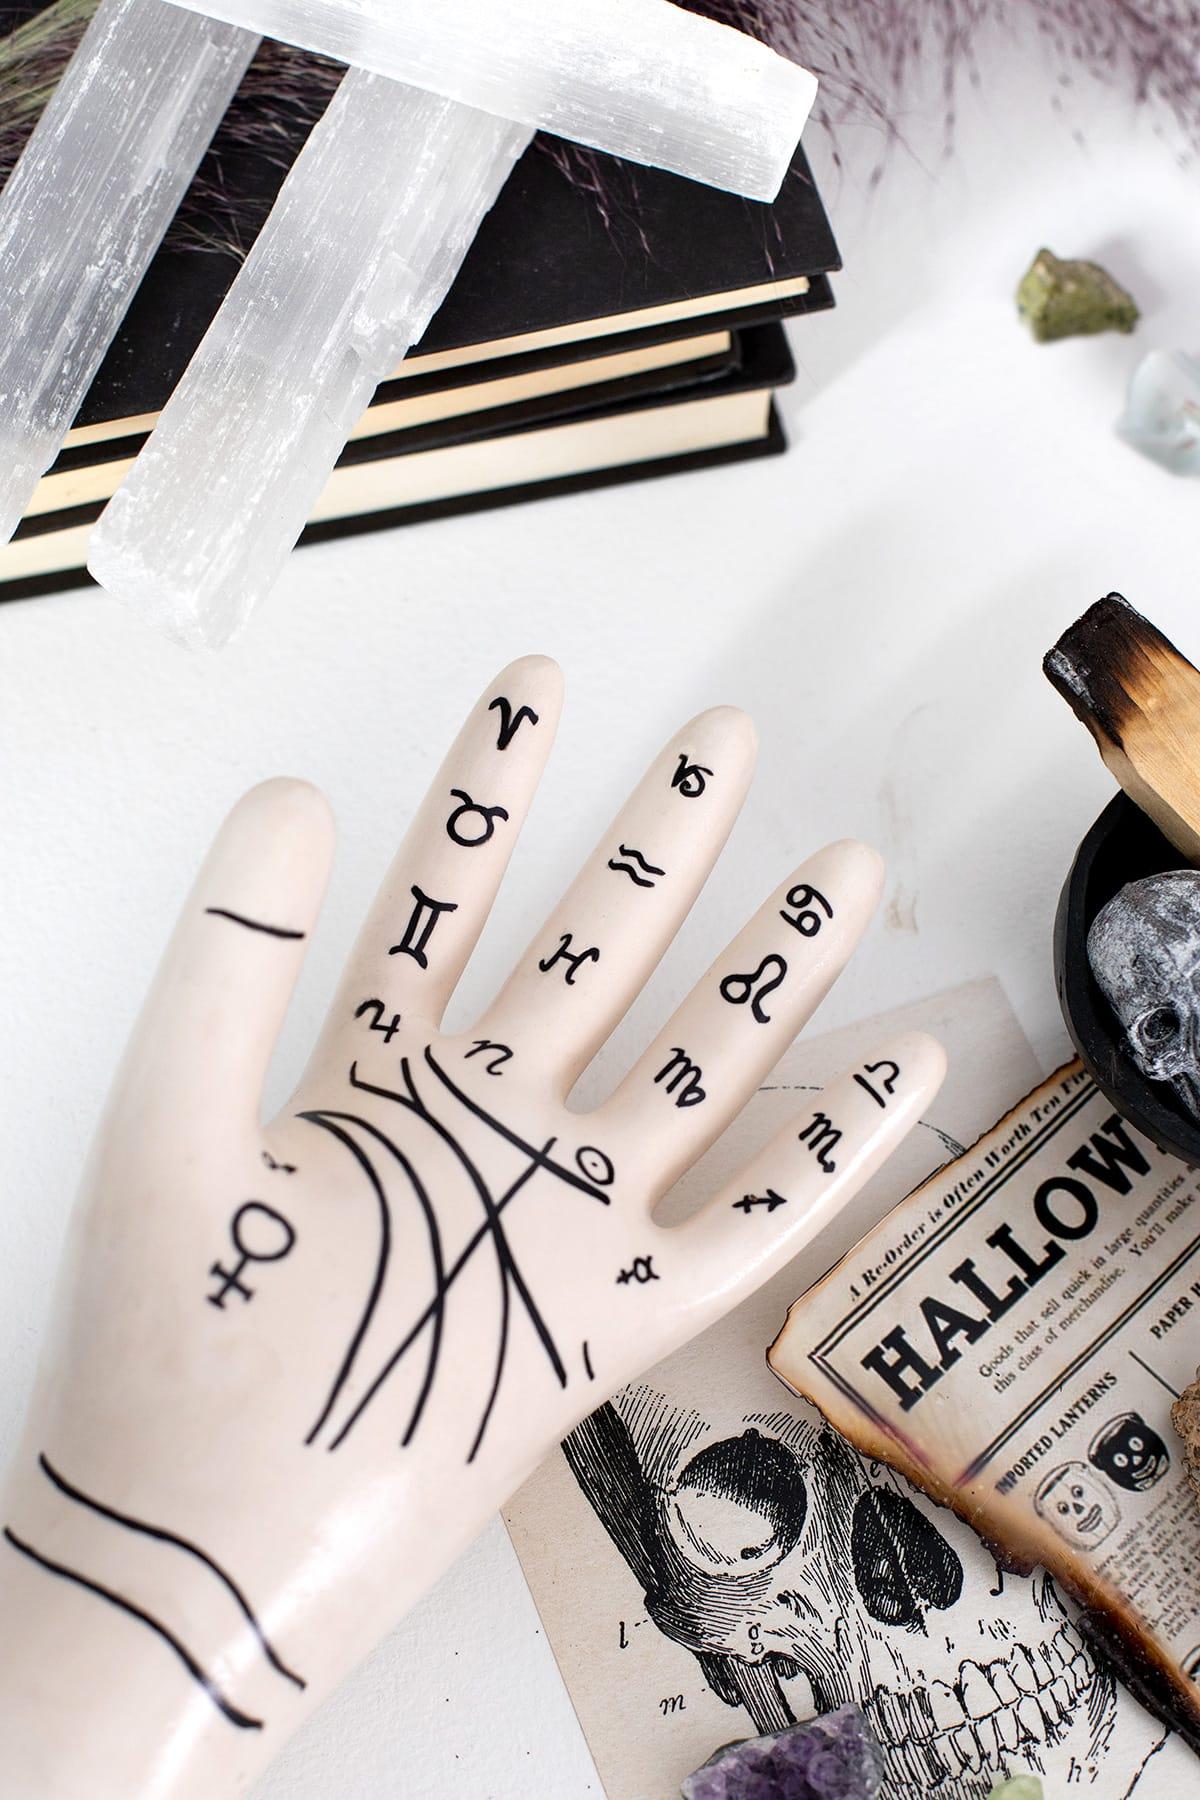
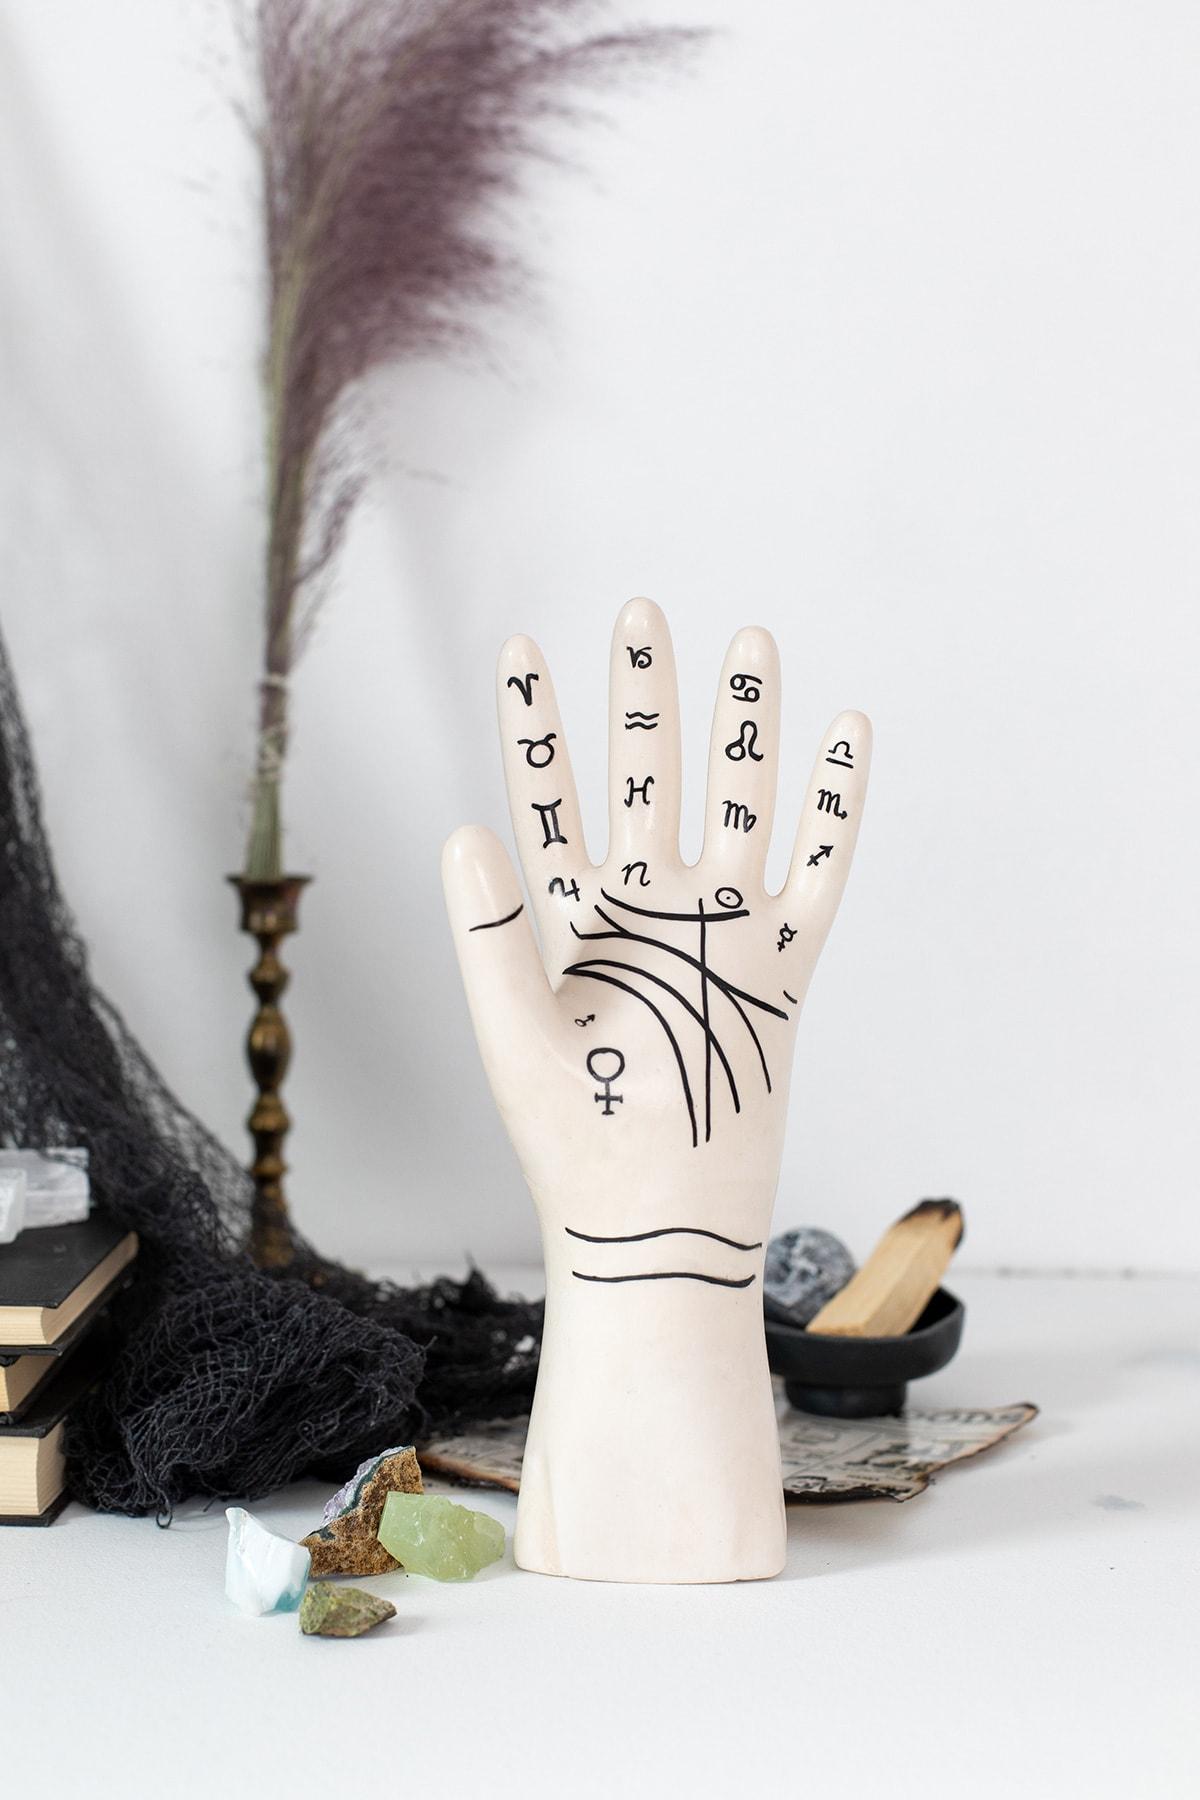
- Paint or draw your design. I used my DIY palmistry tapestry from last year as inspiration, but you can also use your own hand lines! Work top to bottom to prevent smudging. If you make a mistake, no worries! You can always sand it away before sealing.
- Let your design settle into the plaster for ~1 hour. Use a spray sealant to finish. A brush-on finish will smear the design. Important Note: You can not sand the spray finish. It will peel and take off the design (any guesses as to how I learned that lesson?).
Read more : How Much Do Chainmail Gloves Weigh
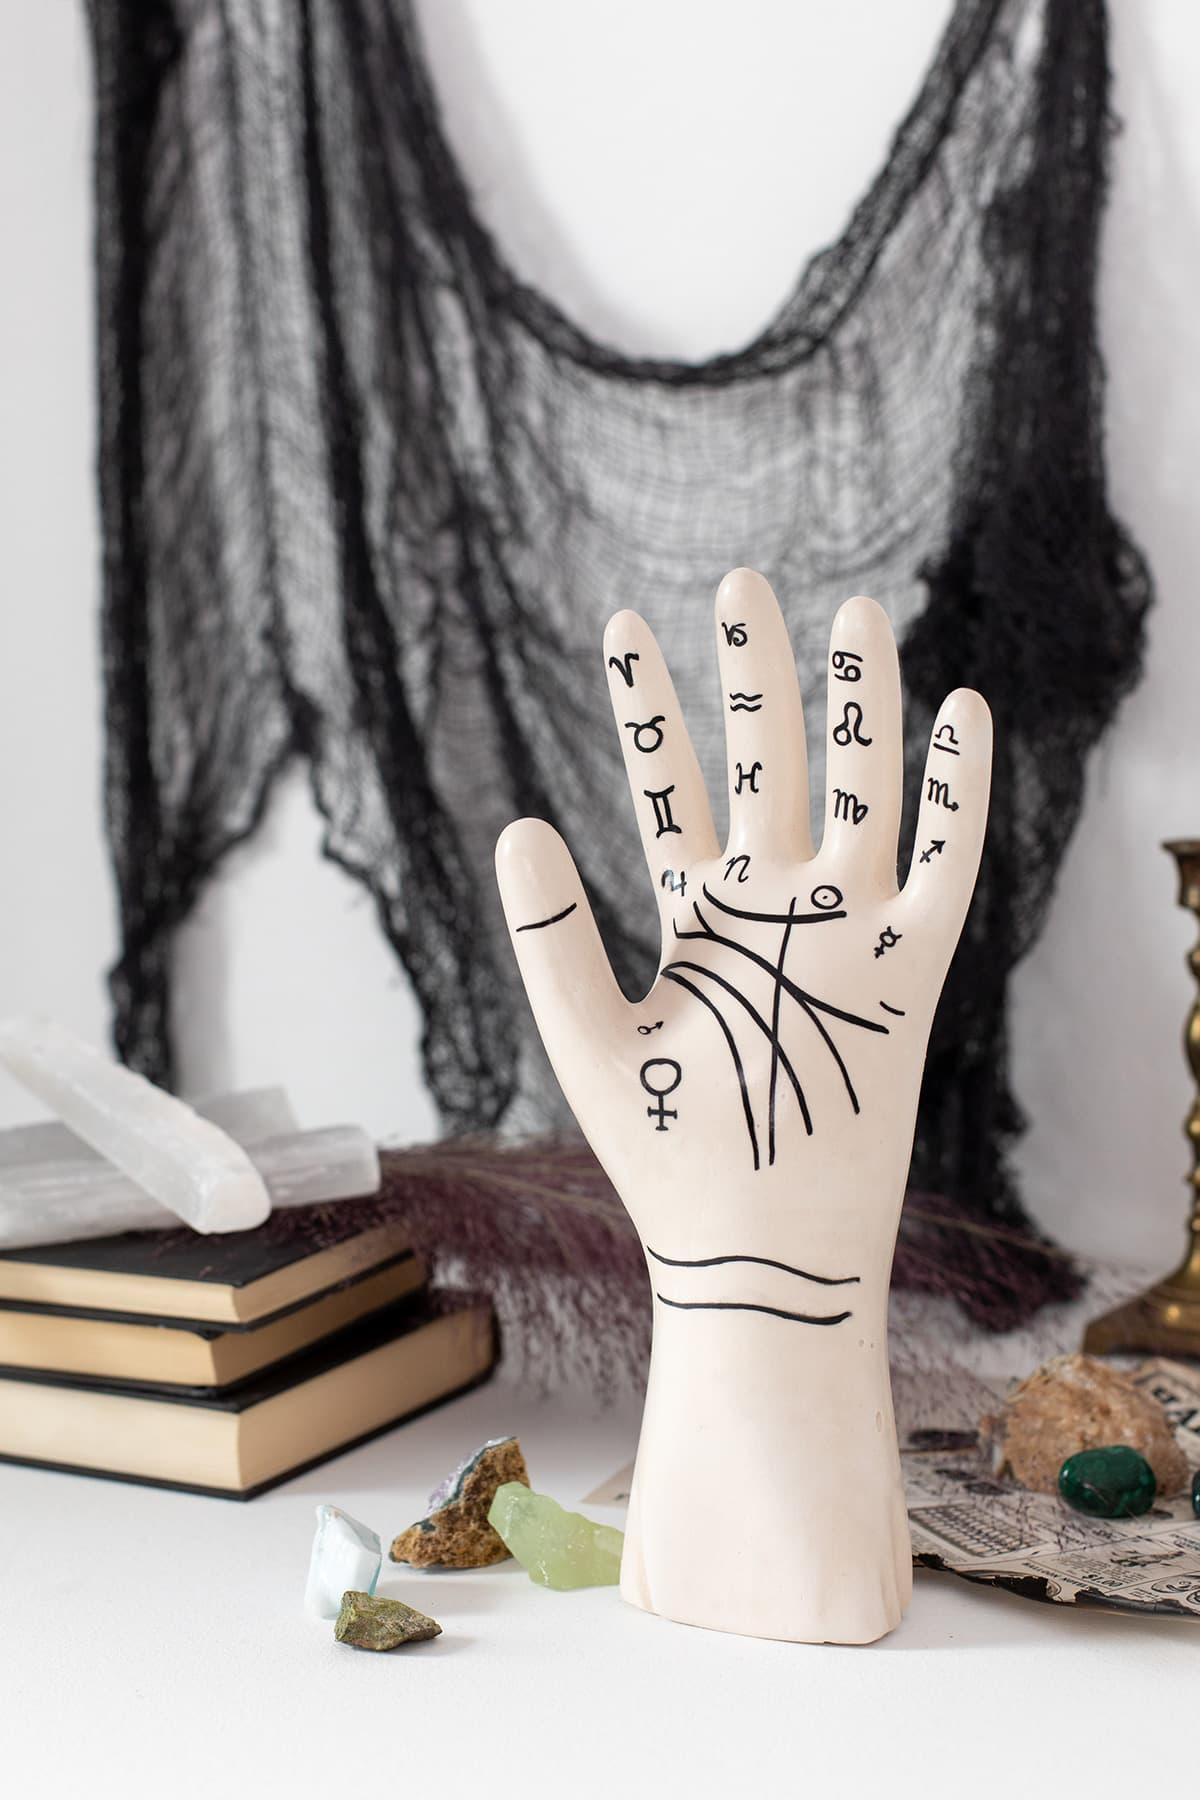
This is honestly one of my favorite DIYs! I love the Halloween twist the palmistry markings bring. It adds that subtle holiday flair to our “tarot themed” mantel and I’m half convinced to leave it out all year.
What DIYs are you excited to make for Halloween?
Source: https://t-tees.com
Category: HOW