Whether you received one as a gift or pick them up often to join your houseplant collection, most indoor gardeners have at least one Peace Lily in their homes. These low-maintenance beauties are great for beginners and aren’t too fussy, producing gorgeous flowers that stand out amongst the lush leaves.
Unfortunately, these leaves aren’t always as lush as we hope. Often, they develop brown tips that give them a sad and stressed appearance, leading us to wonder what we have done wrong.
You are viewing: Why Are The Tips Of My Peace Lily Turning Brown
Brown tips are simply the result of stress in your plant. This stress can occur for a number of reasons which we discuss in detail here. Apply the fixes, change your conditions and you should stop this common issue in its tracks.
Age
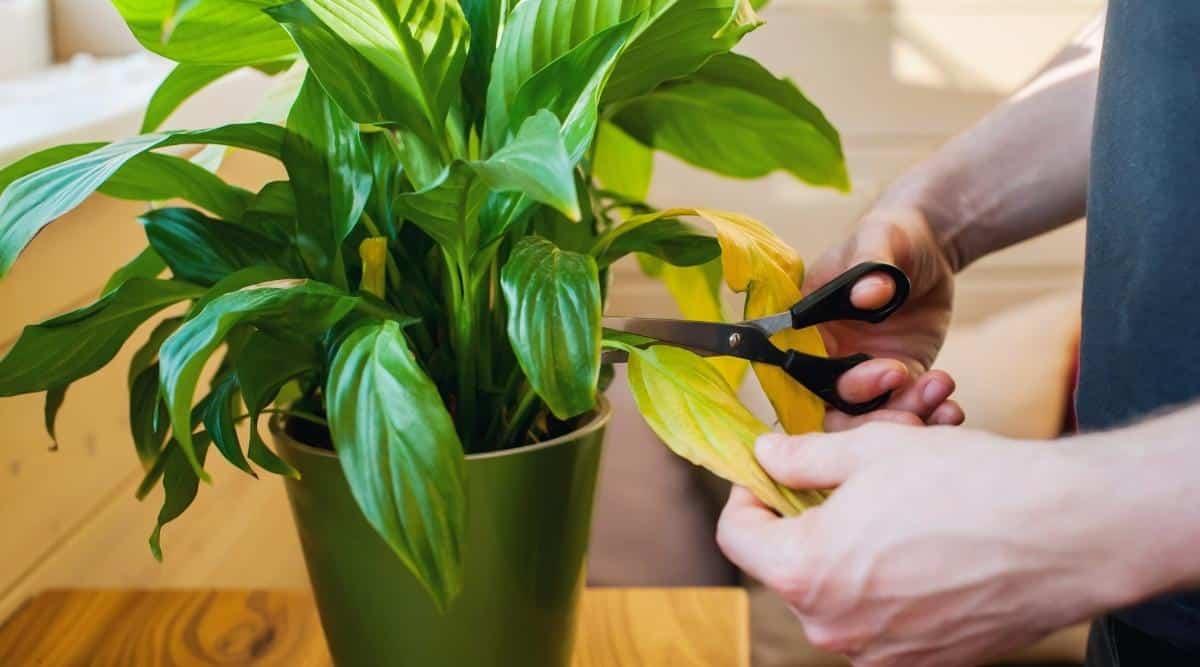
If lower and older leaves of your Peace Lily are turning brown at the tips, slowly increasing to cover the whole leaf, you may understandably be quite alarmed. However, as long as it’s just one or two leaves at a time, there is no reason to worry. This is likely simply the result of old age.
As Peace Lily leaves age, they will start fading at the tips, eventually covering the whole leaf. Once the leaf has died back, it will fall off the plant and onto the soil below. This makes way for new leaves to emerge and stops the plant from expending too much energy keeping fading leaves alive.
As there is no problem to fix here, all you need to do is trim off these leaves once they turn brown. This helps direct the energy of the plant toward new growth. Alternatively, you can wait until it falls off to remove it from the base of the plant.
Make sure you don’t leave it sitting around the soil for too long though. This creates the perfect hiding spots for pests and can encourage diseases when watering. Plus, removing them quickly makes your plants look far happier and tidier.
Lack of Moisture
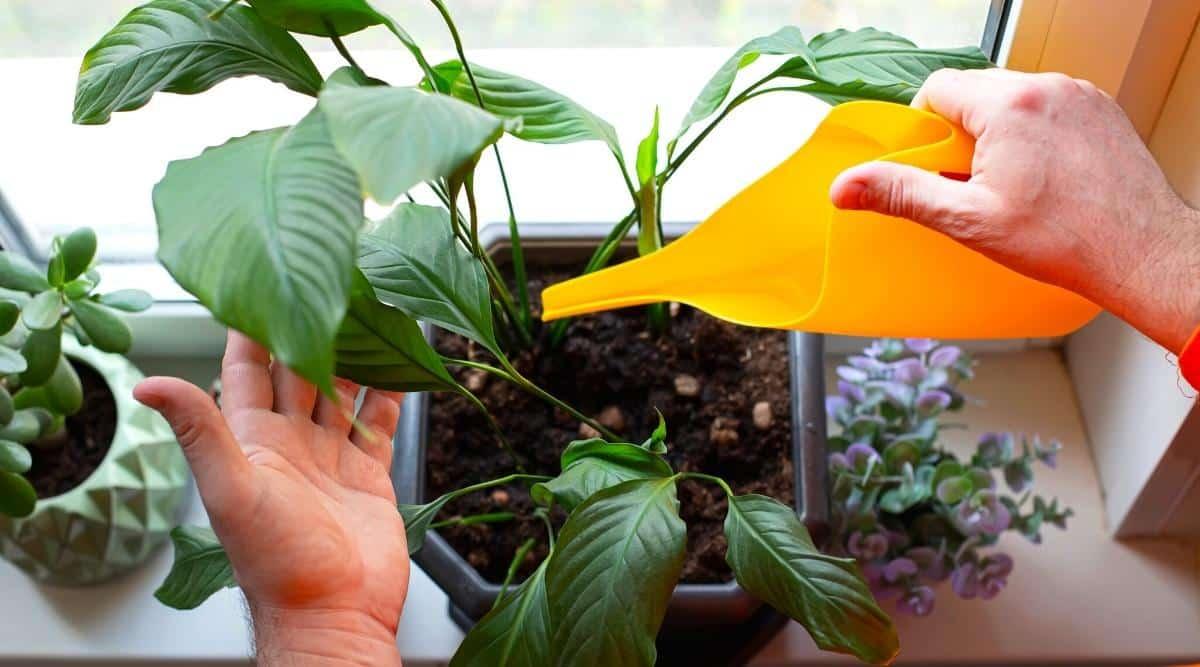
The next most likely issue that is unfortunately cause for concern is lack of moisture. Peace Lilies are moisture lovers and appreciate aerated but consistently moist soil to keep their thin leaves upright and glossy.
Underwatering, therefore, causes major stress to these plants. The cells lack the moisture they need to fill out and function correctly, leading to wilting and browning at the very tips of the leaves. Unfortunately, these brown leaf tips won’t return to normal and will only get worse, so it’s important to tackle the problem as soon as possible.
Luckily, the fix for this issue is easy – simply water your plants. Providing the right amount of moisture will stop any browning and yellowing from worsening and should improve wilting within a couple of hours. Make sure you adjust your watering schedule to prevent the problem from occurring in the future.
If the soil is compacted, you may need to aerate it manually or water from the bottom to improve conditions. But, if you’re watering from the bottom, make sure to avoid problem number 11 discussed below.
Overwatering
Just as likely as underwatering to cause brown tips, overwatering can do the exact same thing if you aren’t careful. Often, when gardeners hear that Peace Lilies love moisture, they give them way more water than they actually need, causing the soil to become soggy.
Soggy soil should be avoided at all costs, not just for Peace Lilies, but for all houseplants. These conditions encourage fungal growth and prevent any oxygen from reaching the roots. In these conditions, you may encounter a common problem known as root rot – a death sentence for houseplants if not resolved immediately.
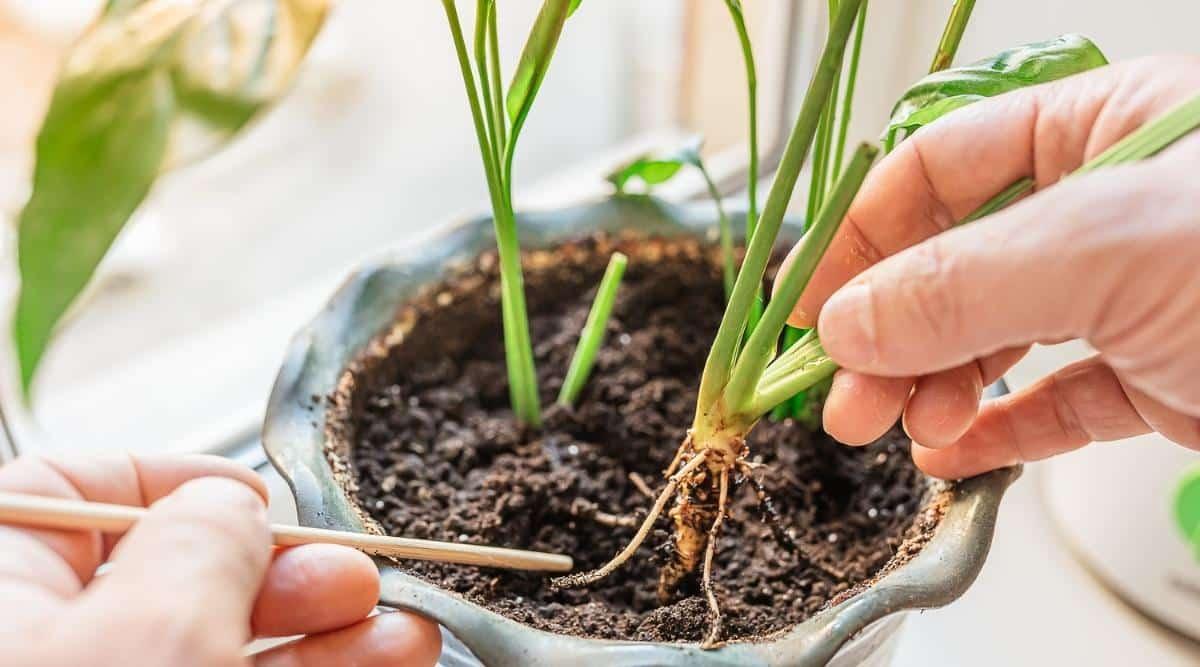
If you suspect you have overwatered (you should know by taking a closer look at the soil), leave the plant to dry out before watering again. If the brown tips continue to spread, you will need to repot your plant to remove all traces of root rot.
Read more : Why Is My Wife Always Mad At Me
Start by removing the plant from its existing container. Wash off all the soil as it can harbor the fungi that cause root rot. Trim off any mushy or soft roots before repotting into fresh soil and a brand-new pot.
Lack of Drainage
Root rot isn’t necessarily caused by gardener error in watering. It could also be a problem with the pot your Peace Lily is planted in.
All plants need drainage holes in their containers. This allows the excess moisture in the soil to drain away, allowing air to flow through the soil. Even putting gravel at the bottom of a container as is often suggested cannot replace the need for drainage holes to remove extra or stagnant water.
Peace Lilies planted in containers without drainage holes will quickly die, especially considering how often they require watering. This can also occur if you’ve used a decorative cover pot without drainage holes, or even if you leave the plant in a drip tray without removing the excess moisture at the base.
Always make sure to plant or repot your Peace Lily into a container with drainage holes. If you’ve chosen a container without, drill some into the bottom before planting to ensure your plant lives a long and happy life.
Incorrect Soil
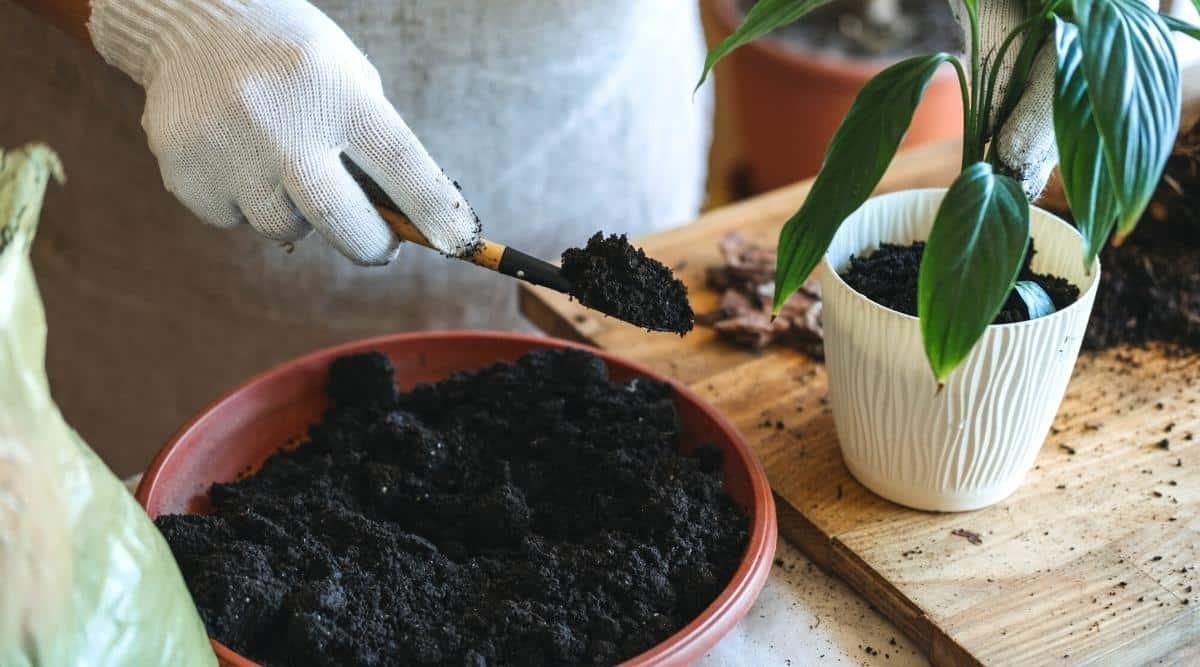
Another issue that can lead to root rot is using the incorrect soil mixture. Since your Peace Lily will be happy in the soil it came in when you bought it, this is usually only a problem if you have recently repotted and used the wrong soil mixture.
Peace Lily soil needs to drain well to avoid the issues we’ve discussed, but also needs to hold onto some moisture to keep the roots happy. Garden soil or standard potting soil often does not meet these requirements, leading to waterlogging and again, root rot.
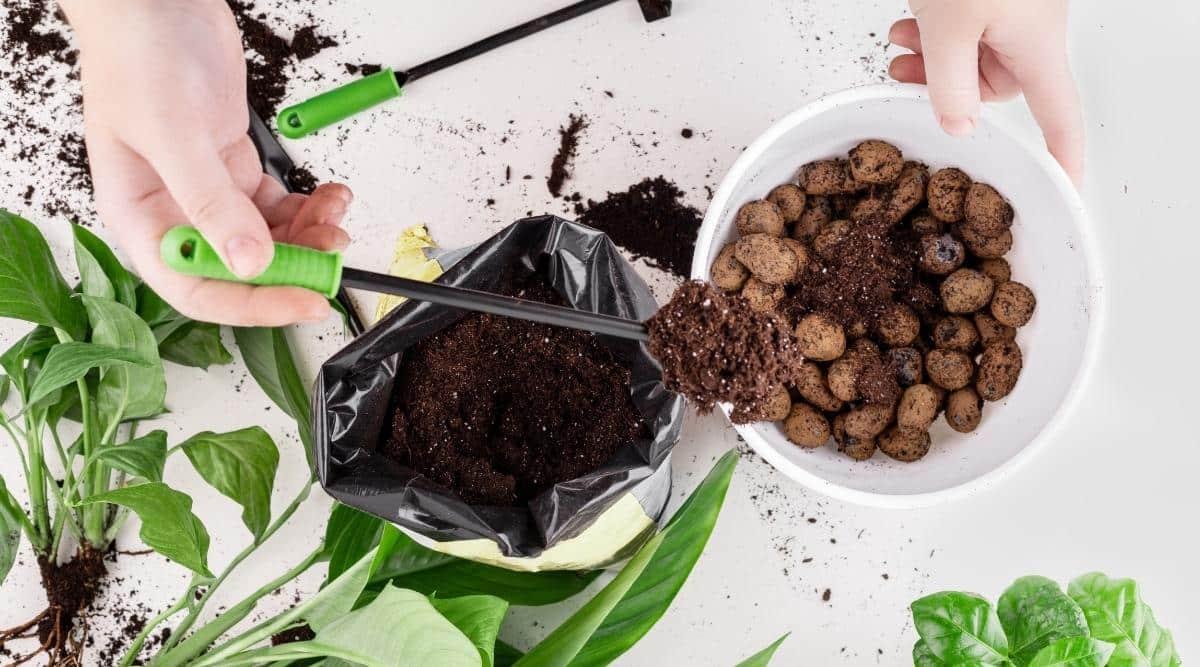
When repotting, make sure you use a light and well-draining soil mix to keep the plant happy. Aim for a ratio of two parts high-quality potting soil to one part perlite and one part coconut coir. You can also use peat moss, but opt for coconut coir if you’re looking for a more sustainable alternative that performs the same function.
Also try to match the texture of the soil mixture to the previous mix. This will prevent transplant shock and ensure your plant won’t struggle in its new home.
Sudden Temperature Changes
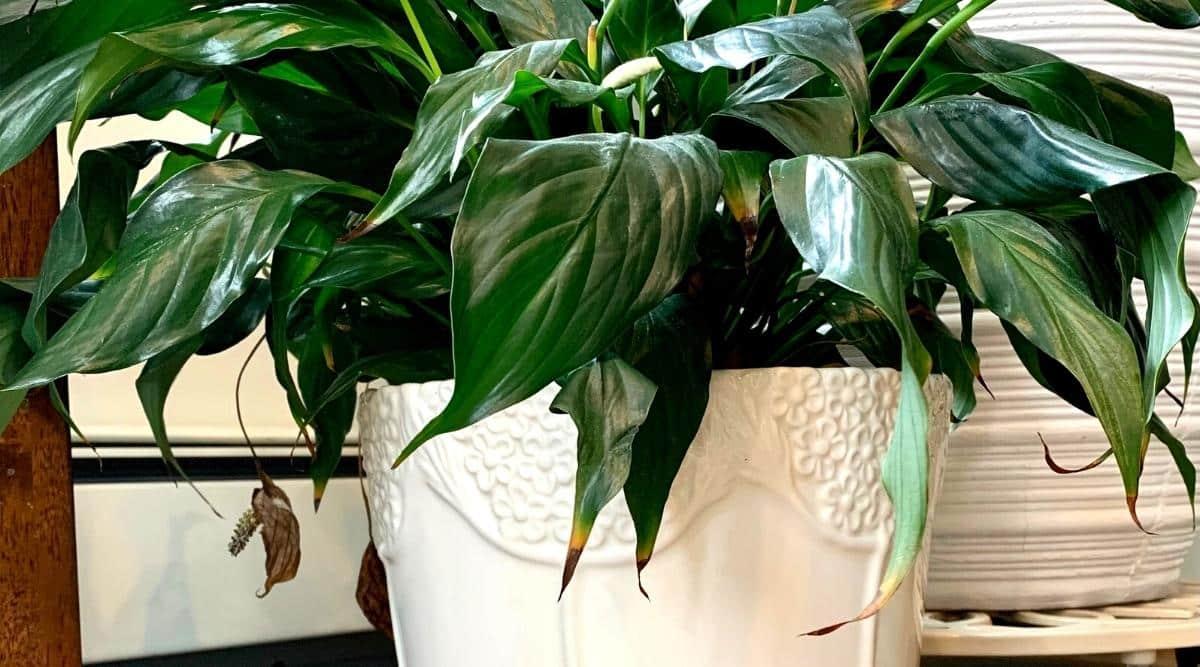
Peace Lilies are tropical plants that love warmth. They cannot stand cold conditions and usually prefer temperatures remain consistent. Sudden changes in temperatures, especially cold ones, lead to dramatic stress that is difficult to resolve once it occurs.
One of the signs of temperature stress is brown leaf tips. You may also notice wilting and a general lack of growth. These conditions will persist until temperatures stabilize and the plant can acclimatize again.
The key to preventing this problem is keeping your Peace Lily in the warmest room of the house with the most consistent temperatures. Keep them away from windowsills that can gather cold in the winter. Also move them away from any drafts from open windows or air conditioners as these cause sudden temperature changes often throughout the day.
Lack of Humidity
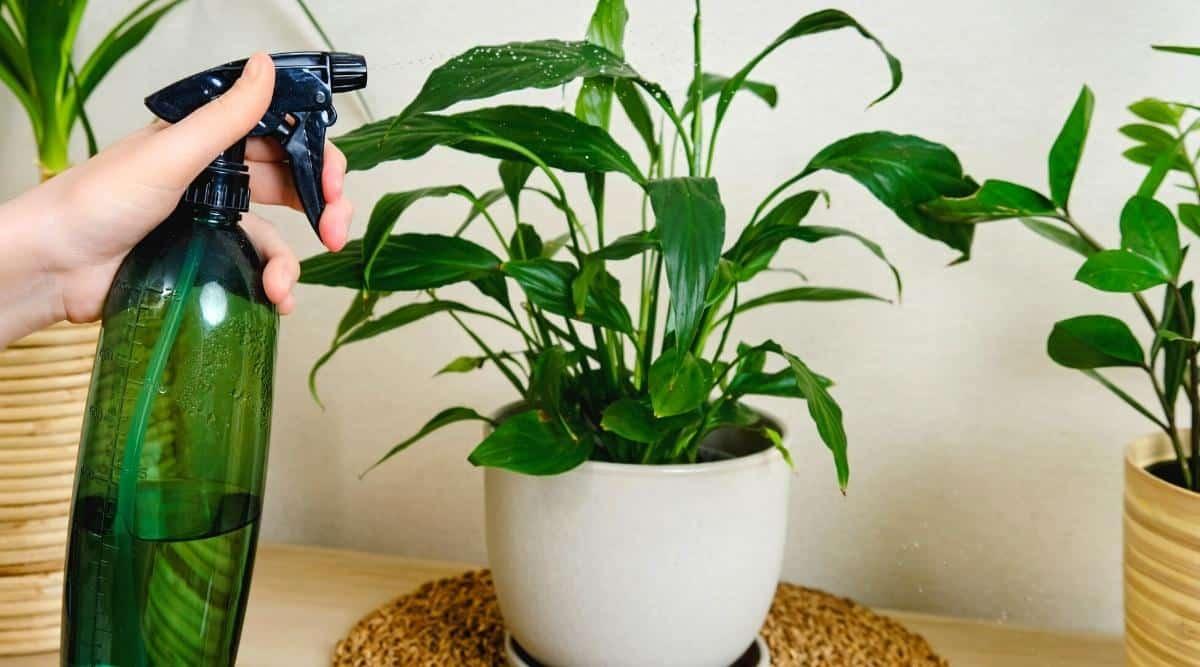
Another moisture issue that may lead to brown leaf tips is lack of humidity. Thanks to their rainforest habitats, Peace Lilies love moisture and need high humidity to keep their lush leaves glossy.
When there is no moisture in the air, vital processes within the leaves stop occurring as the plant tries to conserve moisture within the leaves. This causes various problems – mainly yellowing and browning at the tips.
Read more : Why Has Nobody Told Me This Before Pdf
To resolve this issue, you’ll need to increase the humidity around the plant. There are a number of ways to do this, each with varying levels of success:
Overfertilizing
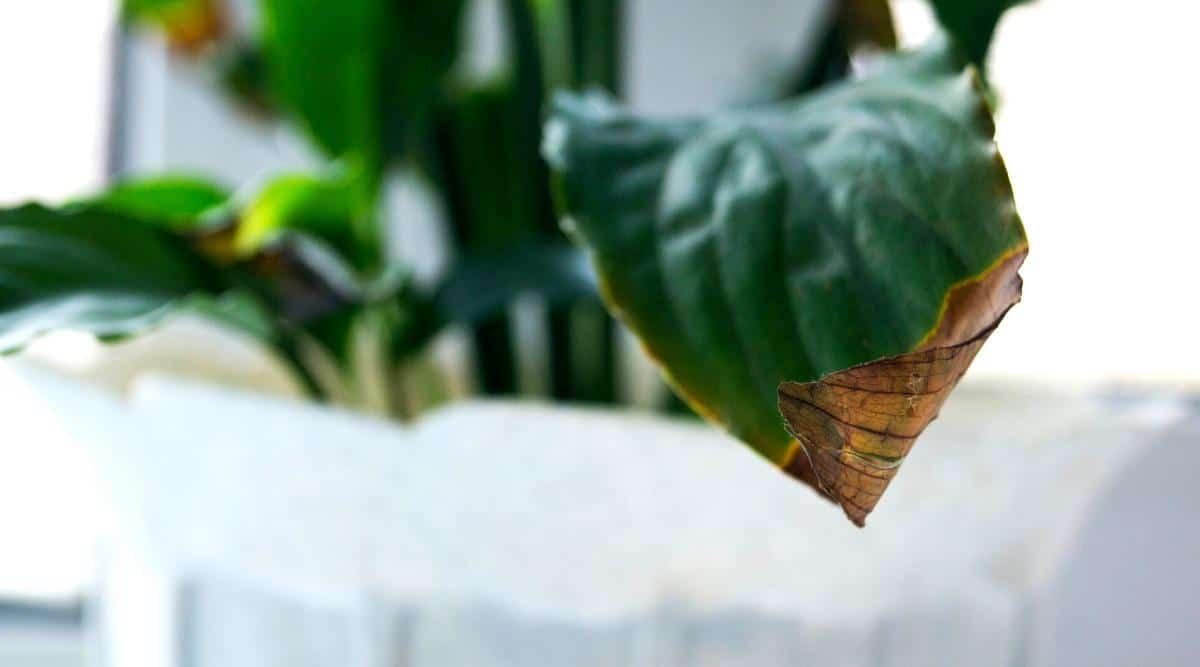
When Peace Lilies aren’t growing or flowering as expected, many turn to fertilizer as the first line of defense. Unfortunately, lack of fertilizer is rarely a drastic issue for houseplants, unless they have been in the same soil for several years without additional nutrients.
Overfertilizing on the other hand is a prominent risk and can occur with the slightest sign of excess fertilizer, or even fertilizing when the plant doesn’t need it. Overfertilizing causes the roots to ‘burn’, leading to patchy yellowing and brown tips above the soil. If this is the case, symptoms will emerge soon after you have fertilized, indicating you need to flush the soil as soon as possible.
Rinse the soil with filtered water to remove any excess salts. Then, hold off on fertilizing for several months to prevent overfertilizing again. Never add more fertilizer than on the packaging and preferably apply at half strength to start to avoid salt build-up in the soil.
Using Tap Water
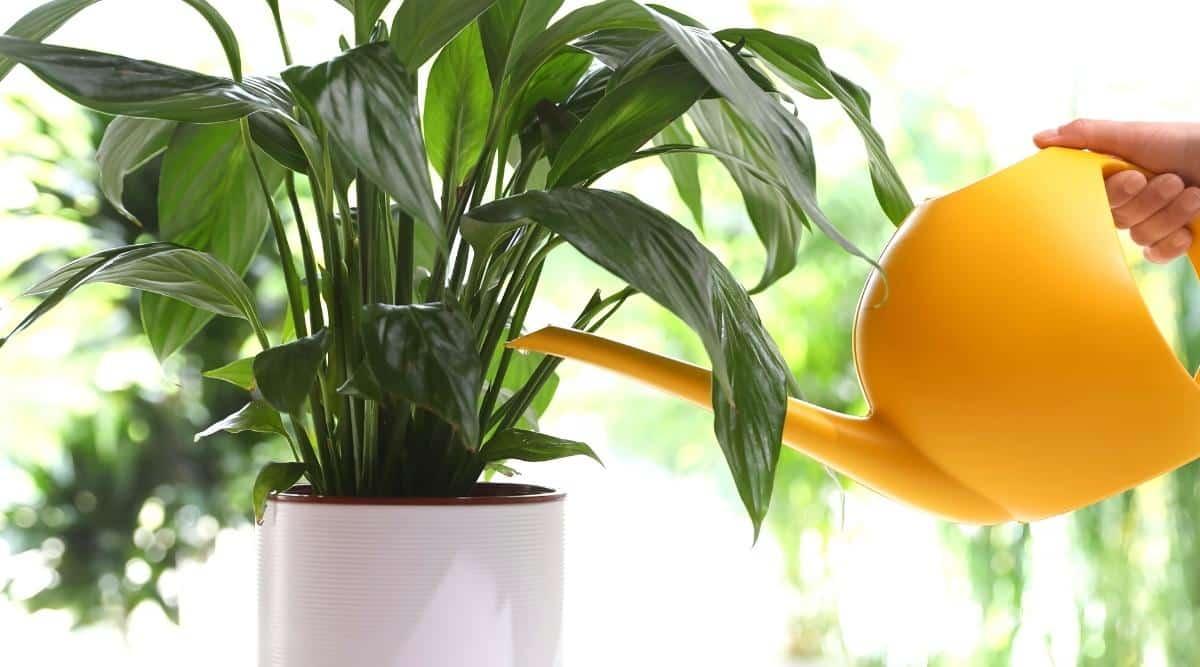
Salt build-up isn’t only caused by overfertilizing, although that is the most likely issue. It can also be the result of watering with certain tap water.
Depending on where you live, your tap water may contain a range of chemicals used to make it drinkable. Unfortunately, those chemicals aren’t great for our houseplants. Chlorine in particular can lead to a soil imbalance and root problems that result in the brown tips we are all familiar with.
If you live in a city with highly treated tap water, you have a few options. The first is to water your plants with filtered water. While this can be tedious, it will certainly prevent your problems from getting worse.
For a cheaper option, you can leave the water out for a while to allow the chlorine to dissipate before watering. The science is not clear on how long this process takes, or even how effective it is, but there is no harm in giving it a go. General recommendations are to leave the water out or 24-48 hours before use.
Excessive Sunlight
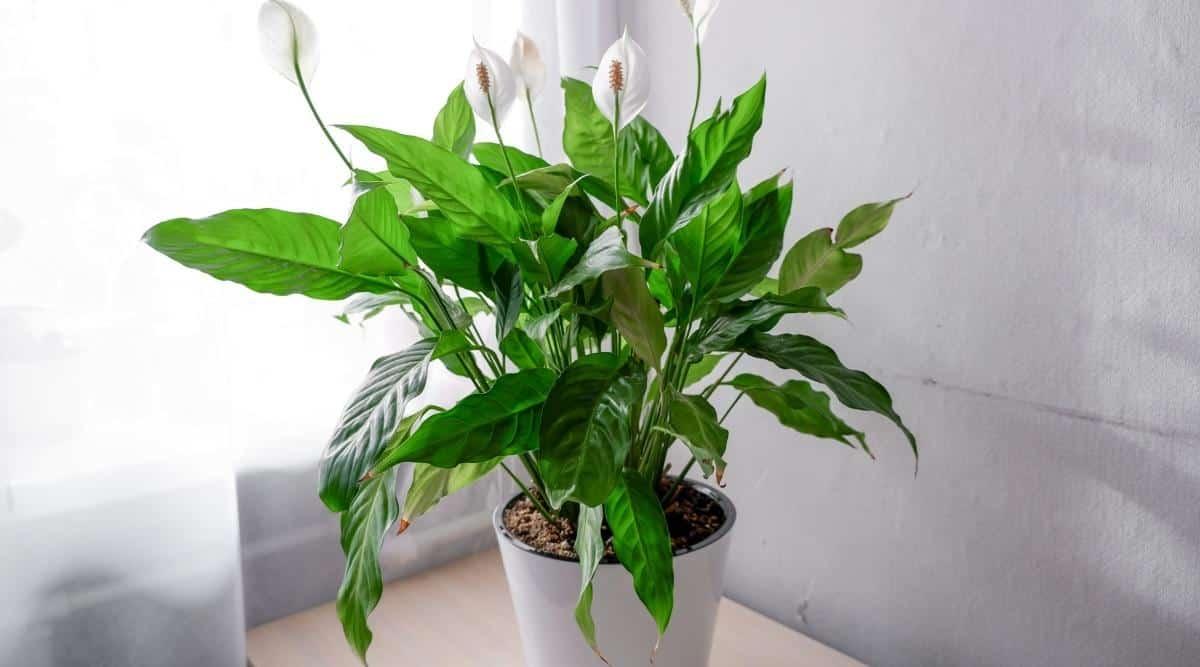
In their native habitats, Peace Lilies are protected by the cover of trees overhead. They are never exposed to direct sunlight, receiving filtered light or dappled shade outdoors. The leaves are very sensitive to direct sun exposure and can quickly burn if left in the wrong spot.
Leaving your Peace Lily in direct sunlight for even a few hours can lead to browning in the leaves. This usually occurs in patches, appearing in the spots exposed to the light, but can also cause browning at the tips due to temperature stress and lack of moisture.
Never place your Peace Lily in the path of direct sun. Instead, aim for an area with bright but indirect light throughout the day. They are also known for their ability to handle low light situations, although you should avoid these if you want your Peace Lily to produce its famous white flowers.
Bottom Watering
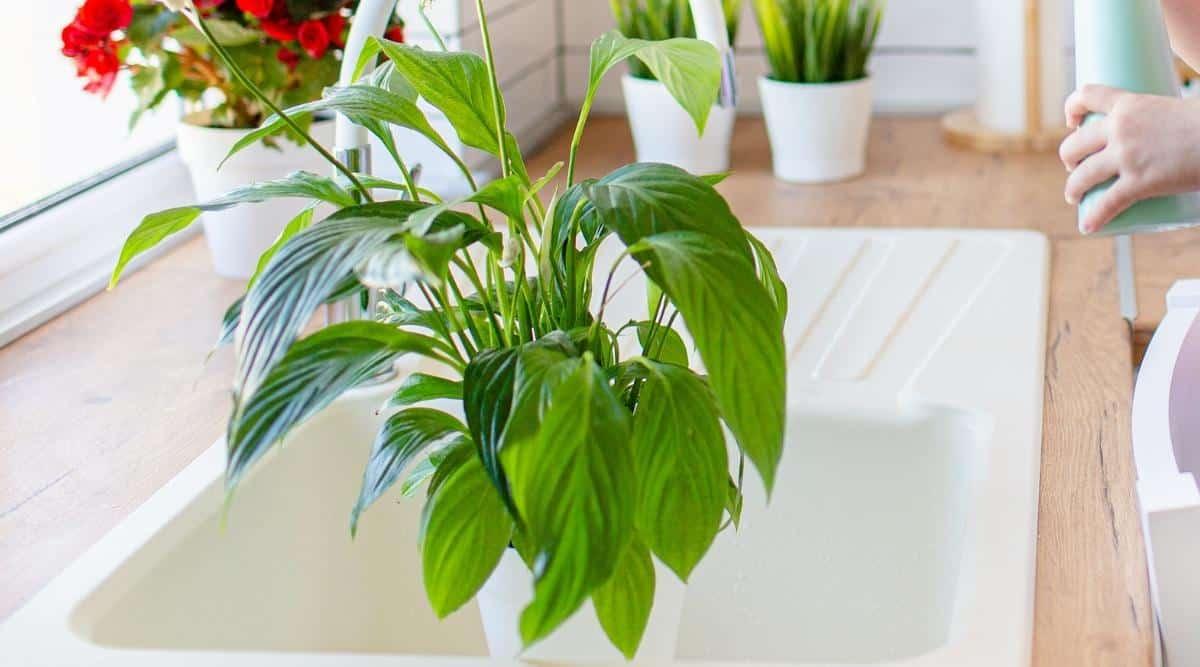
The final cause is one of the more unlikely ones, but can still lead to brown leaf tips if you’re not careful. Bottom watering has become an incredibly popular hack on social media. The process is just as the name describes – you place your plant in a bucket or sink full of water and allow the soil to soak up moisture from the base.
The hype about this hack is definitely true. It does typically lead to better moisture absorption overall, versus overhead watering that can leave gaps of dry soil around the roots. As long as you leave the excess water to drain and don’t leave the plant in the water for too long, it’s a beneficial practice for your plants.
However, you shouldn’t ever water exclusively from the bottom. Watering from the top also flushes excess salts from the water that can eventually harm the roots. If these are left to build up, you’ll see the same browning that occurs when overfertilizing or watering with tap water.
While you shouldn’t avoid bottom watering, make sure you water from the top too every couple of weeks to flush the soil and keep it healthy.
Source: https://t-tees.com
Category: WHY
