
Embroidering Made Simple: Dive into Glove Embroidery with Luna!
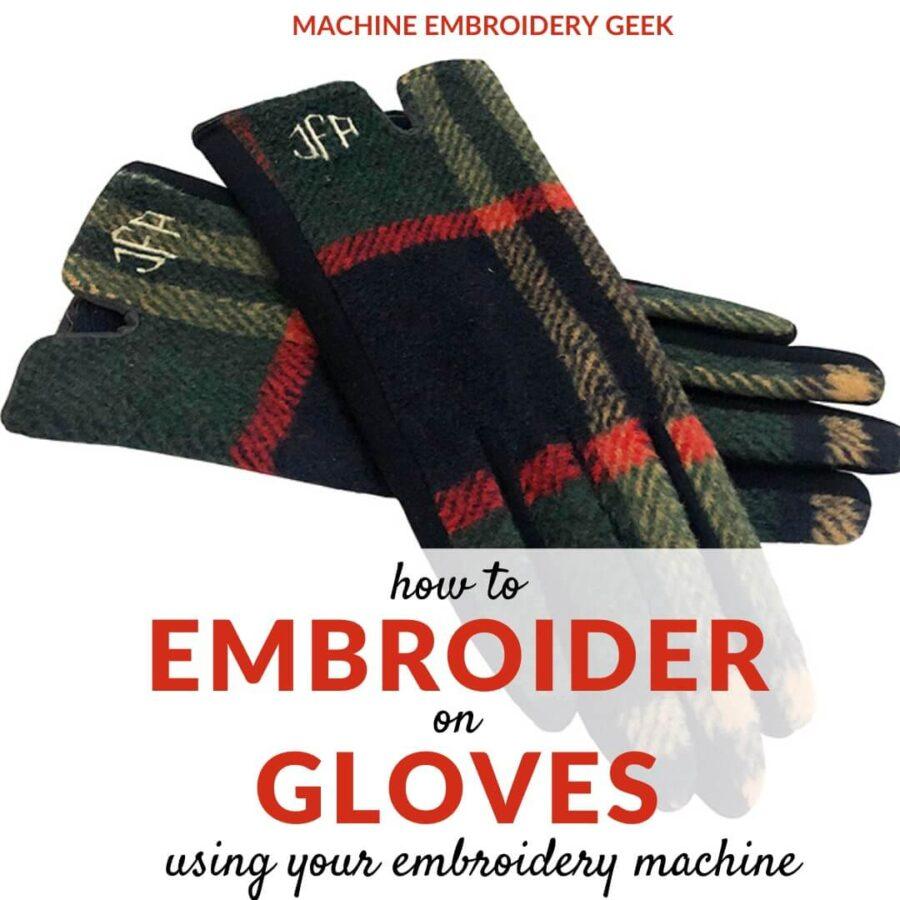
Have you ever tried embroidering gloves and found it challenging, especially with a single-needle machine? I had a similar experience! But after diving into embroidering socks, I found the Sock Easy hooping aid, which made embroidering gloves a breeze! Instead of those chunky or fleecy gloves, I’ve been playing around with stretchy knit gloves. They’re an ideal find from Dollar Tree to experiment with. So, let’s dive into how to embroider them!
You are viewing: How To Machine Monogram Gloves
Essential Tools & Materials ️
- Embroidery machine (A 4″x4″ hoop is recommended)
- Sock Easy sock hoop and gloves
- Stabilizers: self-adhesive sticky stabilizer and water-soluble topping
- Needle: A 75/11 embroidery needle
- Thread: Opt for embroidery thread (60wt is great for detailed designs, but I go with 40wt polyester)
- Essentials: Pencil, ruler, and your chosen embroidery design
The Magic of Using a Sock Easy for Gloves
I’ve been smitten by the Sock Easy hooping aid! It’s not just for socks, it’s a lifesaver for gloves too. Positioning knit gloves without it feels nearly impossible. With the Sock Easy, it’s a breeze to lay out the glove in a single layer. It comes in two sizes for adult and child socks. For gloves, I’d go with the smaller one. Bear in mind, if you lack a free arm on your embroidery machine, the wrist section is your best bet for embroidery. And always measure your design space accurately within the sock hoop!
Design Tips
Read more : How Did Adam Hitchcock Glover Die
Keep your designs petite for gloves. You can scale down an image or pick a smaller existing design. Ensure the stitch density remains consistent, and there are fewer stitches to prevent making the glove too thick. Since tear-away stabilizers work best here, pick a minimalistic design without dense fill-stitches. The result? A cleaner look at the back of your embroidery!
Step-by-Step Glove Embroidery Guide
- Marking the Design: I adore using embroidery target stickers, especially for materials that aren’t friendly to water-soluble markers. This ensures the design orientation is accurate!
- Position the Glove: Flip the glove inside out, remove any tags, and set it in the Sock Easy.
- Prepare the Embroidery Hoop: Use a layer of sticky stabilizer, shiny side up. Mark the center using vertical and horizontal lines. Align the embroidery target sticker marks with these center lines and fit the hoop into your machine.
- Machine Setup: Power up your machine and load the design. Double-check design orientation and ensure the needle aligns with the placement sticker’s center. Use the design preview, if your machine has one, and adjust accordingly. Next, take off the placement sticker and place a water-soluble topping.
- Embroidery Time: Click start and witness your design come alive on the glove! Stay vigilant to ensure smooth operations.
- Finalizing Your Art: Post embroidery, disengage the hoop. Detach the sock hoop and glove gently from the stabilizer. Clip off any unnecessary stitches and rinse off the water-soluble topping. Voilà! Now, repeat for the other glove.
Quick Reference Table
Steps Instructions 1. Design Marking Use embroidery target stickers 2. Glove Positioning Turn inside out, position in Sock Easy 3. Hoop Setup Sticky stabilizer, mark center, align with design 4. Machine Ready Load design, check orientation, add topping 5. Embroider Start machine, watch design formation 6. Final Touches Remove hoop & stabilizer, trim, clean up
Source: https://t-tees.com
Category: HOW