
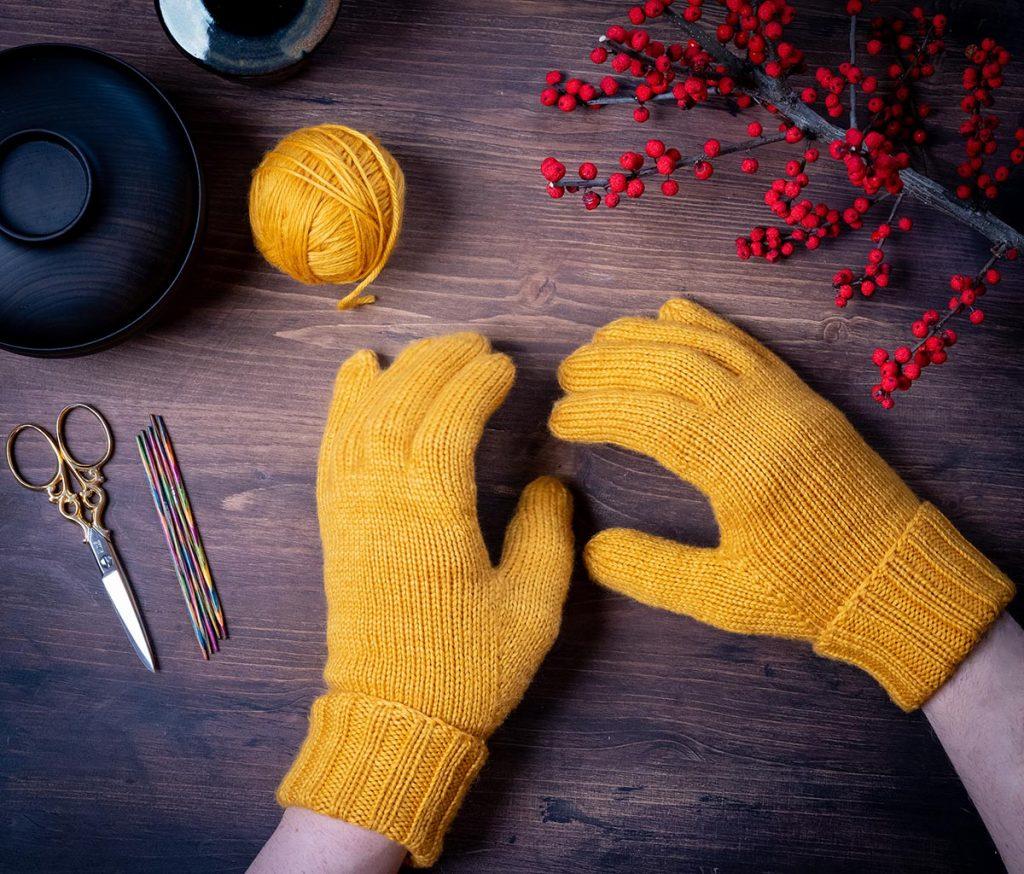
A step-by-step tutorial on knitting gloves with fingers on double pointed needles for beginners.
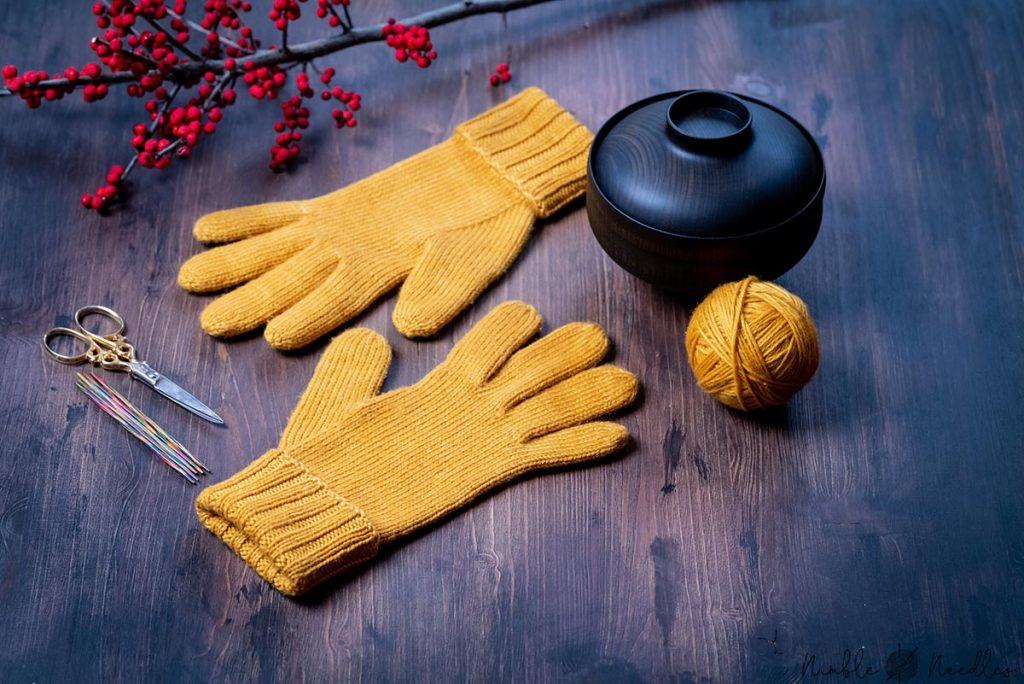
There are probably few knitting projects that appear more daunting than gloves. All these small diameter fingers, the double-pointed needles, and of course the small gauge – it sure sounds intimidating. That’s why I put together this very detailed step-by-step tutorial, so I can show you exactly how to knit gloves that fit and bring you joy.
Now, I want to be very clear from the very beginning. Knitting gloves with fingers is a project for advanced knitters. Not because there are many overly complicated techniques involved. That’s not even the case. The issue lies in working with many stitch holders, picking up stitches proficiently, and maintaining an even gauge (on that note: I do have a super easy pattern for fingerless gloves perfectly suitable for beginners).
You are viewing: How To Knit Gloves For Beginners Step By Step
That being said, if you know how to knit in the round on double-pointed needles and you are familiar with smaller diameter projects (like socks, etc.), then I’m sure you’ll learn how to knit socks in no time. It only takes a little bit of patience and practice. But it’s probably a project best reserved for intermediate knitters onwards.
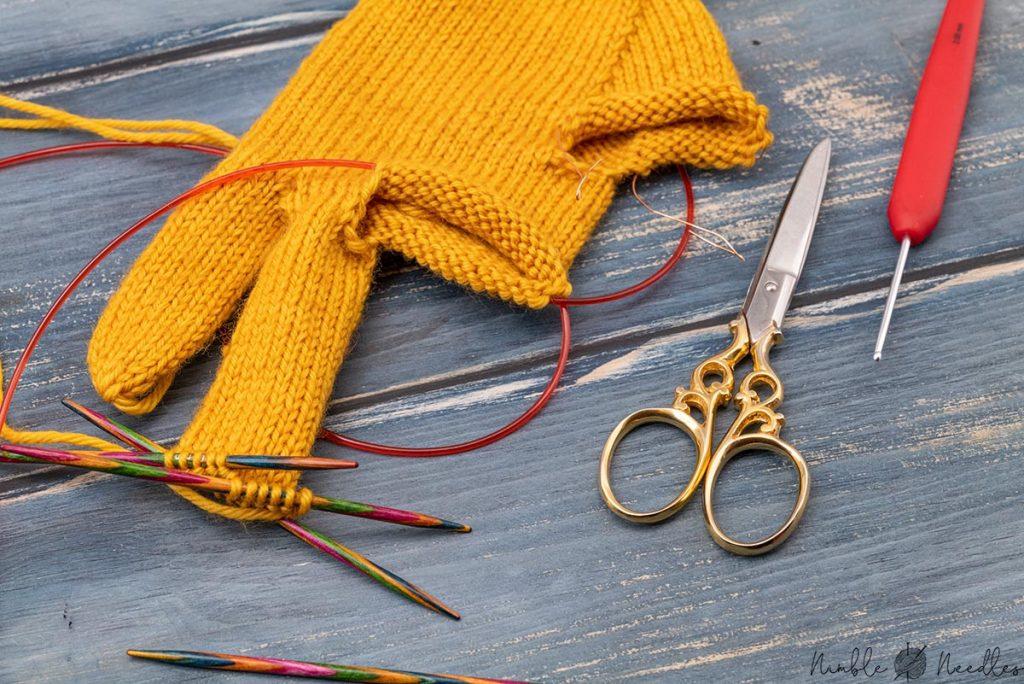
Materials you need for knitting gloves:
Note: I earn a small commission for purchases made through links in this article.
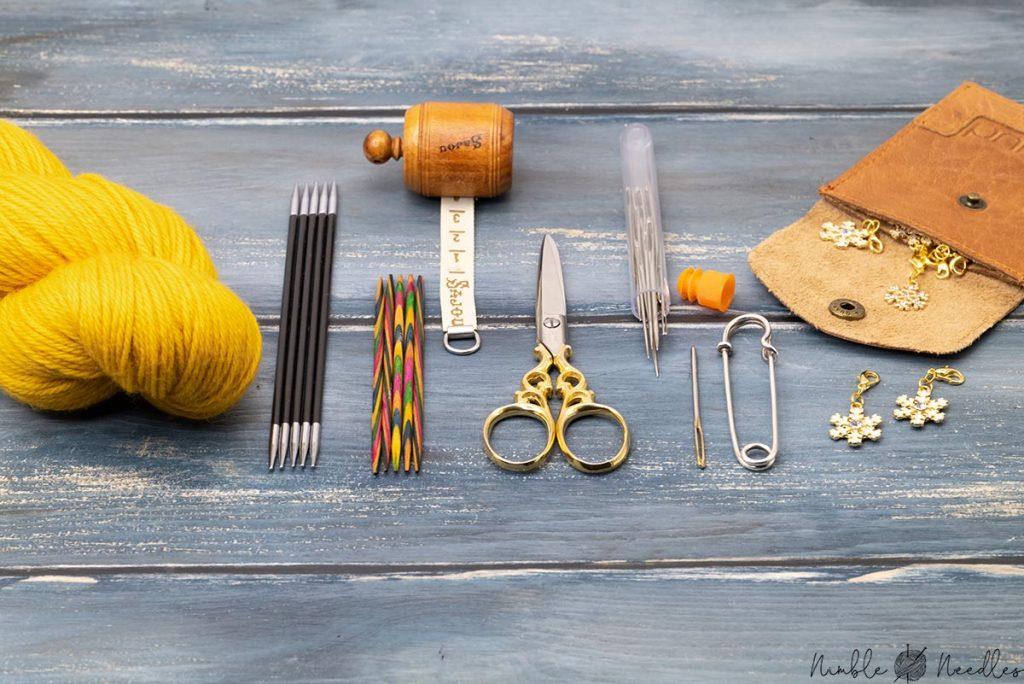
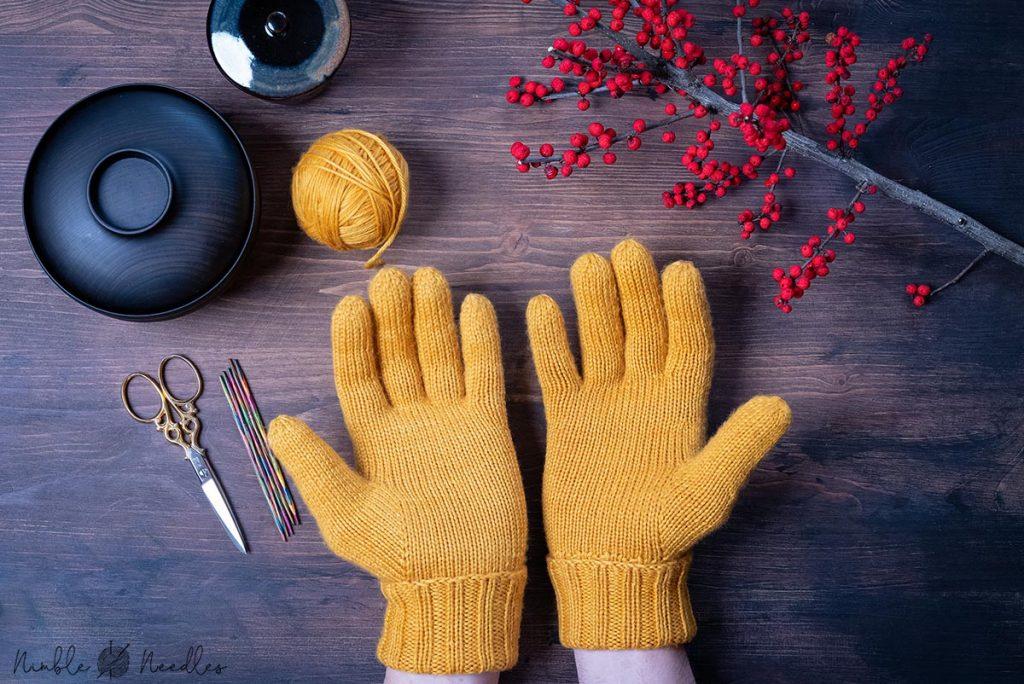
- One 100 gram skein of yarn. You can use anything from light fingering to DK yarn depending on your preferences. The lighter the yarn, the more elegant your gloves will look. While you can use any kind of fiber, I would pick a sturdy sock yarn if you plan to grasp a lot of things with your gloves (as opposed to just having something to keep you warm on a walk). I am using a DK merino wool yarn by Samelin Dyeworks.
- A set of 5 double-pointed knitting needles matching your yarn weight. Check out my review of the best dpns here. I am using the Knitter’s Pride Karbonz in this tutorial.
- You may also consider getting special glove dpns (10 cm/4 in long). I am using these KnitPro needles here.
- Scissors
- Sharp tapestry needle
- Measuring tape
- Stitch markers
- Scrap yarn, stitch holders, or some thin wire.
- A crochet hook (optional: makes picking up stitches much easier)
Please note that knitting gloves with circular needles is probably not really possible. I’m sure there are knitters out there who finished a single pair using the magic loop technique but I would say that sounds a bit like torture and it’s much easier to overstress seams. If you need some help, here are 10 tips for better results when knitting with double-pointed needles. You can, however, easily knit the body of the gloves (up until the fingers) using circular needles.
Step 1: Figure out your size
If you want to knit a hat, you have it super easy as head sizes are actually remarkably uniform – close to one size fits all. Hands and fingers, on the other hand, show a very wide range of sizes, lengths, and configurations up to a point where I would say no two hands are alike.
So, I personally think that figuring out your own size is much easier and more rewarding than following a glove chart or pattern. Here’s how to do that.
A) Knit a simple swatch
Your first step is knitting a simple swatch. Even if you follow a pattern, you would have to do this to get gauge. So it might sound tedious but there’s just no way around it.
- Cast on enough stitches to create a swatch that is at least 7 cm/3 in wide;
- Knit across in stockinette stitch until your swatch is at least 7 cm/3 in high
- Bind off, then wash & block your swatch.
Here’s a more detailed post on knitting swatches. You may consider doing a proper in the round swatch but as that swatch would be almost as big as your whole cuff, I don’t see how this makes a lot of sense.
B) Measure your swatch
Next, you have to figure out your row and stitch gauge. I recommend measuring the swatch while it’s still pinned to the blocking mat. Make sure that you stretch it out to the point where the fabric looks the way you want it to look in your finished project.
Then use a tape, a ruler, or a special gauge ruler and count how many stitches you need to cover 5 cm/2 in a row (i.e. your stitch gauge), and how many rows you need to cover the same 5 cm/2 in following a column of knit stitches (i.e. your row gauge).
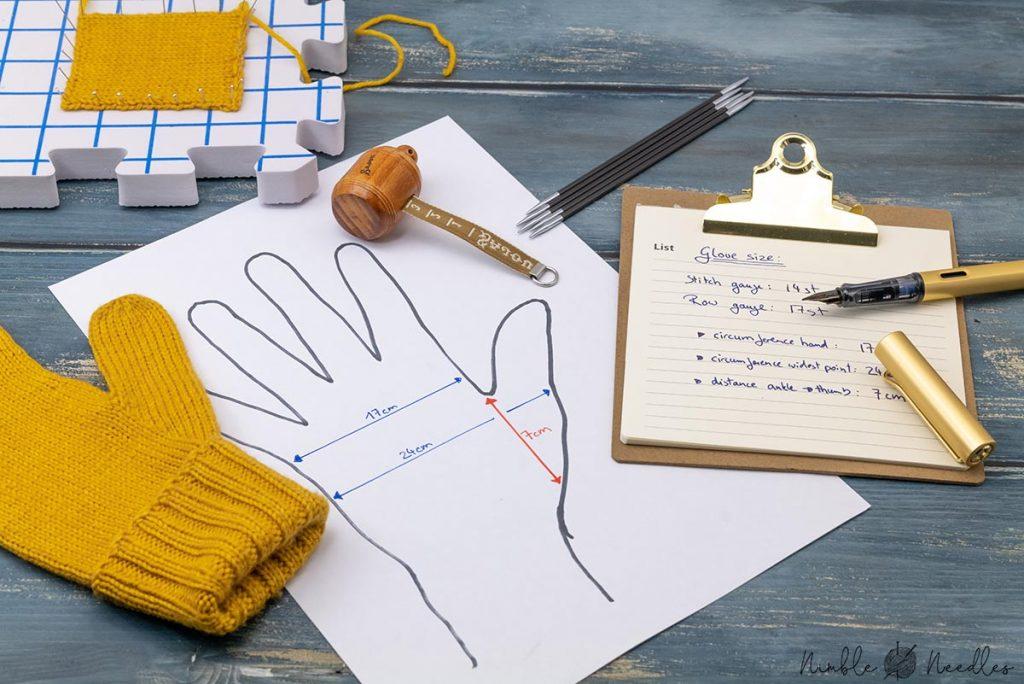
C) Measure your hands
Next, you have to measure your hands. You need the following three numbers:
- Circumference of your hand at the knuckle of your thumb (i.e widest point)
- Distance from your wrist to the crook of your thumb
- Circumference of your hand above the crook of your thumb
Note: If your hands are significantly different in size or shape, you would have to do this for both of them.
D) Calculate your size
Next, you have to do a very simple calculation to find out your cast-on requirements.
- Find out your stitch gauge: Divide the number of stitches you counted by the length you measured. E.g 14 st / 5 cm = 2.8 st/cm
- Find out your row gauge: Divide the number of rows you counted by the length you measured. E.g. 17 st / 5 cm = 3.4 st/cm
Using these numbers, you can easily calculate the cast-on requirements and your thumb gusset.
Cast-on = circumference of your hand above the crook of your thumb multiplied with your stitch gauge. E.g. 2.8 st/cm * 17 st = 47.8 stitches.Round to the nearest number divisible by 4 stitches.
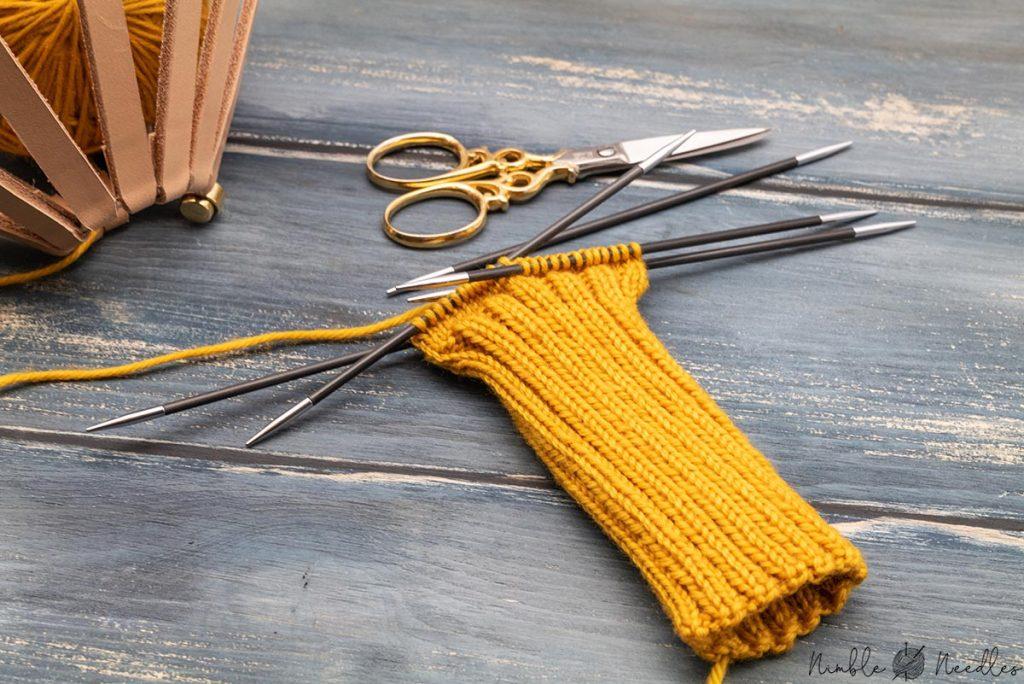
Step 2: Knitting the cuff of the glove
Once you are finished with the preparations, you can start knitting your gloves. Typically, your wrists and forearms are much thinner than your hands but the latter obviously need to fit through the cuff without too much squeezing. That’s why I recommend using a stretchy pattern for the cuff with lots of negative ease. A 2×2 rib stitch is perfect.
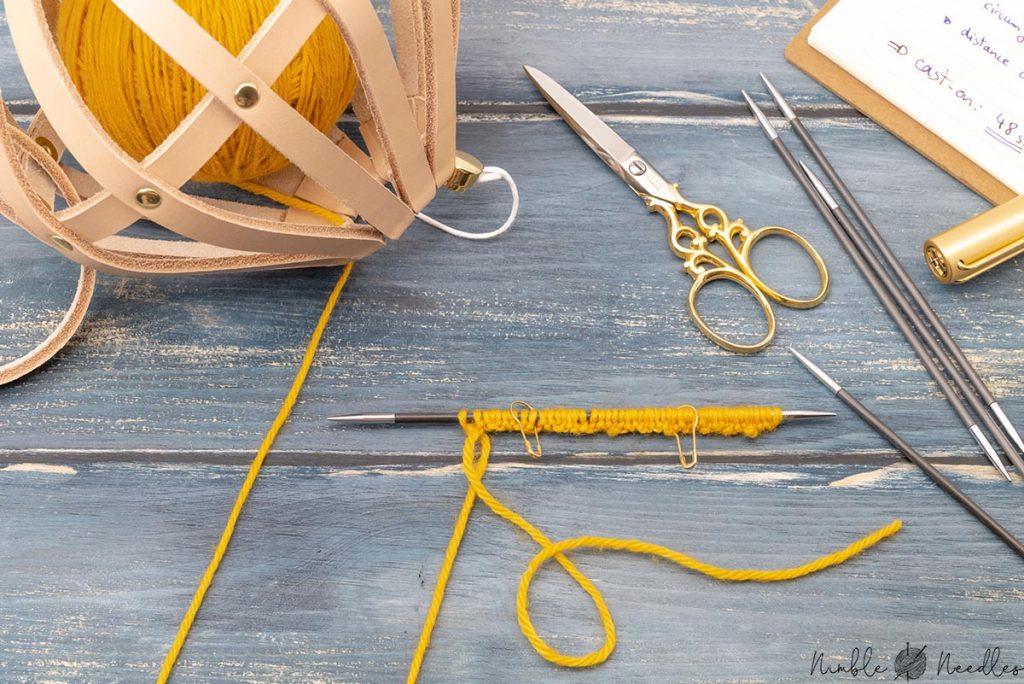
- Cast on the required number of stitches using a stretchy cast-on of your choice. I alternate a German twisted cast-on with a longtail purl cast-on (always two stitches of each) but some may prefer a tubular cast-on.
- Round 1: *k2, p2*
- Round 2: *k2, p2*
- Continue in the 2×2 rib stitch for at least 5 cm/2 in. If you want a folded cuff for an extra snugg fit, knit for at least 12 cm / 5 in.
Tip: You may consider using one needle size smaller for the cuff – especially if you have rather slim forearms. As I prefer to knit gloves with a very tight gauge anyway, I don’t see it is needed. Also, up until the start of the pinky finger (see below), it doesn’t matter if you knit with double-pointed needles or circular.
You may knit a longer cuff. Do keep in mind that the maximum distance you can cover without increases is determined by your cast-on. So, when the circumference of your forearm exceeds the circumference of the palm of your hands, that’s where you need to stop (or start with more stitches and gradually decrease towards the wrists).
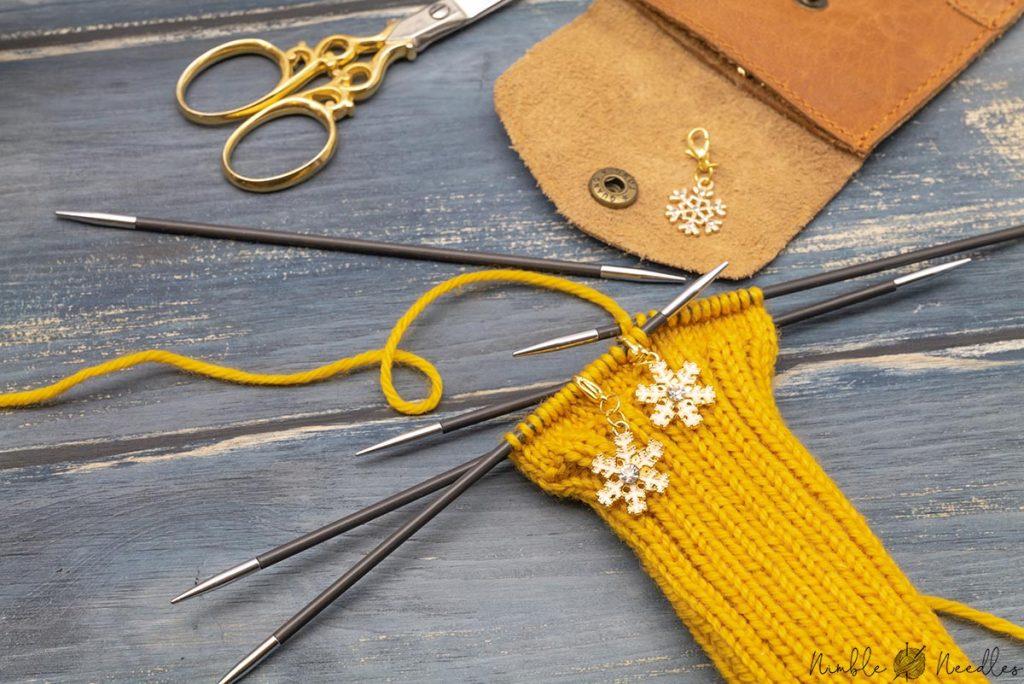
Important: Once you finished knitting the cuff, I recommend trying things on for the first time. So slip your stitches to a spare bit of scrap yarn or circular needles and try your gloves in the making on and see if things feel about right and you can fit your hands through. The cuff will always be a bit loose but it shouldn’t be too tight or too loose either.
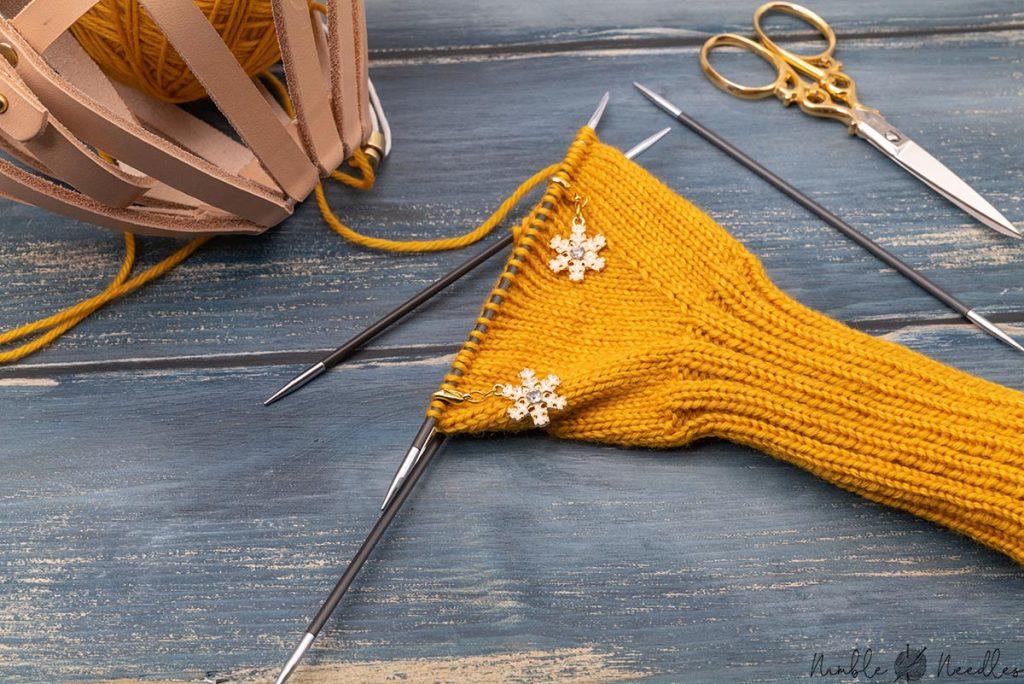
Step 3: Thumb Gusset
Read more : How Often Wash Gym Gloves
Once you are satisfied with the length of your cuff, it’s time to start knitting the thumb gusset. You need to do some more calculations to find out how many stitches you need to increase.
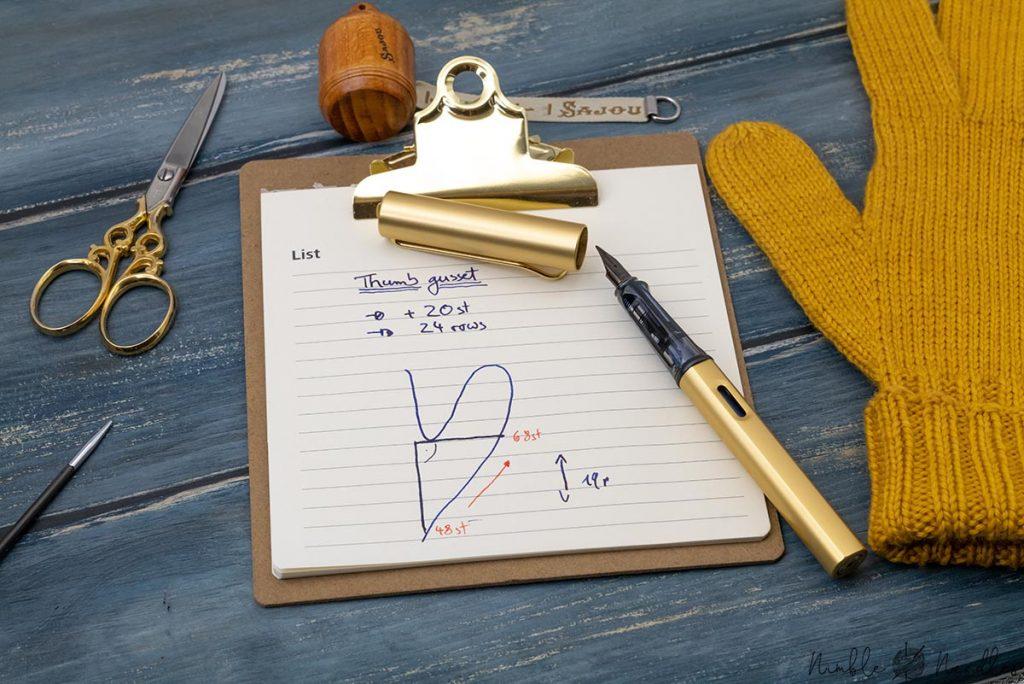
Thumb gusset = Multiply the circumference of your hand at the knuckle of your thumb with your stitch gauge. E.g. 2.8 st/cm * 24 st = 67.2 st.
Round that number up to the next number divisible by 2 and you know how many stitches you need to have on your needles when you reach the crook of your thumb.
Gusset increases:
You will also have to calculate how to distribute the increases. So, starting from your wrist, your glove needs to get wider to accommodate the thumb but you only have a small distance to squeeze in the increases.
- Multiply your row gauge with the distance from your wrist to the crook of your thumb. E.g. 7 cm * 3.4 rows/cm = 23.8 rows
- Substract the thumb gusset stitches from your cast-on. E.g. 68 st – 48 st = 20 st
And the rest is simple. You have 24 rows to increase by 20 stitches. Now you simply have to distribute the increases evenly. E.g. increase by two stitches every two rows with two buffer rows before and after the increase.Tip: You may use graph paper to figure this out as well.
Before you start, divide your stitches evenly to all four needles. Attach a stitch marker to the beginning of your round.
- Round 1 +2: knit across in stockinette stitch.
- Round 3: k2/3/4*, place a stitch marker, KLL, k1, KRL, place a stitch marker, knit across the rest of the round (you may use any other left- and right leaning increase of your choice instead).*dk/fingering/light fingering
- Round 3: knit across.
- Round 4: k2/3/4, slip marker, KLL, knit until you reach the second marker, remove the marker, KRL, place the stitch marker anew, knit across the rest of the round.
- Round 5: knit across.
- Round 6 – x: continue increasing evenly in that manner and according to your thumb gusset calculations.
Instructions for the Left hand:
Most people have a different left- and right hand. So, you do need to place the base of your thumb gusset a bit differently for the left hand like this:
Round 3*: Knit across until you are 3/4/5 stitches before the end of the round, place a stitch marker, KLL, k1, KRL, place a stitch marker, k2/3/4.
From here, continue increasing according to your calculations after and before these two stitch markers.
Important: Do not shuffle stitches around from one needle to another as you knit the thumb gusset or place a stitch marker at the exact middle of your first round (i.e. after the second needle). This will mark the spot where you will start the pinky finger later on. If you shuffle stitches around, your thumb placement won’t work out.
Step 4: Knitting the palm
Remember that you can try your project on at any time. And you should definitely check if your glove in the making reaches the crook of your thumb once you are finished with your thumb gusset. If it doesn’t, knit across until it does. Also, check if the glove fits around your hand without stretching the fabric overly much but without puckering or excess fabric.
Once, satisfied, you can continue the palm like this:
- Preparation: Secure all stitches between the stitch markers using a bit of scrap yarn, stitch holders, a bit of wire, or a spare circular needle. Keep the rest of the stitches on the needles.
- Round 1: Knit across until you come to the gap. Then, turn your project around and use a knitted cast-on purlwise to bridge the gap. Cast on 3 stitches in that manner, and knit across the rest of the round.
- Round 2: Knit across.
- Continue in stockinette stitch until the glove reaches the crook between pinky and ring finger.
Note: Depending on your personal preferences, you may consider casting on more than just three stitches to bridge the gap. In this case, keep the stitch markers before and after the gap. Then decrease with SKK after the first marker and K2tog before the second marker in every second or third round until there are only three stitches left.
This will create a little gusset that may lend your gloves a bit more flexibility in the thumb area but will look a bit less smooth/neat. For people with a very strong ball of the thumb, this can improve the fit. You will have to do the same on the other side, i.e. the thumb. as well.
Step 5: Pinky Finger
From here, you have to start with the pinky finger. Before you can do that, you have to do a quick calculation to figure out how many stitches are reserved for which finger. I use this schema for DK weight yarn:
- Pinky gets 1/4th of the original cast-on stitches
- The ring finger gets 1/4th minus 1
- Middle finger gets 1/4th plus 1
- Index finger gets 1/4th plus 2 more stitches
- In my expample that’s 12/11/13/14 stitches
Important: The correct way to do this, and that’s the path you would have to follow if your hands look significantly different than mine and/or you have more or fewer digits.
- Use a tape to measure the circumference of each finger at it’s base and multiply the number times the your stitch gauge per cm or inch. That’s the number of stitches you need for each finger.
- Measure the width of each finger right at the base. For the outer digits, you have to add the distance to the center of the side of the hand (as you cannot pick up or cast on stitches here) and divide that with the total width of your hands right at the base.
- Use a simple cross-multiplication to distribute the stitches you already have on your needle evenly according to the portion each finger uses up.
- Substract these stitch portions from the numbers you need for each finger. You will have to cast-on/pick up the remainer of the stitches.
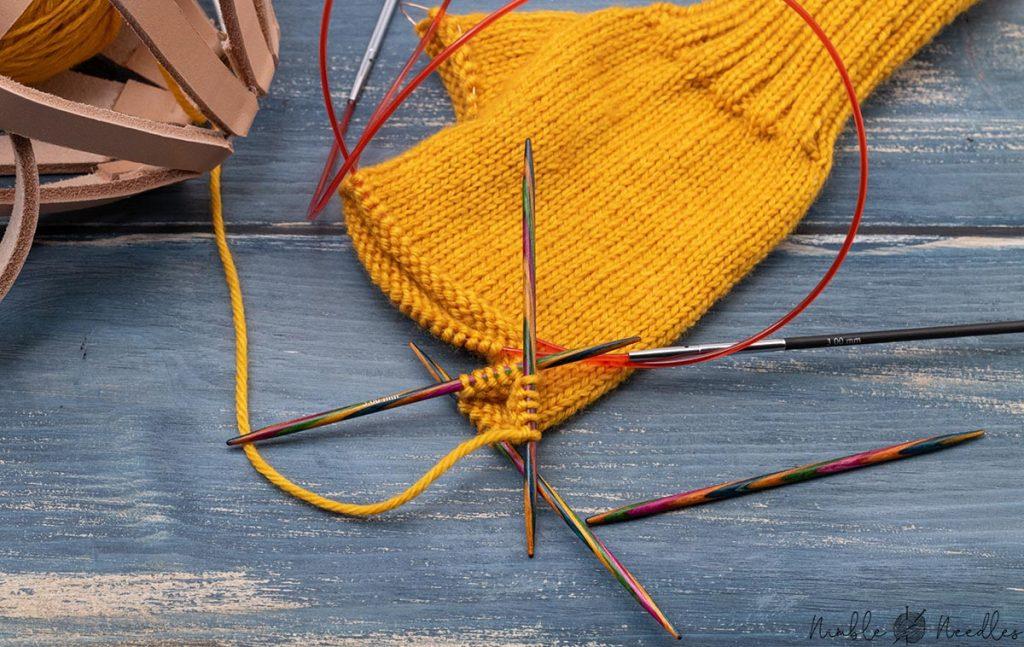
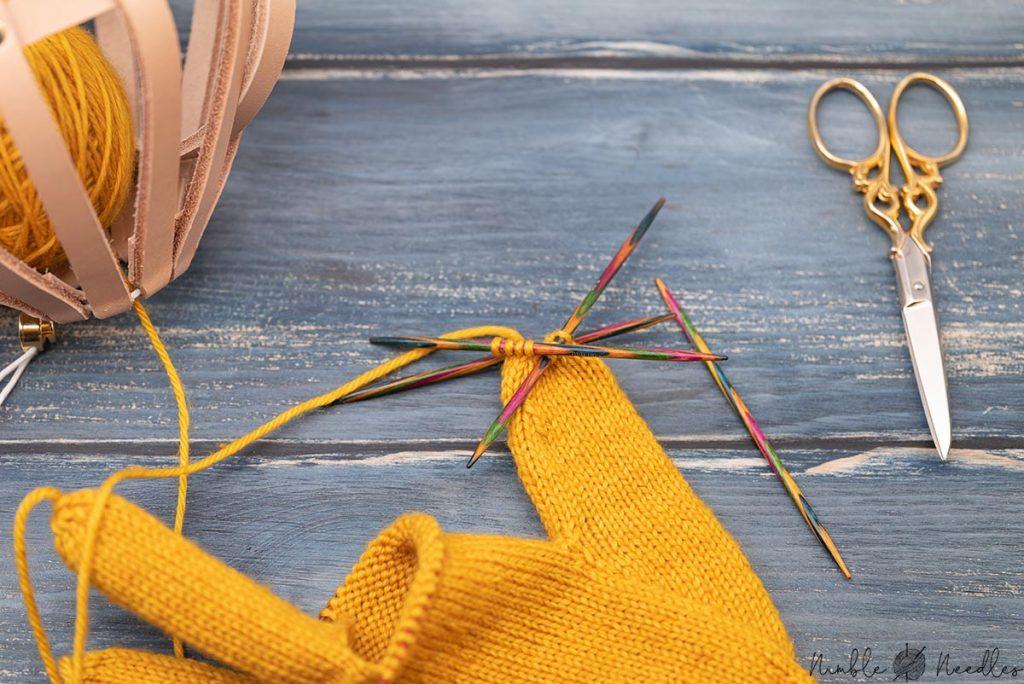
Either way, then you can start knitting the pinky finger:
- Preparation: The end of the second needle should mark the center of your original cast-on. Divide the stitches required for your pinky finger into two equal parts and slip the stitches to either side of the center to two separate needles. If your number is not divisiable by two, the back needle gets one more stitch.Secure the rest of stitches on a piece of scrap yarn, stitch holders, or a bit of wire.
- Round 1: Knit across, start a new needle two stitches before the gap, and bridge the gap by turning the work to the wrong side and casting on 3/4/5* stitches purlwise, the continue knitting across.*dk/fingering/light fingering or whatever your calculations said.
- Round 2: Knit across.
- Continue in stockinette stitch until the fabric almost covers your pinky finger and there’s not much more than two or three milimeters of skin/nail peeking out at the top.
- Decrease round 1: *k2tog* (if you have an uneven number of stitches, only knit the last stitch).
- Decrease round 2: Knit across.
- Finish by breaking the yarn leaving a tail of 24 cm /10 in, thread it on a tapestry needle, and pull the tail through all remaining stitches on your needles. Remove the knitting needle as you go. Pull tight, sew over once, and secure the tail inside/on the wrong side.
Fit adjustments: First of all, I recommend trying the glove/finger on before you weave in. Just catch the stitches, pull tight, and try it on. That way, you can easily re-do the tip if it’s still a bit too tight or too loose. I found that it’s often just one round too much can feel too roomy and one round too less a bit tight. So, don’t hesitate to redo the section.
Also, if you notice that the whole finger needs more room, then you would have to unravel and cast-on more stitches to bridge the gap. This can be needed for people who have a bit thicker fingers. If you are aware of this fact you might want to cast on 5/7 stitches instead right from the start.
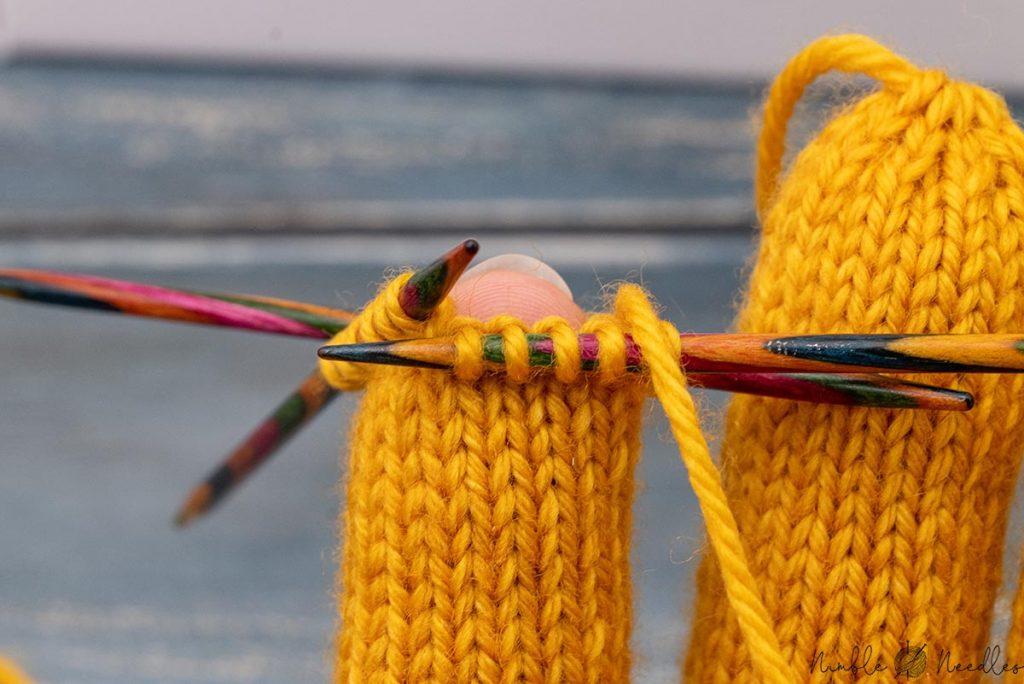
Step 6: Other fingers
Next, you have to start knitting the other fingers of the gloves. I personally prefer to start with the thumb as it prevents those stitches along the gusset from wearing out too much from frequently trying things on. Still, in keeping with the gloves knitting tradition, you’d have to knit the fingers next. This is how:
Read more : How To Keep Exfoliating Gloves Clean
Preparation: Transfer all stitches for the fingers from the stitch holder back to the knitting needles.
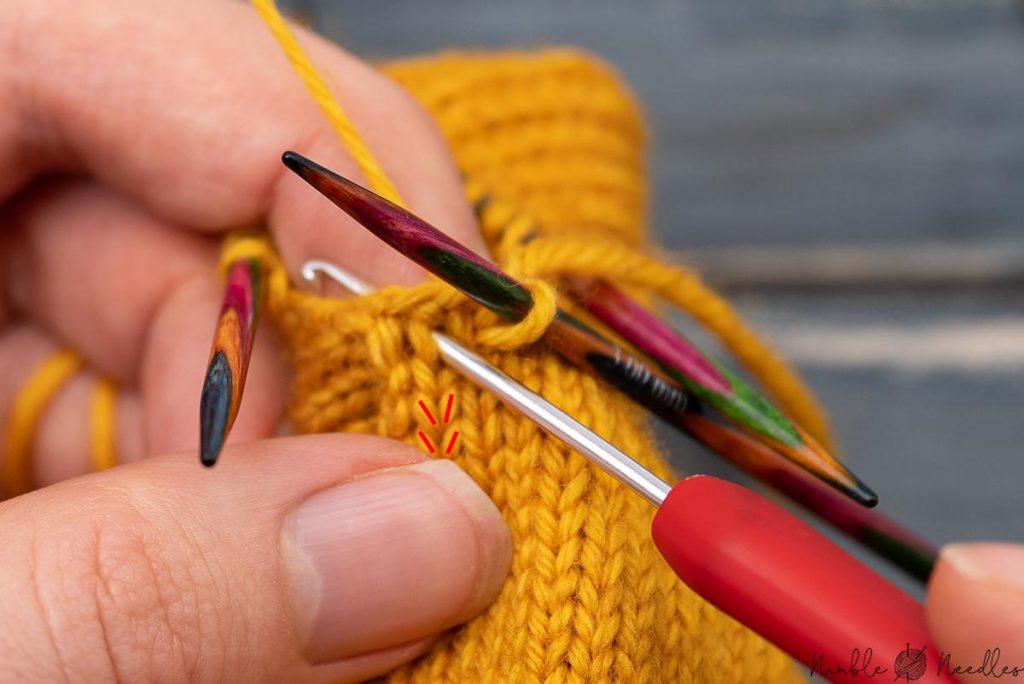
Round 1: Use a crochet hook (or your knitting needles) to pick up one stitch for every stitch knit stitch V on the edge you cast on to bridge the gap. To avoid a gap or a visible transition, I actually recommend starting in the middle. This will be one more stitch than you cast on!Then, pick up one more stitch from the gap. Either through the second knit stitch of the gap or by knitting a KLL into the stitch adjacent to the next full knit stitch on the next needle. Then, and knit across a full round across the whole hand. Last, pick up one more stitch from the gap (I typically do a K1tog LL) and pick up the remaining two stitches from the edge (download the pattern for more pictures or watch the video).
Round 2: Knit across the first set of picked up stitches but decrease the last stitch you picked up from the cast-on edge and the extra stitch you picked up from the gap using a k2tog. Then, continue knitting across until you reach the extra stitch you picked up from the gap on the other side and SSK it with the following stitch.
(Round 3+4): Depending on the configuration of your hand and the yarn you are using, you may have to knit across one or two full rounds. In my experience 3 are needed for fingering and 4 for light fingering yarn. Typically, the crook between pinky and ring finger is a bit lower than the crooks between the rest of your fingers and this is to accommodate this.
Round 3/4/5: Slip the stitches not required for the ring finger back to the scrap yarn/stitch holder/wire. Then knit across and bridge the gap by casting on 3/4/5 stitches with a knitted cast-on purlwise or however many your calculations said.
Continue knitting in stockinette stitch until your knitting almost covers the tip – just like you did for the pinky finger.
Decrease round 1: *k2tog* (if you have an uneven number of stitches, only knit the last stitch).Note: If you are working with more than 24 stitches, I recommend decreasing to 24 stitches one round before by scatting k2tog evenly across the round.
Decrease round 2: Knit across.
Break the yarn, thread the tail on a tapestry needle, and secure the stitches as before.
Middle finger & index finger
The middle and index finger are knit in the exact same way. The only difference is that you don’t need to knit across the full round anymore as typically the rest of the crooks are on the same level.
Round 1: Begin by picking up one stitch for every V of the edge starting in the middle, pick up one more stitch from the gap, knit across, cast on 3/4/5 stitches, knit across, pick up one more stitch from the gap, and then pick up a stitch for each of the remaining Vs.
Round 2: Knit across and decrease the gap stitches with SSK and k2tog on either side.
From here, continue in stockinette stitch as before, start with the decreases once the fabric almost covers the top, and secure the tail as before.
Do the same for the index finger. Obviously, you can’t/don’t have to cast on any extra stitches as there is no gap to bridge.
Step 7: Thumb
The traditional last step of knitting a glove is the thumb. The technique is the exact same as for the fingers, so you won’t face any new problems here.
- Round 1: Start picking up stitches from the middle of the edge, pick up one more stitch from the gap, knit across, pick up one stitch from the gap, and pick up the last stitch from the edge to close the round.
- Round 2: Knit across
- Continue knitting across in stockinette stitch until you reach the joint.
Most thumbs get gradually narrower towards the tips and this will leave a bit of spare fabric that might be a bit annoying when you try to actually use your thumb (like picking something up, etc). To combat that, you can knit a little gusset here like this:
- Preparation: Put your gloves on and identify the middle of your thumb pad. Then place stitch markers 3/4/5 stitches before and after the middle stitch.
- Round 1: Knit across, slip marker, SSK, knit across until 2 stitches before next marker, k2tog, slip marker, finish round.
- Round 2: knit across
- Continue decreasing after and before the marker until there are only 3 stitches between the stitch marker left.
From here, you can continue knitting across in stockinette stitch until the fabric almost covers the tip of your thumb and you can finish the way you did before.
Step 8: Weaving in & Blocking your glove

Last, but certainly not least, you need to finish your gloves. There will be quite a lot of tails on the inside, of your glove and you need to weave them in. I have a full tutorial on weaving in ends here on my blog, so I trust you will read it if you need help or want to see how I do it.
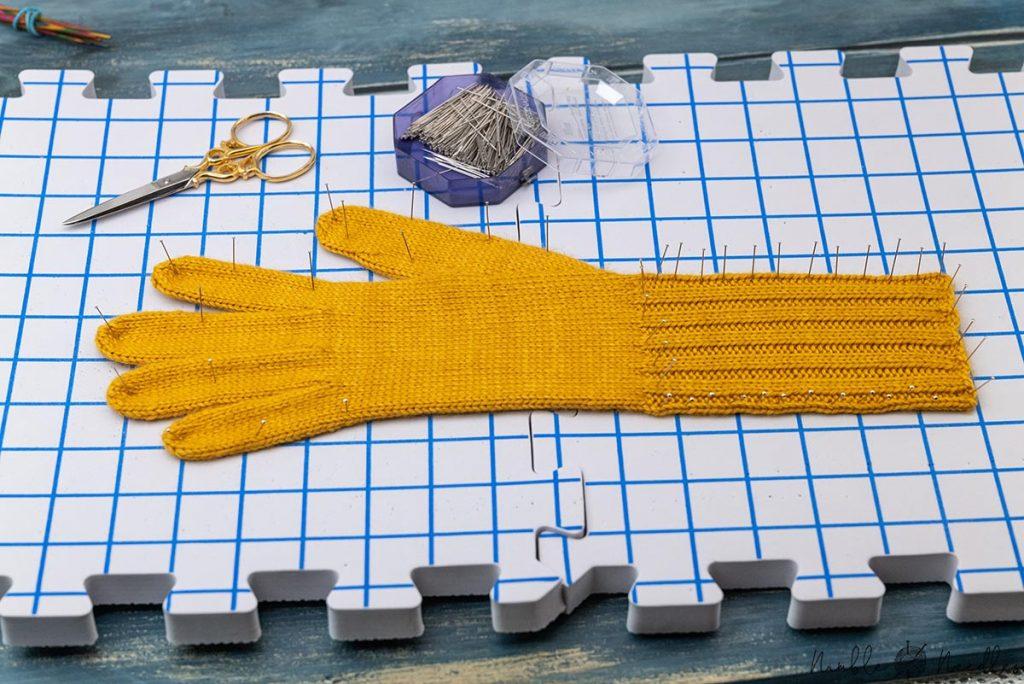
You might also want to block your finished gloves. This will typically improve your overall stitch definition. So, soak them gently in lukewarm water adding a bit of mild soap for about 30 minutes. Then wring them out equally gently between a towel and pin the dry-to-the-touch gloves to a soft surface without overstretching. Let them dry overnight, remove the pins and enjoy your gloves!
Here at the end, I do want to mention one more thing. Knitting gloves takes a lot of experience and patience. Especially around the gaps, you often end up overstretching stitches, and the less experienced you are, the more typically wear out those stitches. You can use a spare needle or a tapestry needle to redistribute the slack carefully.
Still, kindly don’t be too harsh on yourself if your first glove doesn’t look perfect. Take notes, try to identify those areas you can improve, and try to find solutions. You cannot expect everything to be perfect on your first try. But that doesn’t mean you cannot be proud of your achievement or that your gloves will keep you warm. The snowflakes won’t notice a wrong stitch here or there, big promise!
Anyway, that’s how to knit gloves. Comment below in case you need help.
Source: https://t-tees.com
Category: HOW