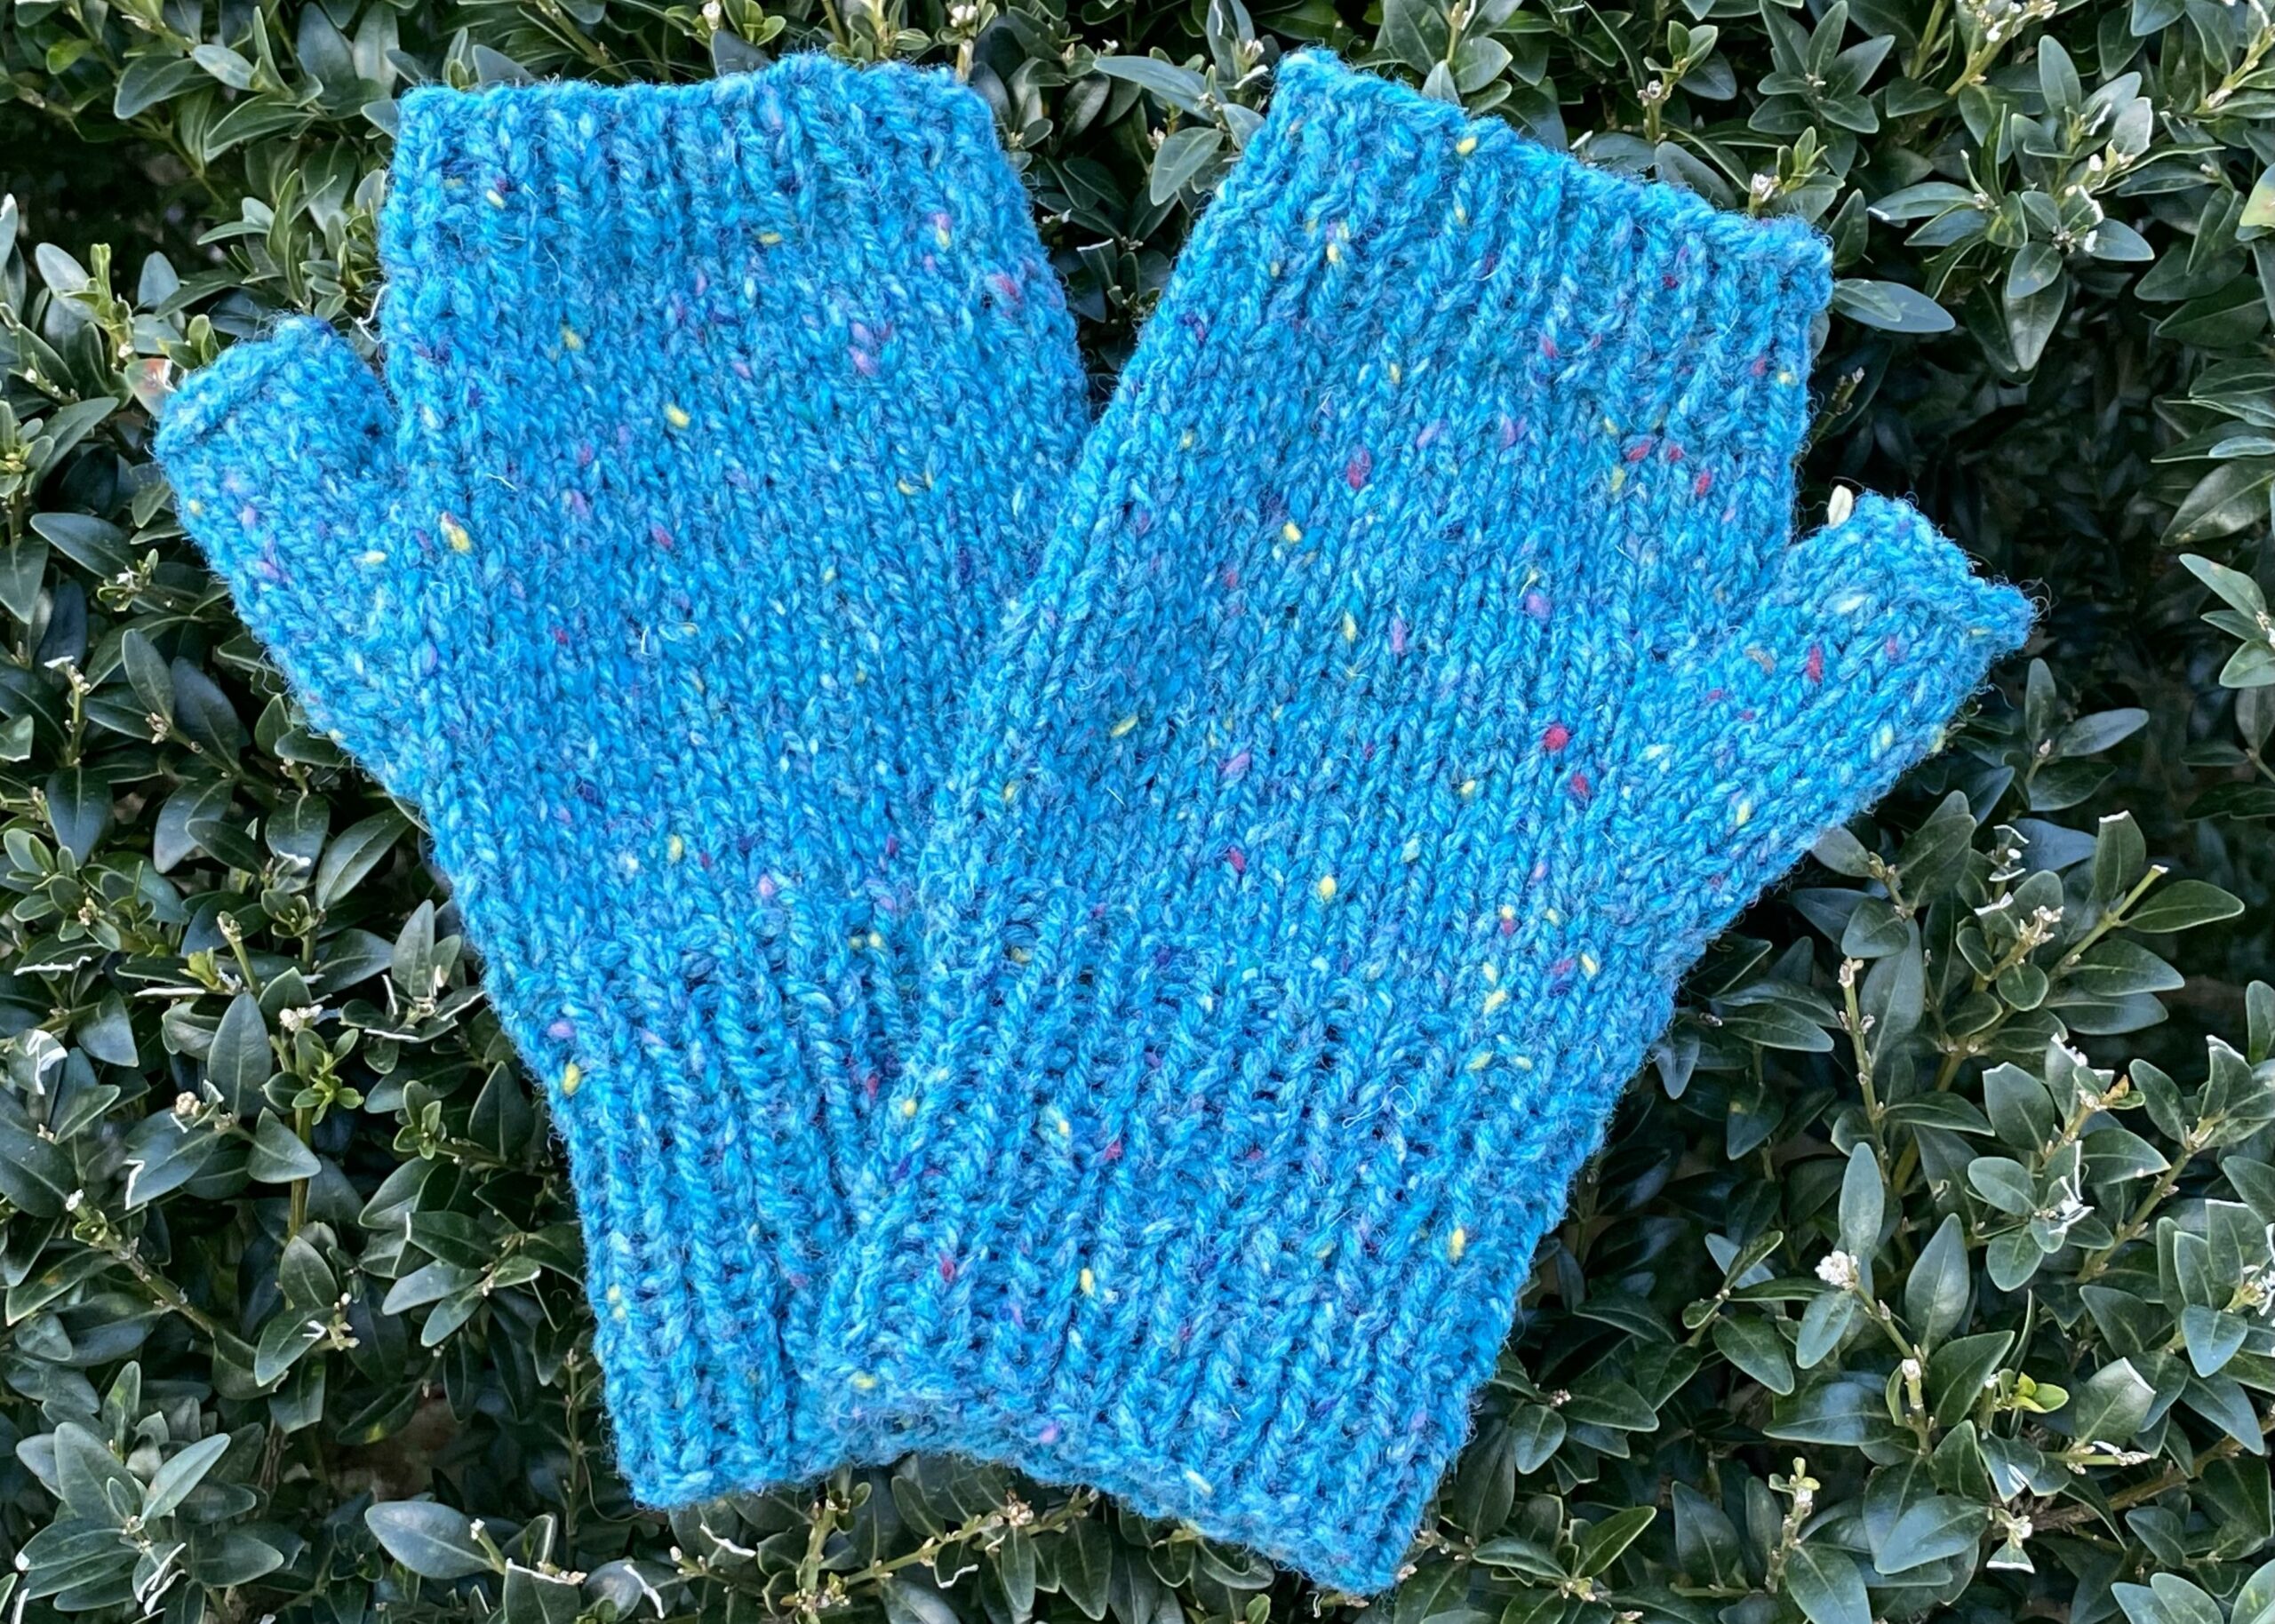
Fingerless mittens are my new favorite mitt to wear in winter. Even now, as I sit outside on the porch writing this post, I am wearing them, tucking my fingers into the wool interior now and then to warm them.
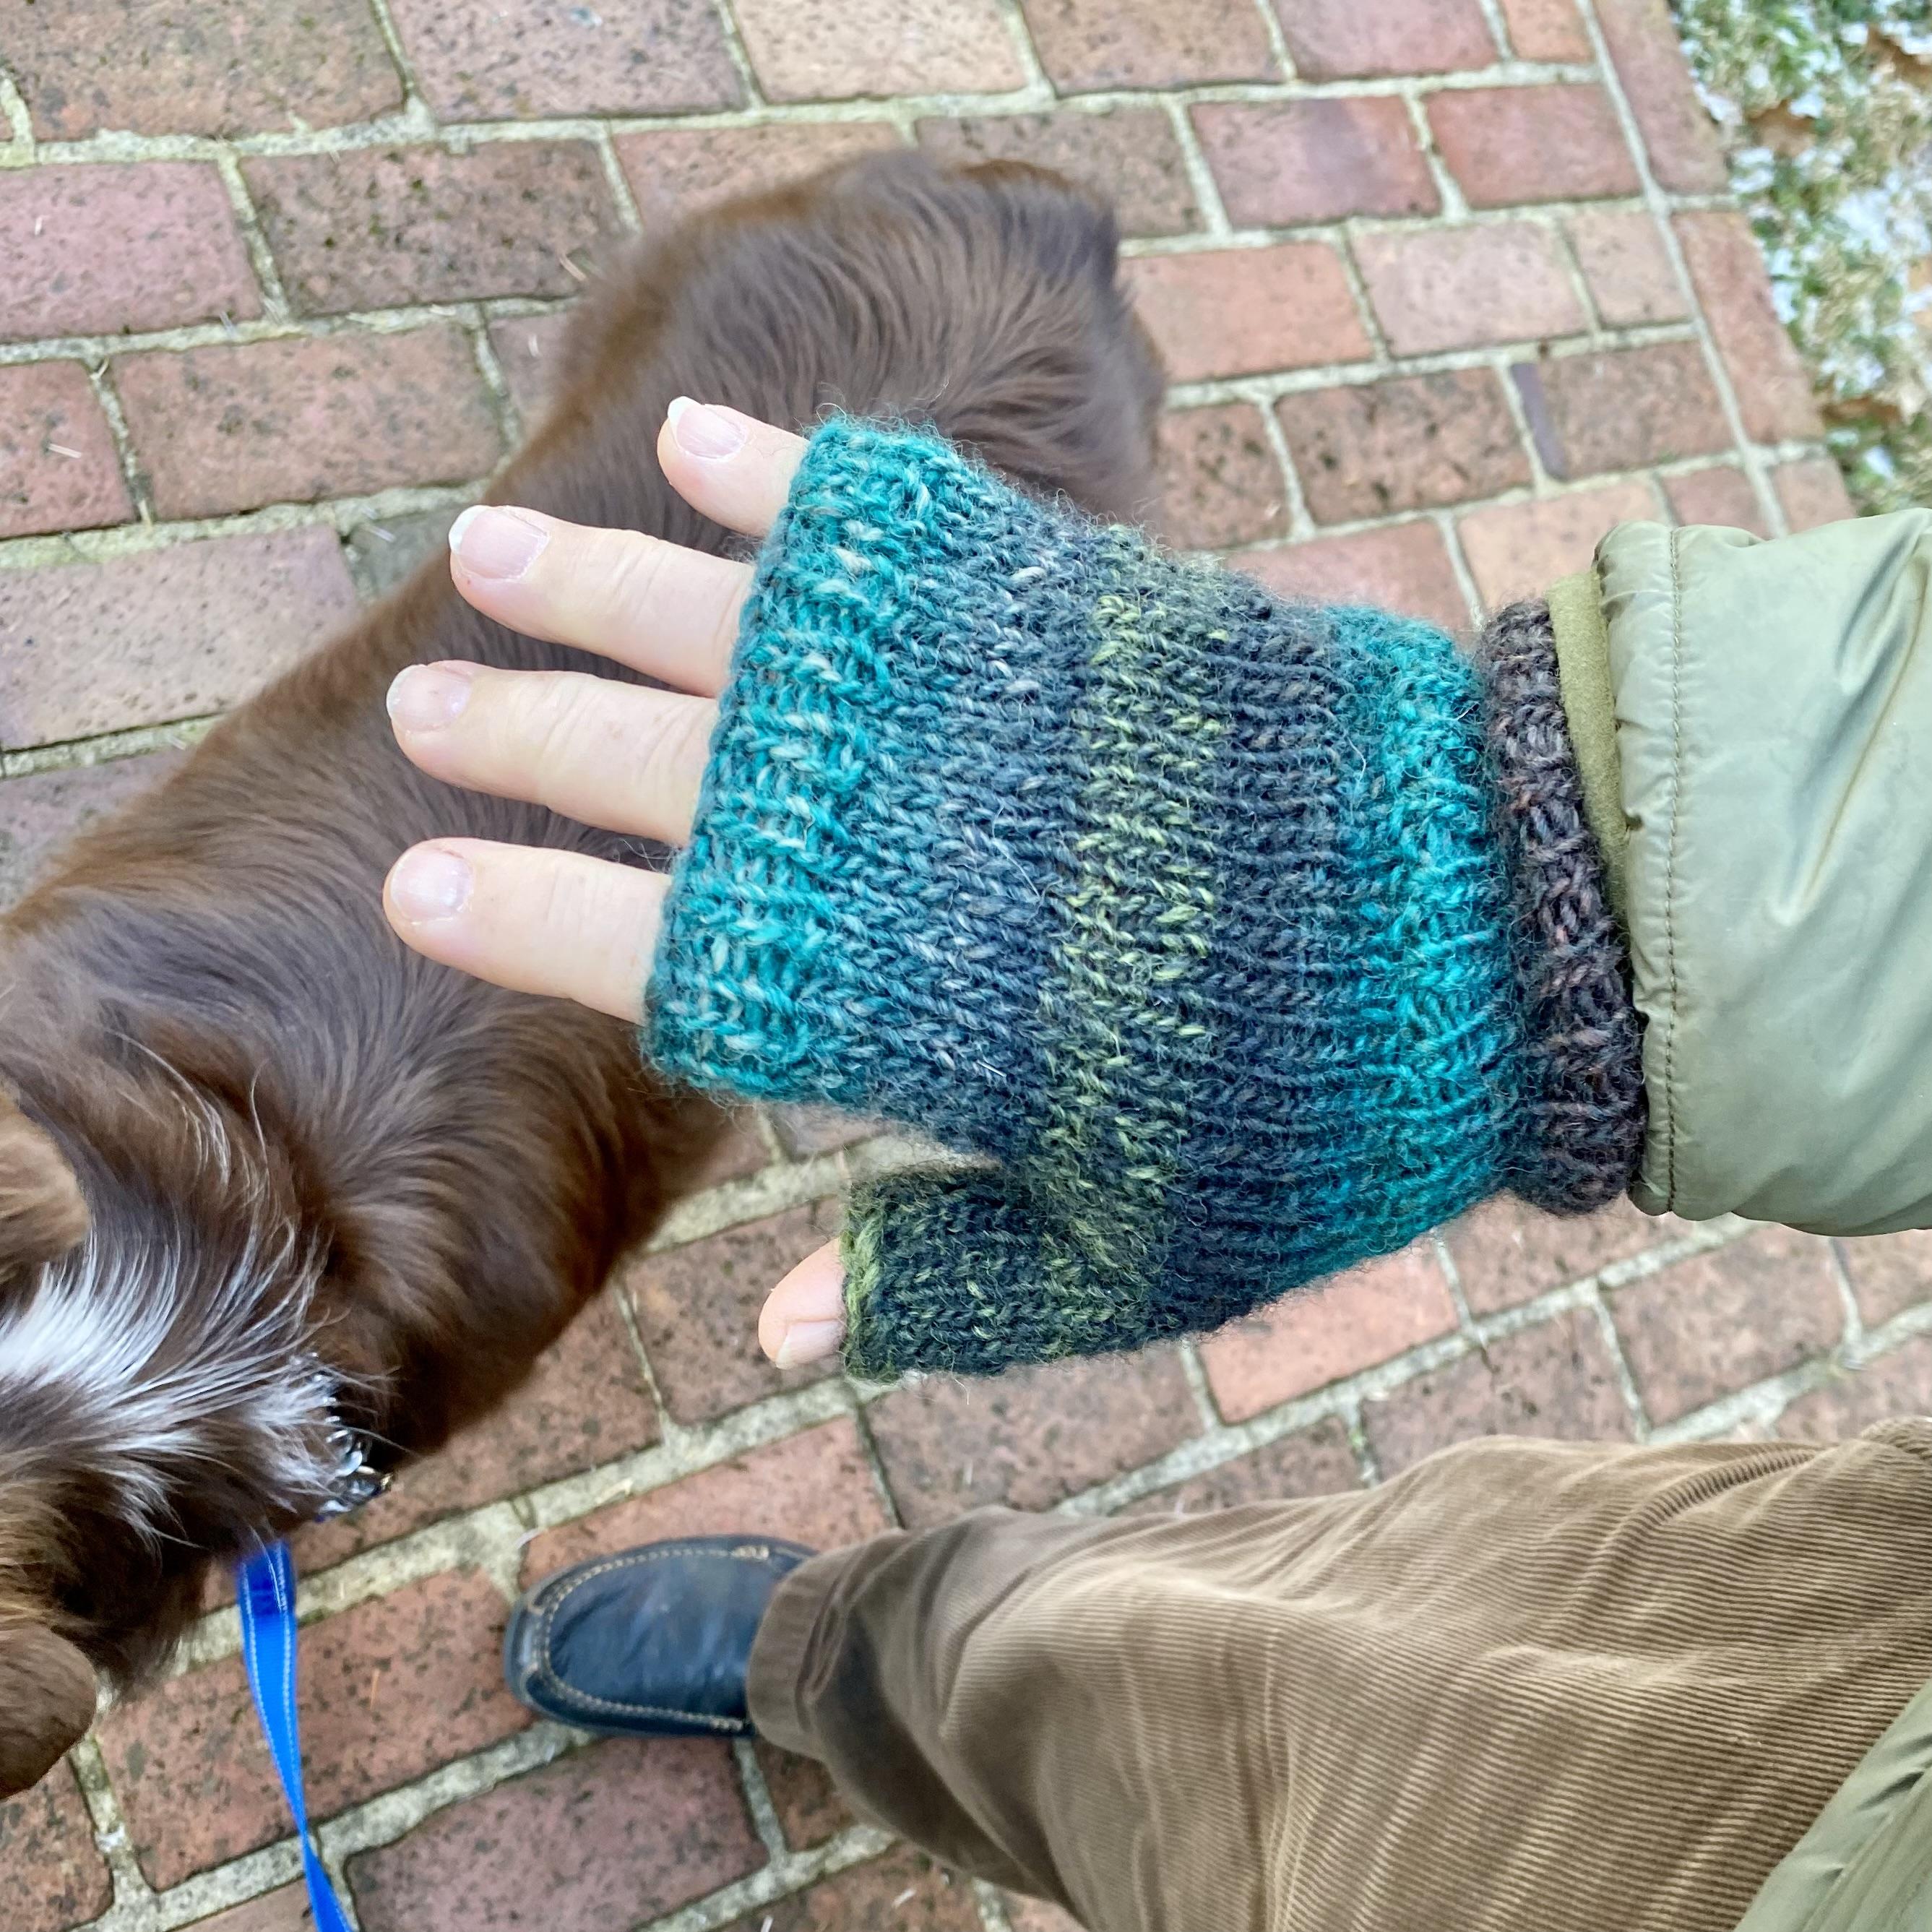
My husband is a convert, as well. He has found he can pet his beloved dog, feed her a treat for minding him, and answer a text while out on our walks, all without taking his mitts off! 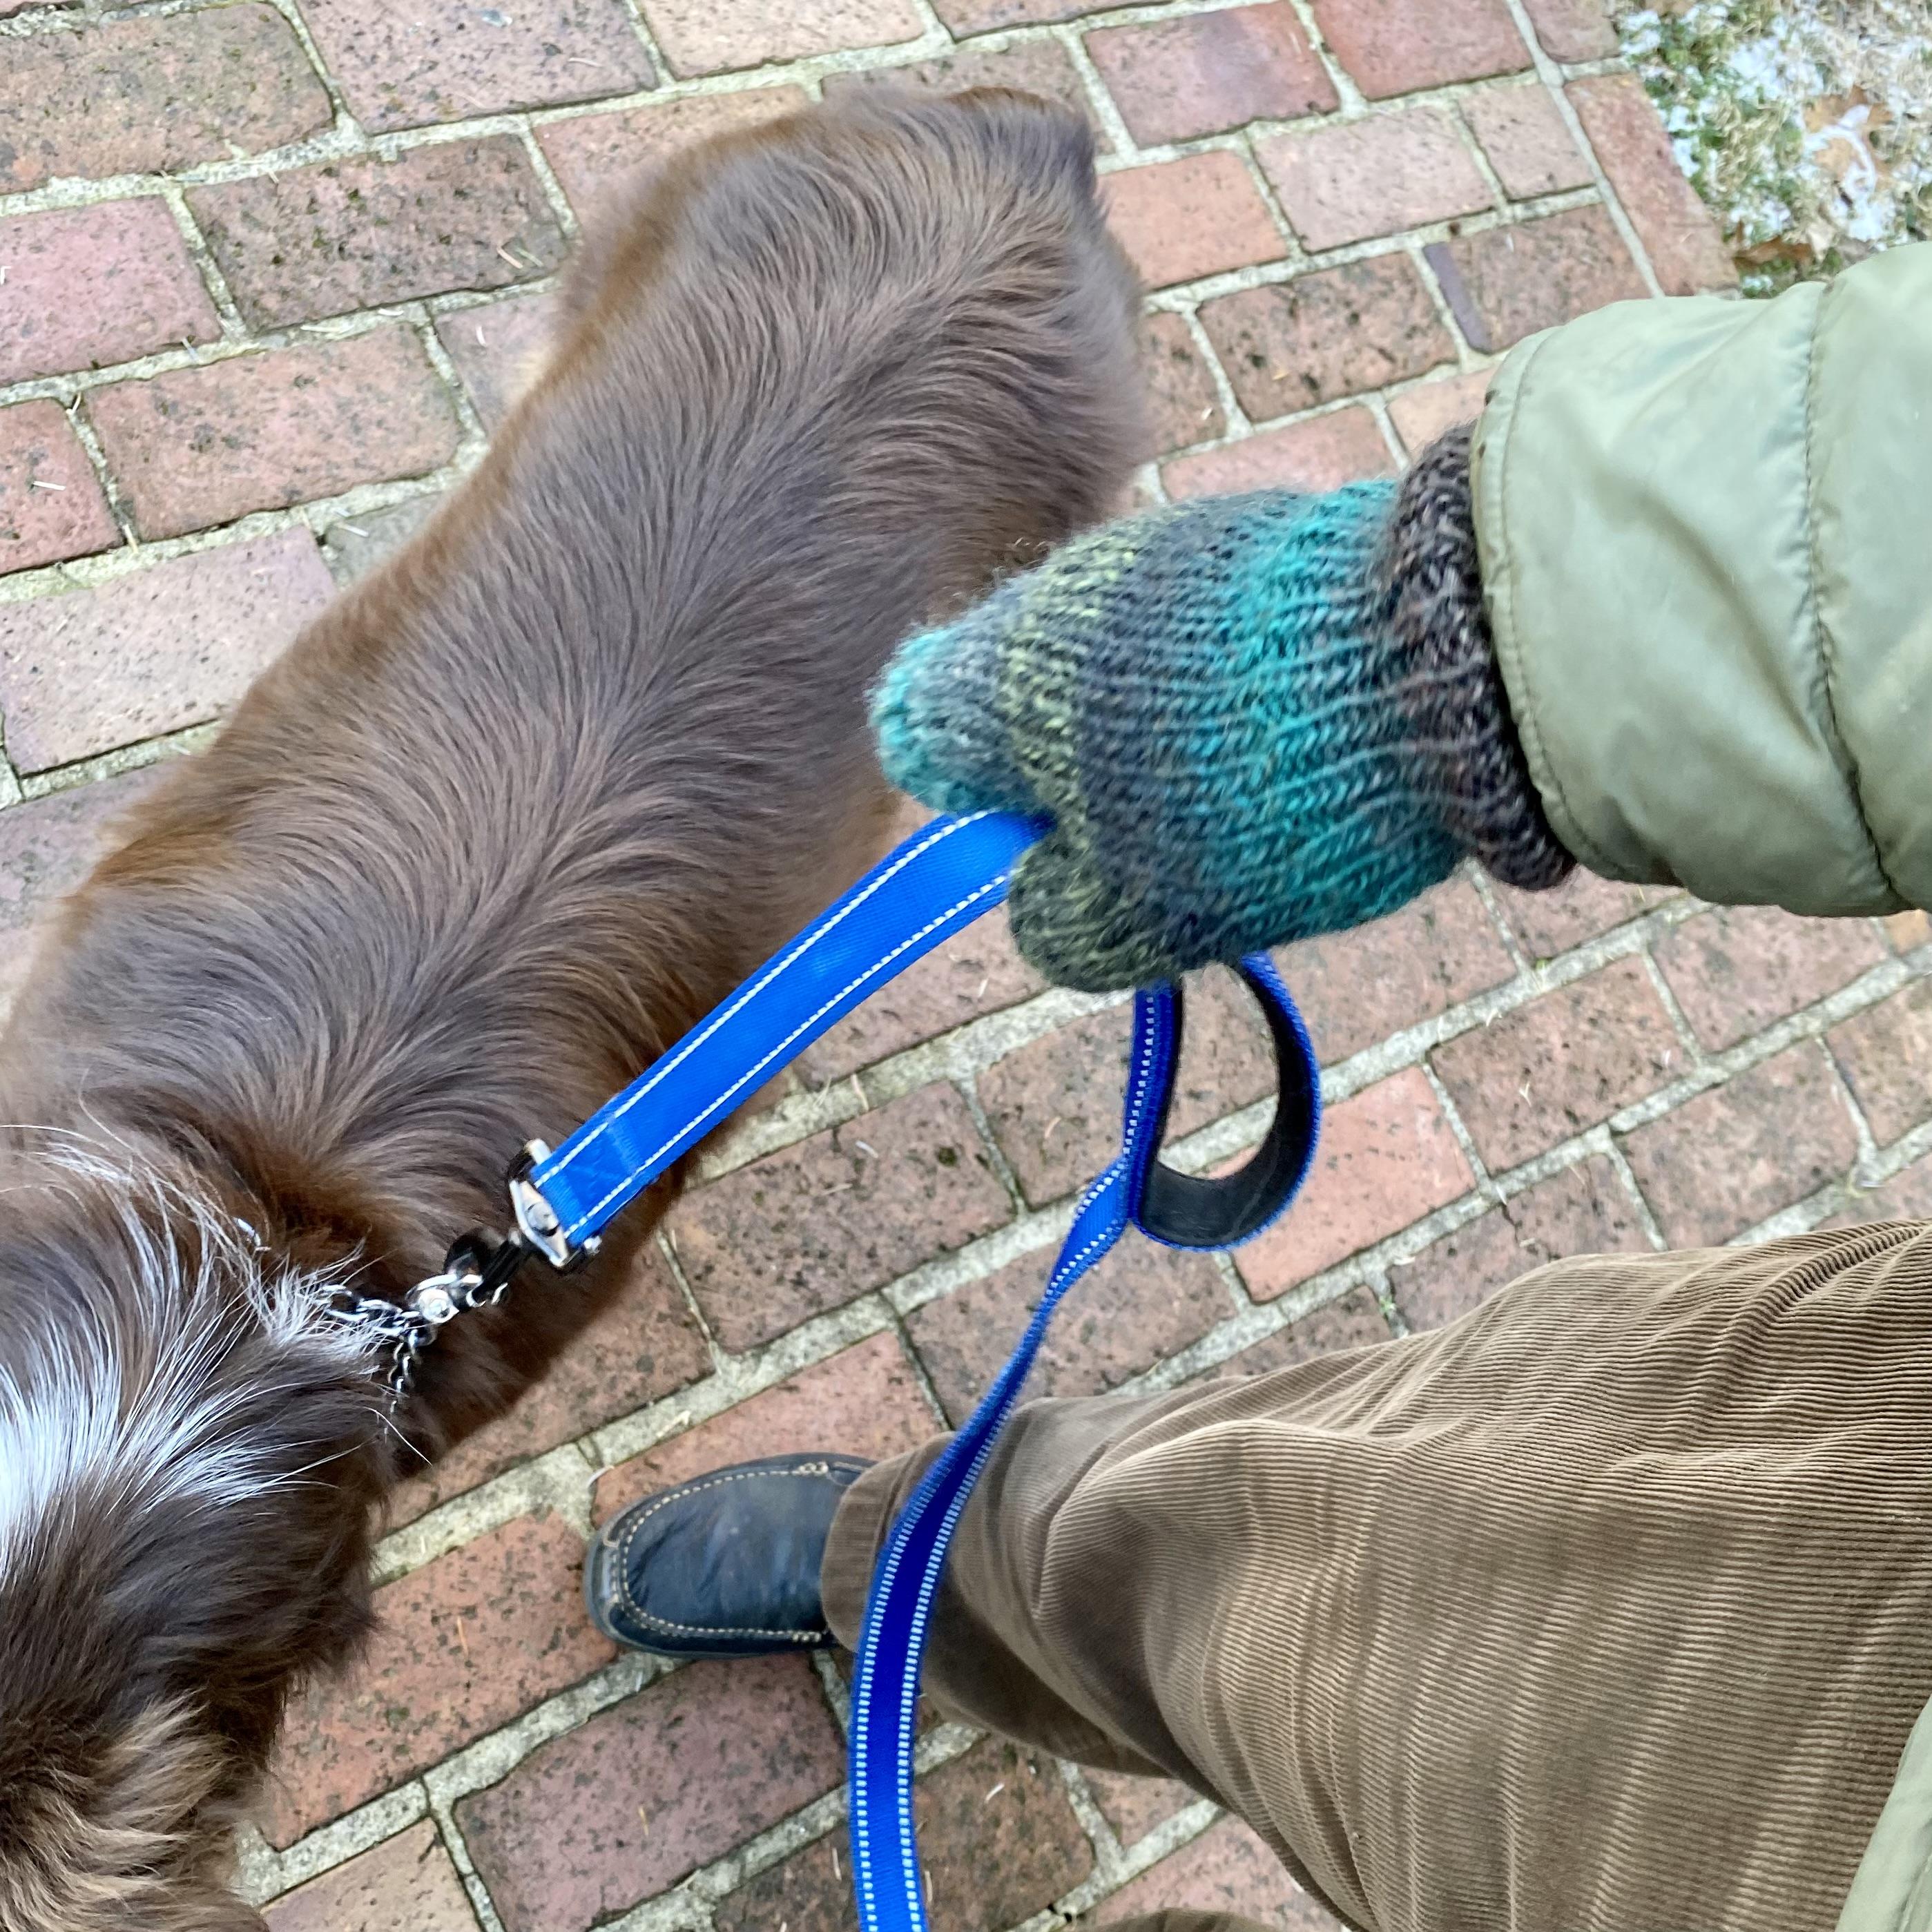
A Knitting Club:
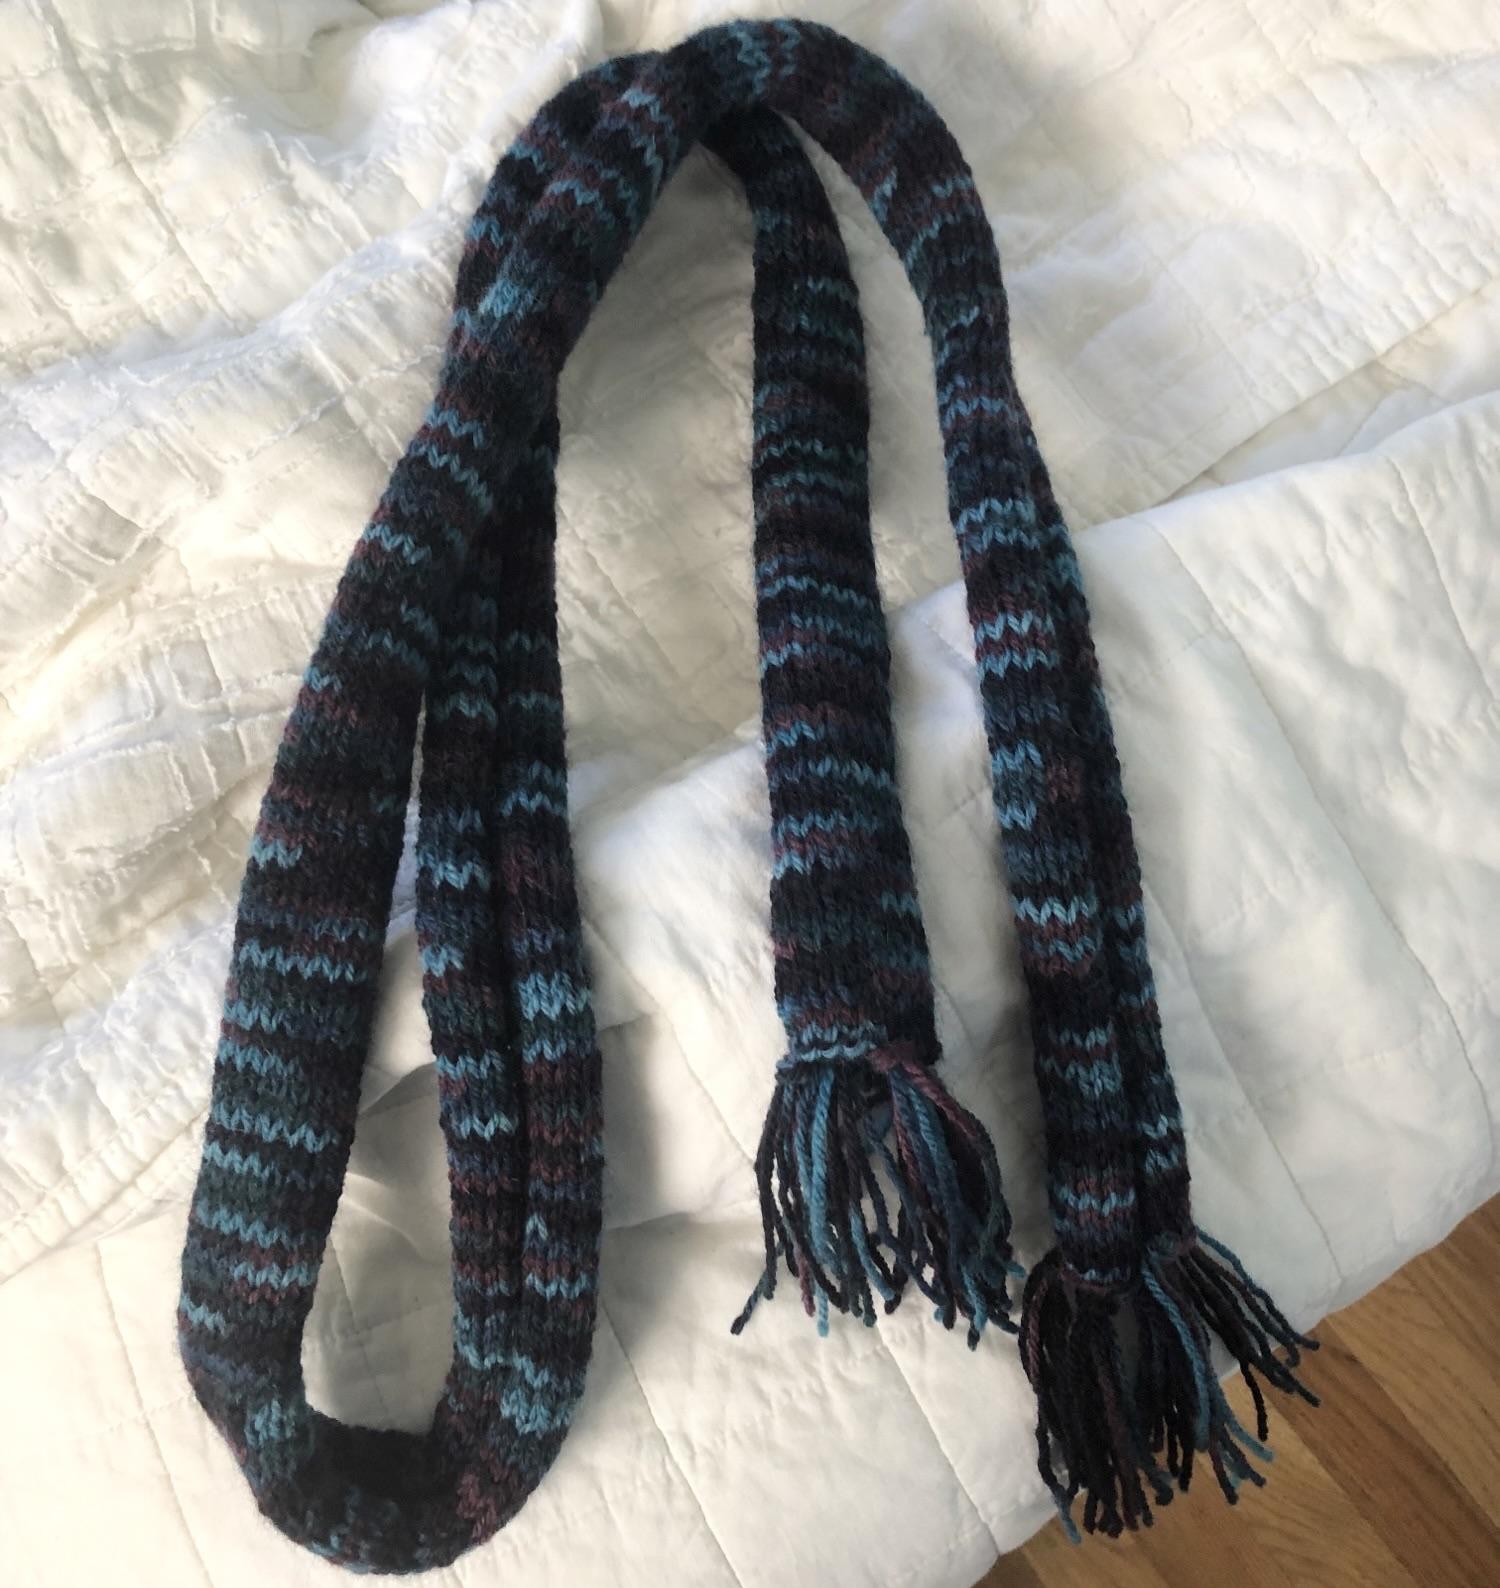
I recently started a knitting club at a local high school. The first stitch I taught the students was the long-tail cast-on. It’s a little more complex than the backward loop cast on, but it gives a neat, elastic edge to your garment; I thought it was worth the extra effort. The students were brilliant and figured it out in no time and then taught their friends. That was lovely; I even heard a few of them say how accomplished they felt. That taught me not to underestimate their eagerness to learn a new skill. Next, they learned to knit and purl. The first garment we worked on was a scarf. I worked out this stitch sampler to introduce them to a few pattern options. 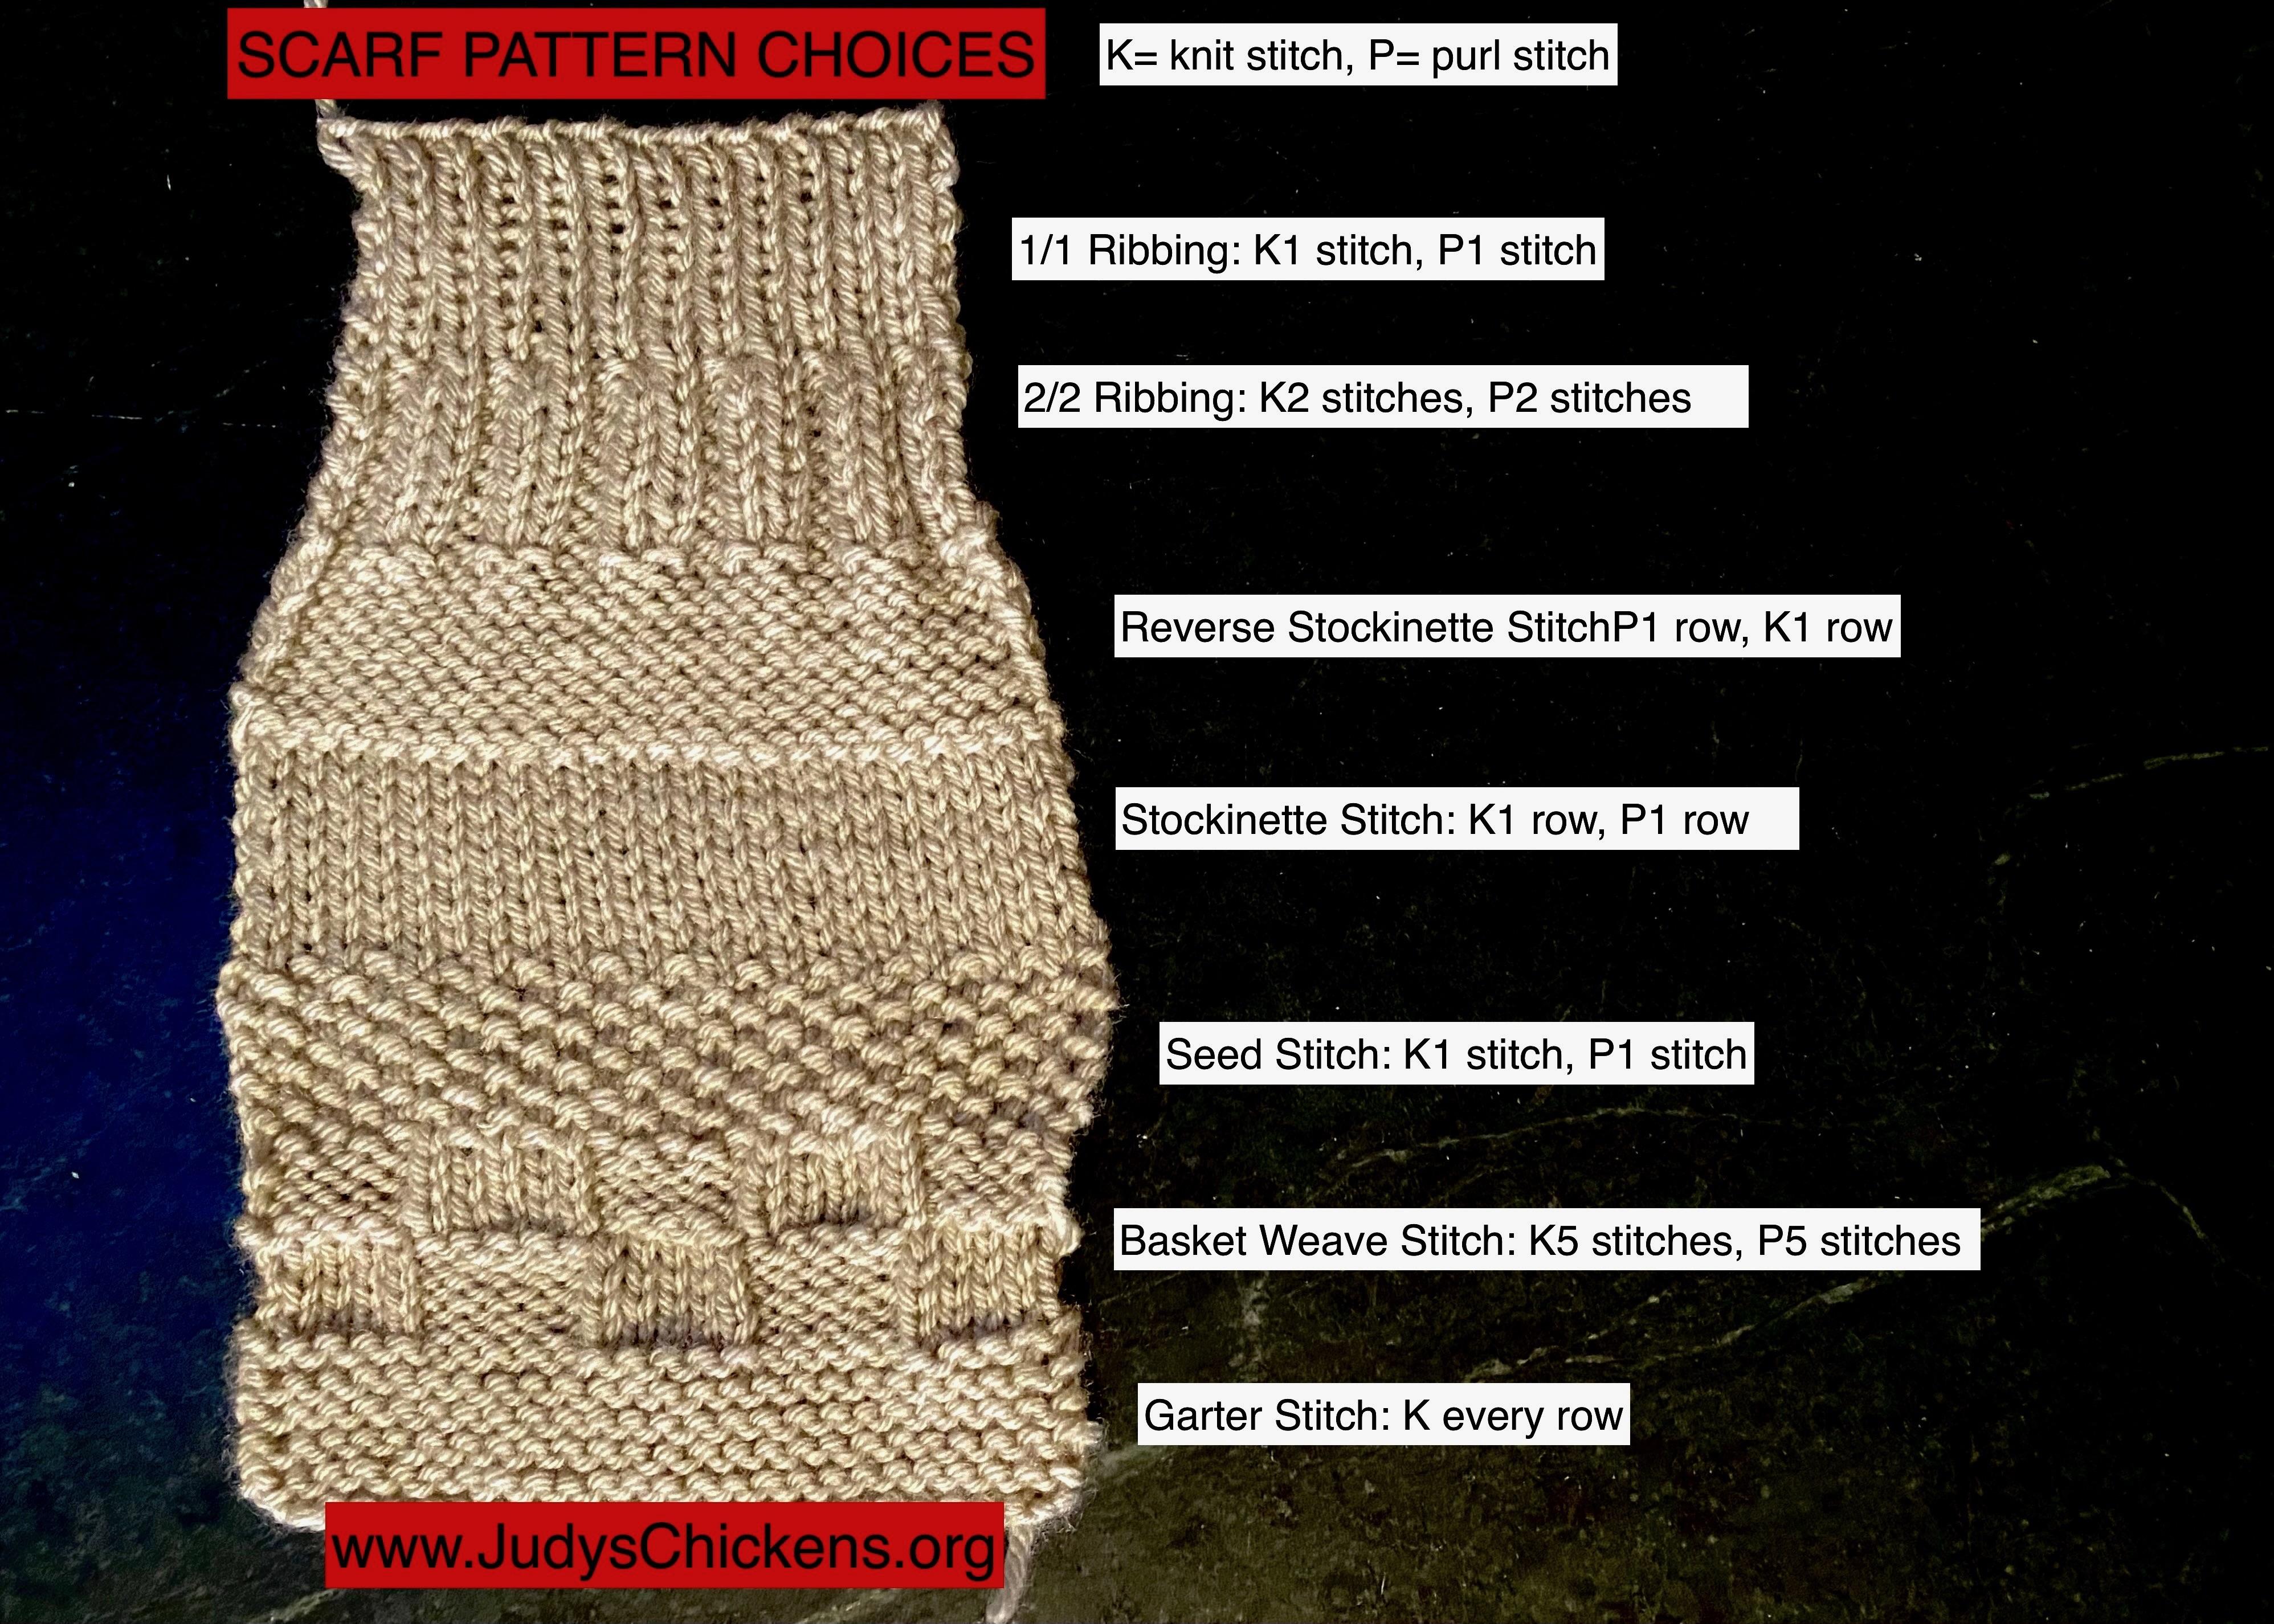
Here’s a photo of one student’s first finished object, a scarf knit in stockinette stitch. I was so happy for her!

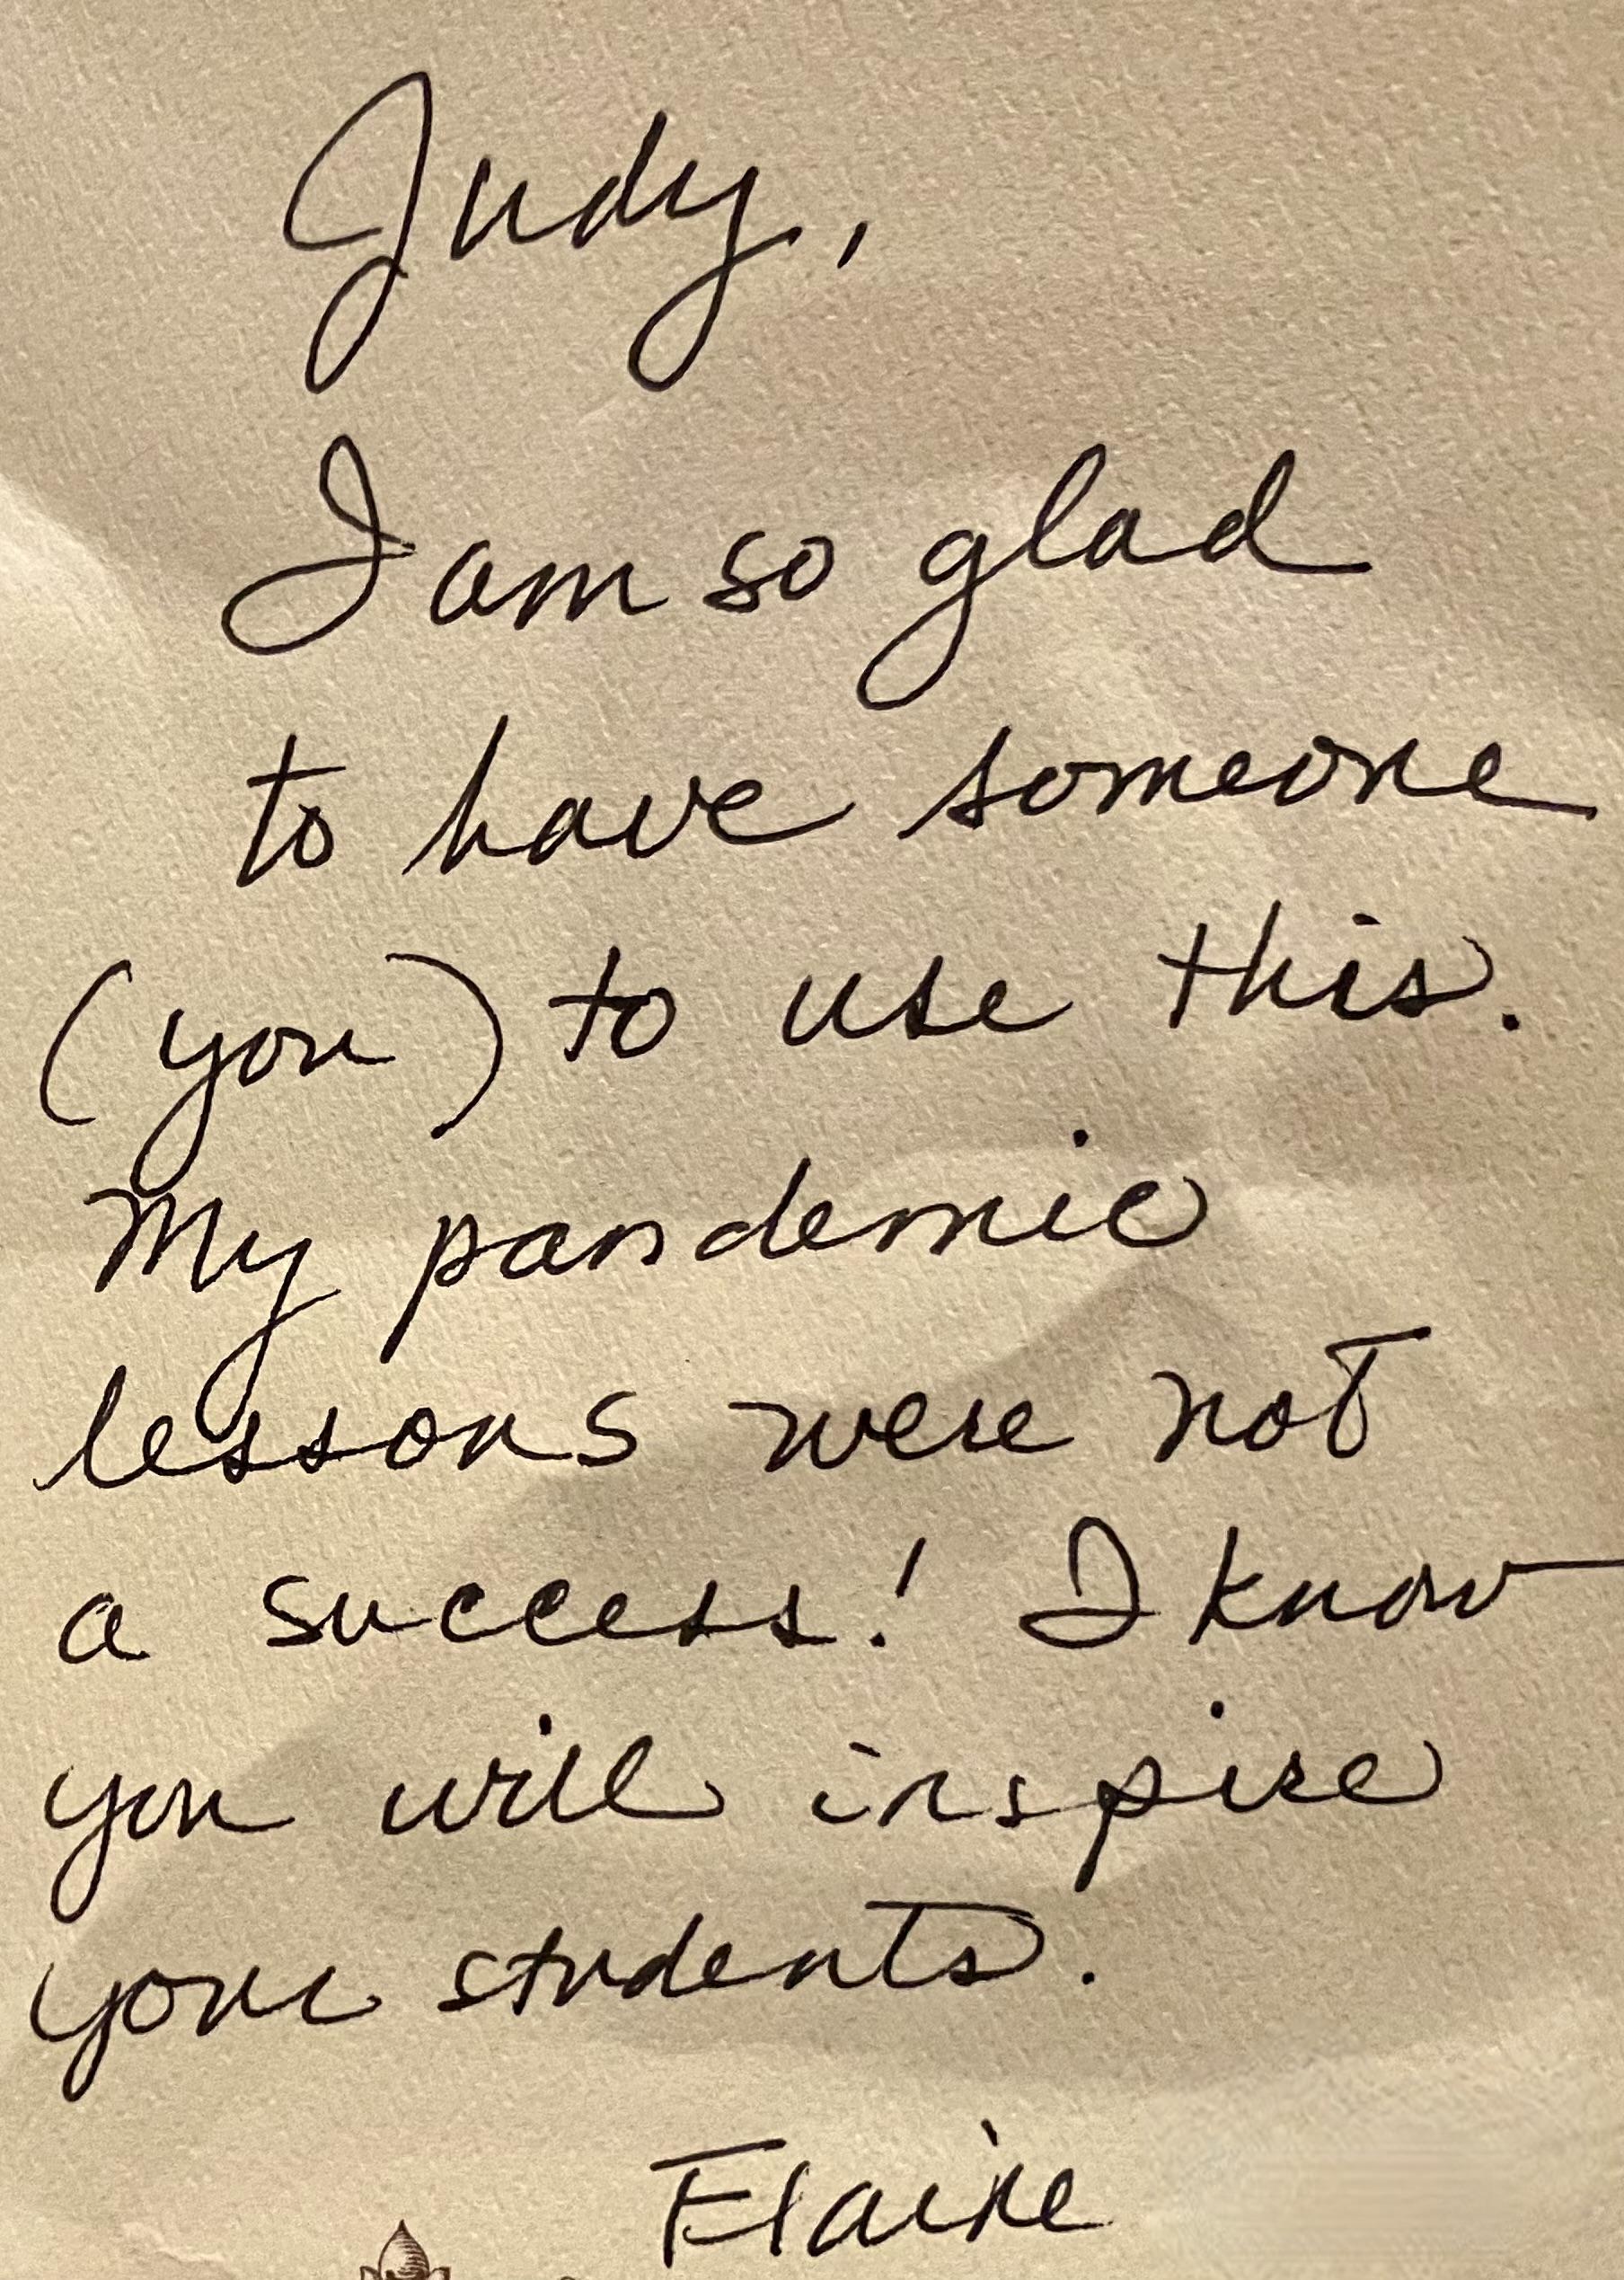
All the needles and yarn for the class were donated by friends and strangers alike. I received many lovely notes with the packages of supplies. I’ve included two. Receiving boxes of supplies in the mail or dropped off on my porch was all part of the fun for me. The knitting community is a generous bunch. I am grateful. 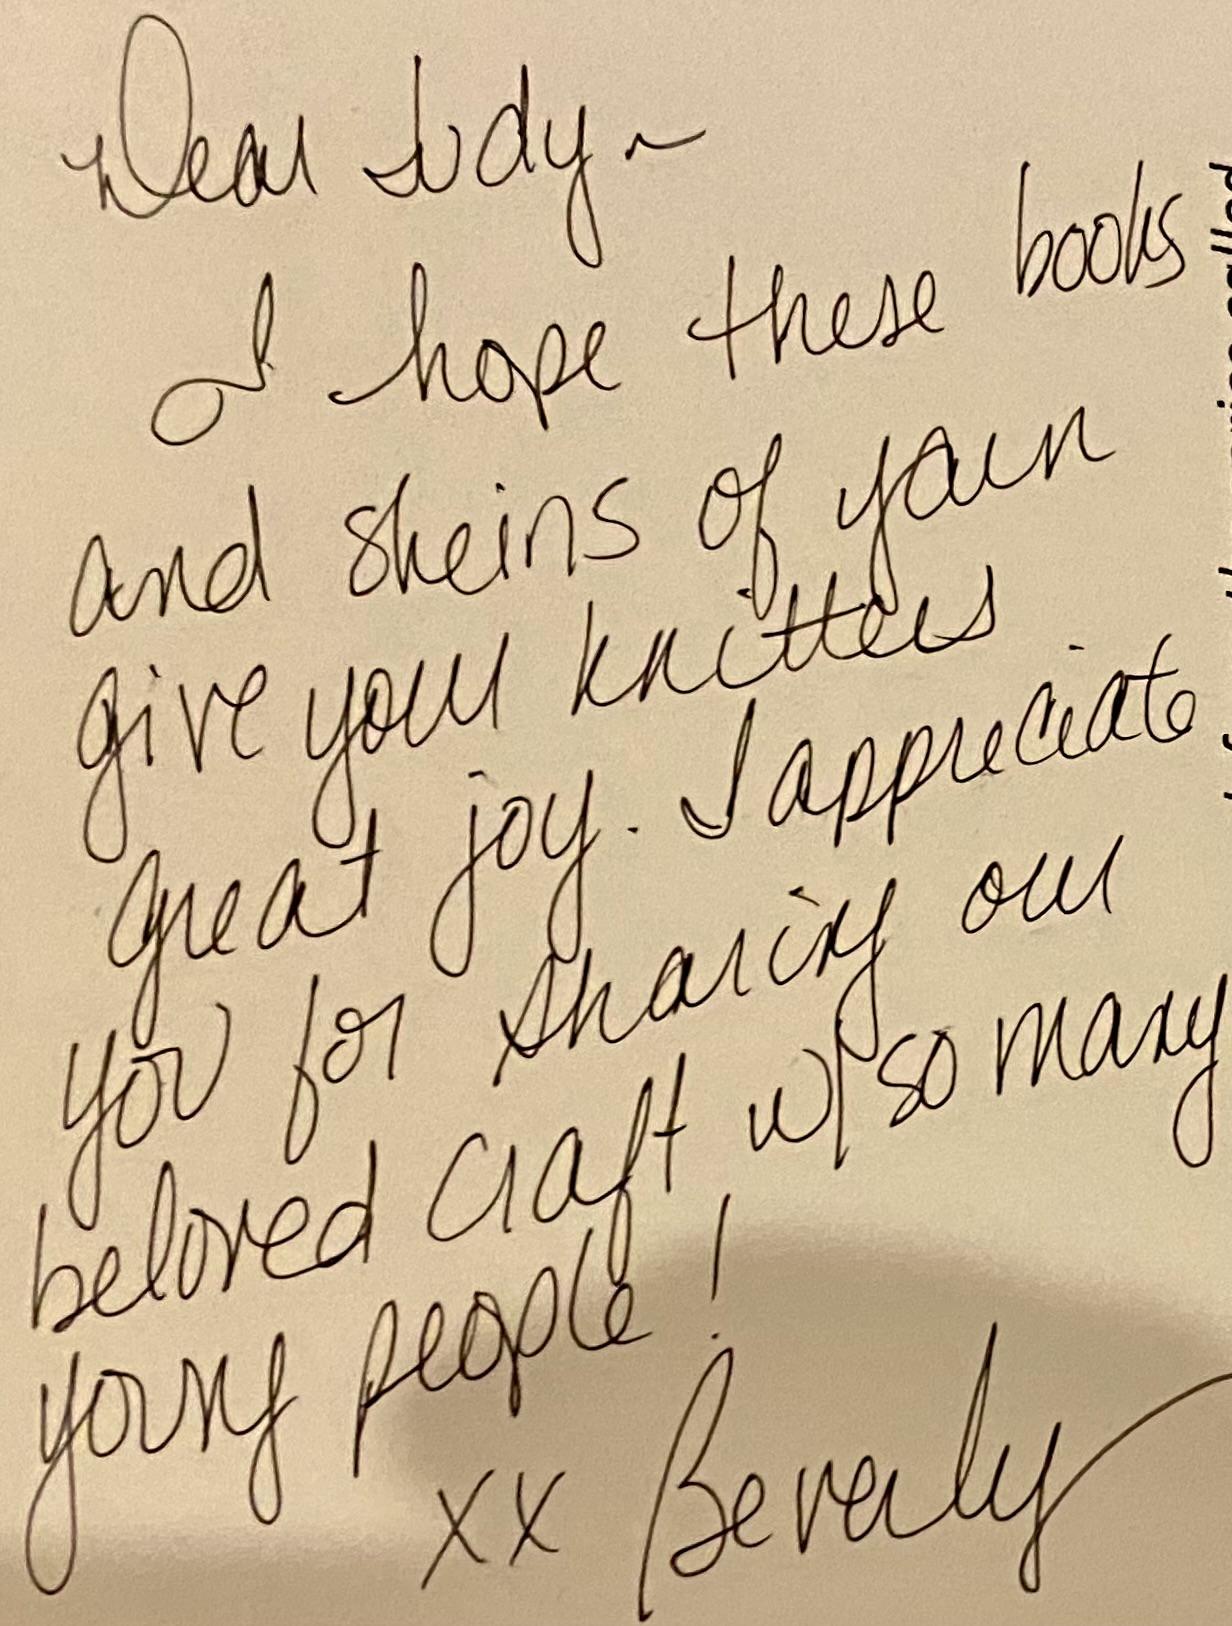
Moving this story along, I was inspired by one student’s desire to make fingerless mitts. I have always found knitting mittens to be a complicated endeavor, mainly because they are typically knit on four double-pointed needles. Along with keeping up with the stitch count and keeping the needles level, you need to knit in a thumb gusset (which I’ll explain soon). After much trial and error, I figured out a pattern that used one size of straight needles and worked up quickly once you got the hang of it. The pattern still may be too advanced for a beginner, but I’ve written it up with detailed instructions and lots of pictures hoping that those who are motivated and willing will give it a try. Once I figured this out, I’ve been making mitts for friends and family using all sorts of colorful yarns.
Anatomy of a Fingerless Mitten:
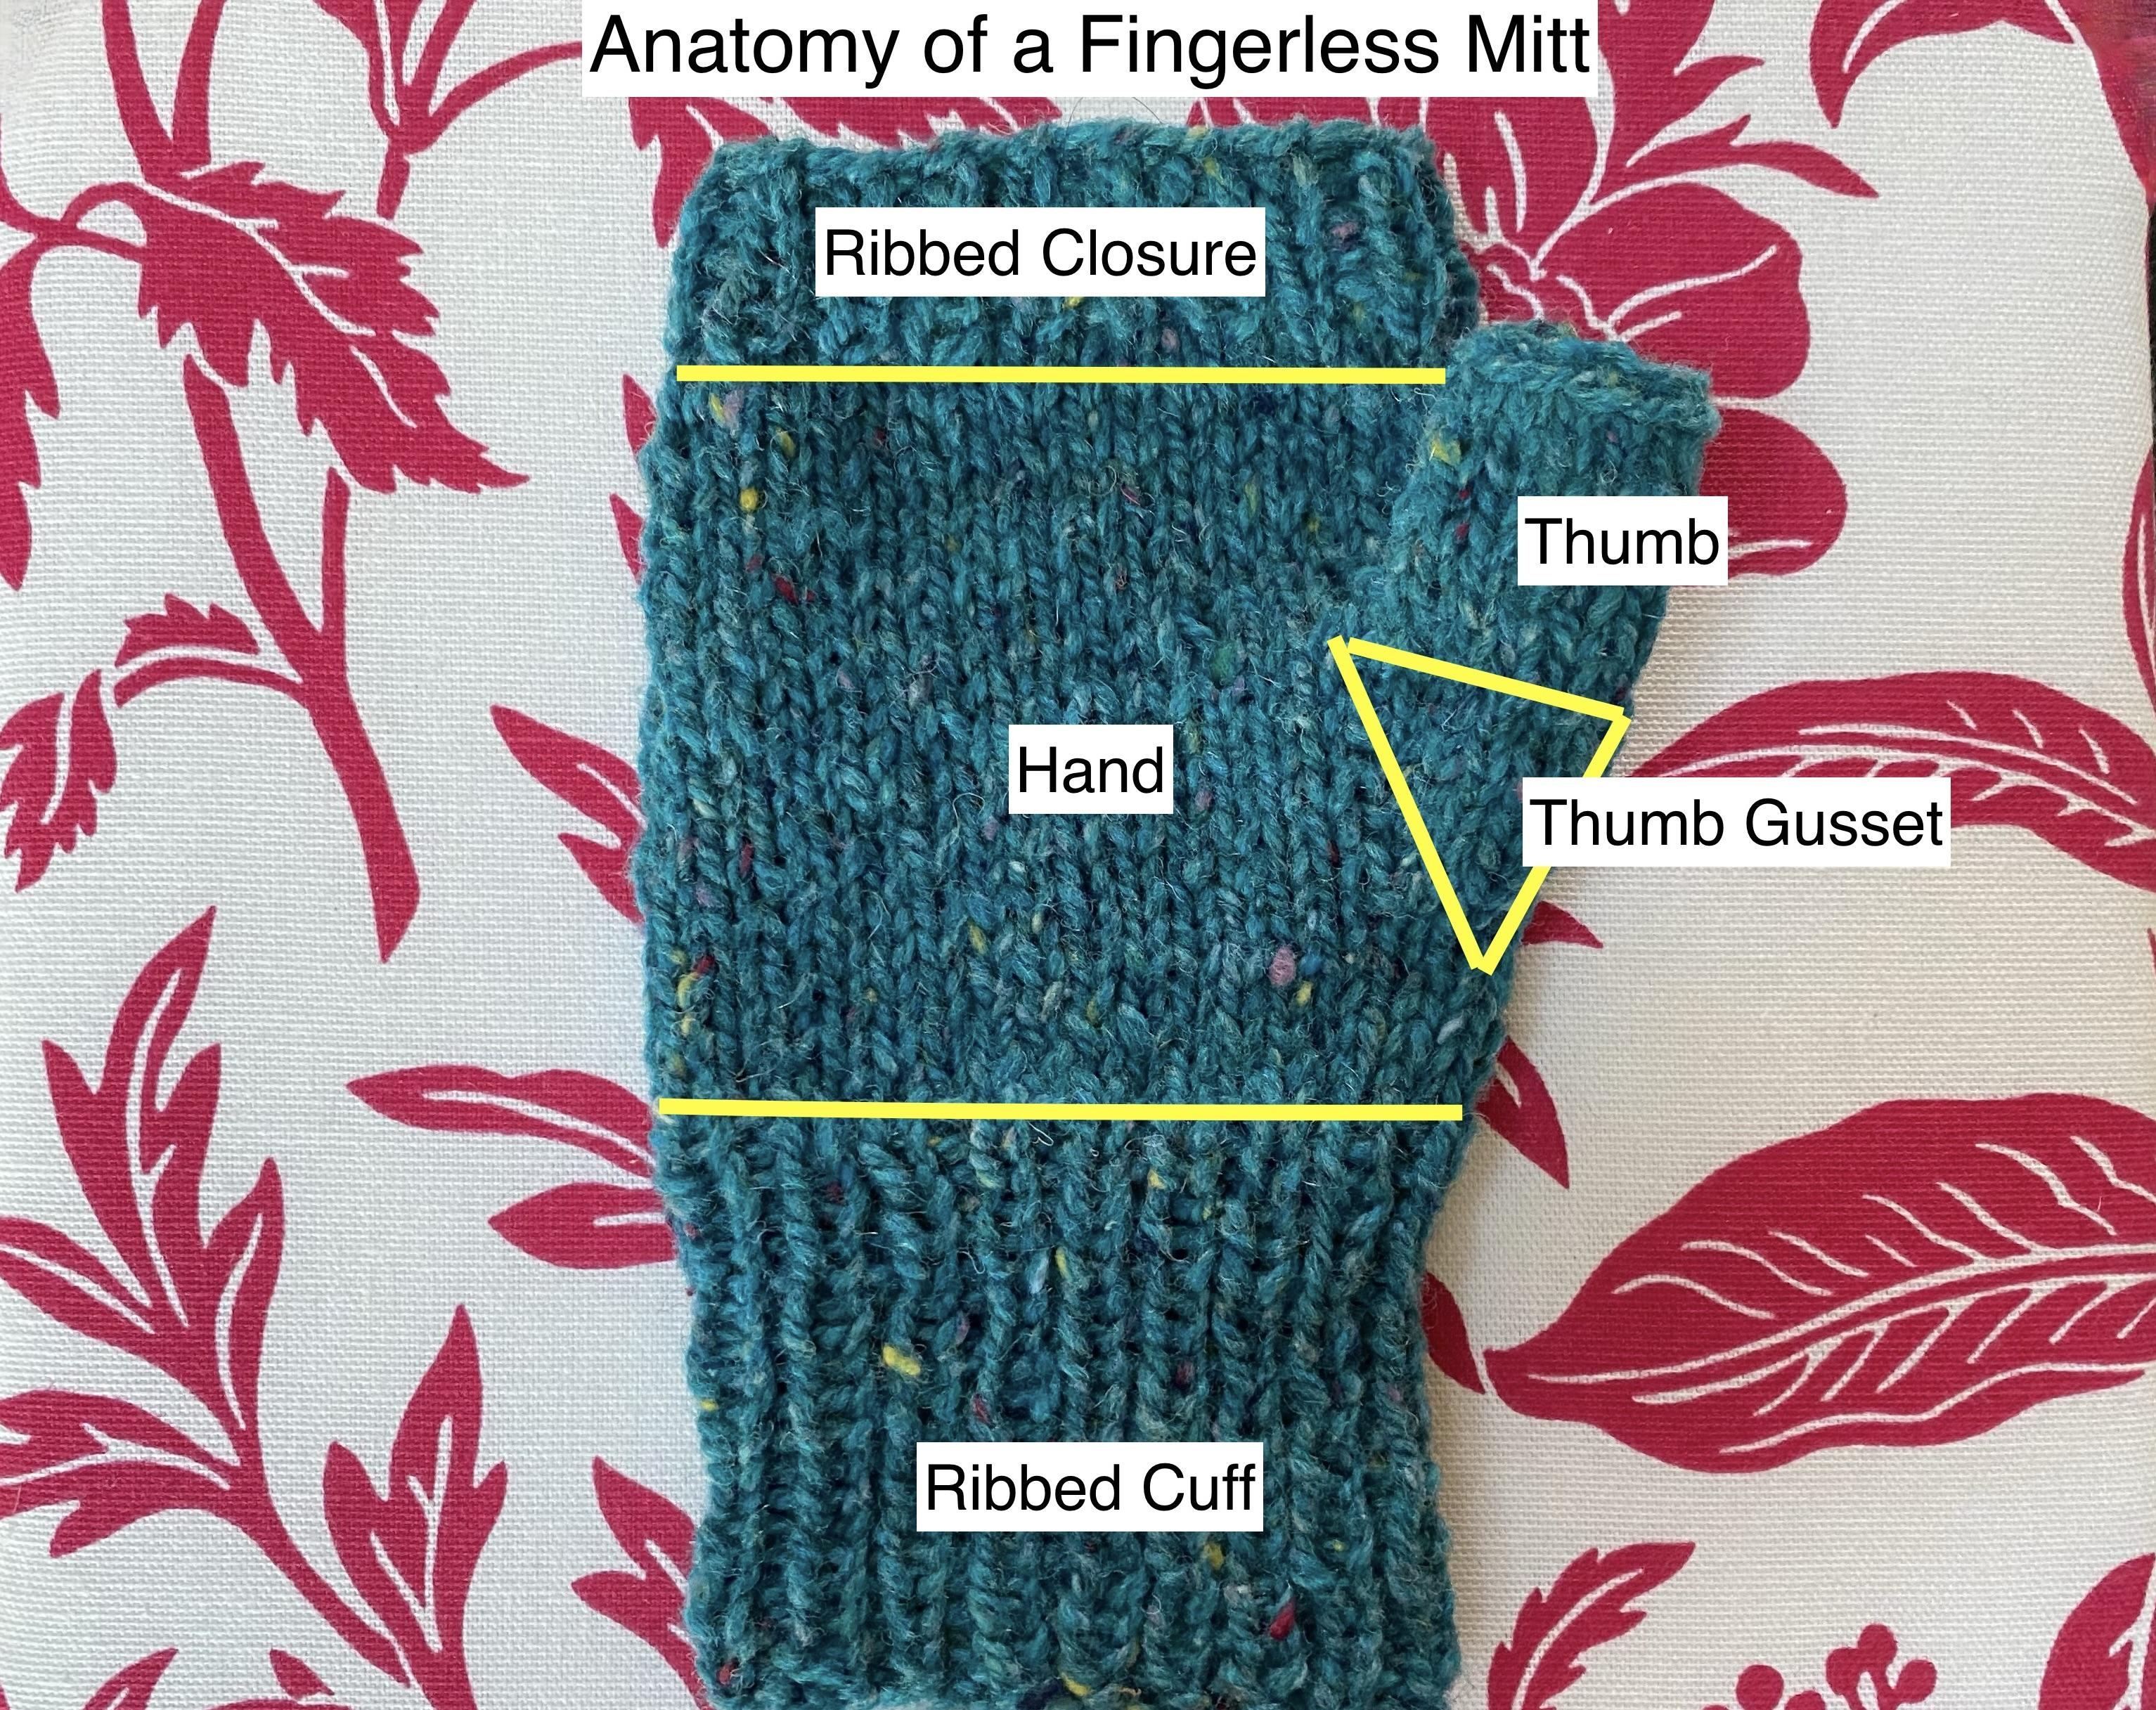
Measurements: 7-inches long and 8-inches around the palm of the hand. They seem to fit the average-sized hand as there is a lot of give in the fabric.
Supplies: 1 pair size 7 straight knitting needles 1 skein (about 110 yards) of worsted weight yarn 2 stitch markers (you could use paperclips) 1 large-eyed sewing needle a tape measure scissors paper and pen for counting rows (optional) 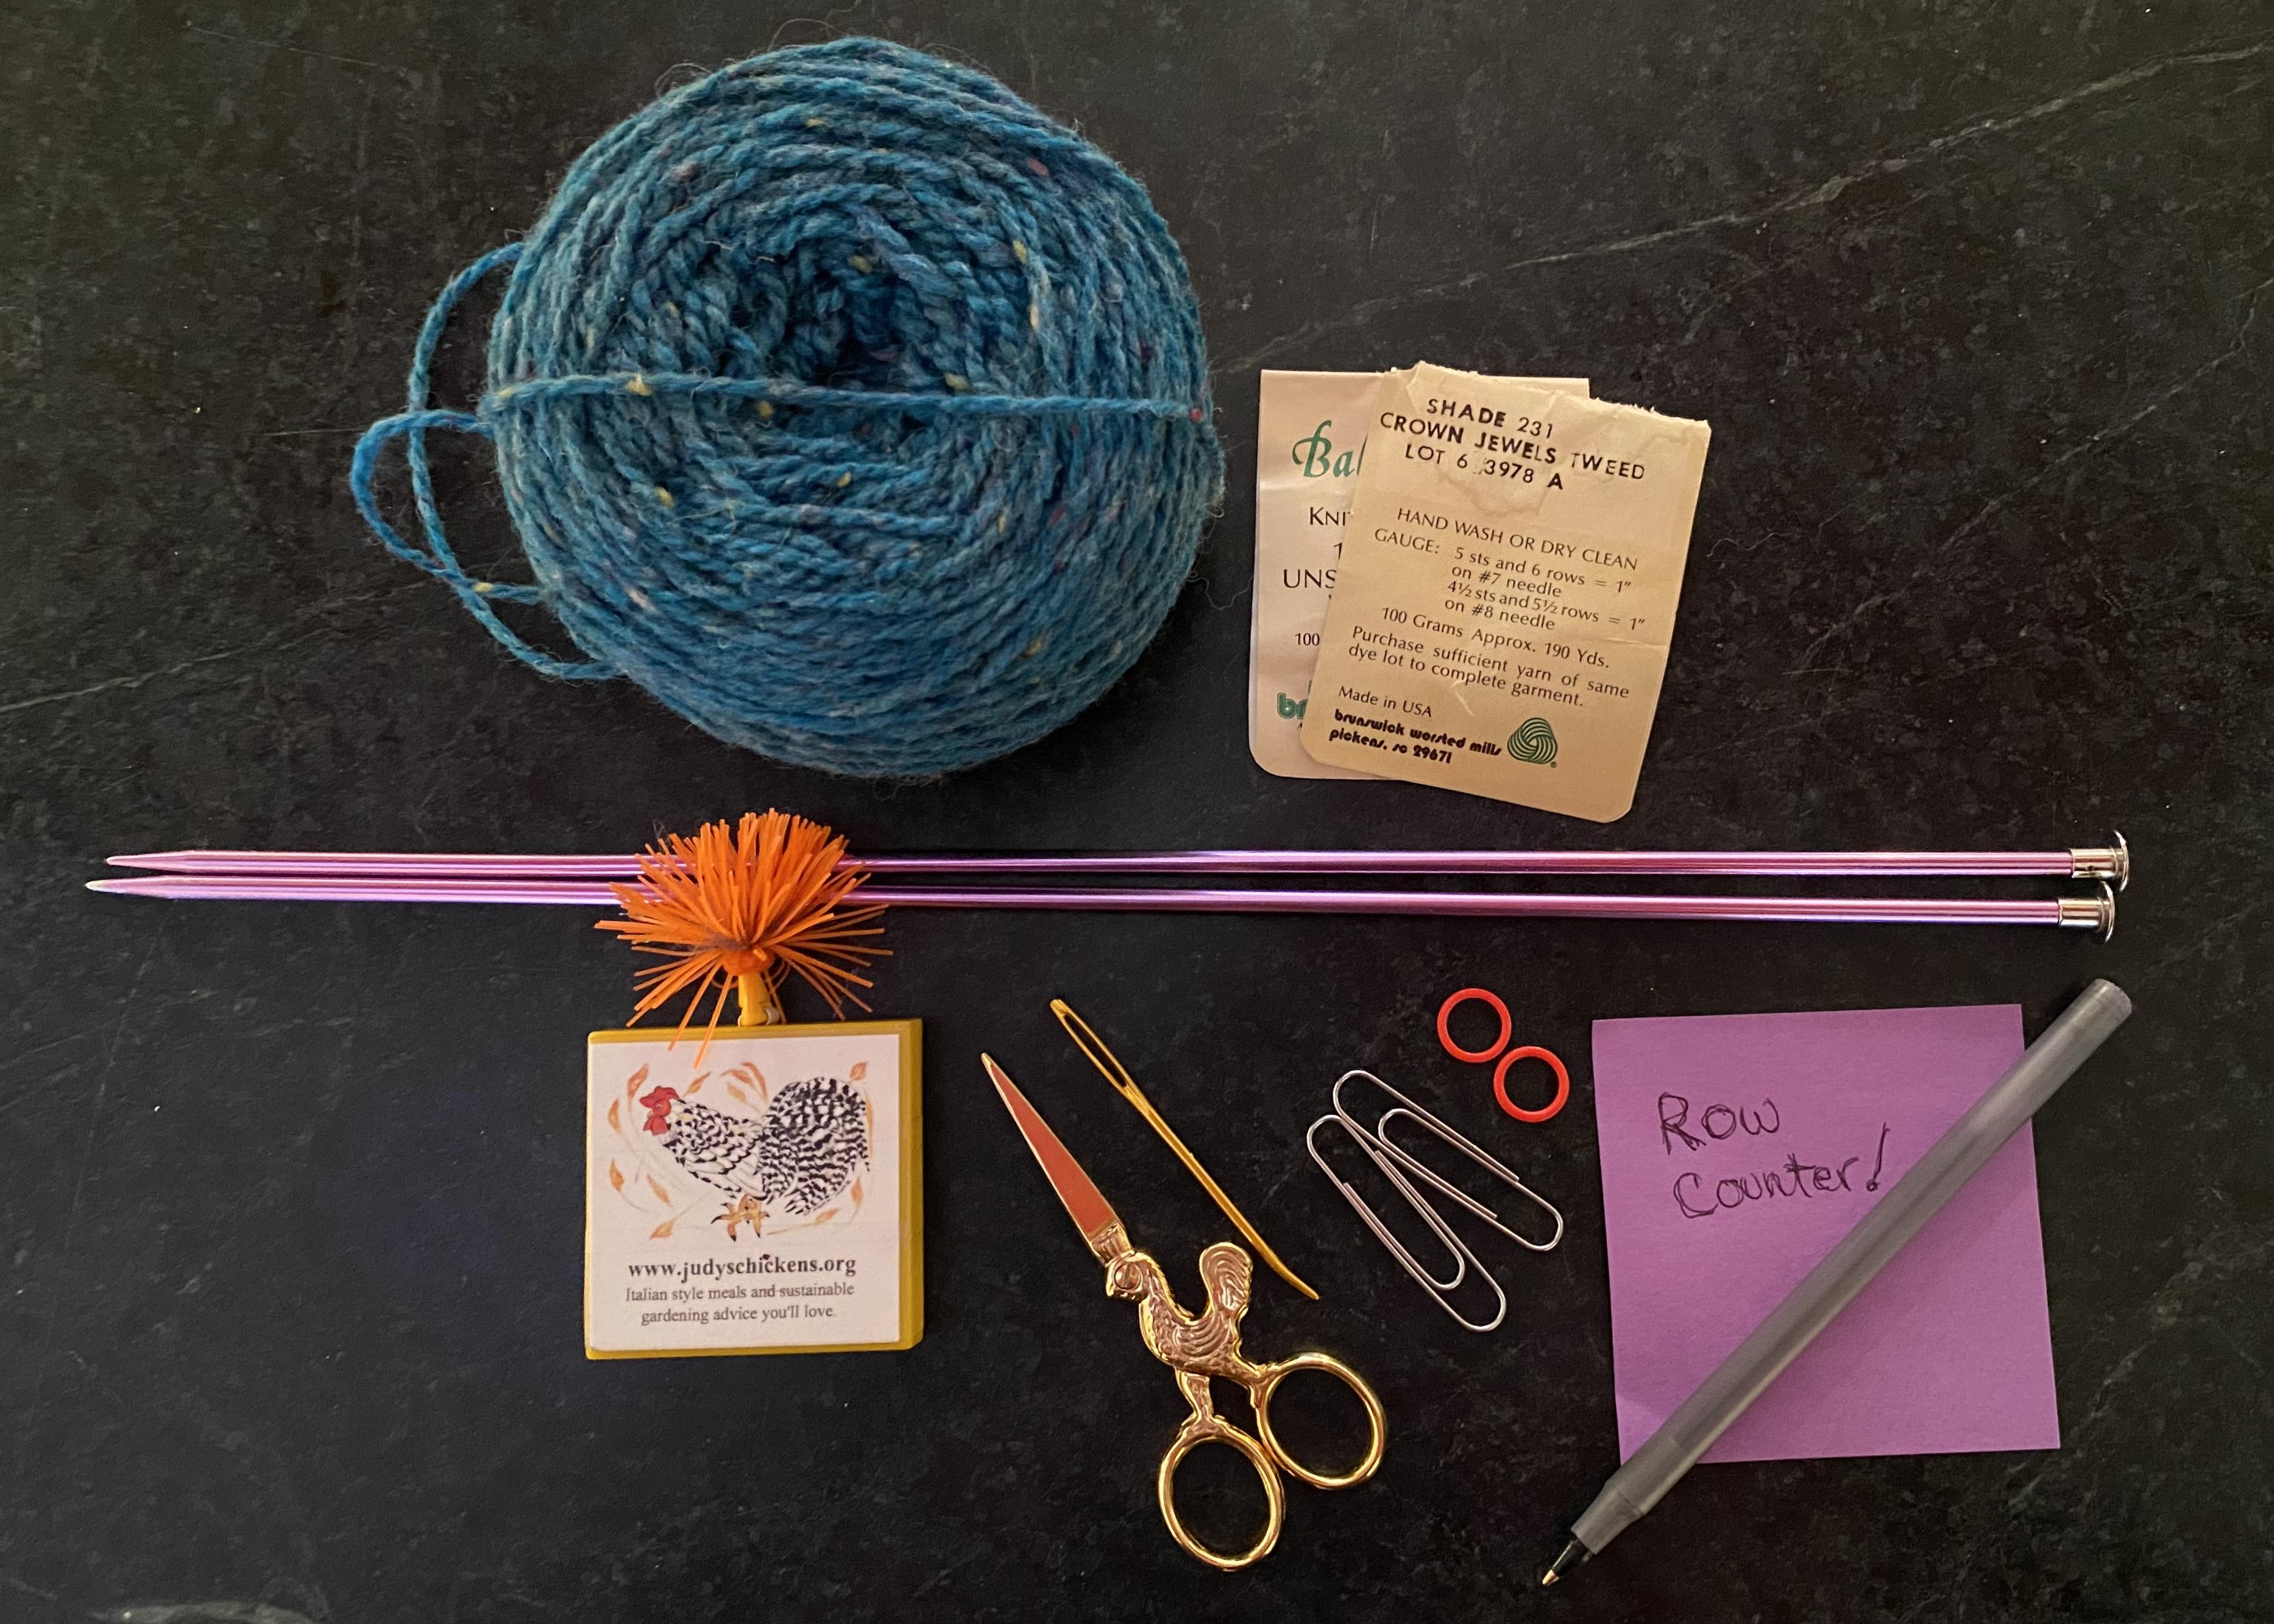
Read more : How To Add Grip To Goalkeeper Gloves
Choosing yarn — what’s all the info on the yarn tag mean? This pattern calls for worsted weight yarn. The word “weight” refers to the thickness of the fiber, not what is measured on a scale. Any yarn you like that says “worsted” on the label will do. For extra warmth, choose 100% wool. 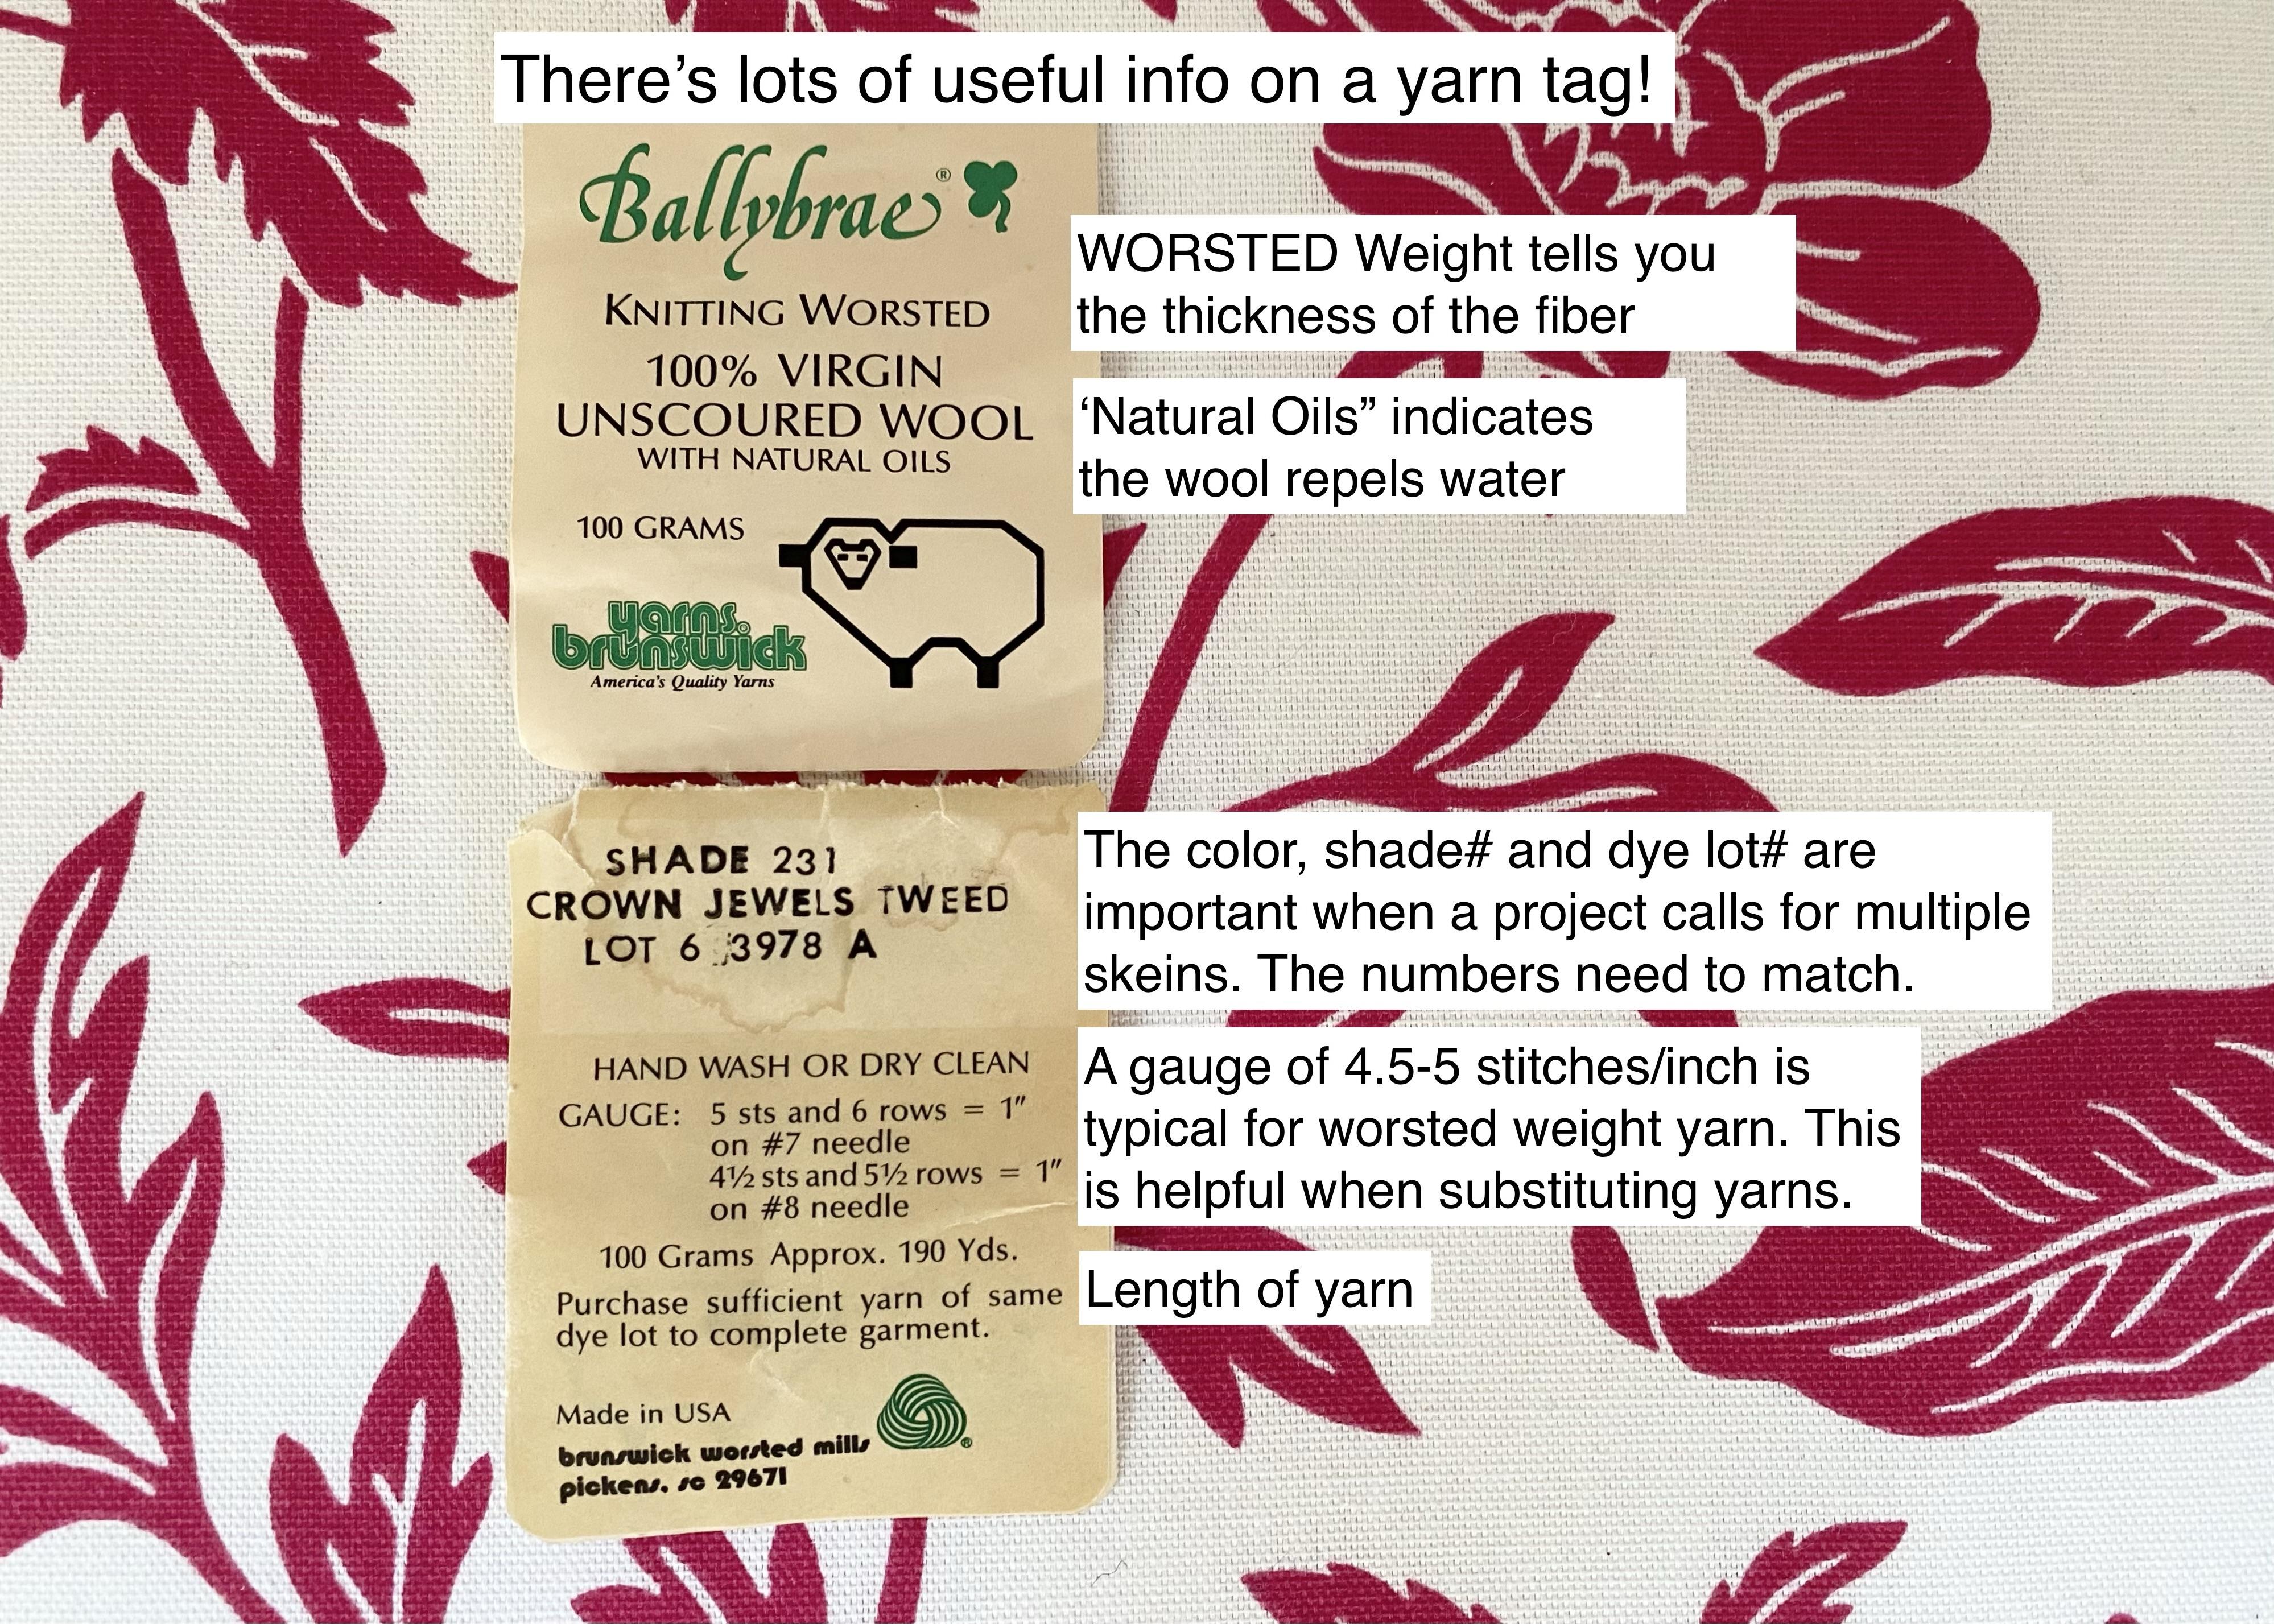
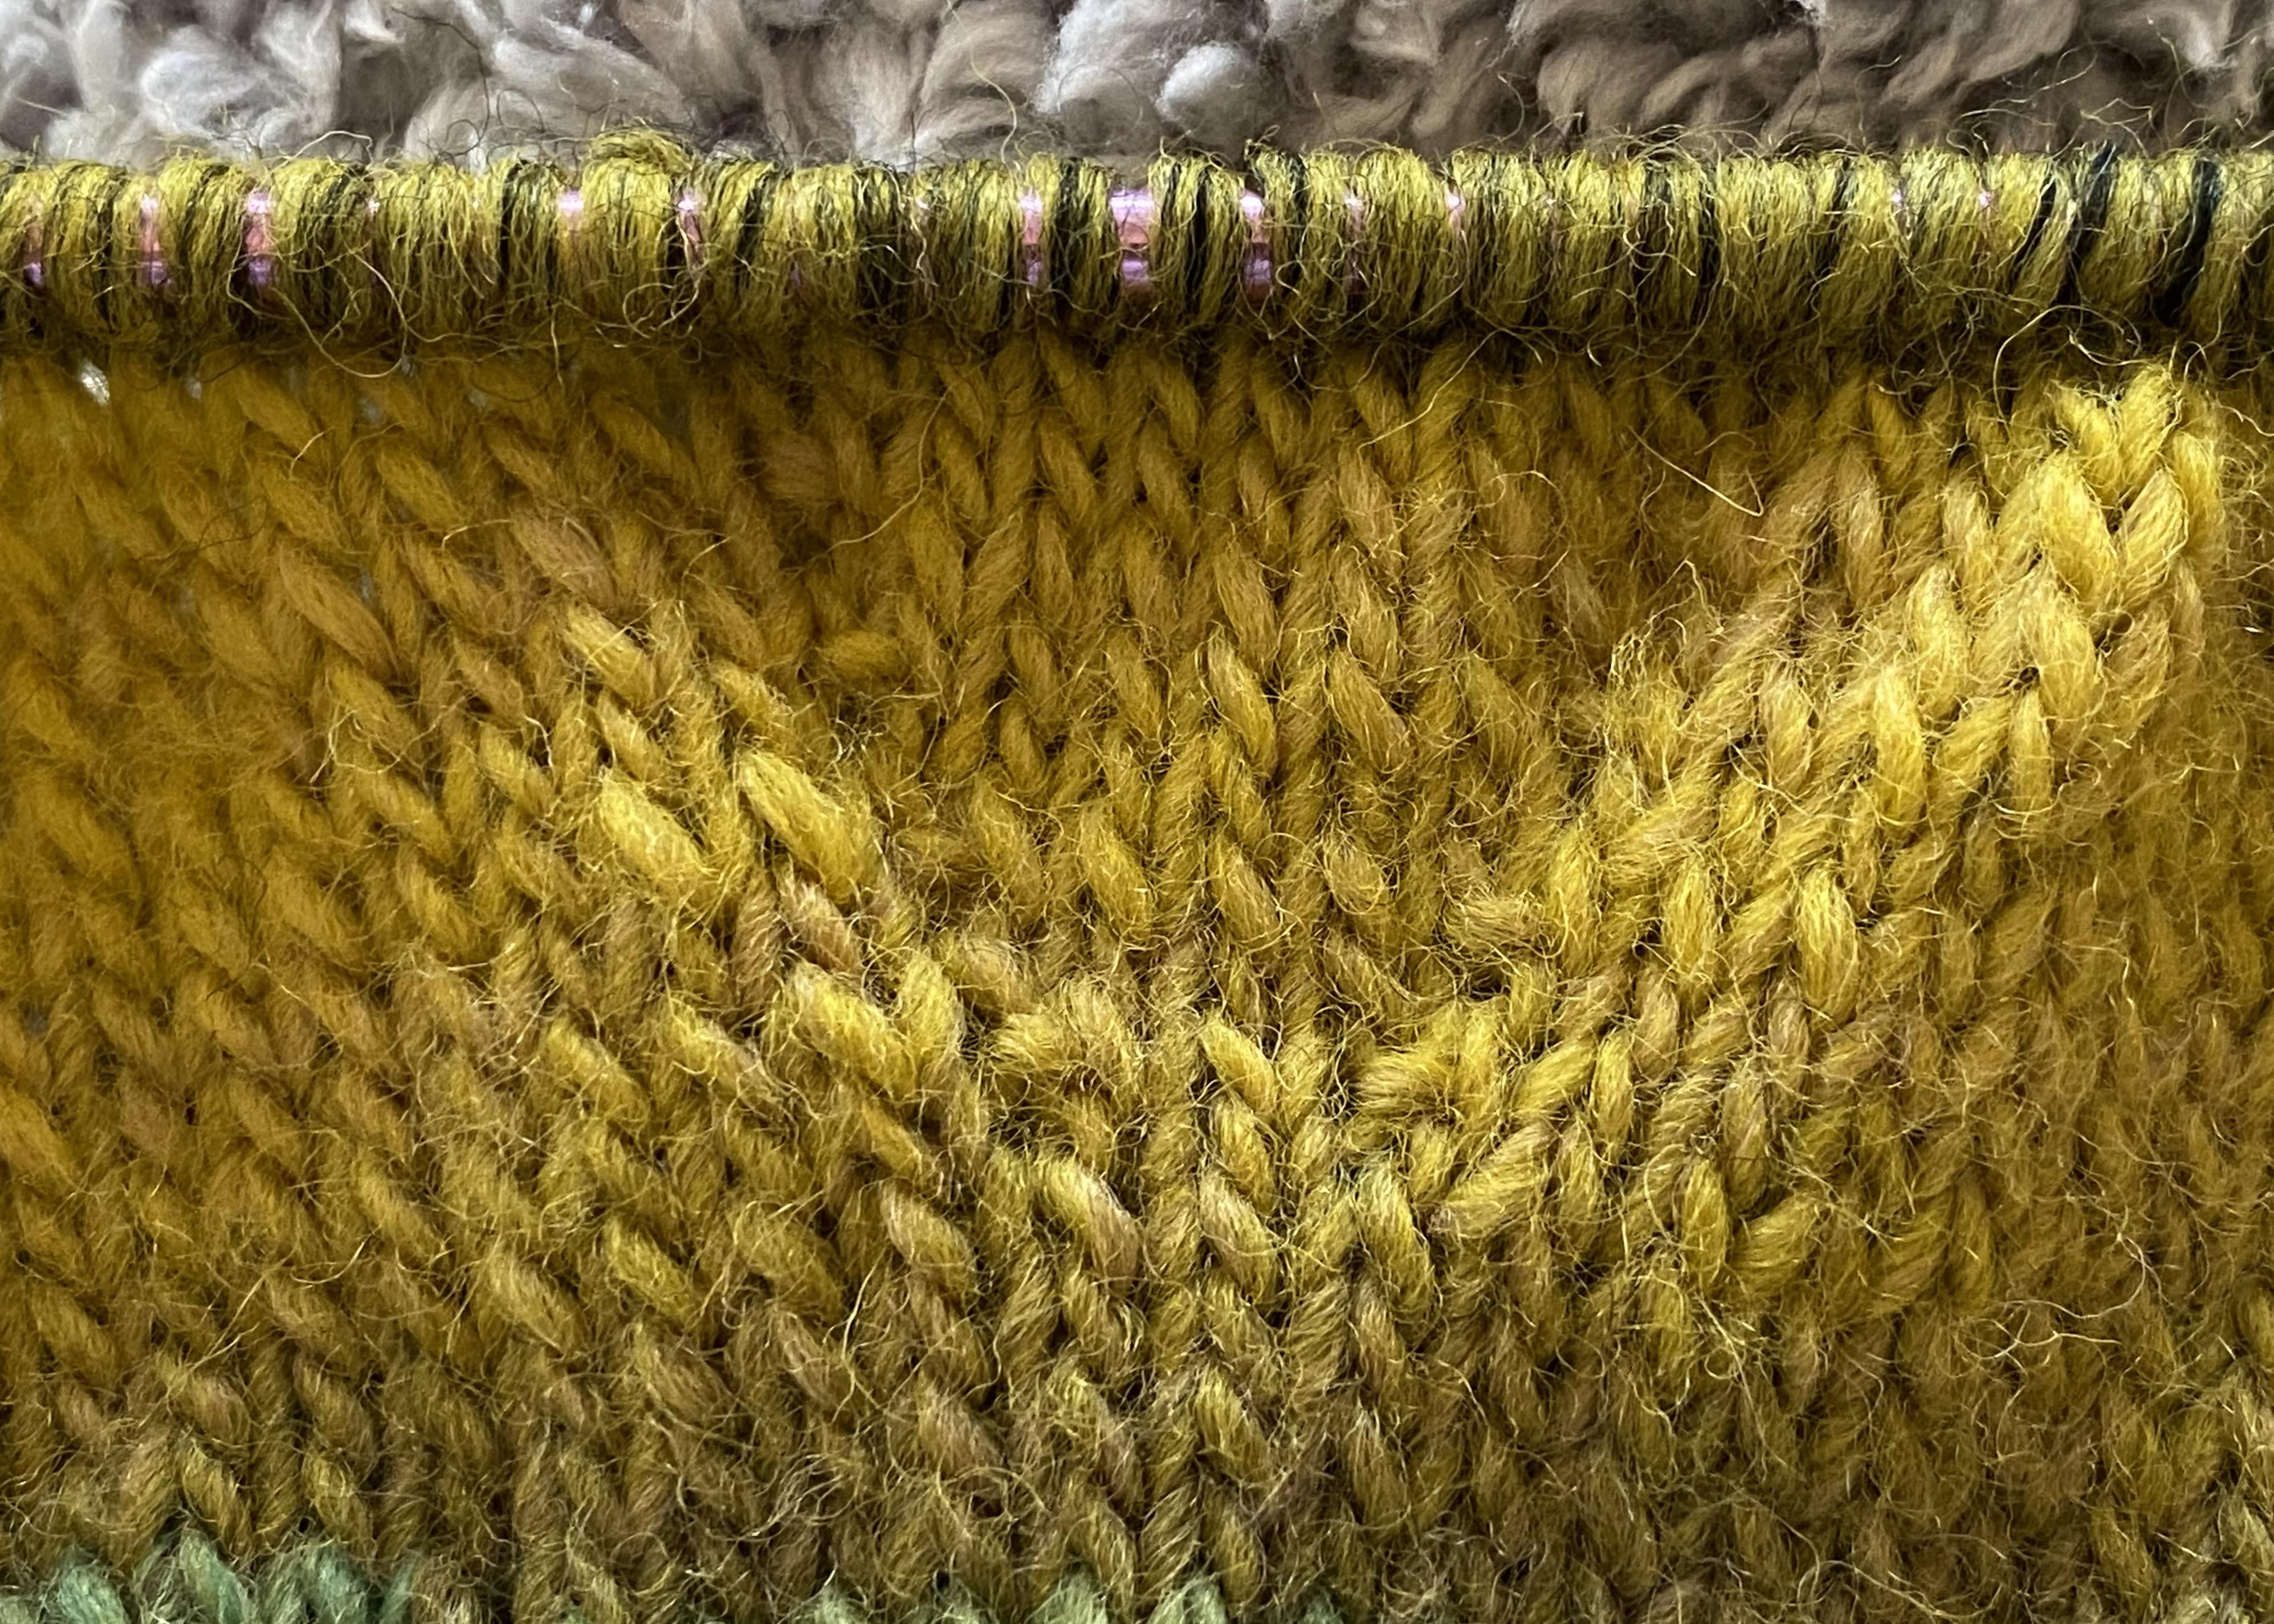
Knitting Terms: Cast-on: How you put stitches on a needle to begin a project. 1×1 Rib: Knit 1, Purl 1 across each row. Stockinette Stitch: Right-side rows, knit. Wrong-side rows, purl Increase a Stitch: Turn one stitch into two by knitting into the front and back of the loop. Bind-off: How you securely take stitches off a needle when finished knitting. RS: Right side or front of garment. WS: Wrong side of garment. Gusset: Because thumbs have a joint and need room to move, we build in an extra triangular patch of fabric called a gusset. To shape a gusset, we increase stitches at regular intervals to accommodate the added width of the thumb. This photo is a good demonstration of what a knitted gusset looks like.
The Goal: This is how your mitt should look when you are finished. We will start from the bottom cuff and work our way up. The thumb fits comfortably on either hand, so you will knit two identical mitts. 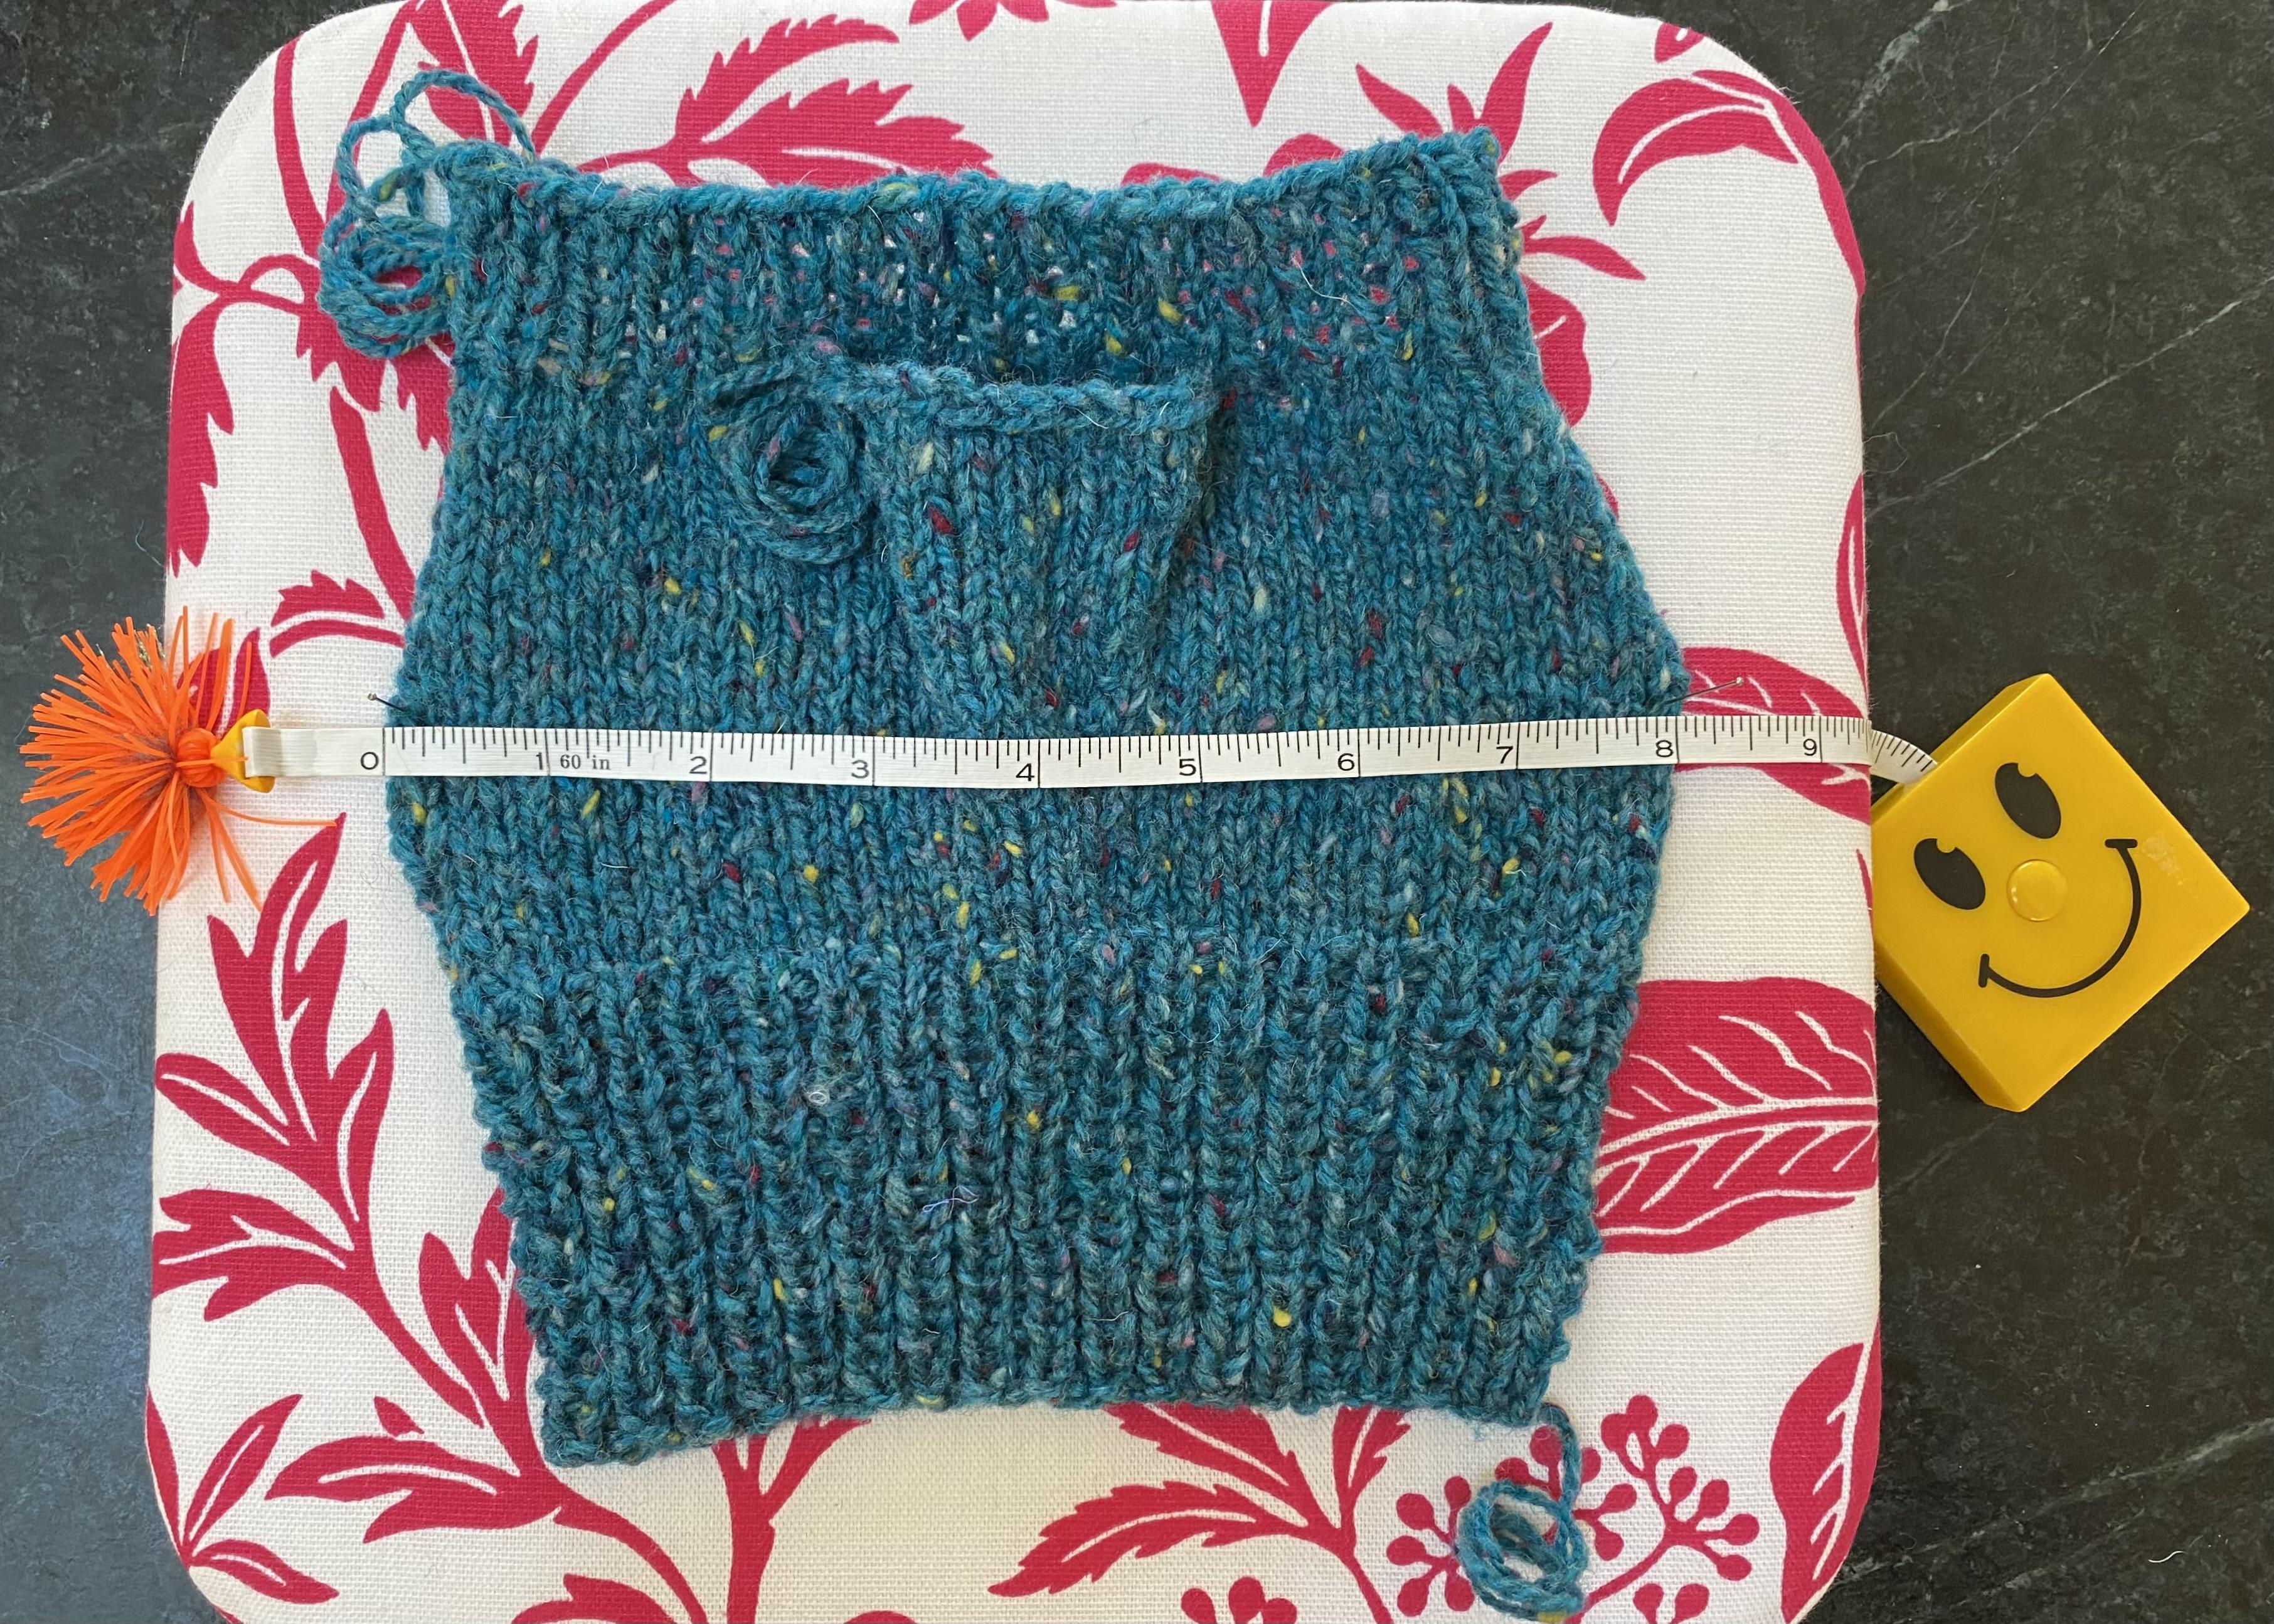
Once you fold the sides in and sew the seam, your mitt will look like this. 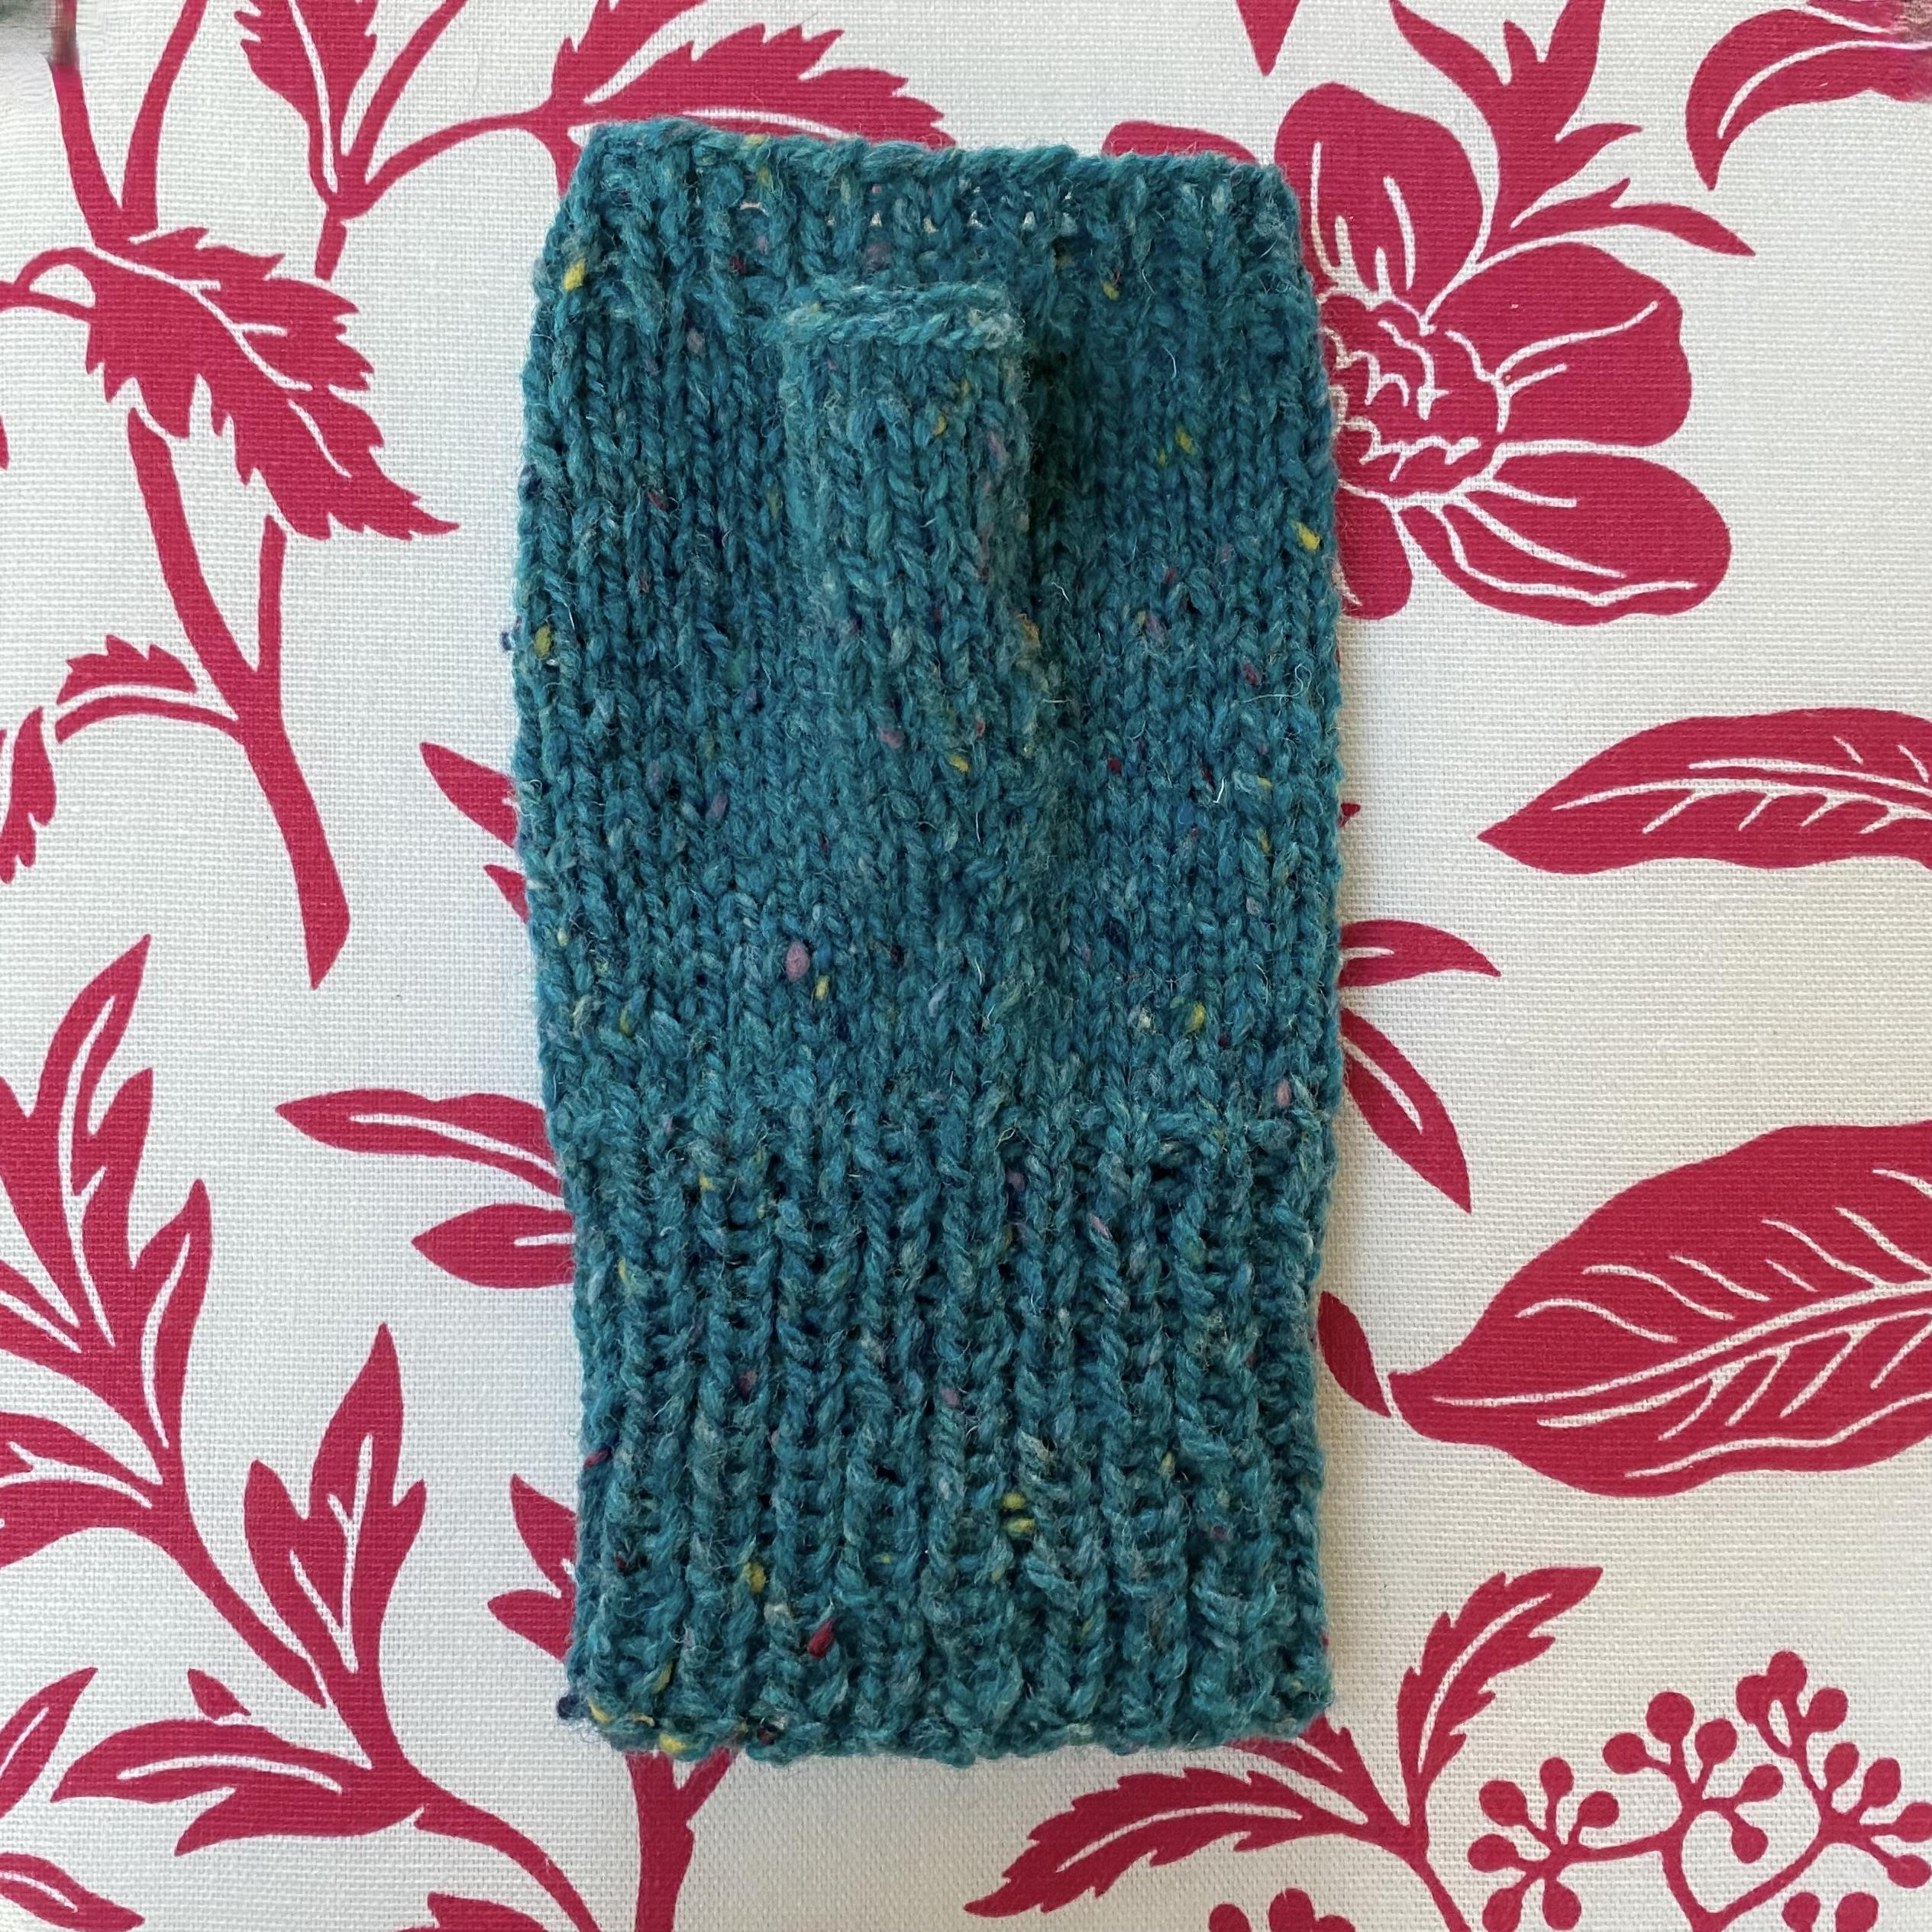
Let’s Get Started!
Knit the Cuff: Cast on 36 stitches. Work in k1, p1 rib for 2¾ inches. End with your last row being worked on the WS. How do you know which is the RS? The cast-on tail is hanging from the right-hand corner. 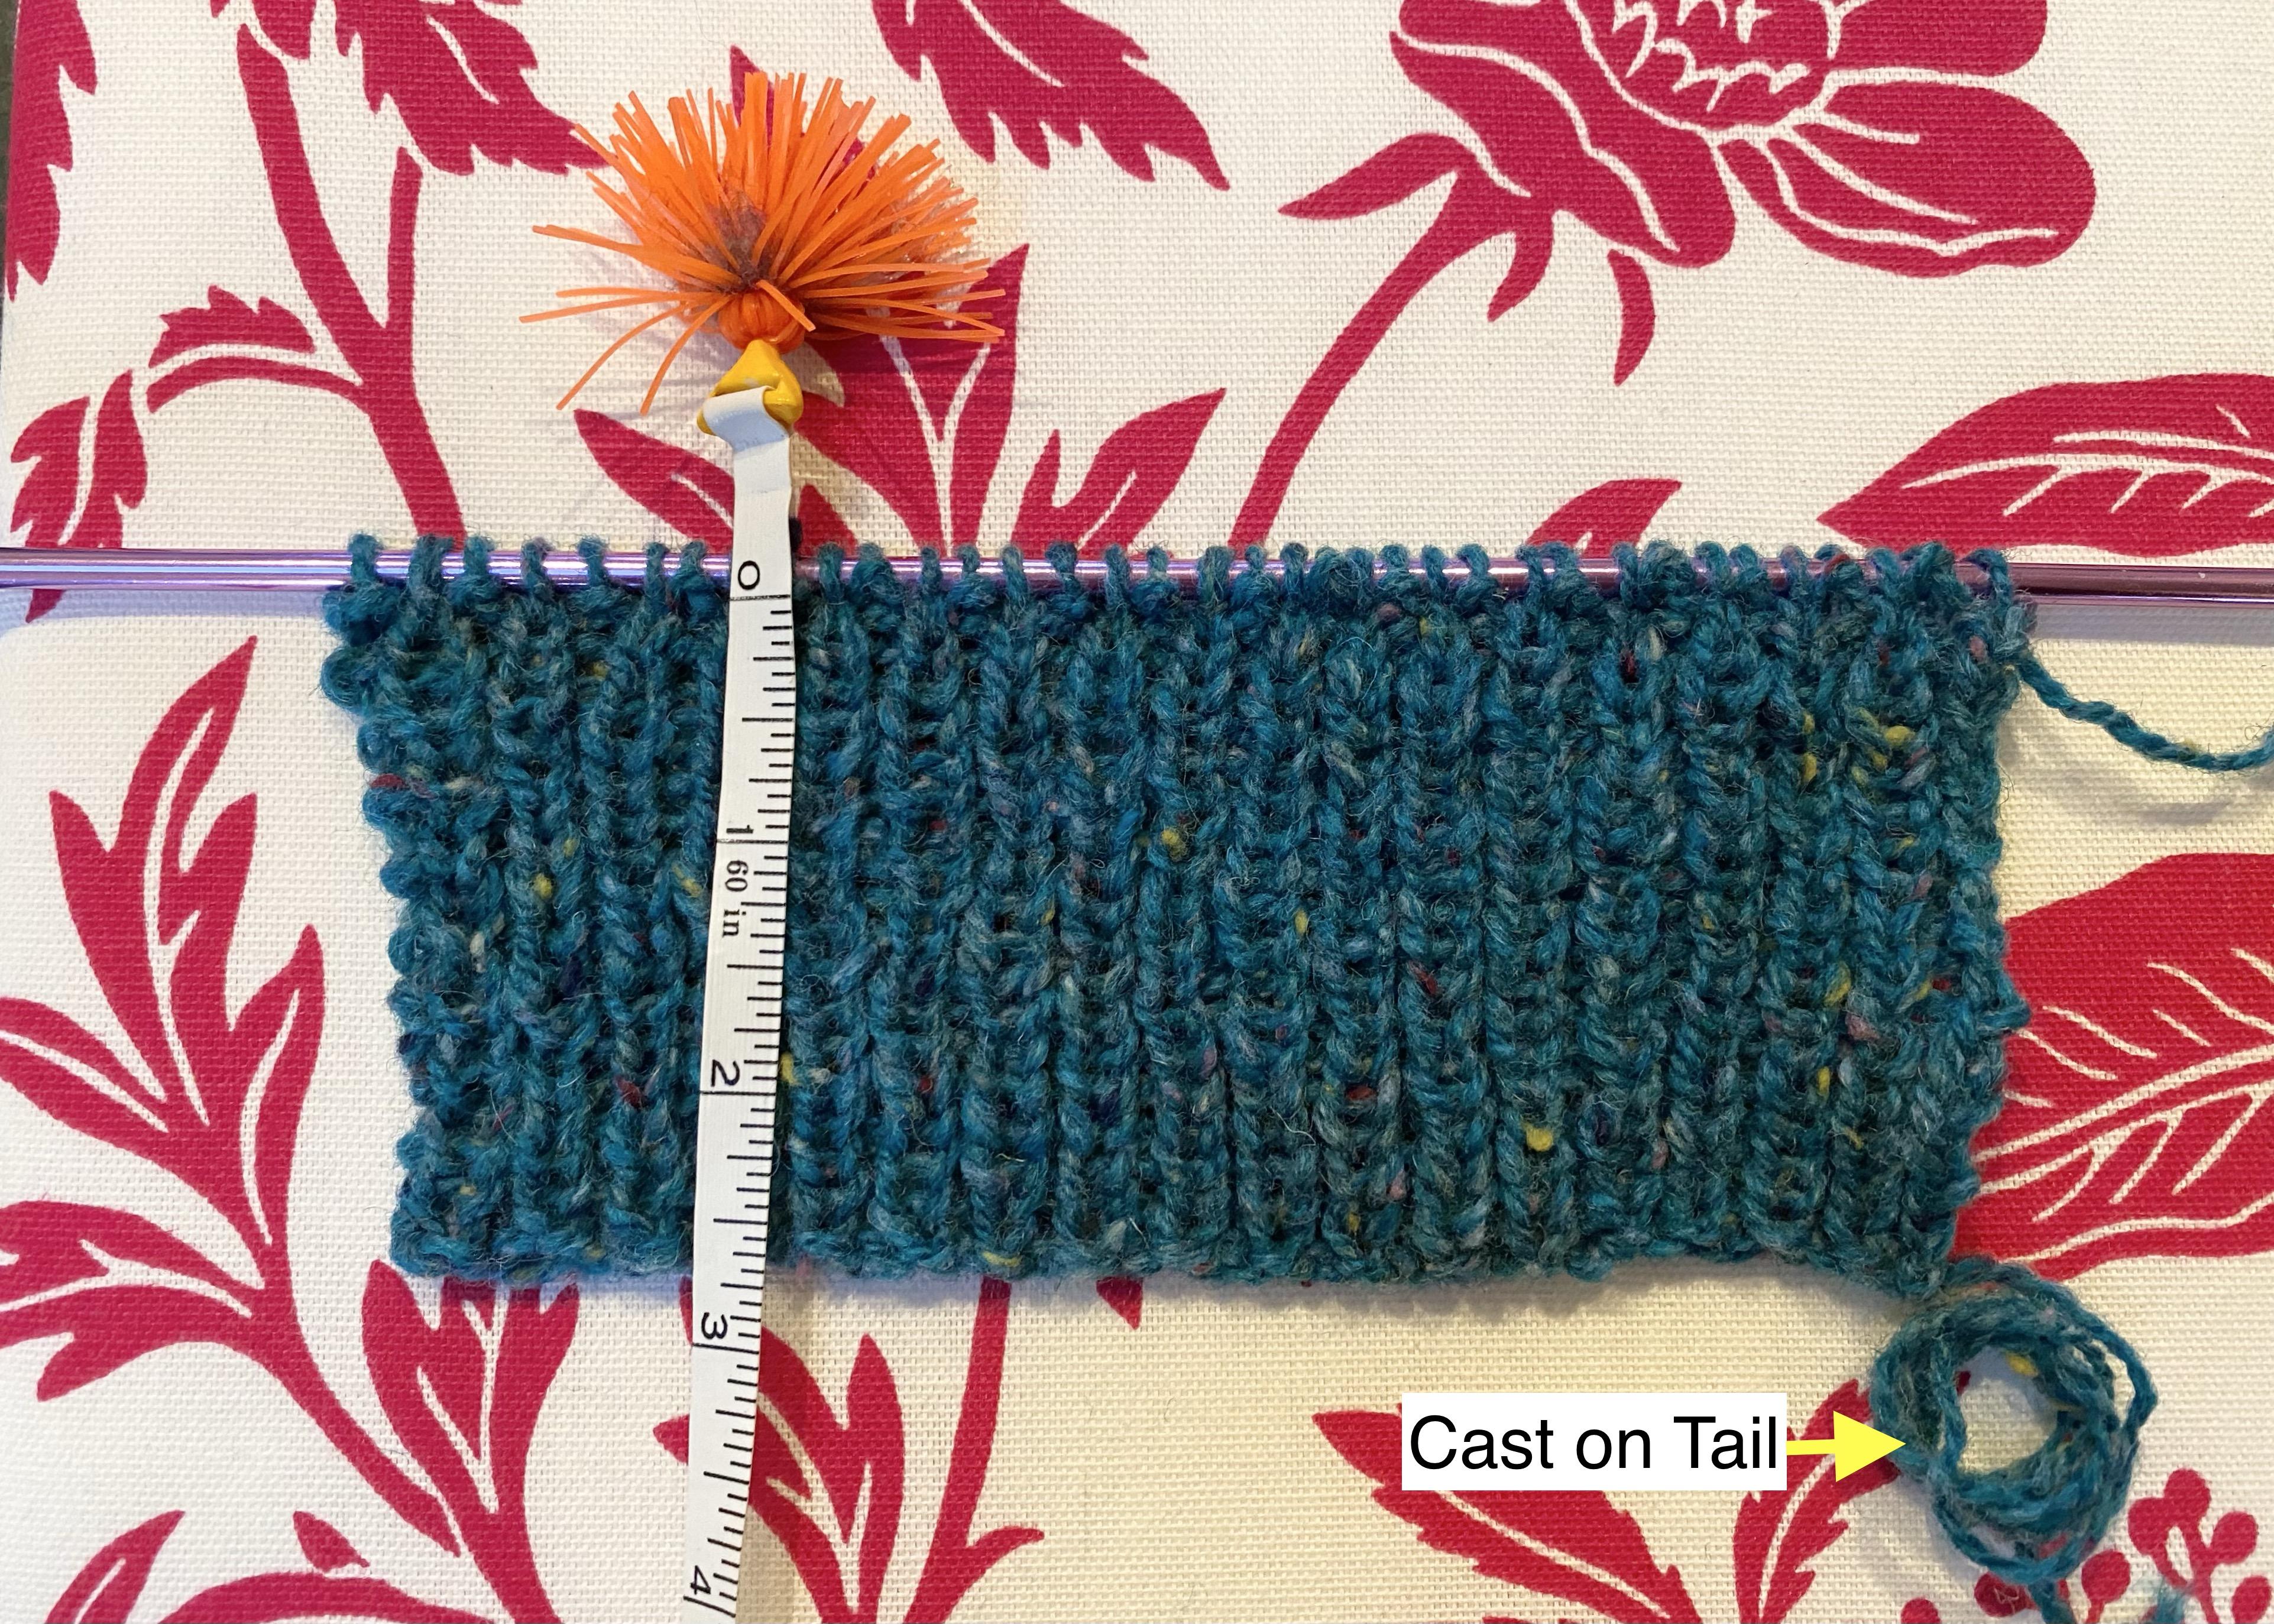
Knit the Hand: With RS facing, knit 6 rows of stockinette stitch. I use tally marks to keep track of my row count. 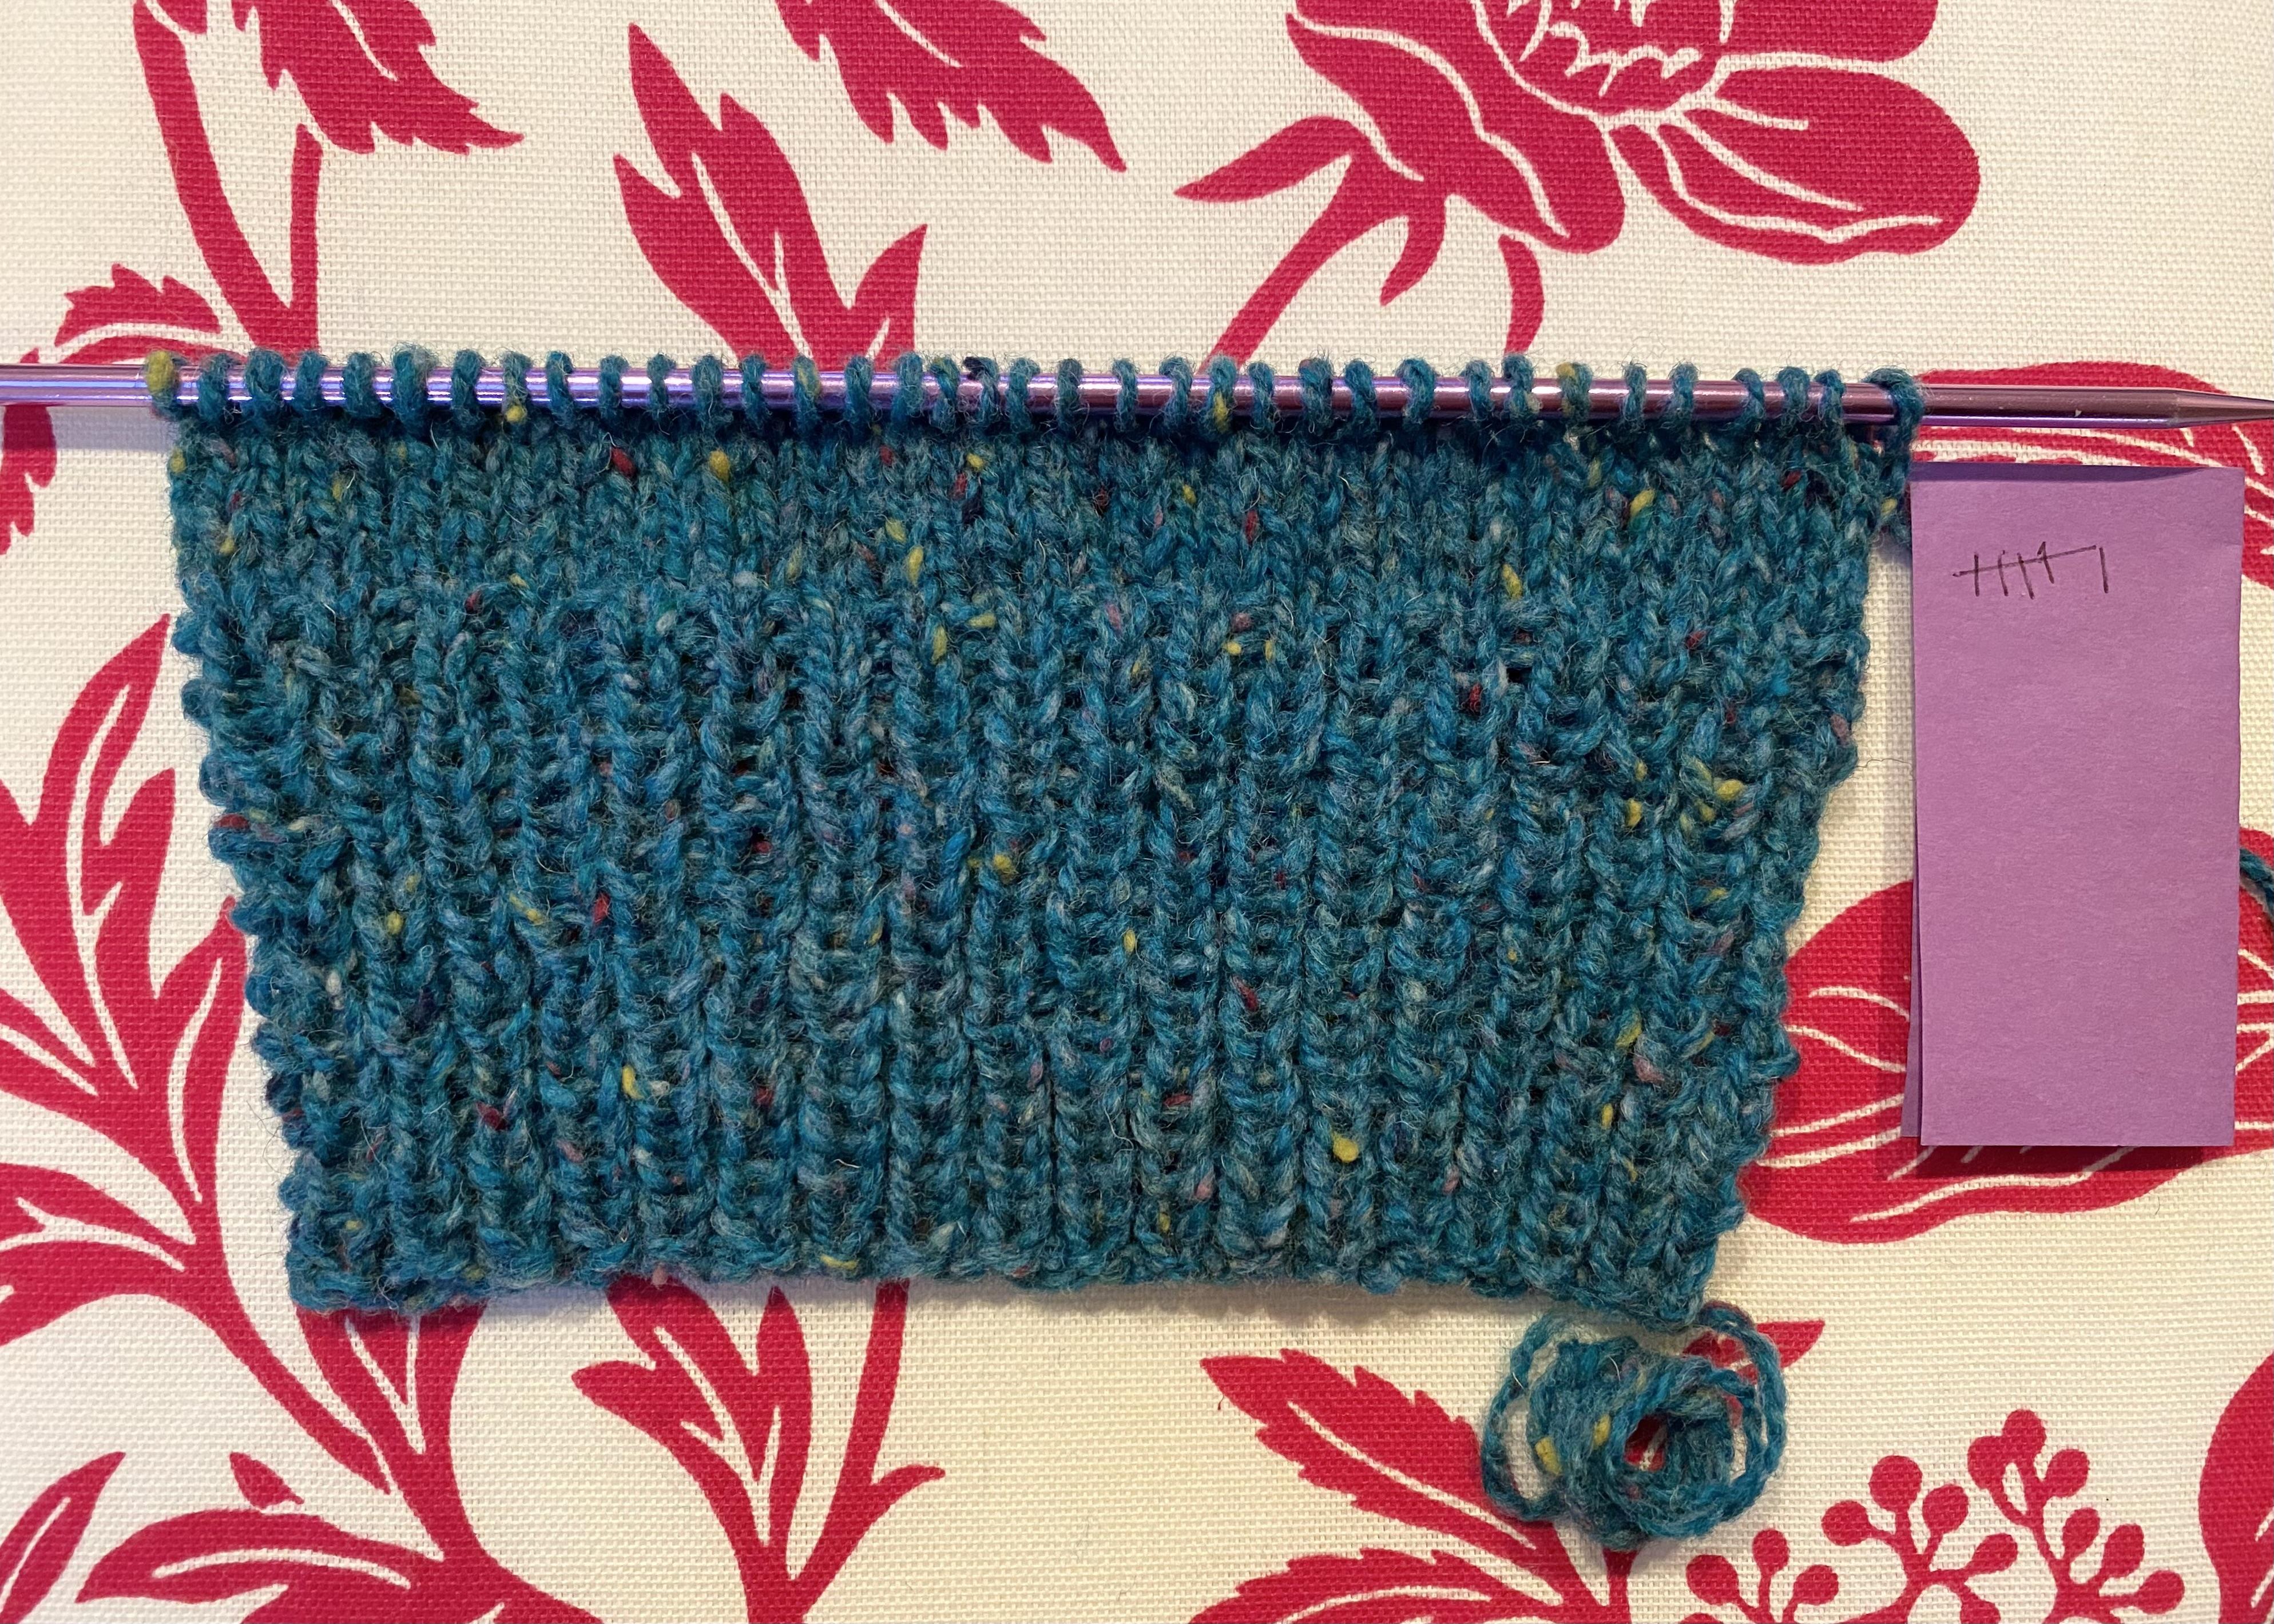
Set Up Thumb Gusset Increases: Row 1: k16, place a marker, increase 1, k1, increase 1, place a marker, k17 (38 stitches total). You will then increase 2 stitches every other row as follows: 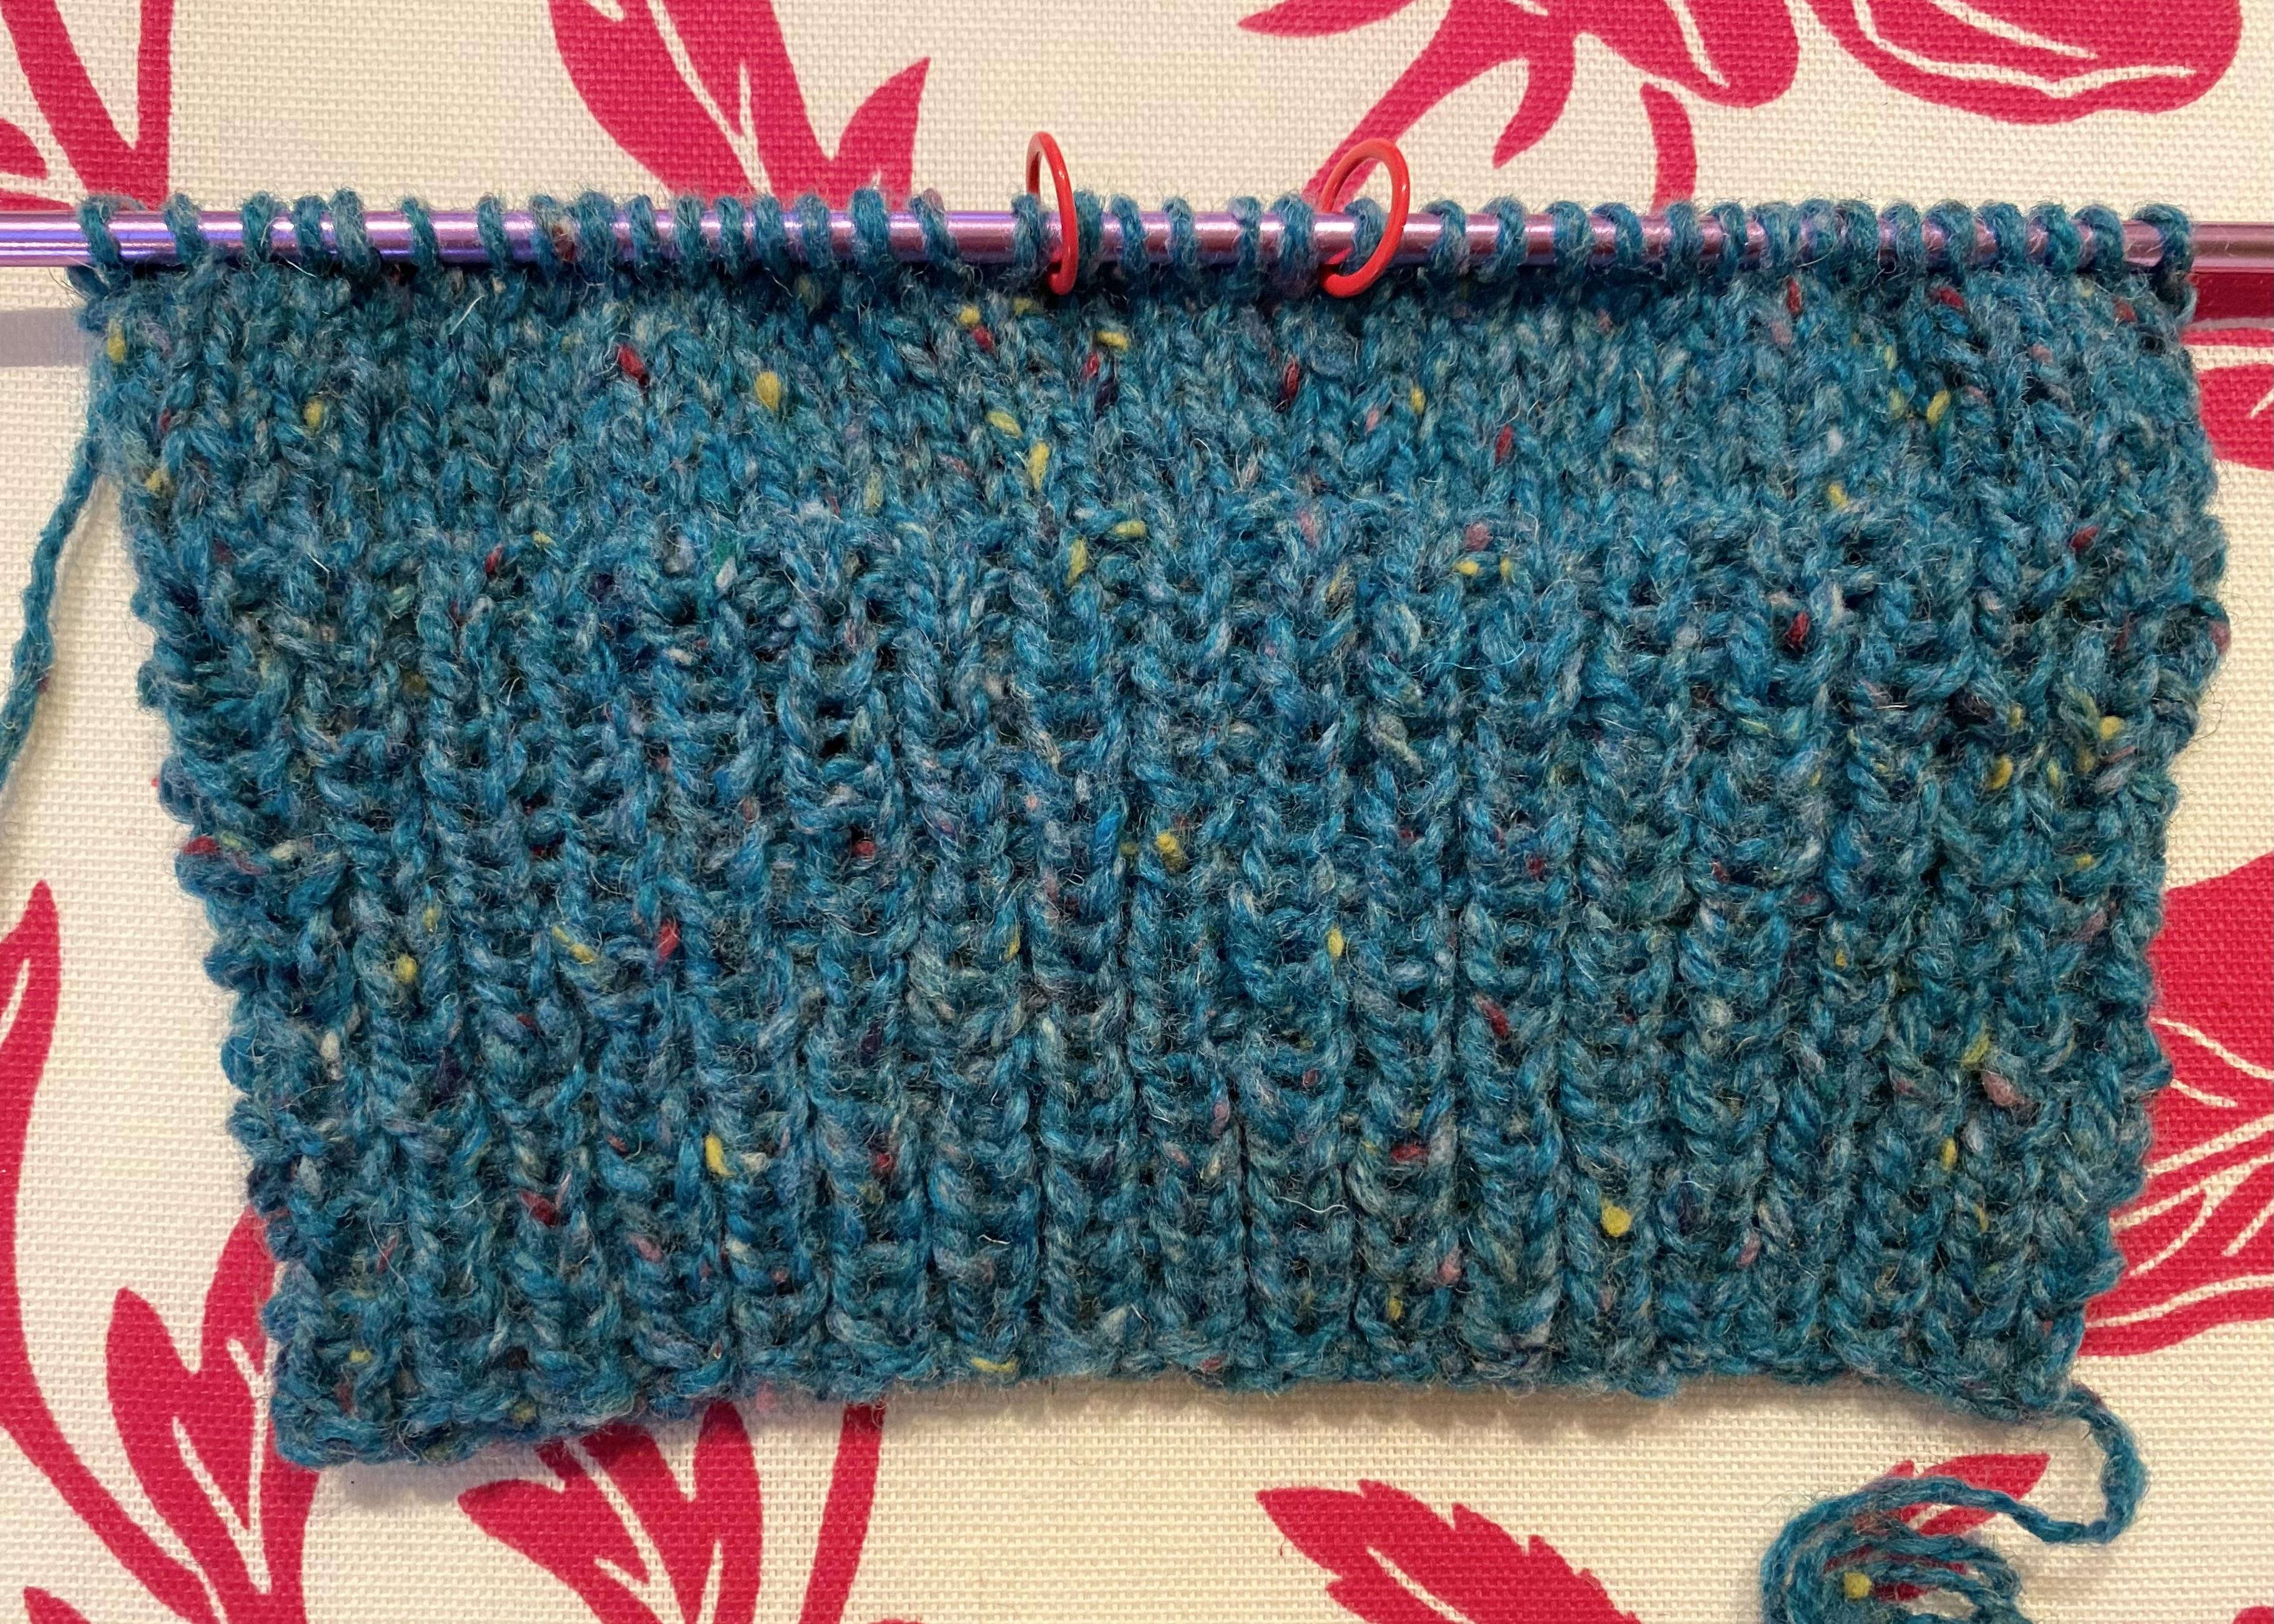 Row 2, 4, 6, 8, 10: Purl row. Row 3: k16, increase 1, k3, increase 1, k17 (40 stitches) Row 5: k16, increase 1, k5, increase 1, k17 (42 stitches) Row 7: k16, increase 1, k7, increase 1, k17 (44 stitches) Row 9: k16, increase 1, knit 9, increase 1, k17 (46 stitches) Your work should look like this:
 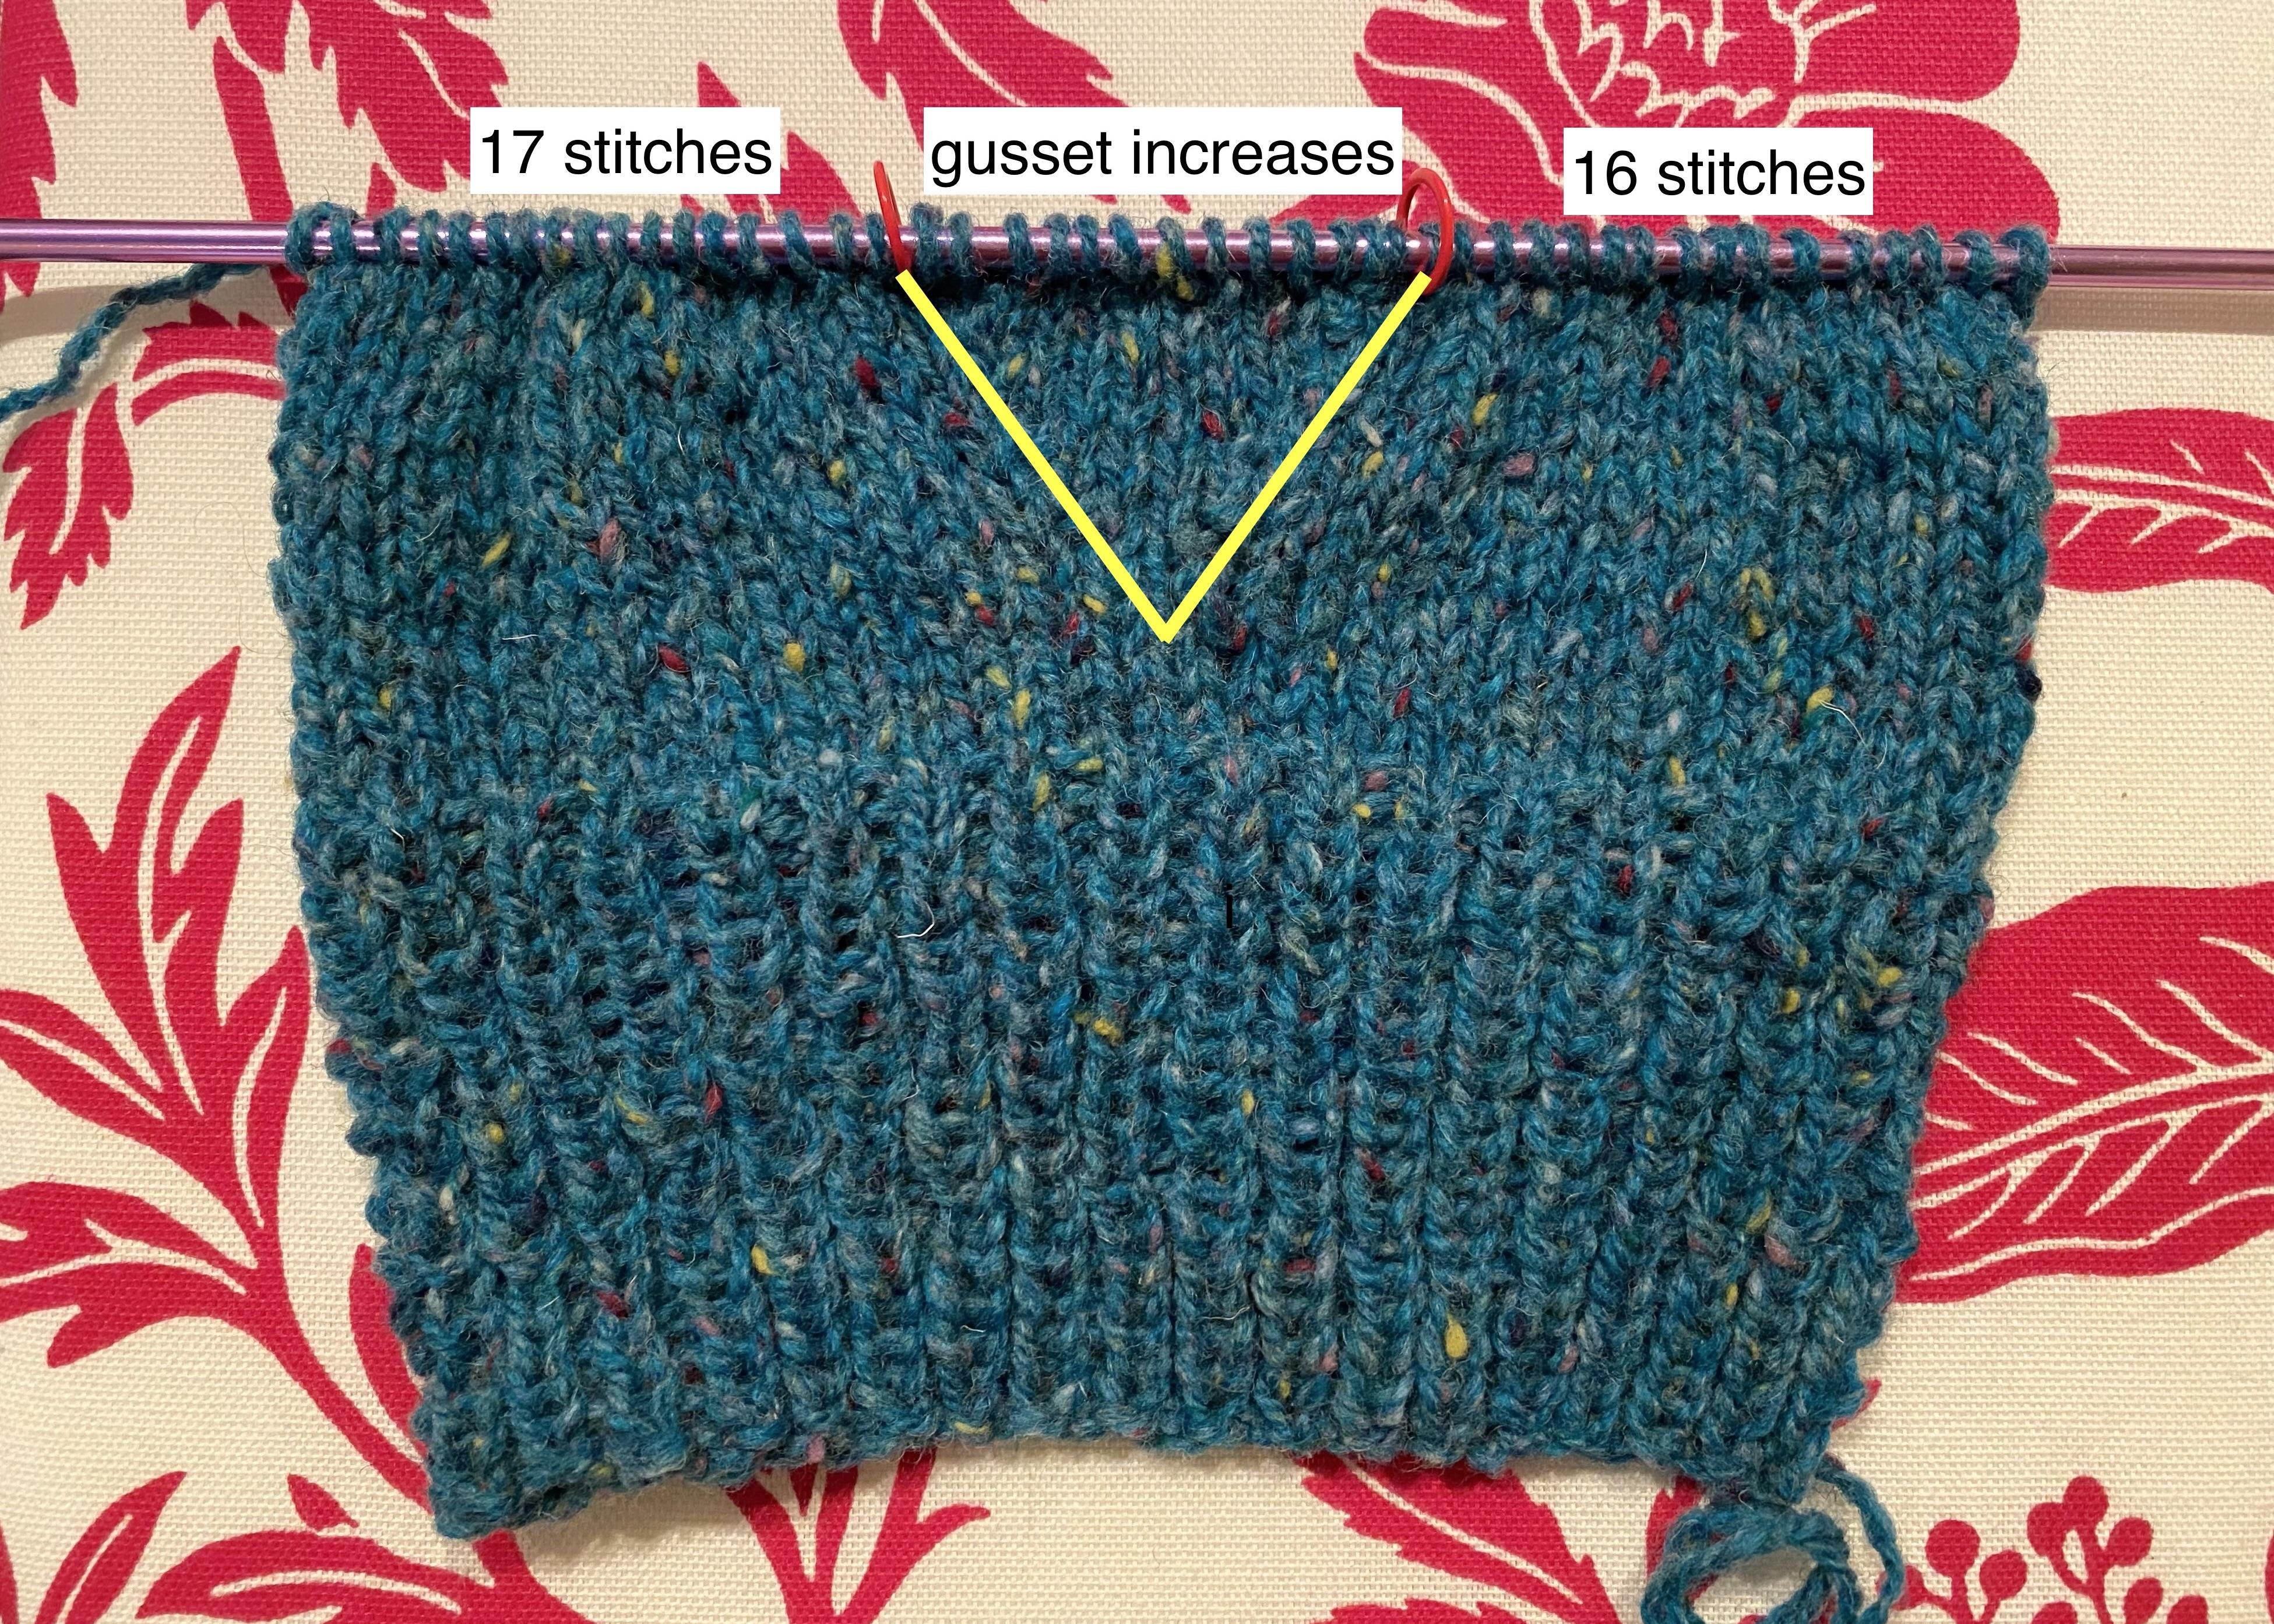 Purl 10th row and remove markers. Turn work over to RS.
Shape Thumb: With RS facing, k27, increase 1 stitch on the next (28th) stitch. 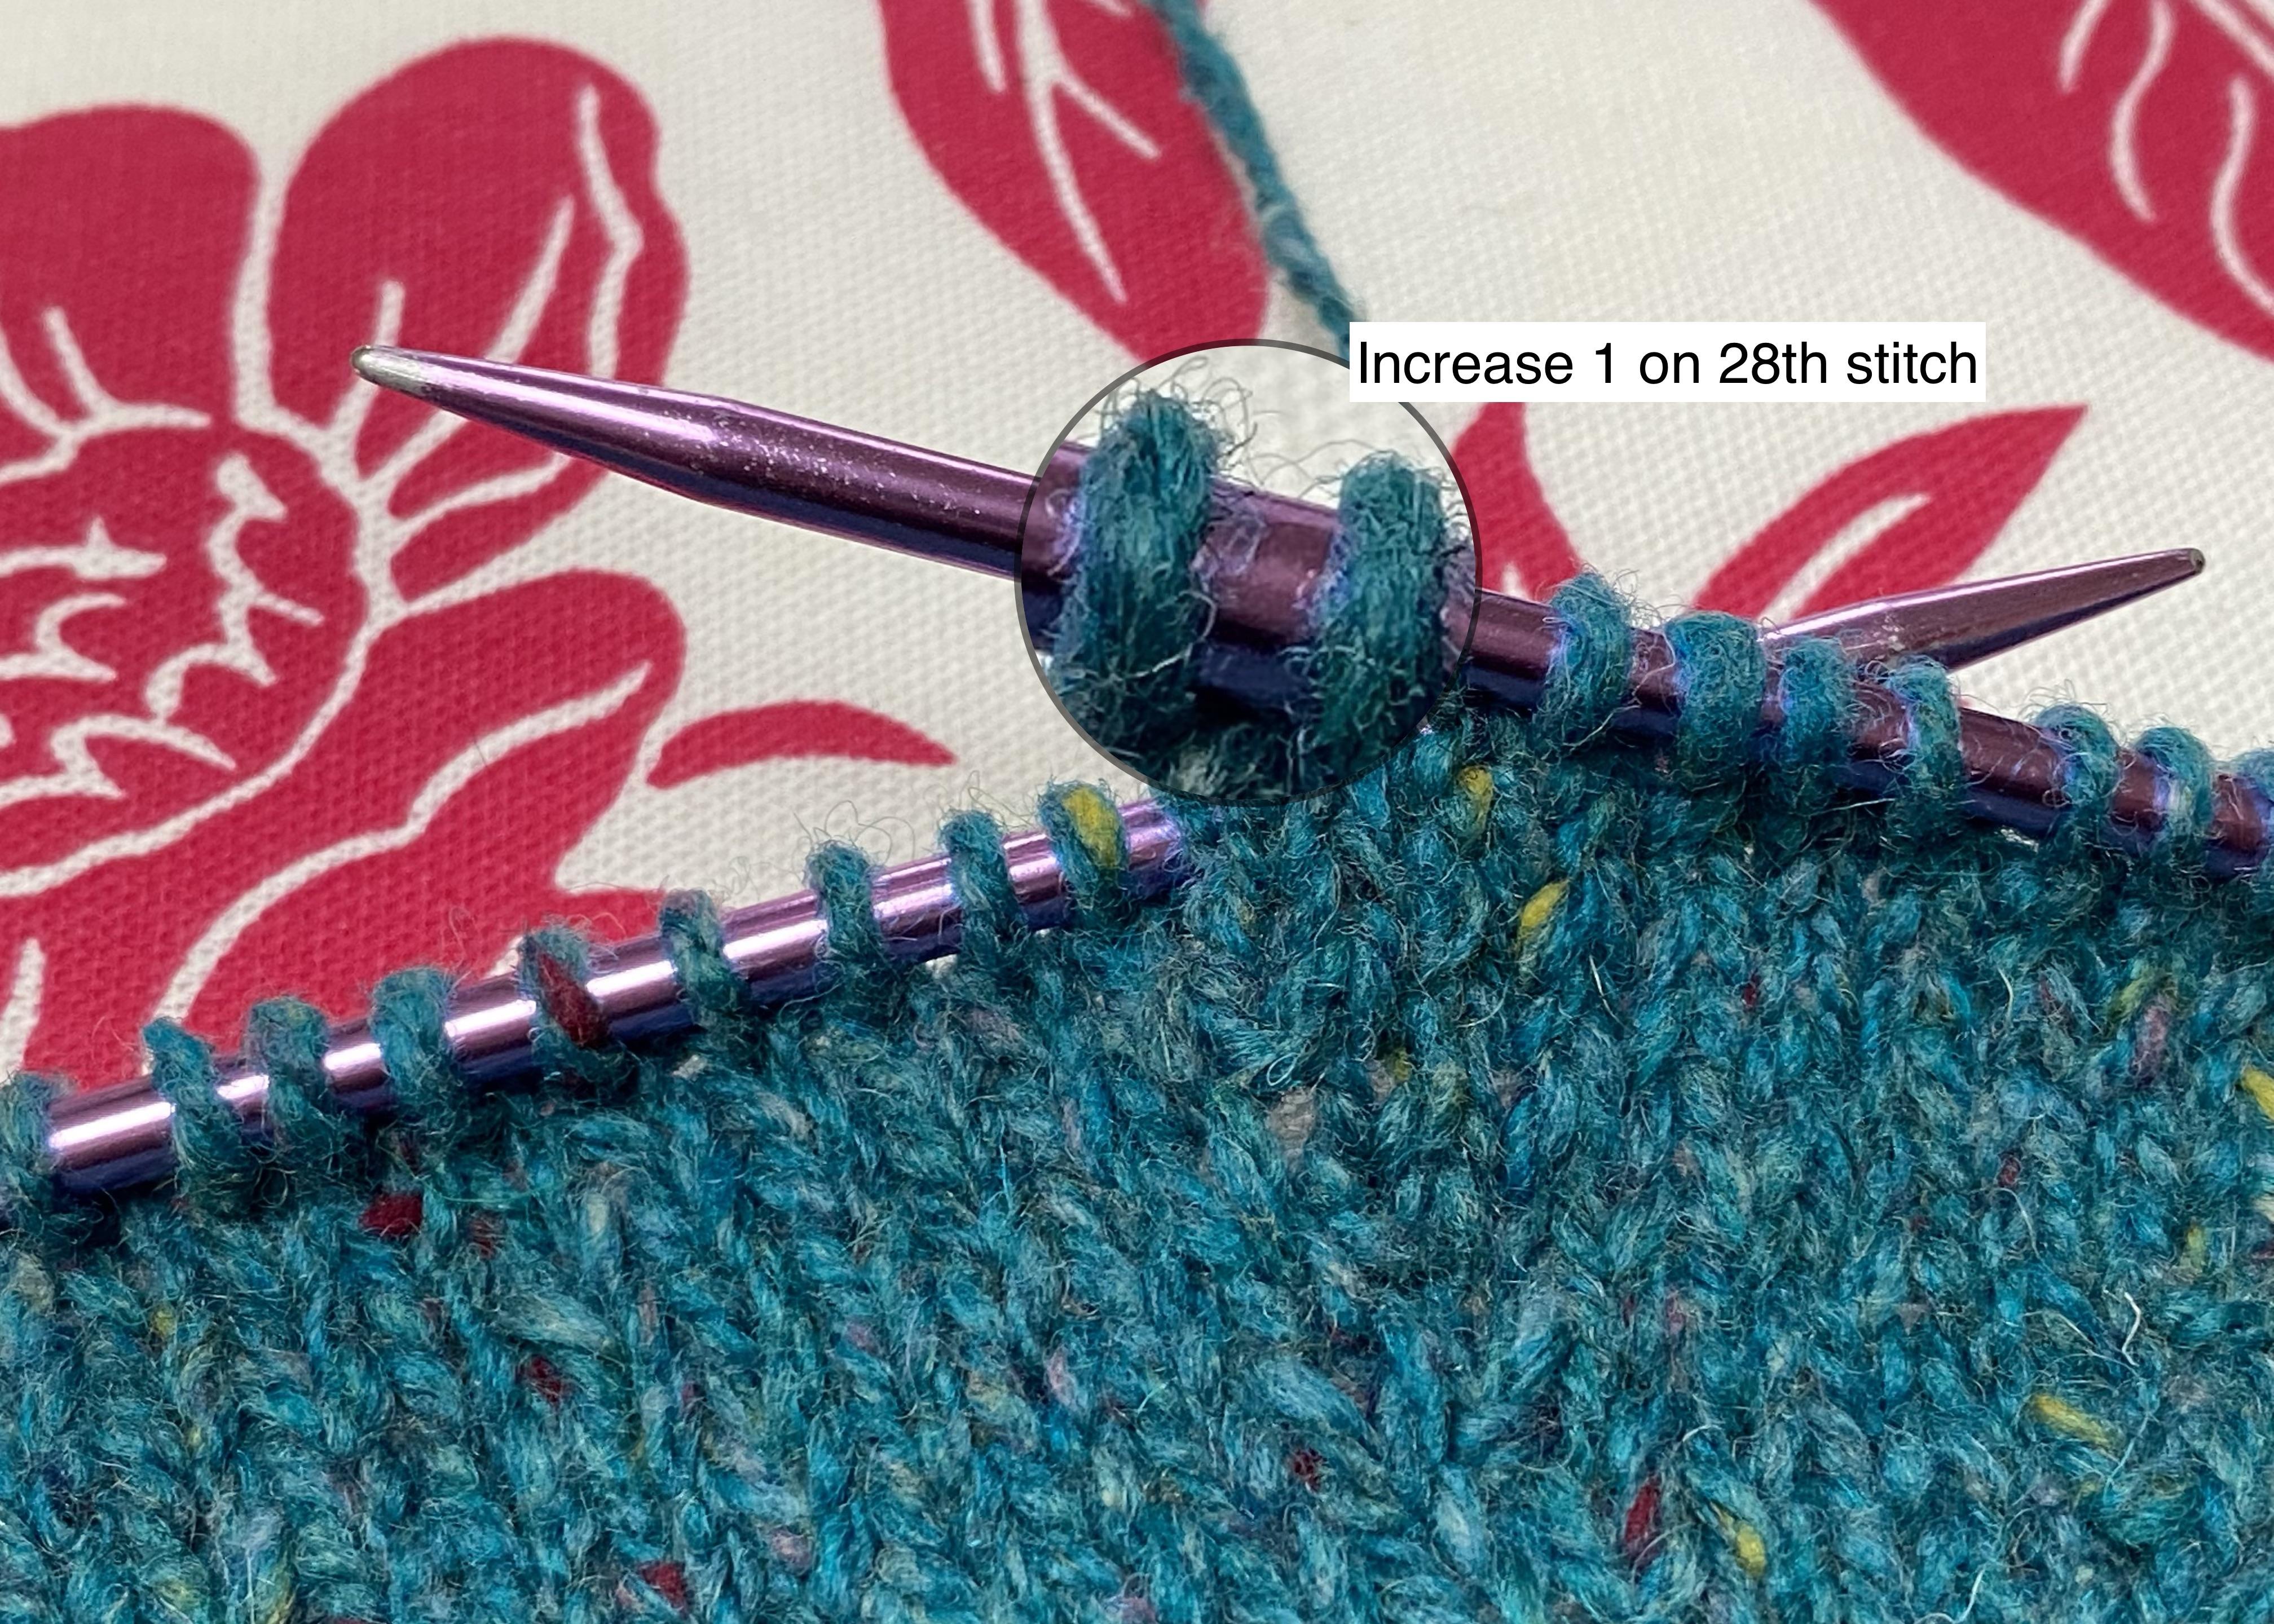
Turn work. With WS facing, p11, increase 1 stitch on the next (12th) stitch for a total of 13 stitches. 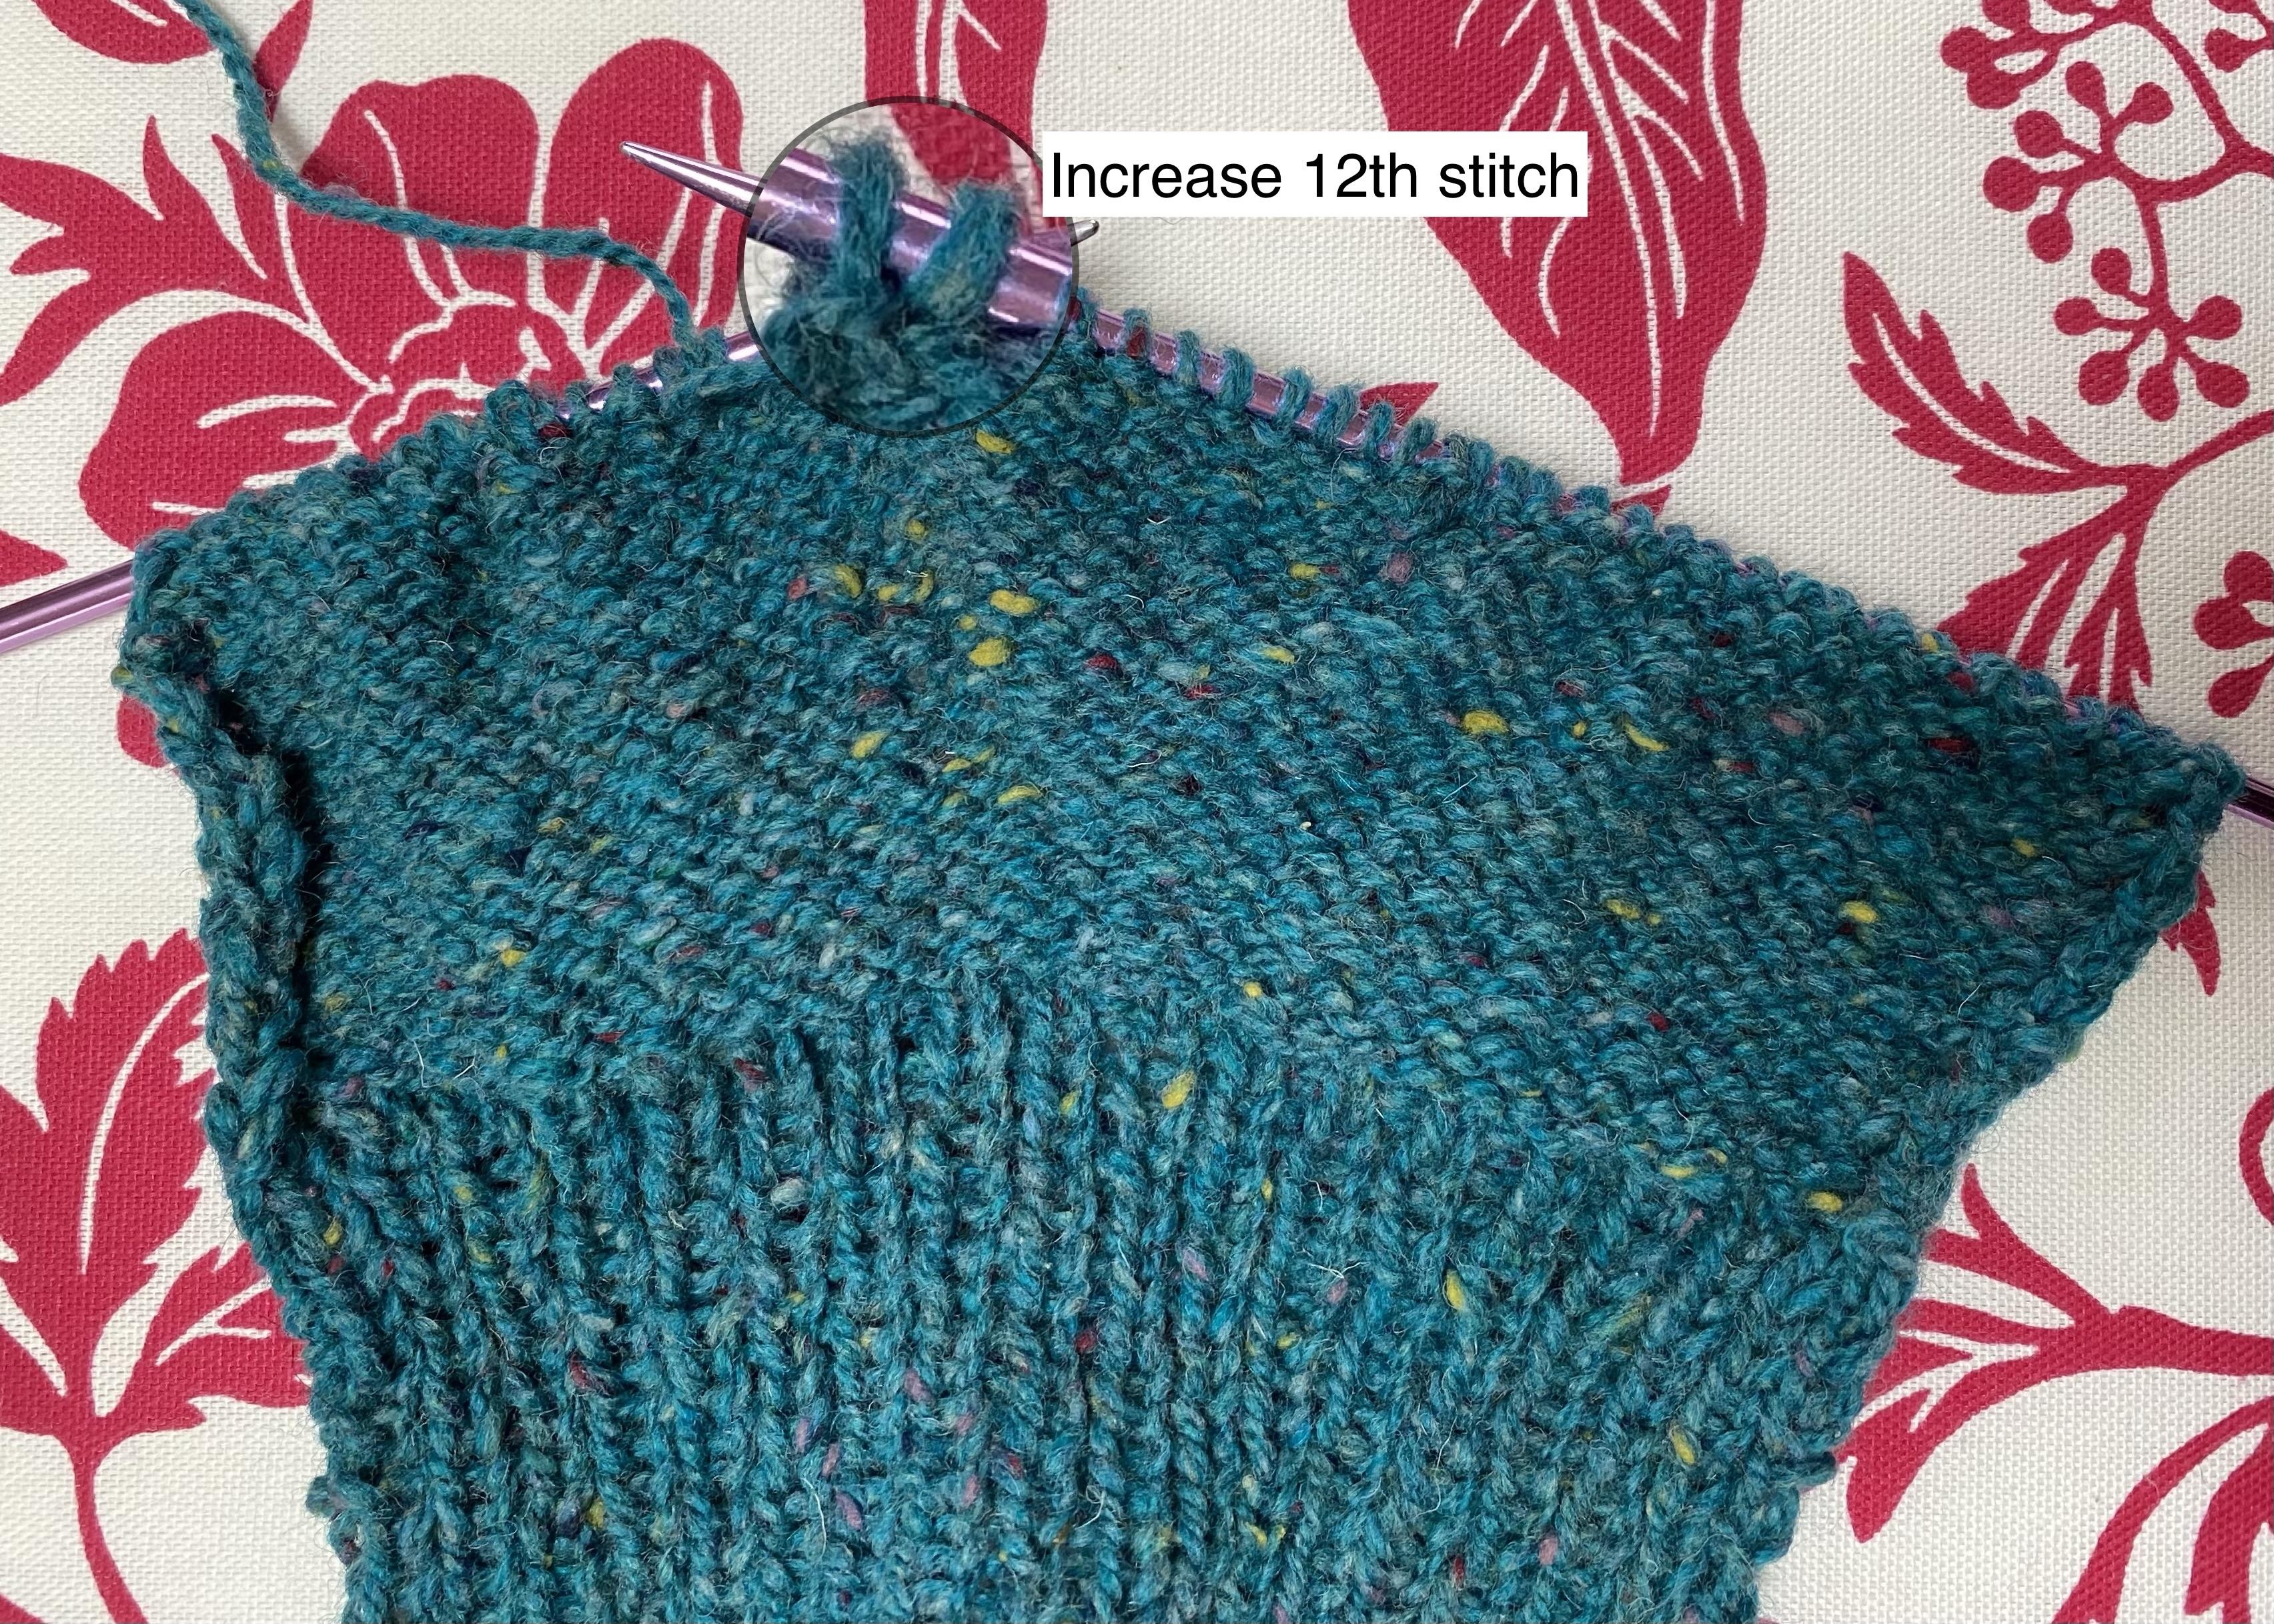 Turn work. Begin working back and forth in stockinette stitch on these 13 stitches for 4 rows. Your work will look a little wonky on the needle.
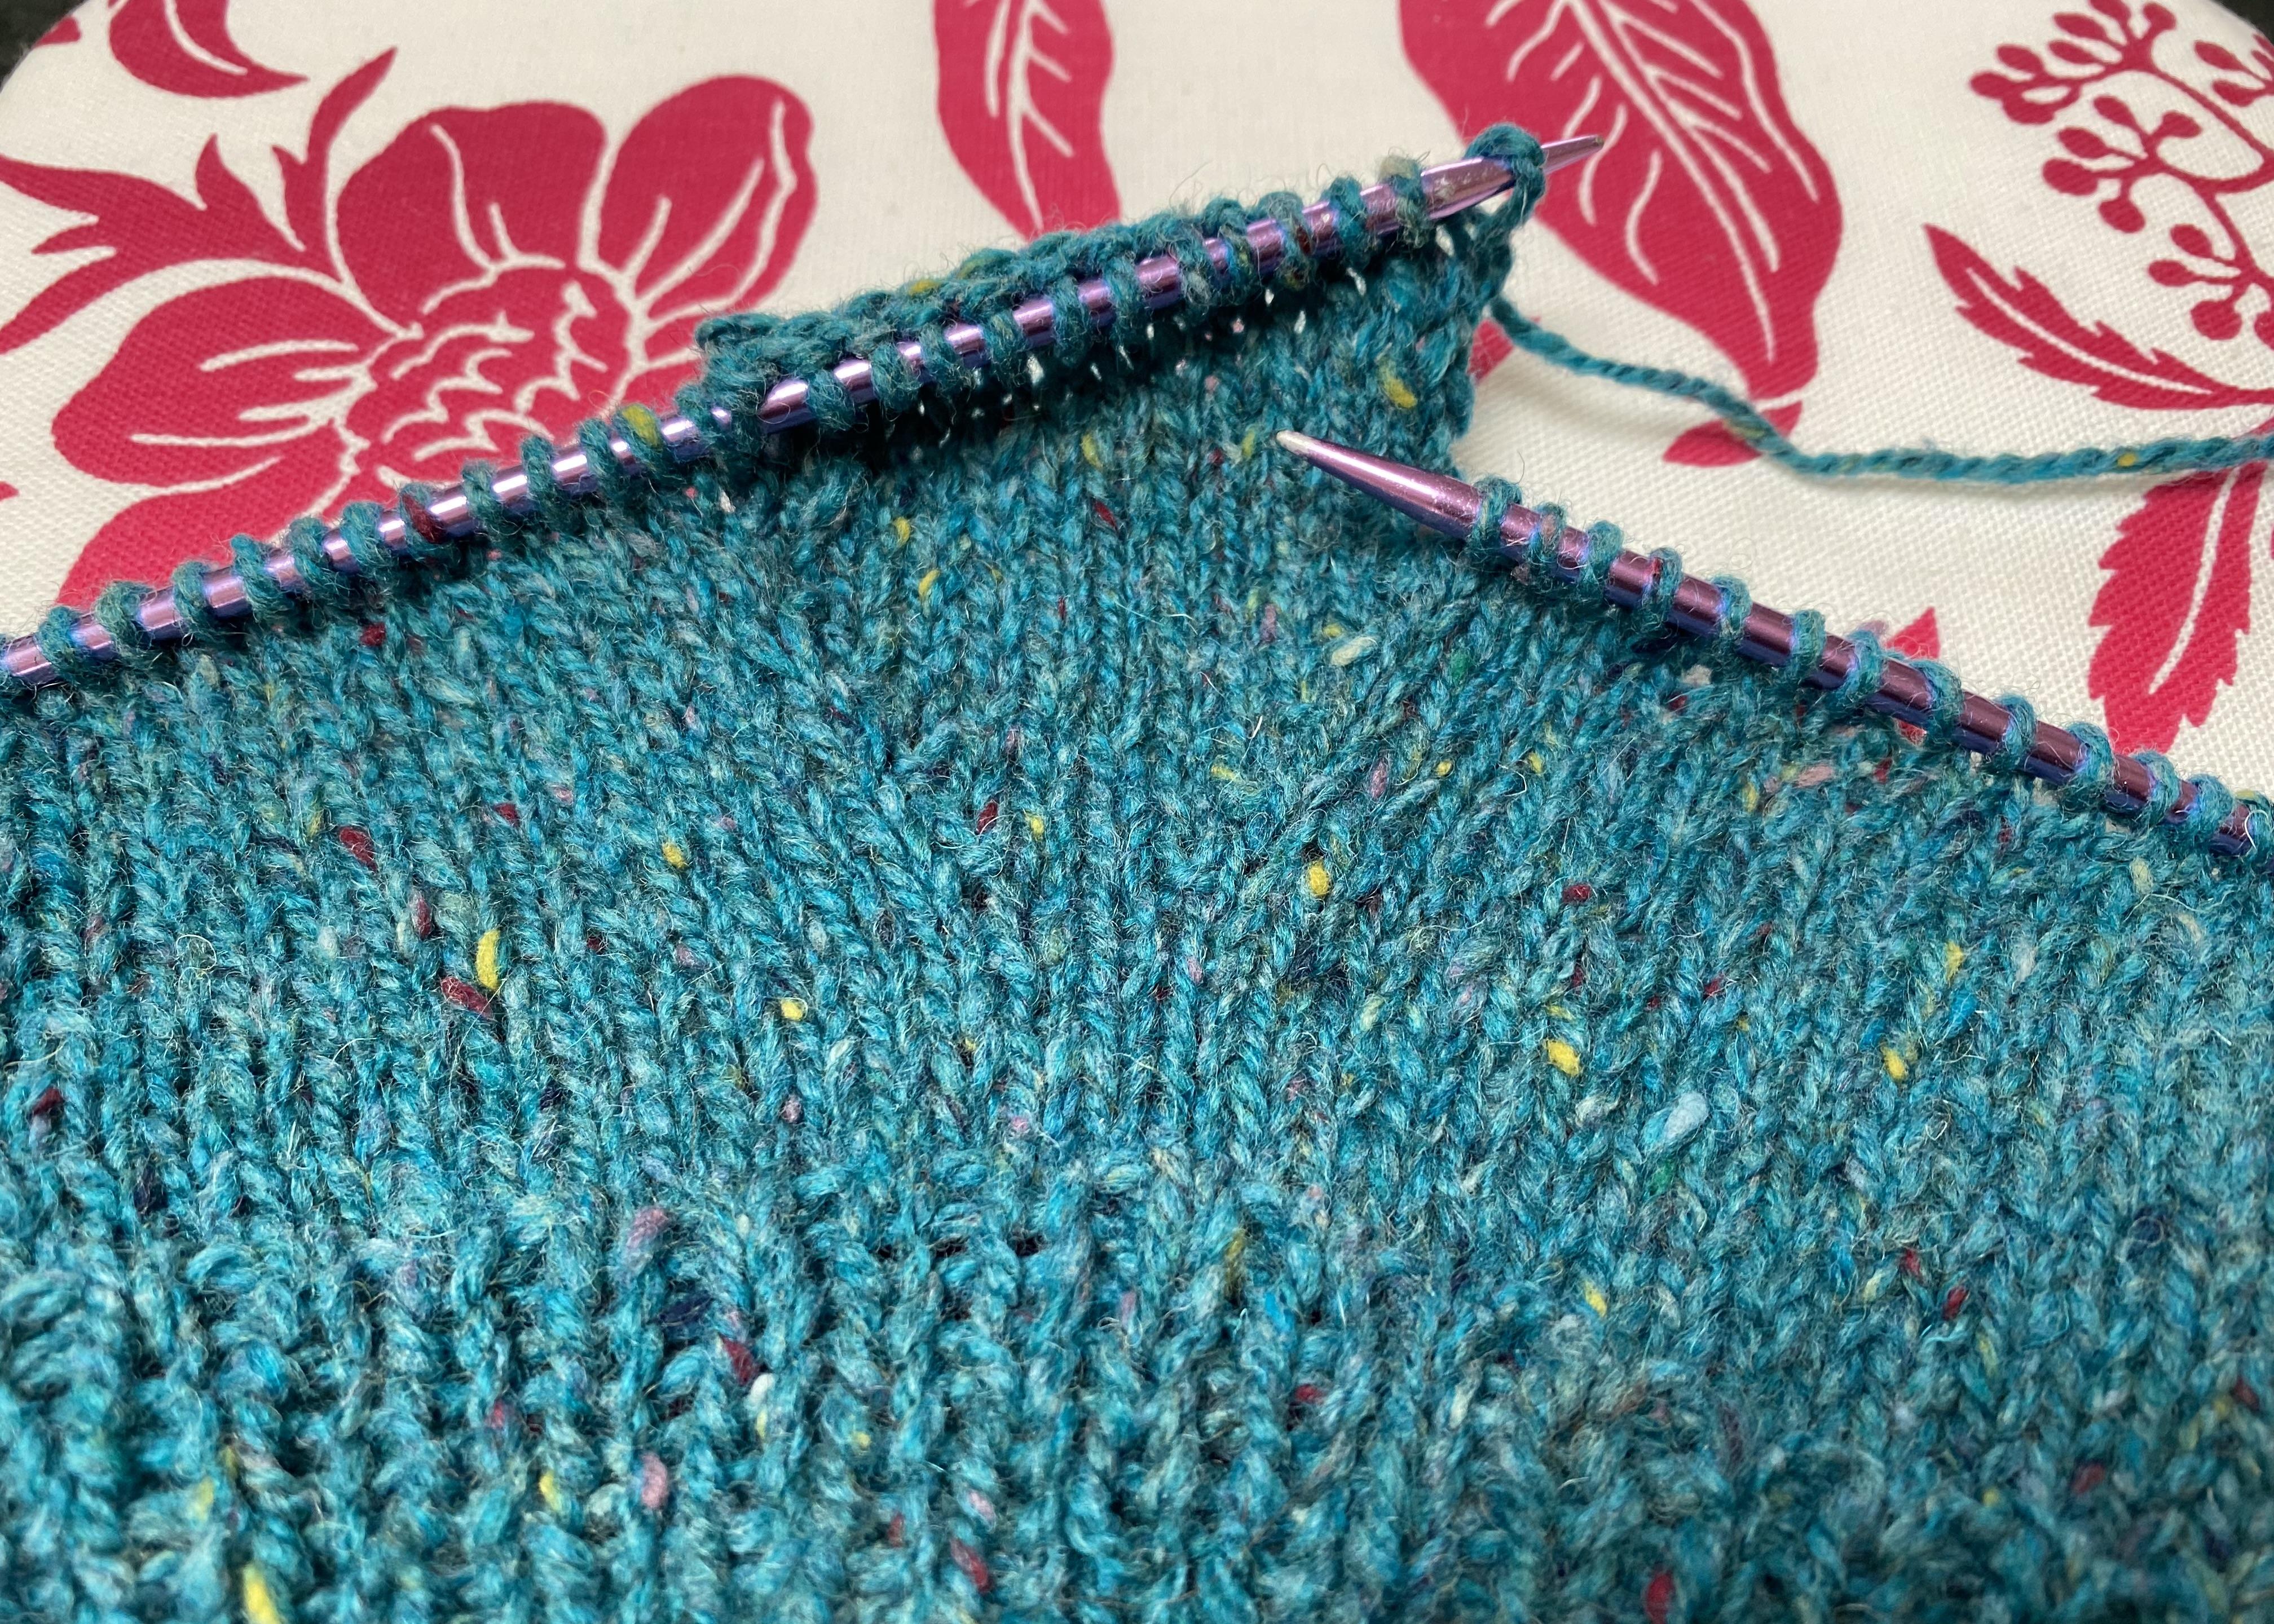
Loosely bind off the 13 thumb stitches leaving a 10-inch tail. Your work will look like this. 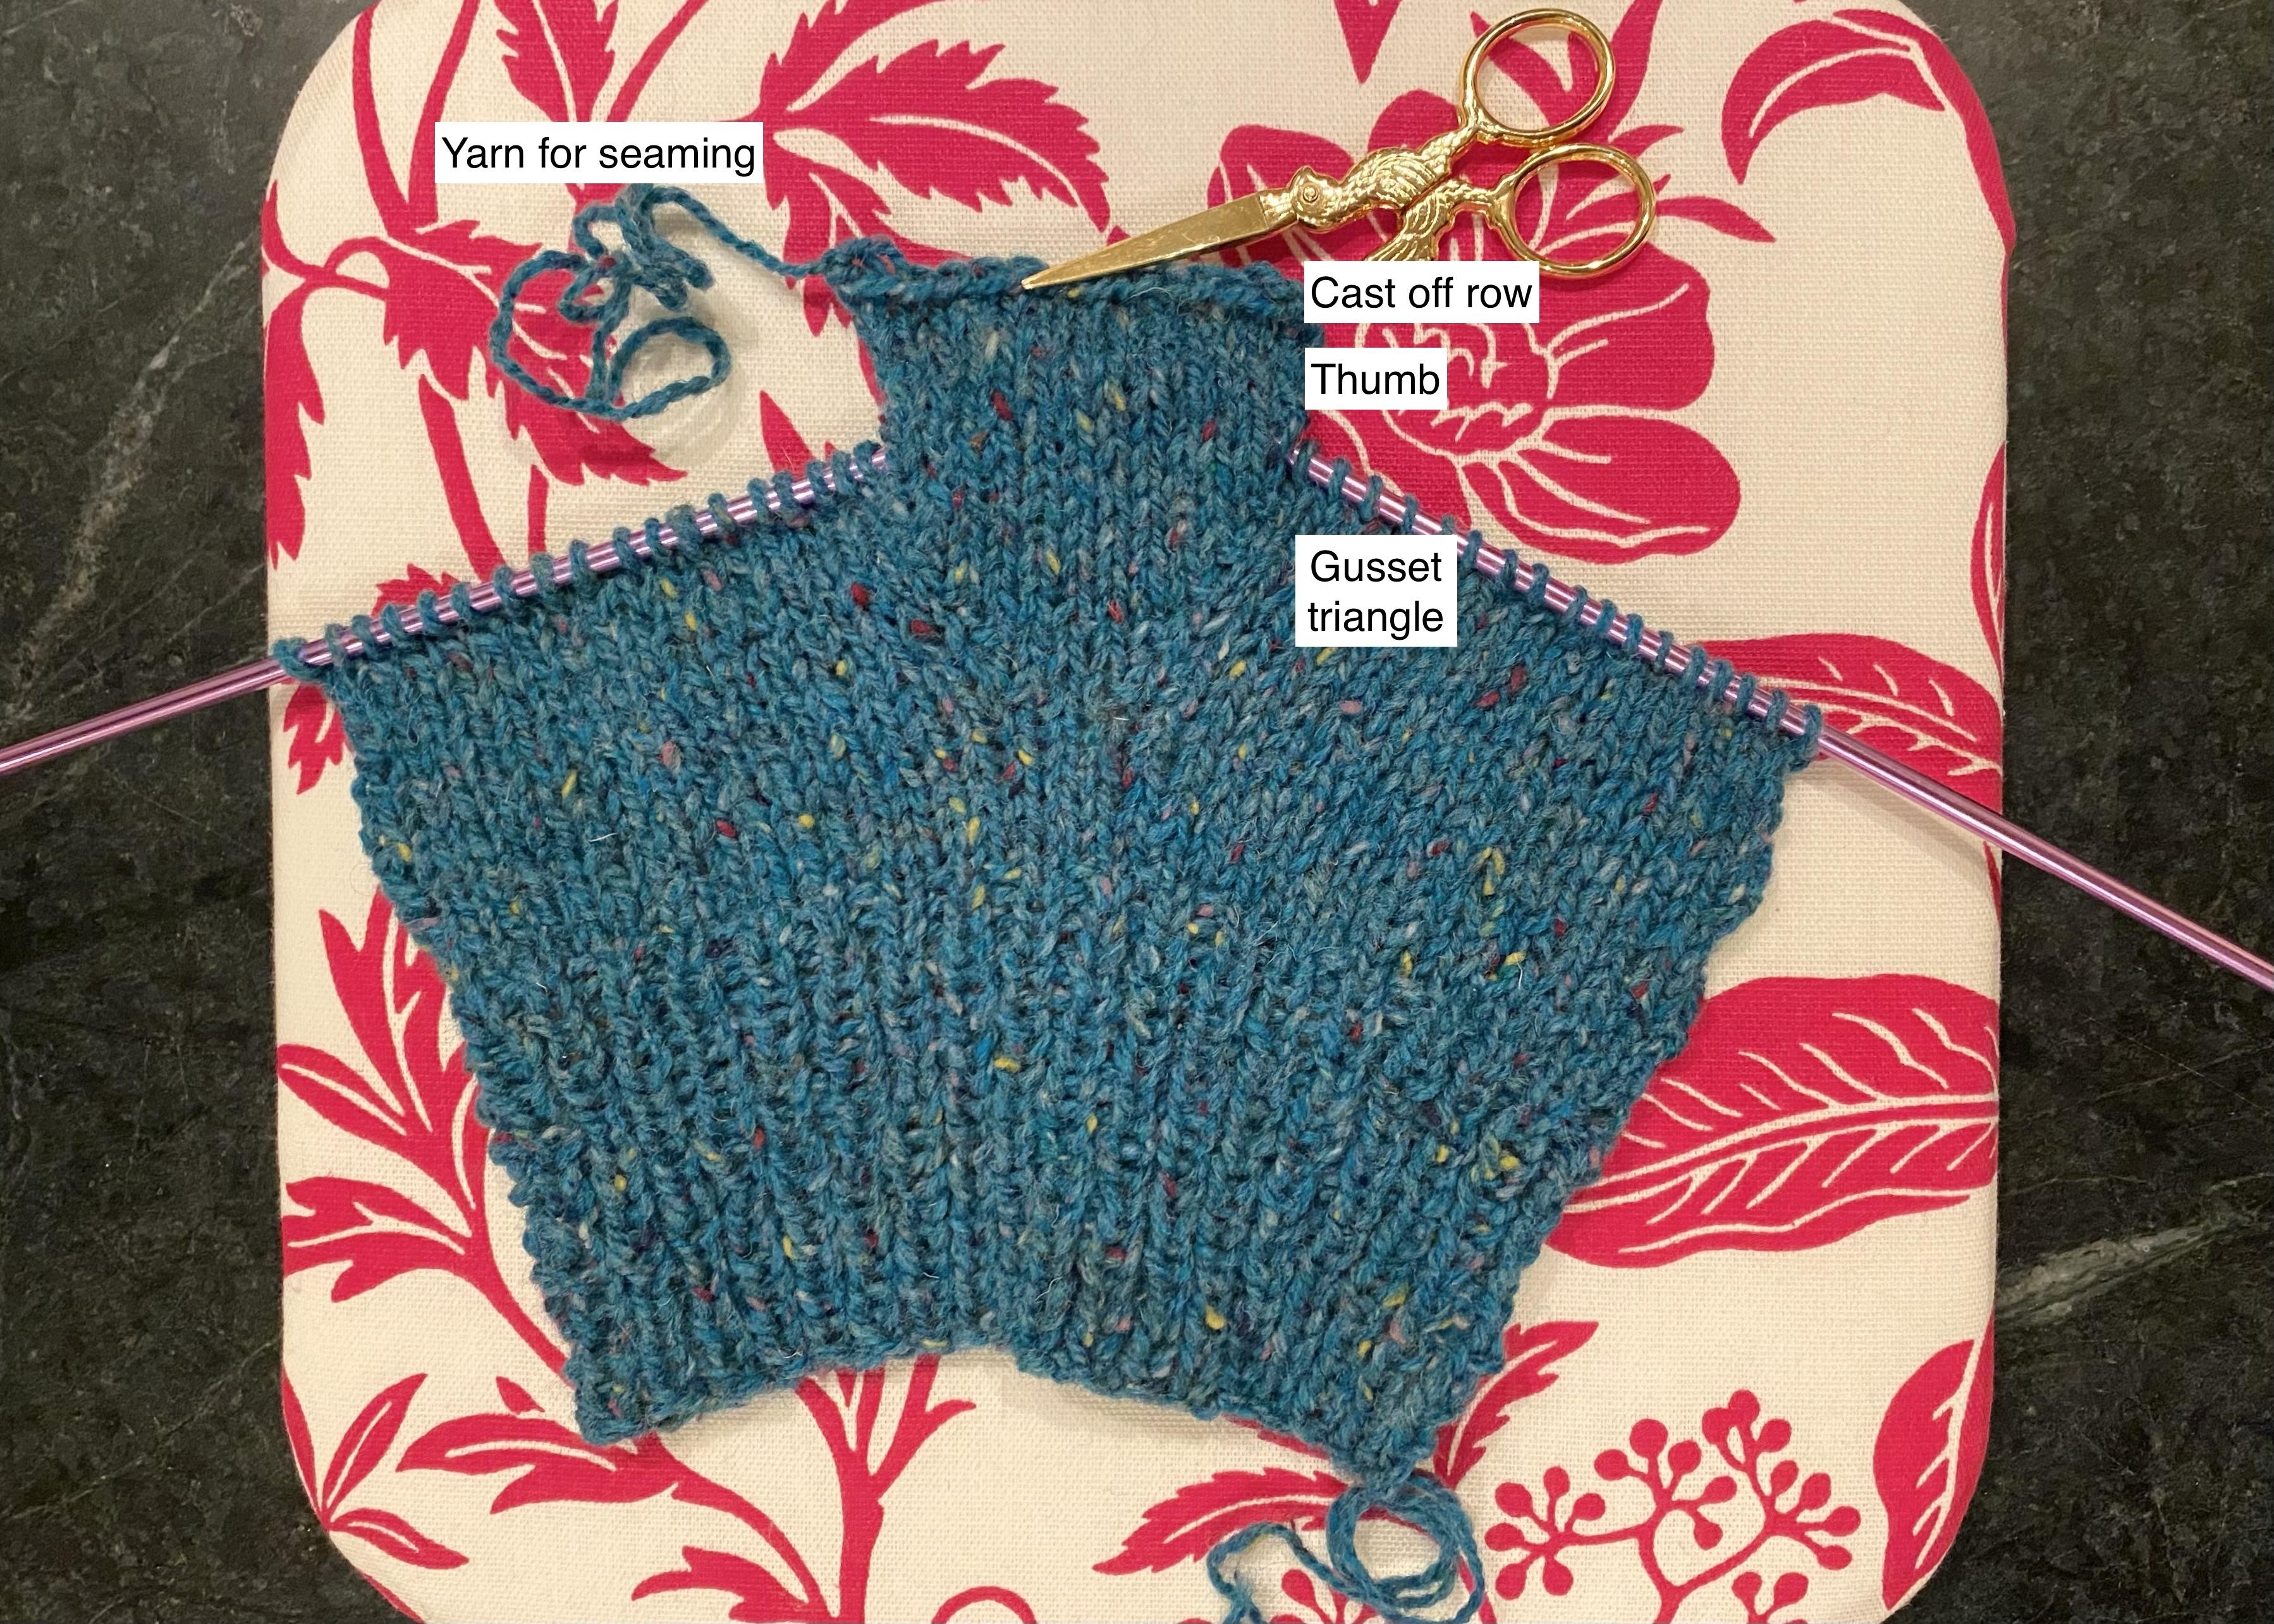
Knit Remainder of Hand: Row 1: With RS facing, join yarn from ball and increase 1 stitch on the first stitch on the left side of thumb gusset/flap. Knit to end of row. You should have a total of 36 stitches on the needle with a gap in the middle. 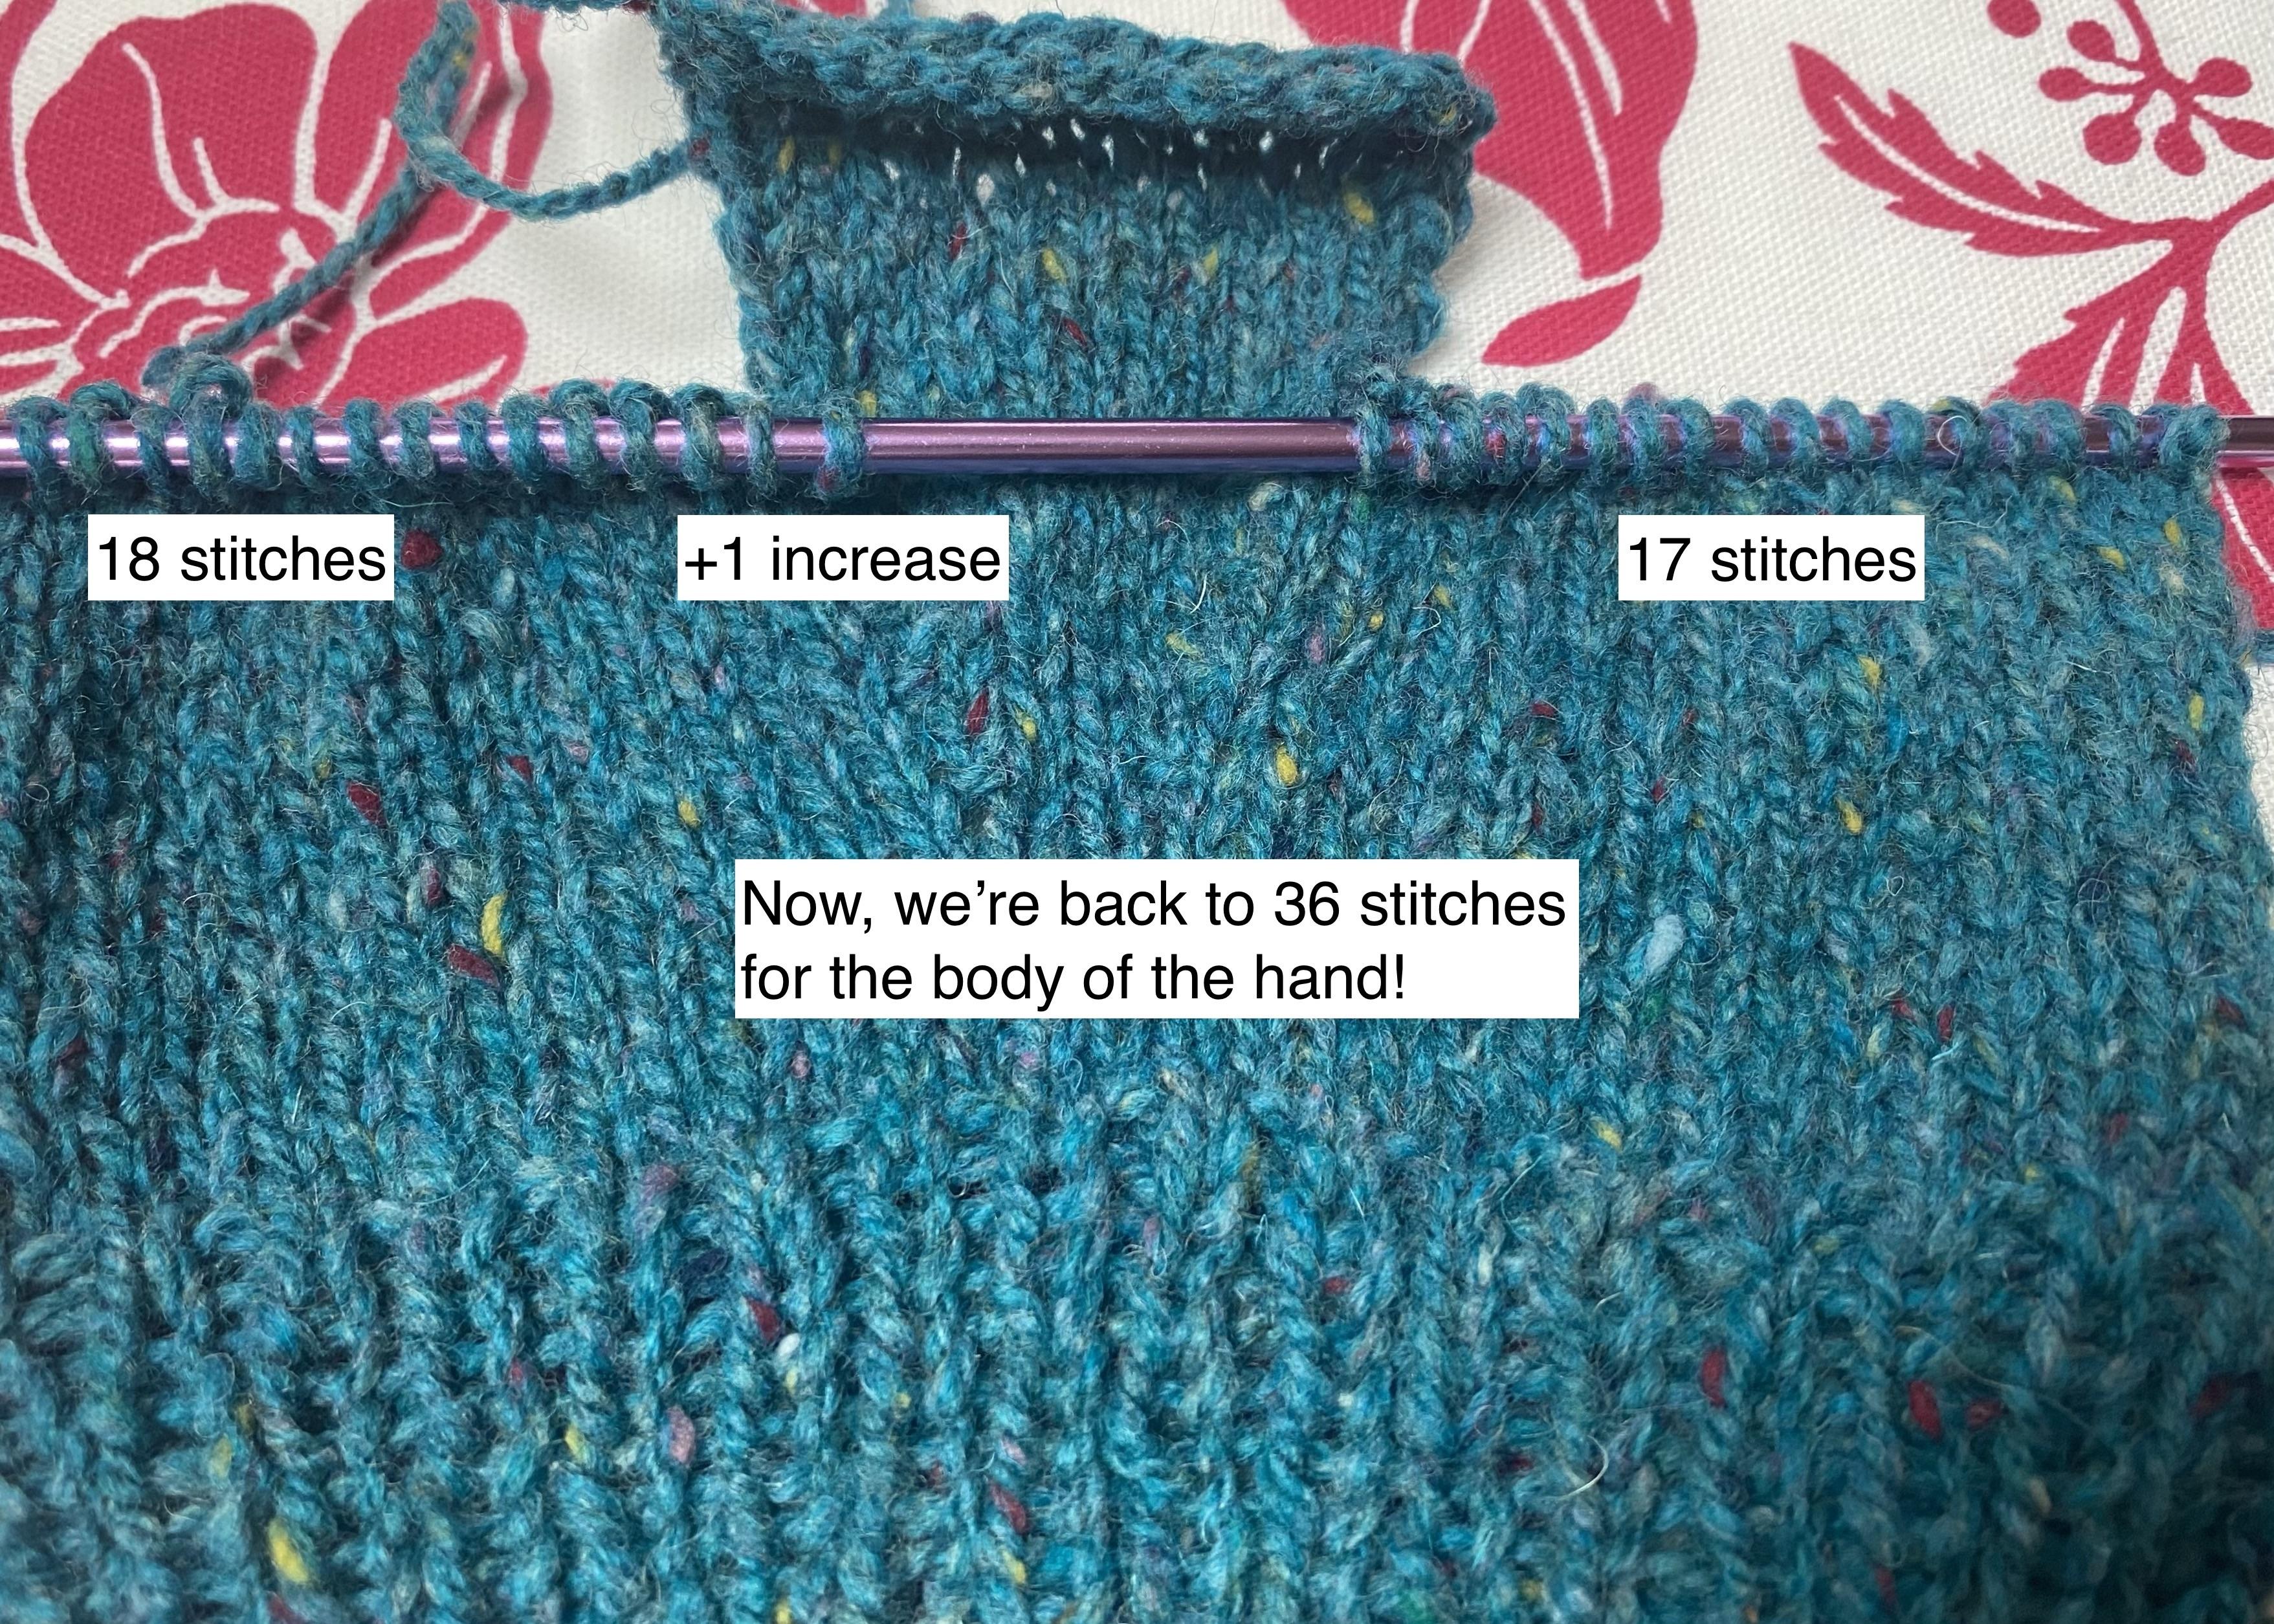
Read more : How To Make A Glove Out Of El Panels
Row 2: Turn work, purl across the row, joining the two sides. 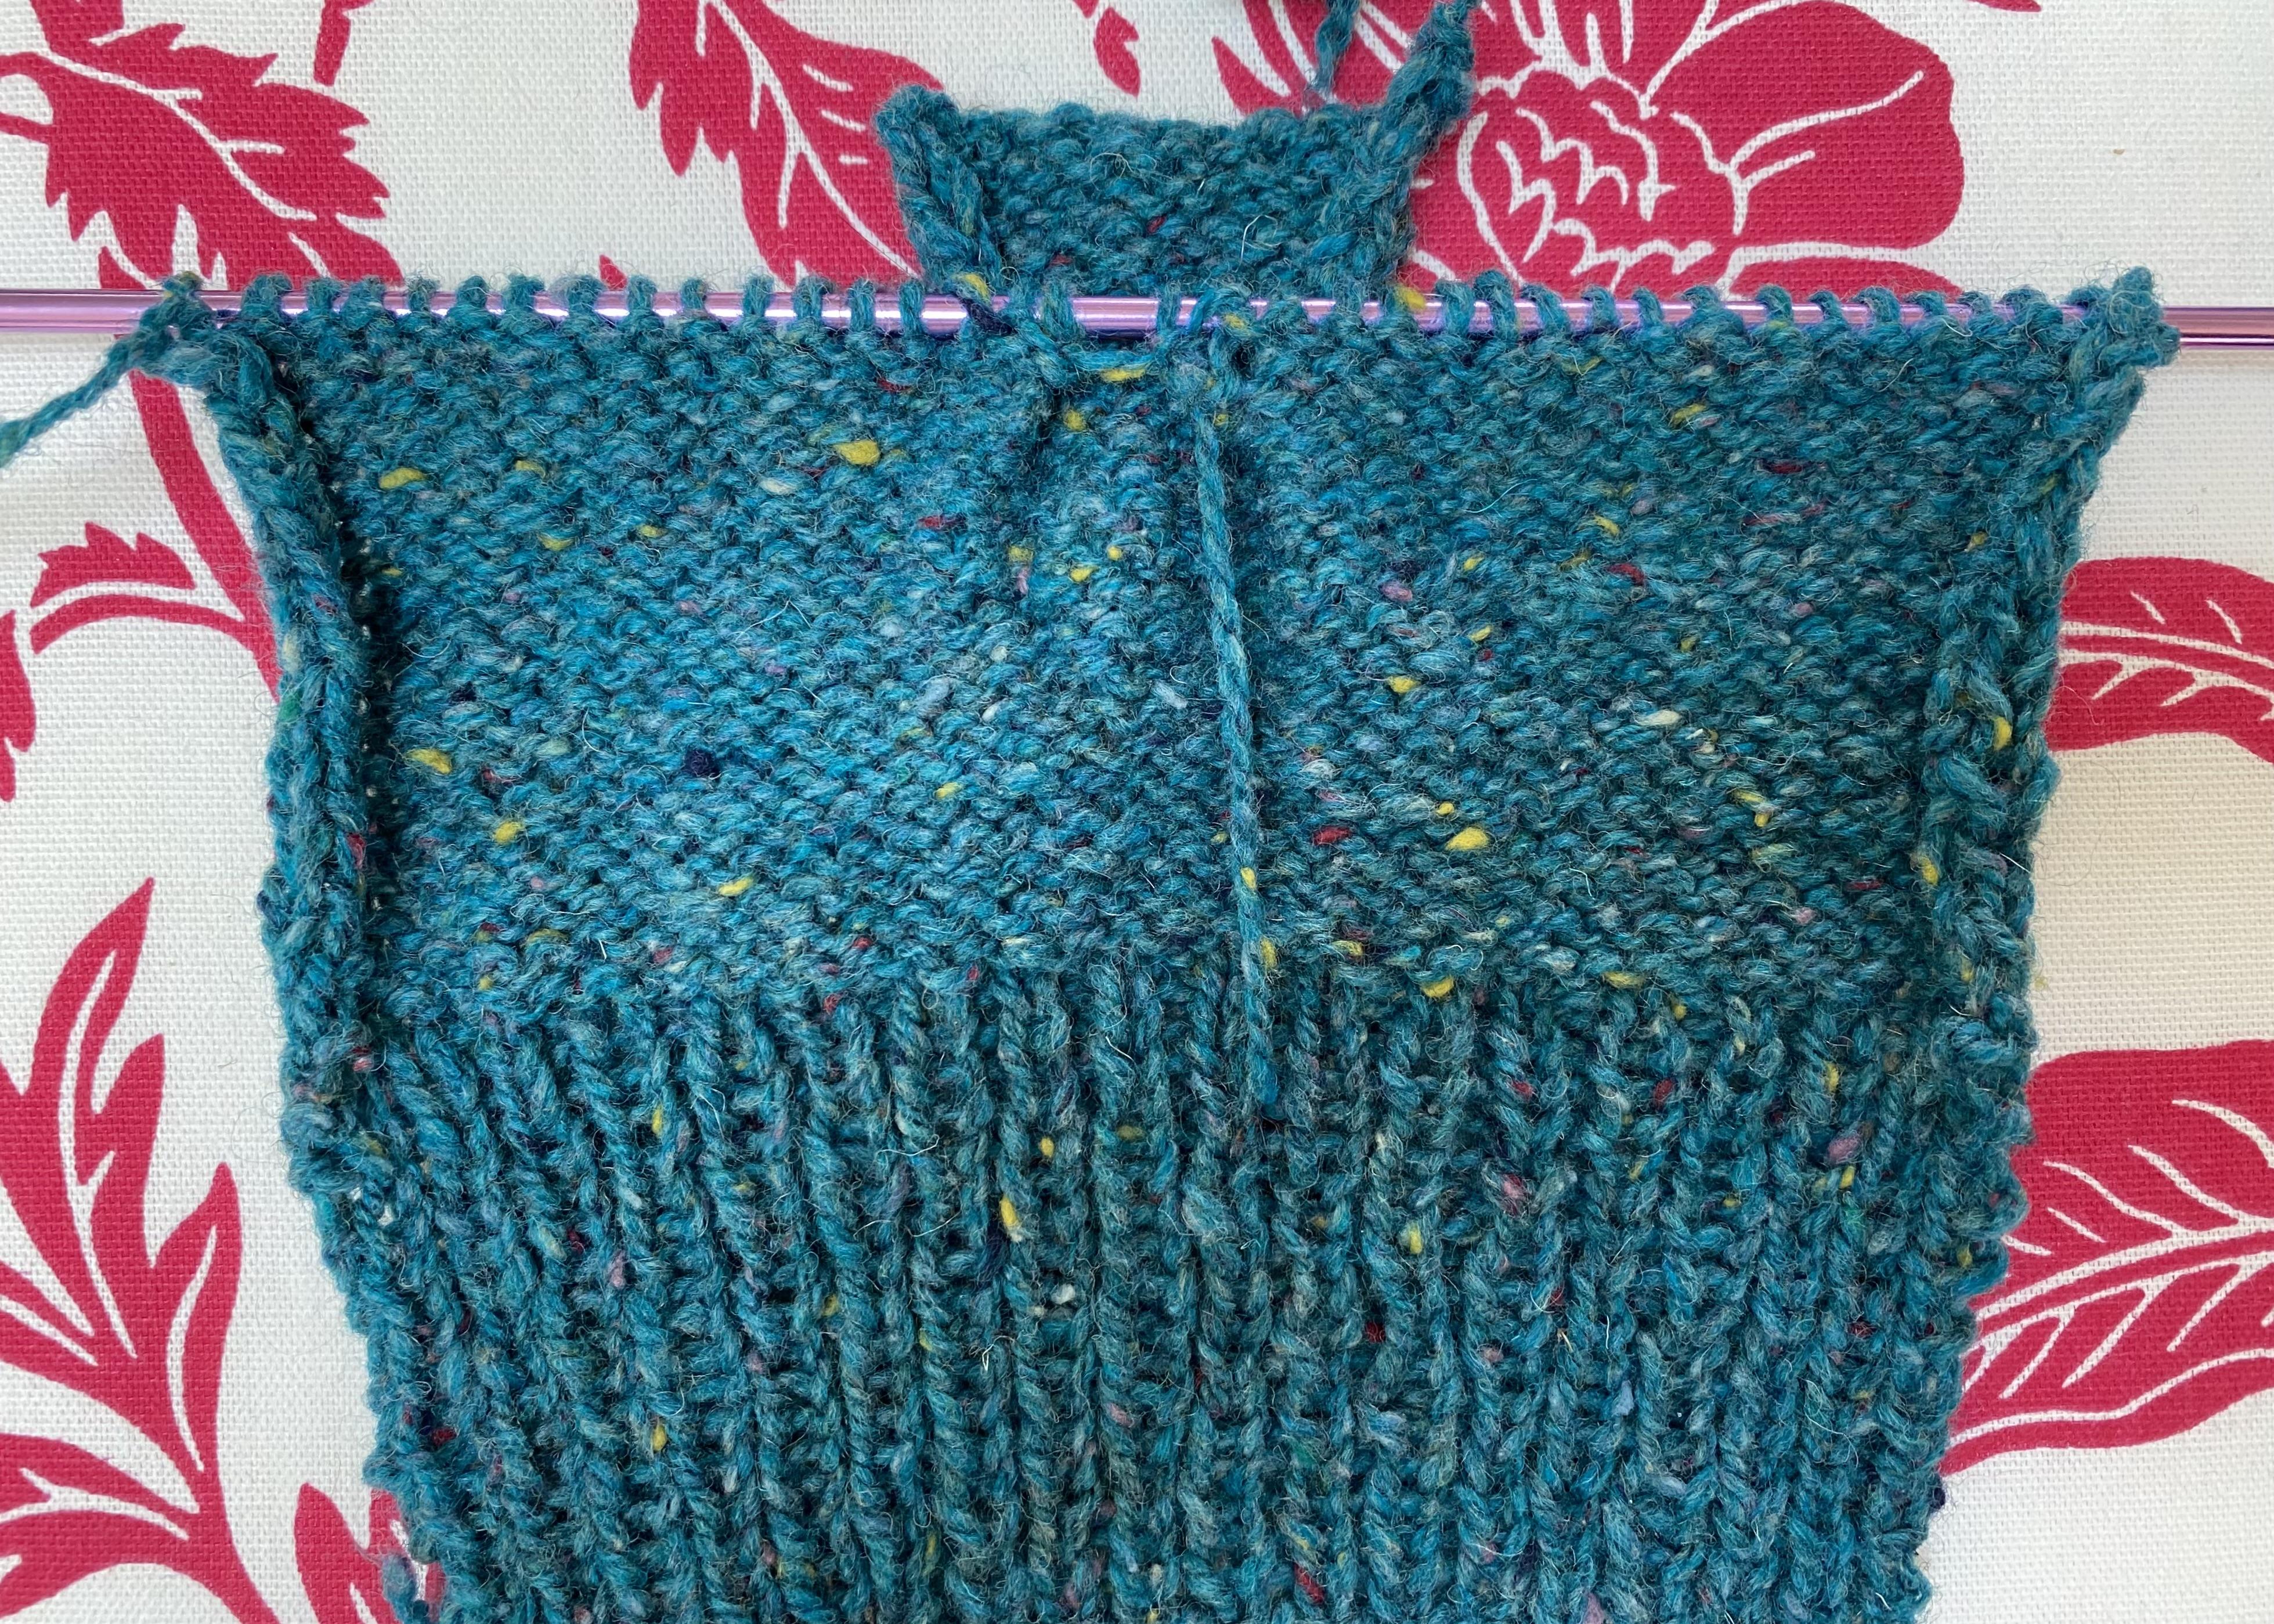
Next 6 rows: Continue in stockinette stitch. If you would like longer mitts for more coverage over fingers, add 4-6 more rows of stockinette stitch at this point. 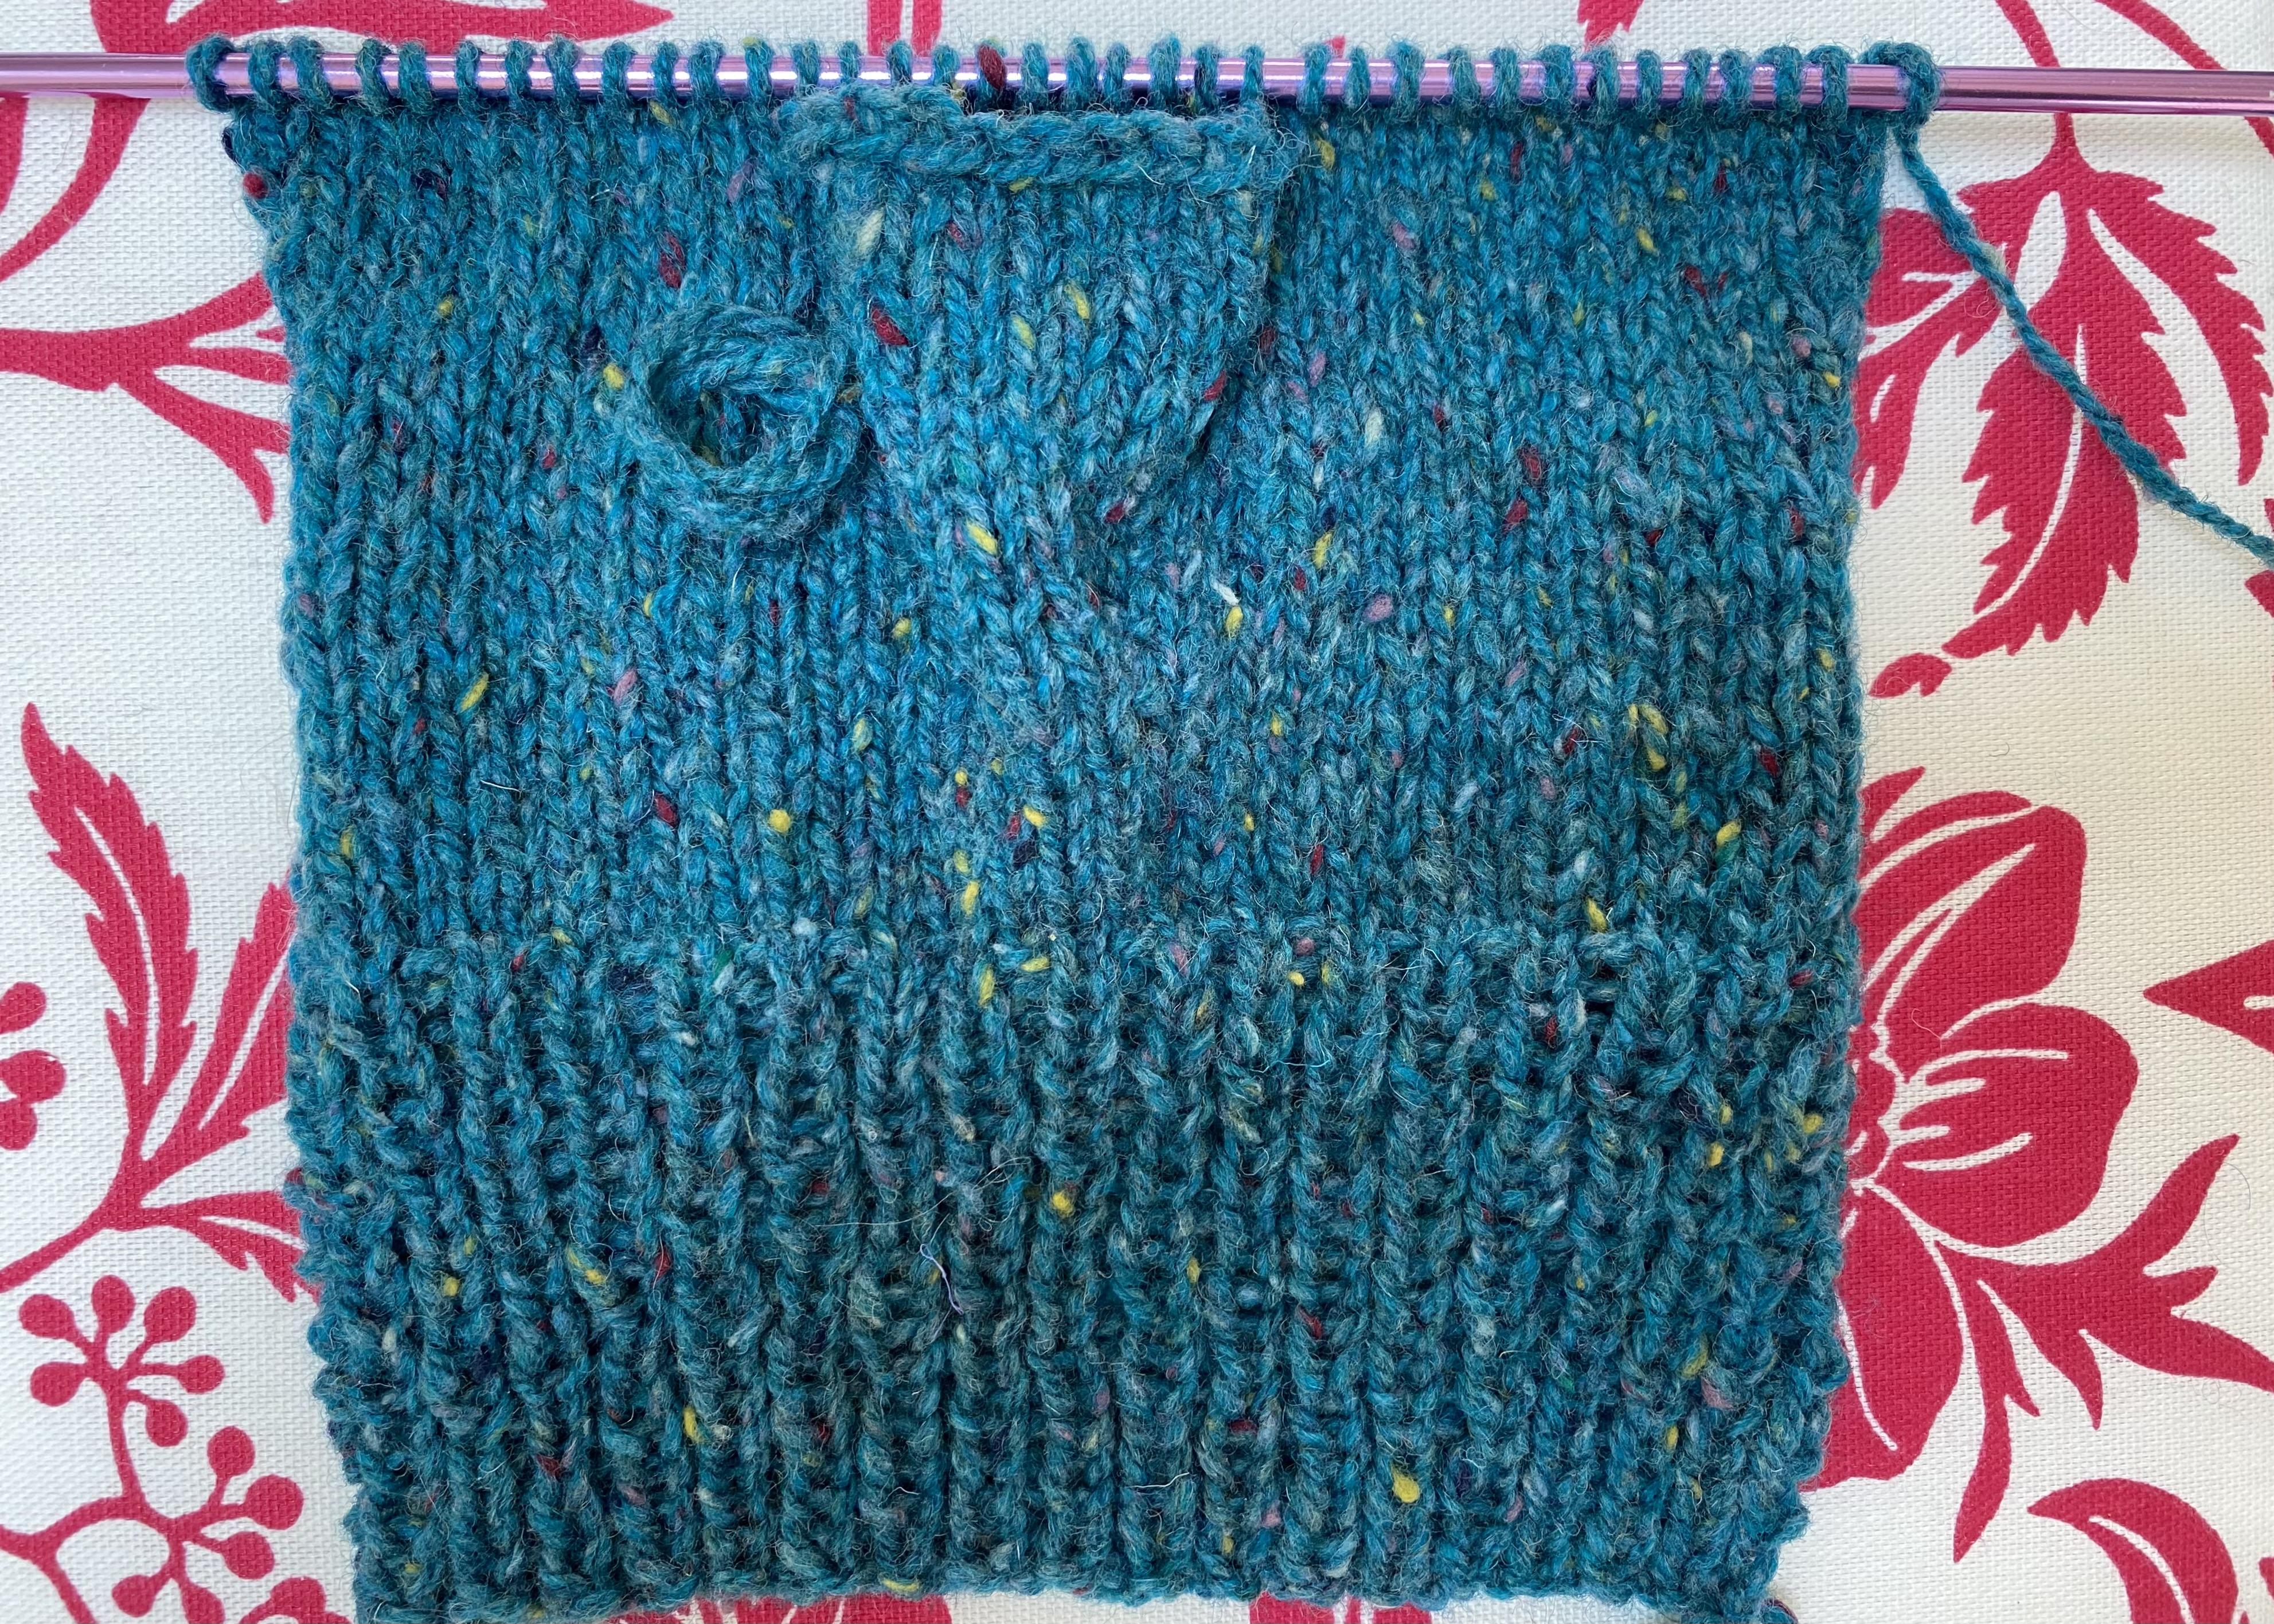
Ribbed Closure: Next 6 rows: k1, p1 rib. 7th row: Bind off stitches in rib pattern. Leave a 15-inch tail. 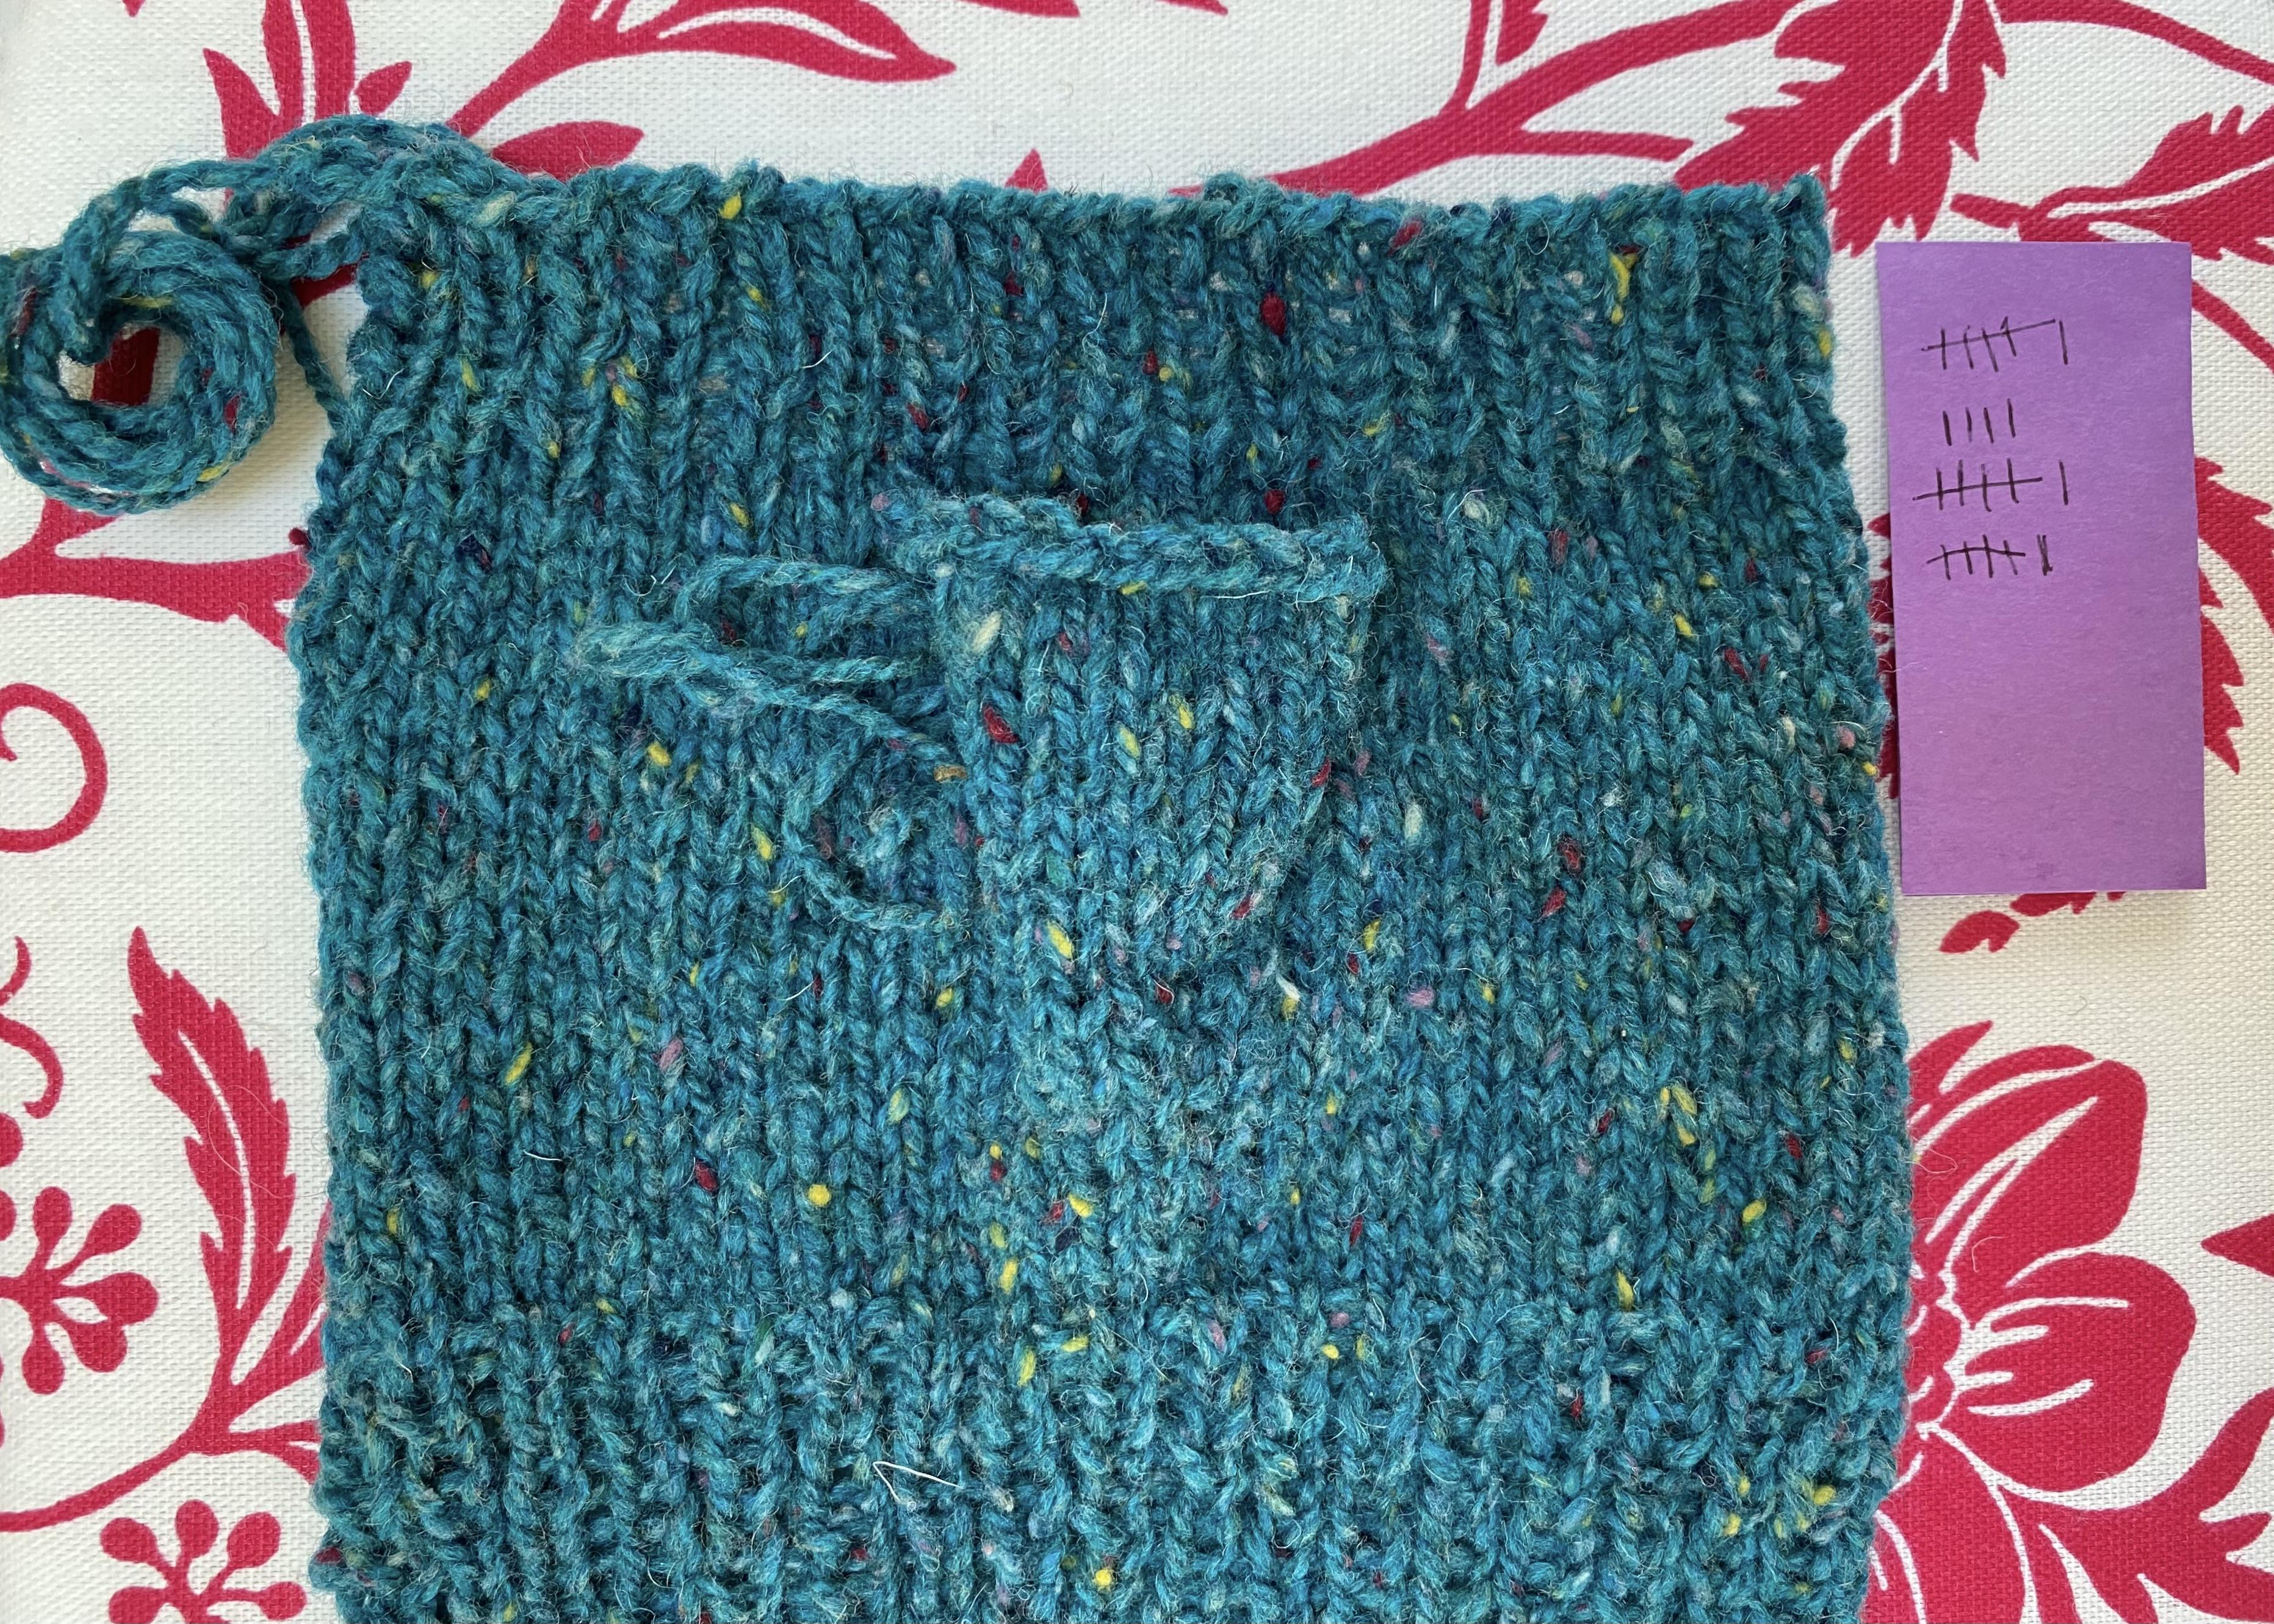
Finishing: Thumb: With RS facing and starting from the top, use the mattress stitch to sew the seam. Turn fabric to WS, pull tail through work, and weave in the end. 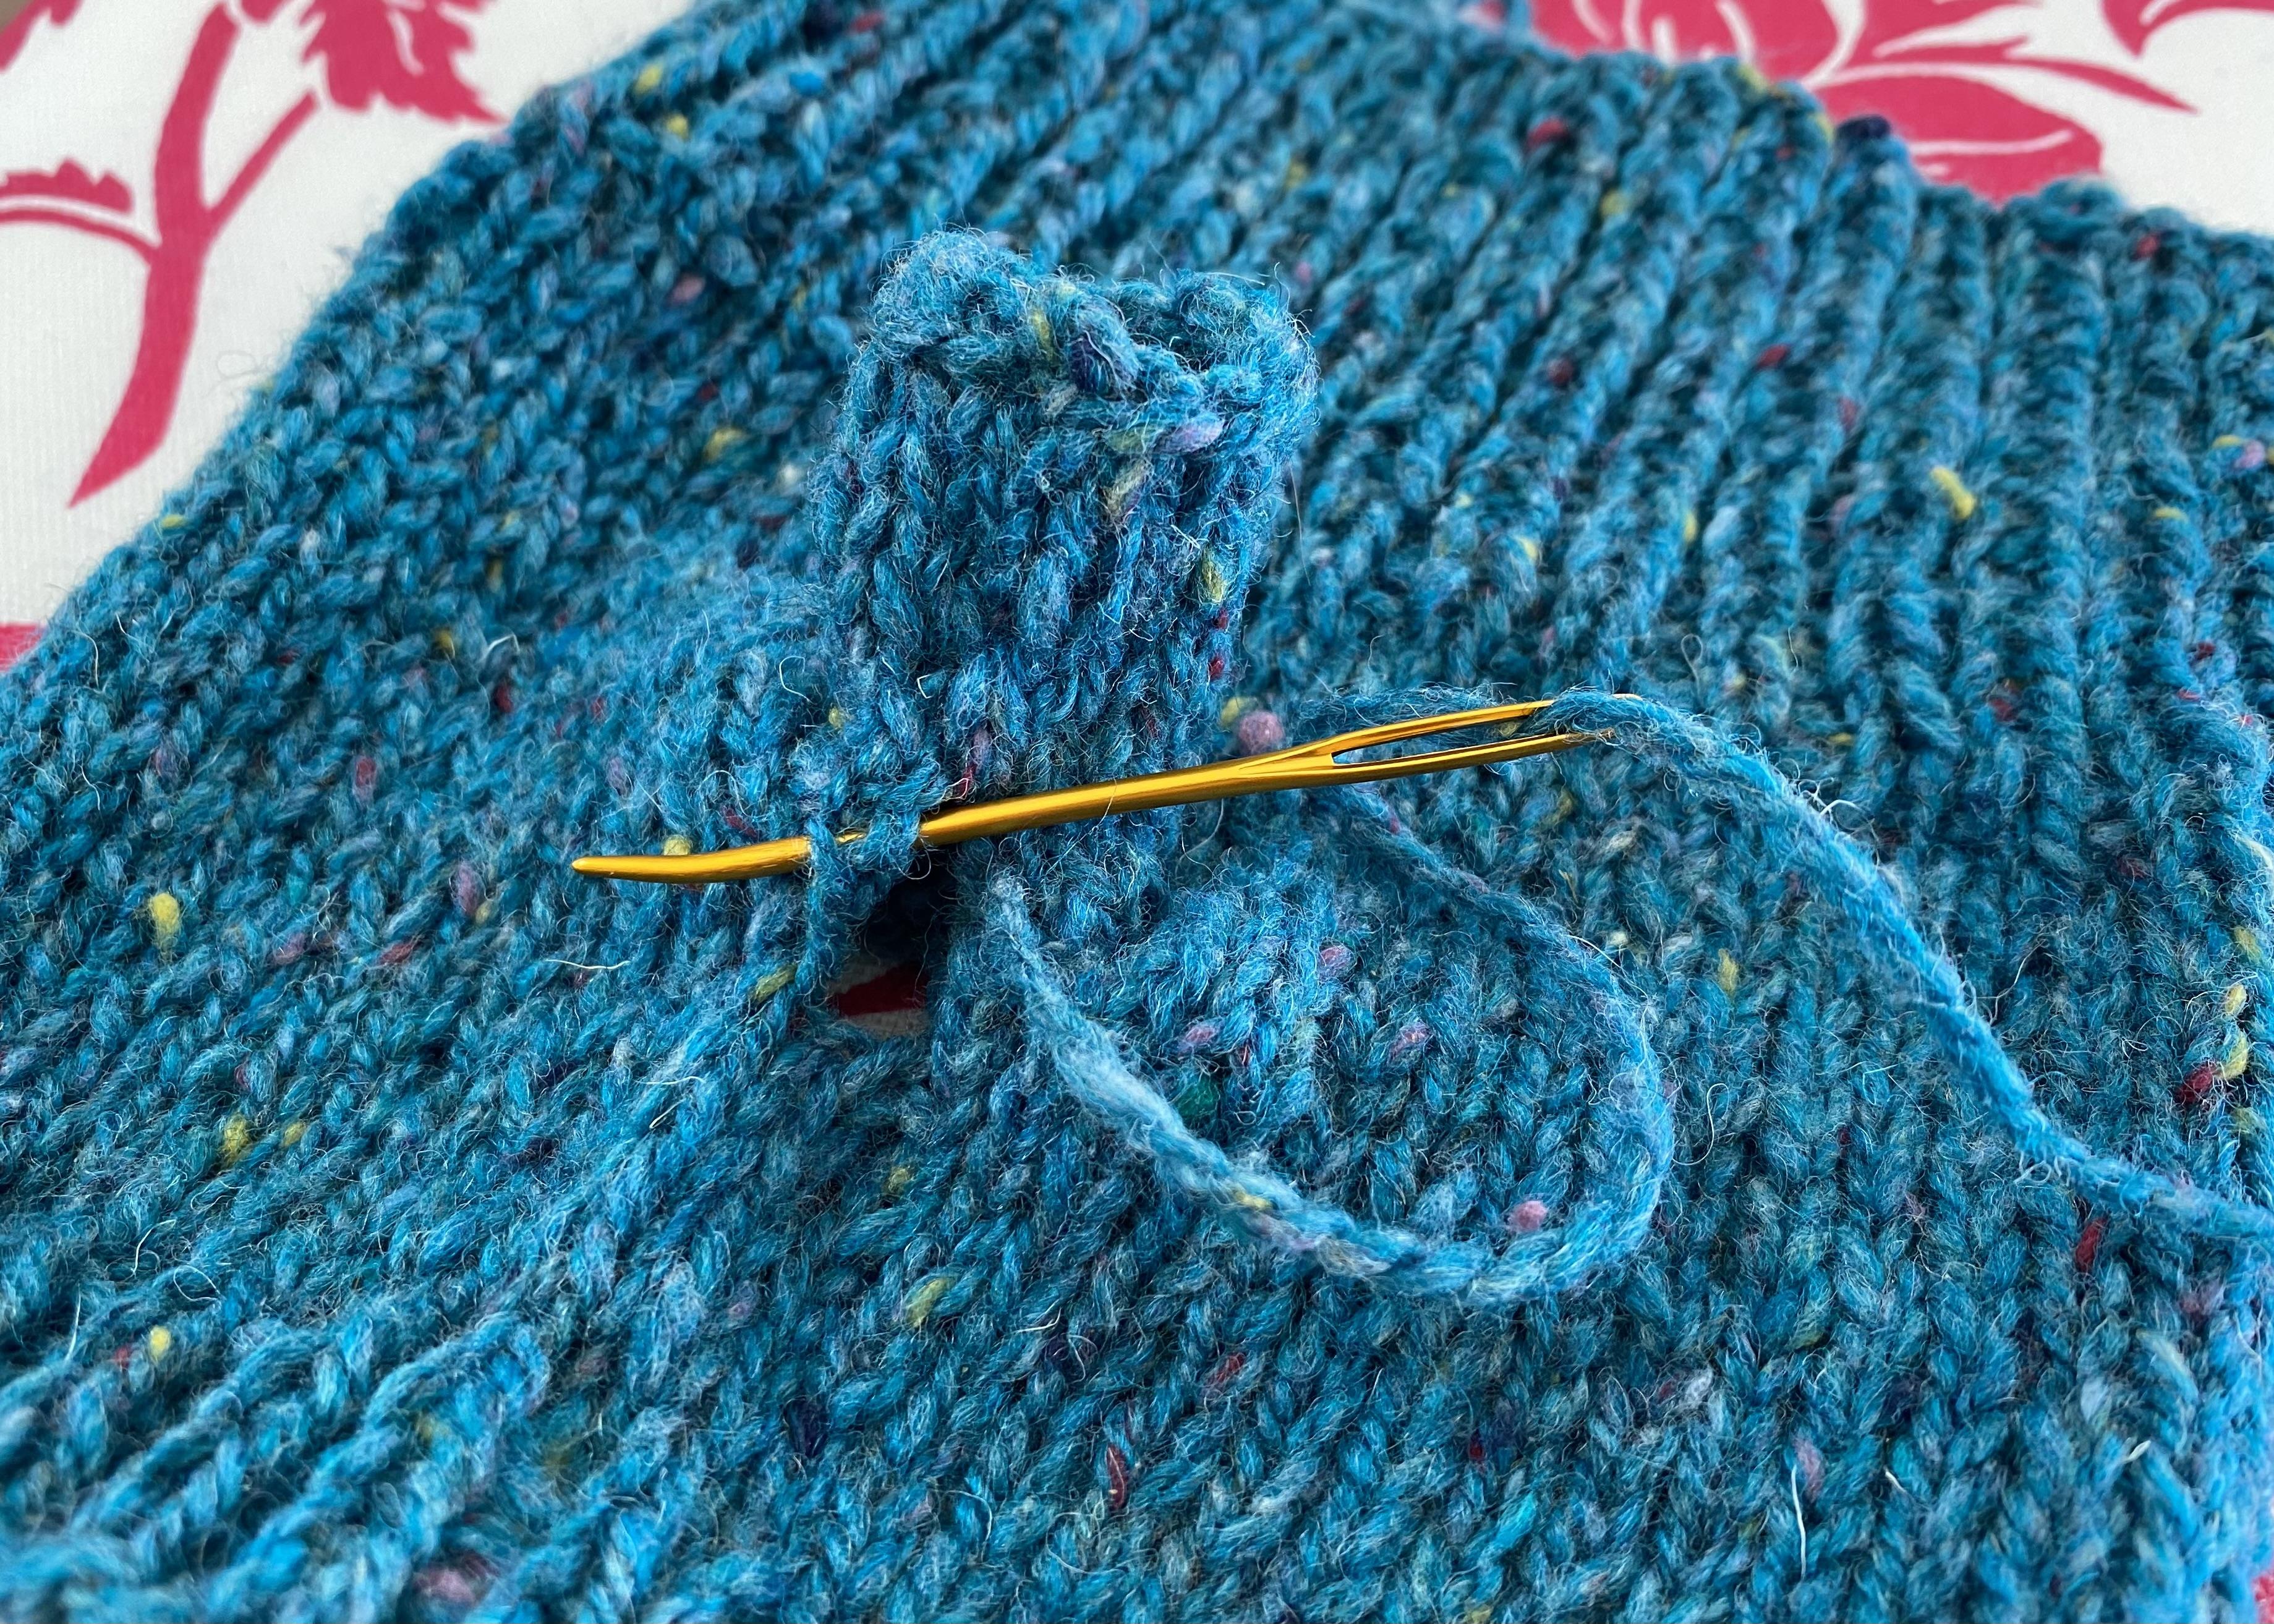
With RS facing and starting from the top, use the mattress stitch to sew mitten sides together. Turn mitten to WS, pull tail through, and weave in ends. 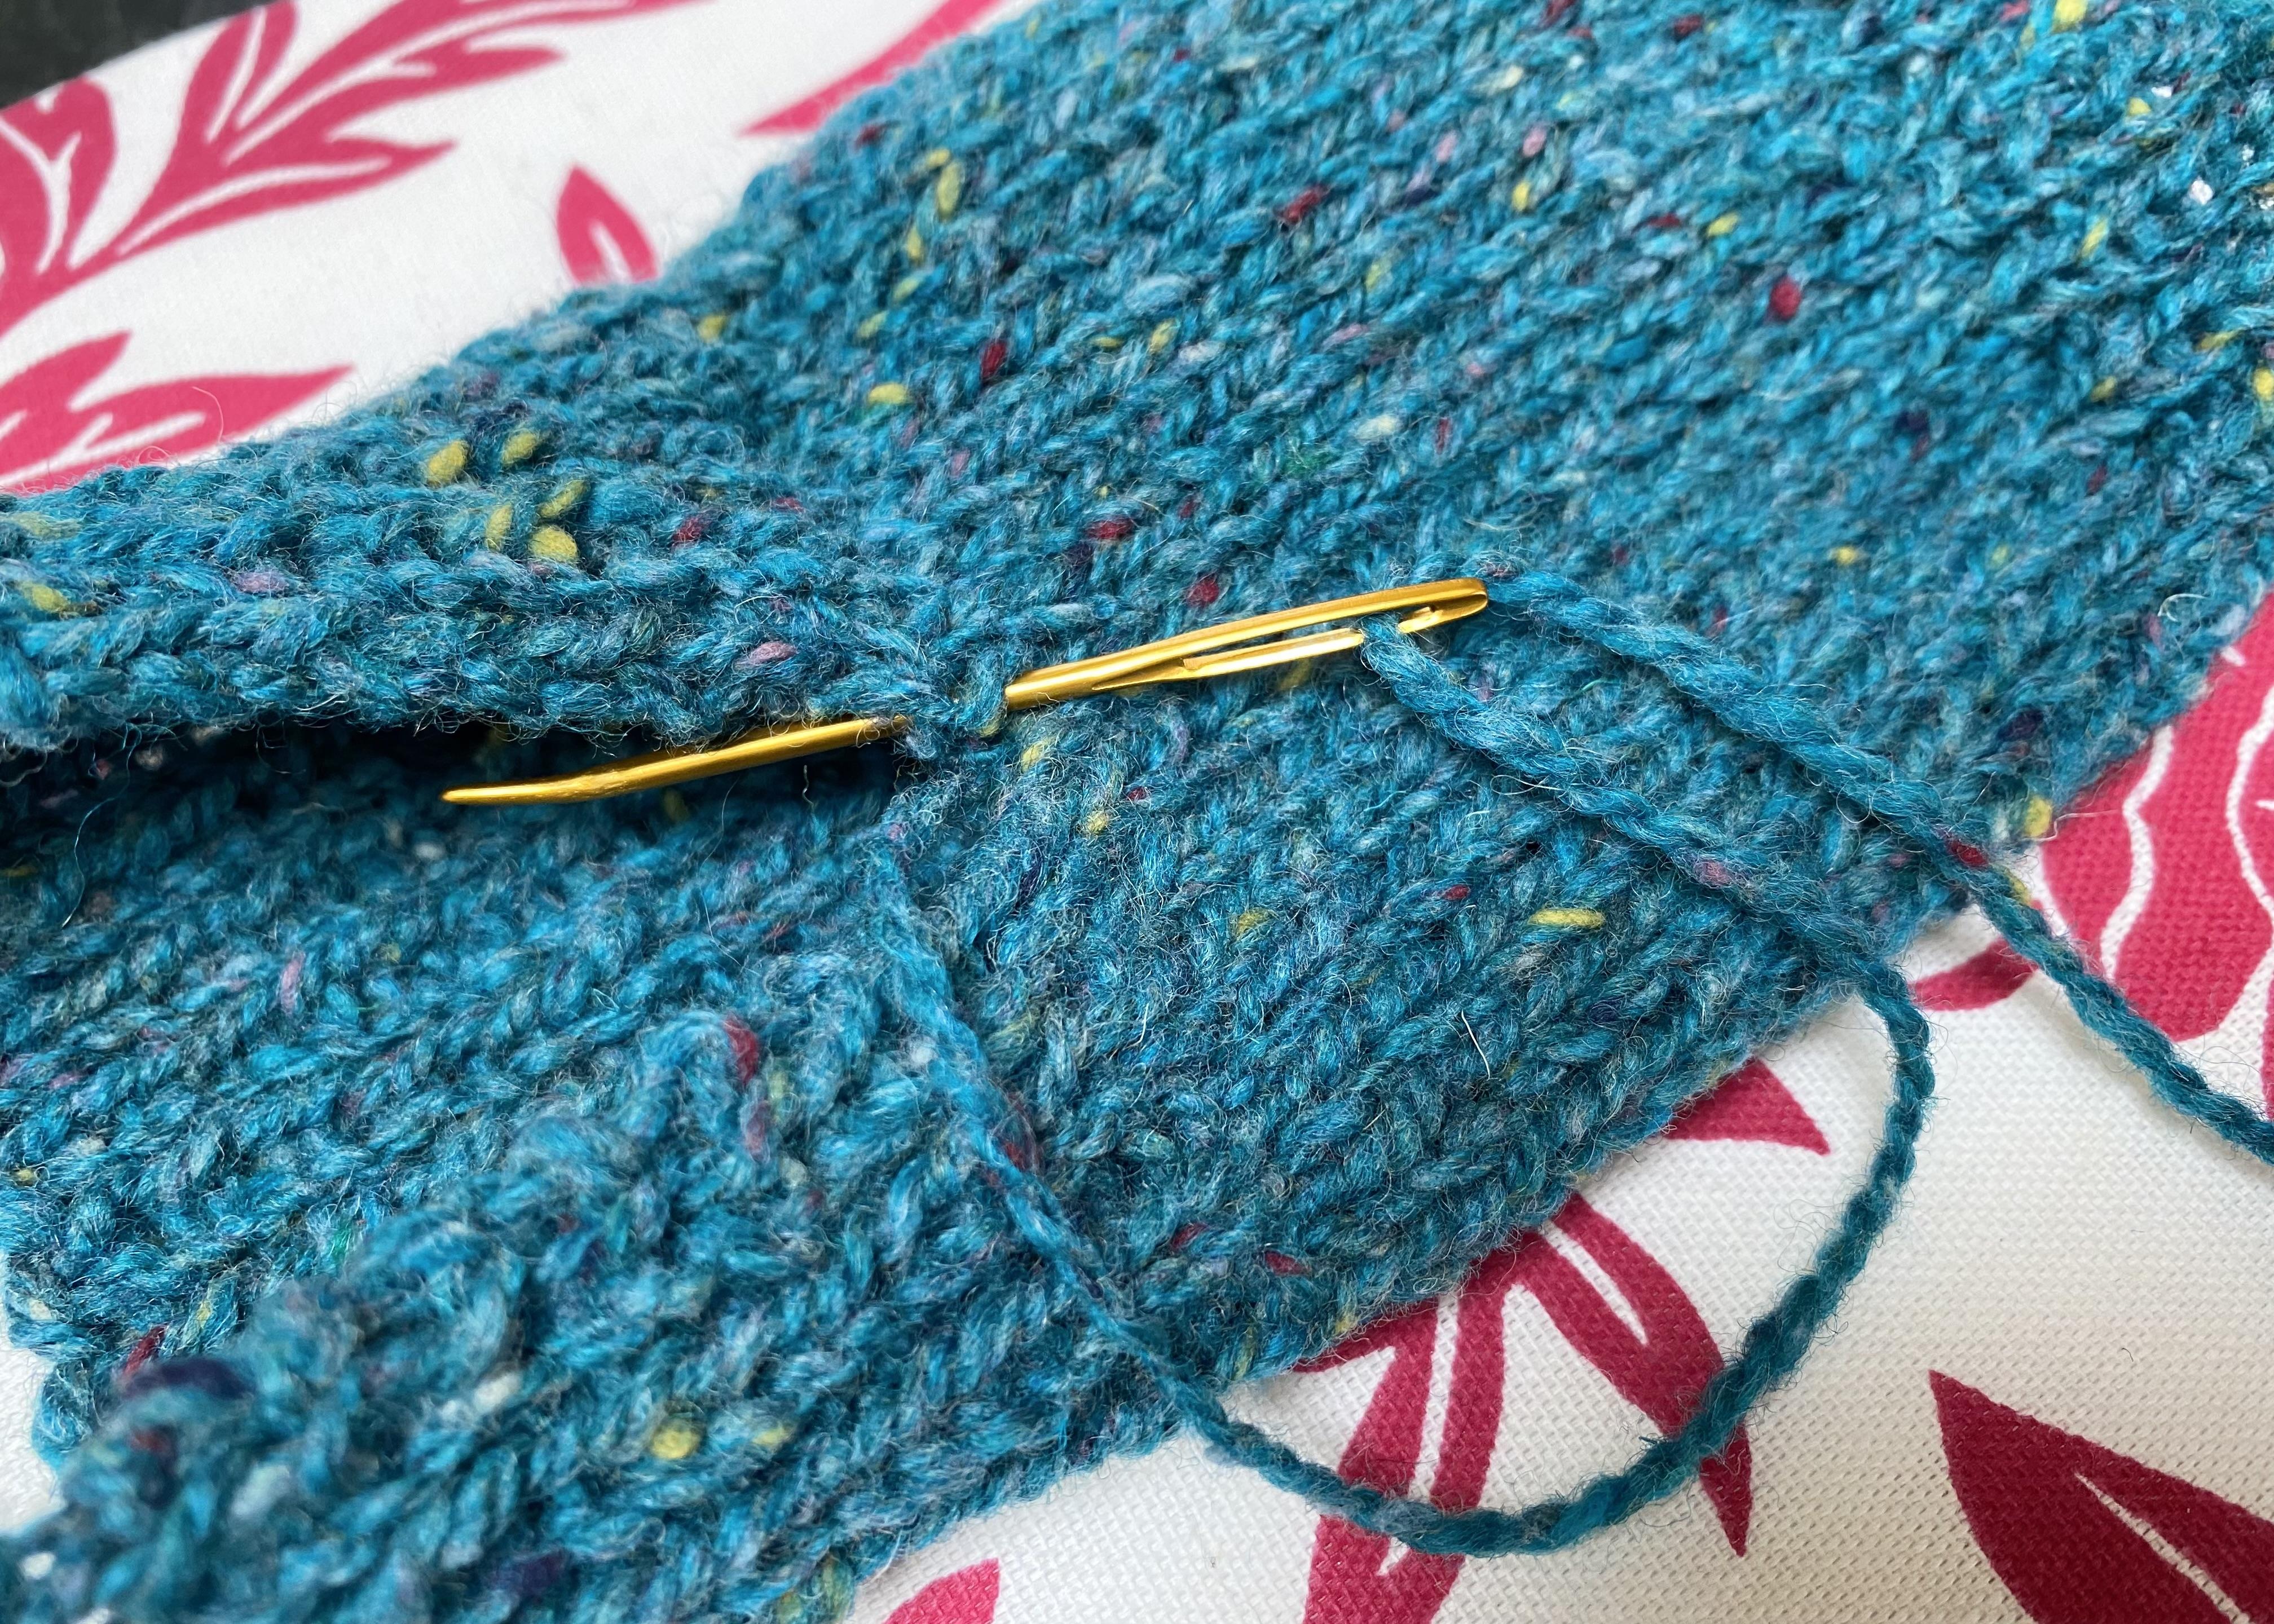 .
.
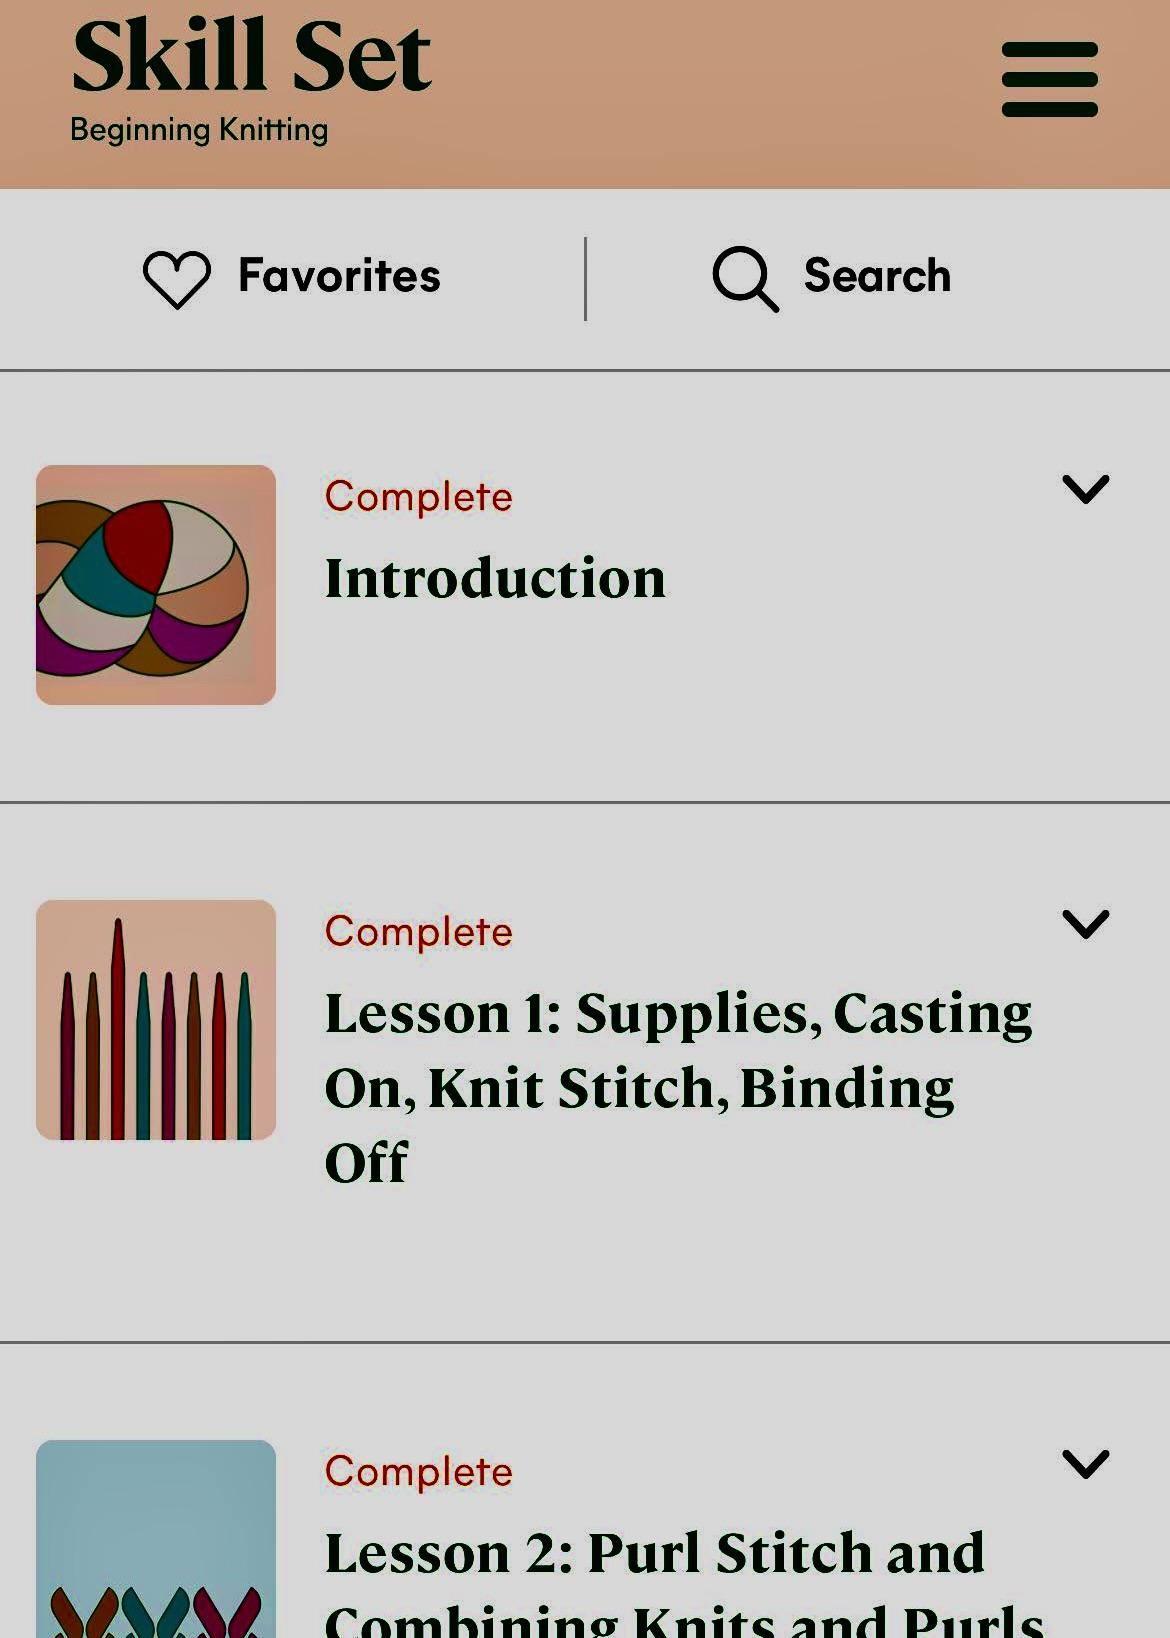
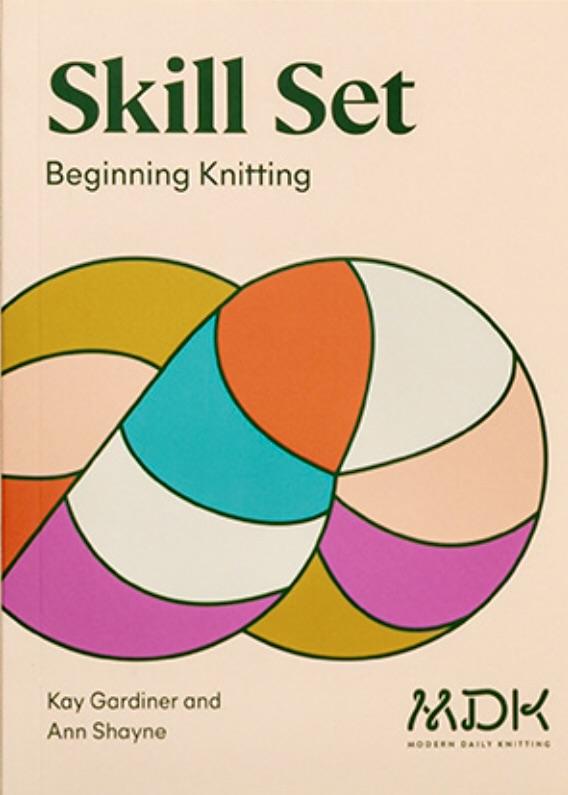
The founders of Modern Daily Knitting, Ann Shayne and Kay Gardiner, generously donated copies of their Skill Set Beginning Knitting book and downloads of their Skill Set app to the knitting club students. I highly recommend the app as a one-stop “shop” for learning or tuning up your knitting skills. They have a nice section on seaming using the mattress stitch.
Please drop me a note in the comments section if you have questions.
Related Knitting Posts:
How to Knit a Hat and Make a Pom Pom
What to Knit for a Baby: a Hat, a Sweater and a Blanket
A Birthday Tribute for My Mother: Knitting Neck Warmers with Mom’s Stash
Follow Judy’s Chickens on Instagram and Pinterest @JudysChickens. If you enjoyed this post, consider becoming a follower. Be sure to press “confirm” on the follow-up letter sent to your email address.
© 2014-2022 Judy Wright. All rights reserved. Photos, videos, and text may not be reproduced without the written consent of Judy Wright.
Source: https://t-tees.com
Category: HOW

