Sharing is caring!
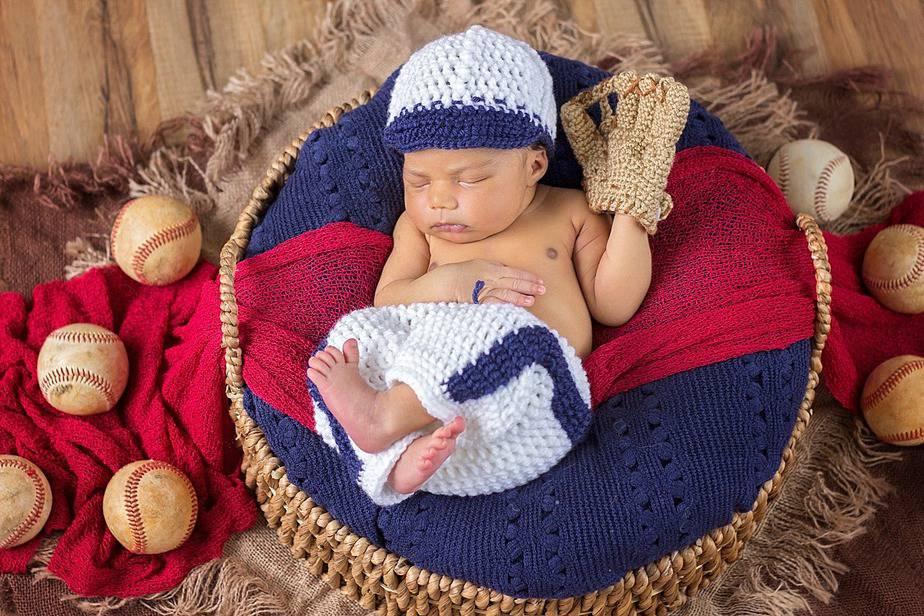
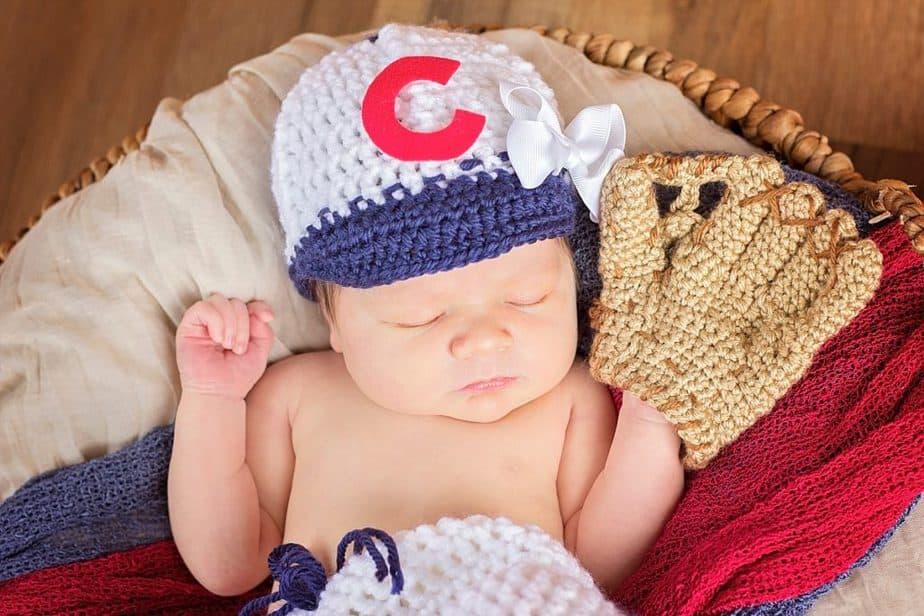
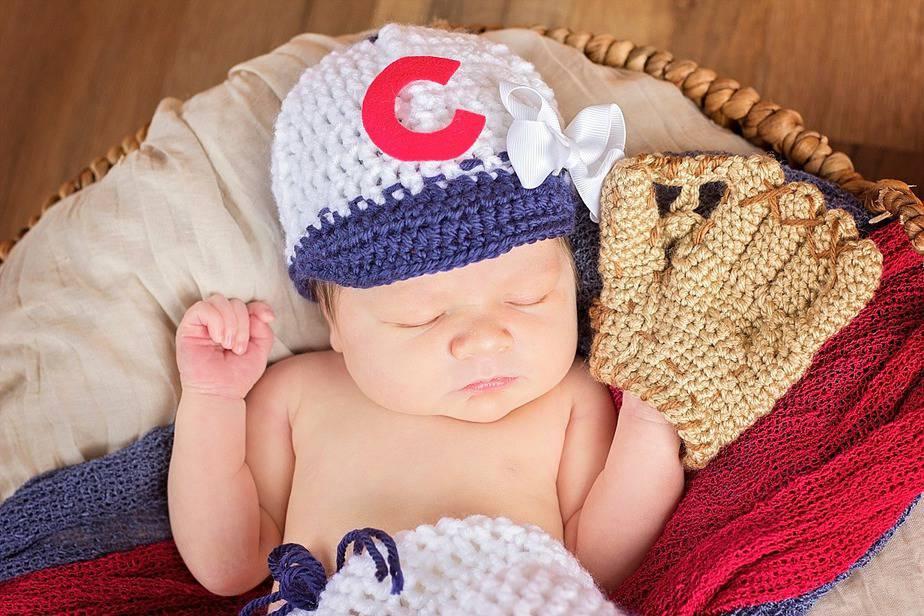
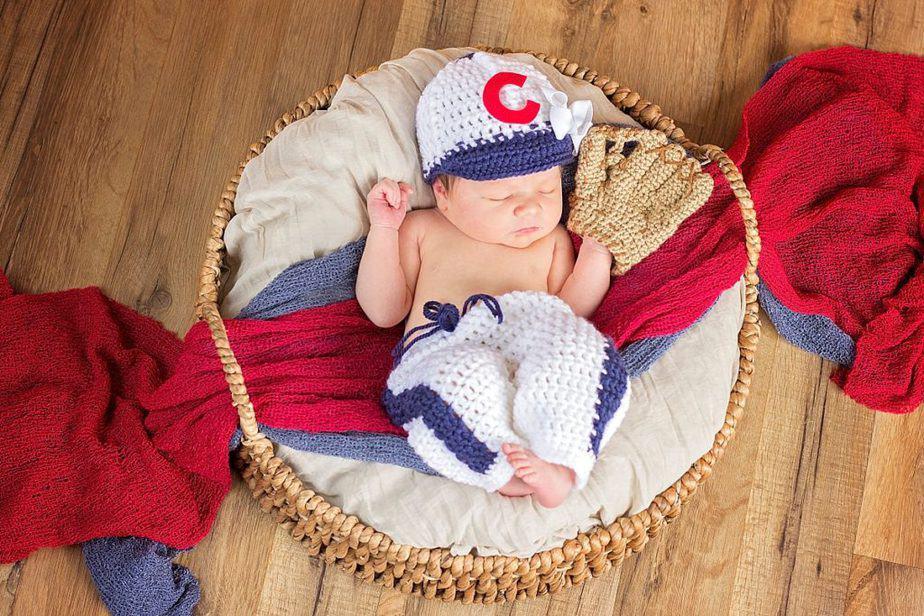
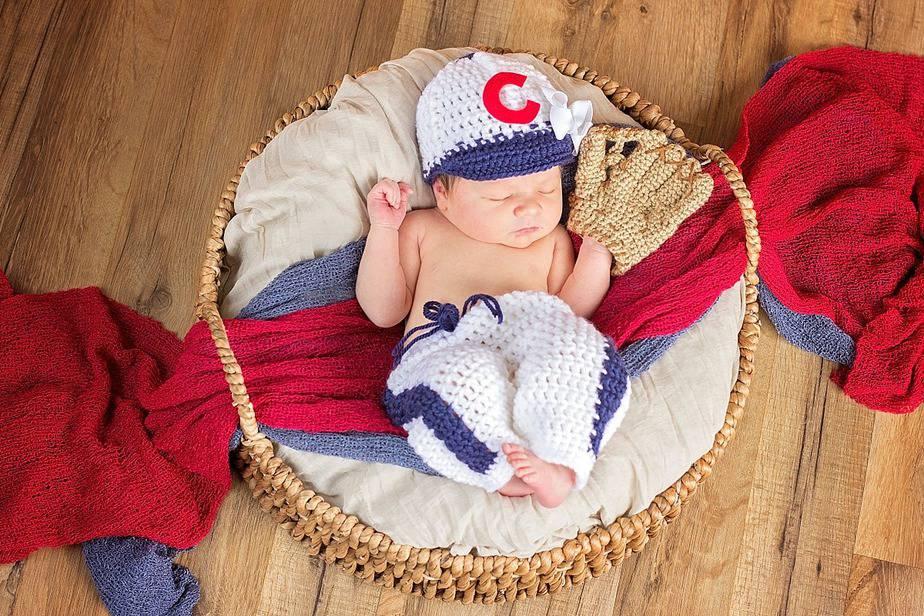
The Newborn Baseball Crochet Outfit Pattern is cute for any little slugger as a costume or photography prop. This crochet baby pattern includes instructions for the pants, baseball hat, and glove.
You are viewing: How To Crochet A Baseball Glove
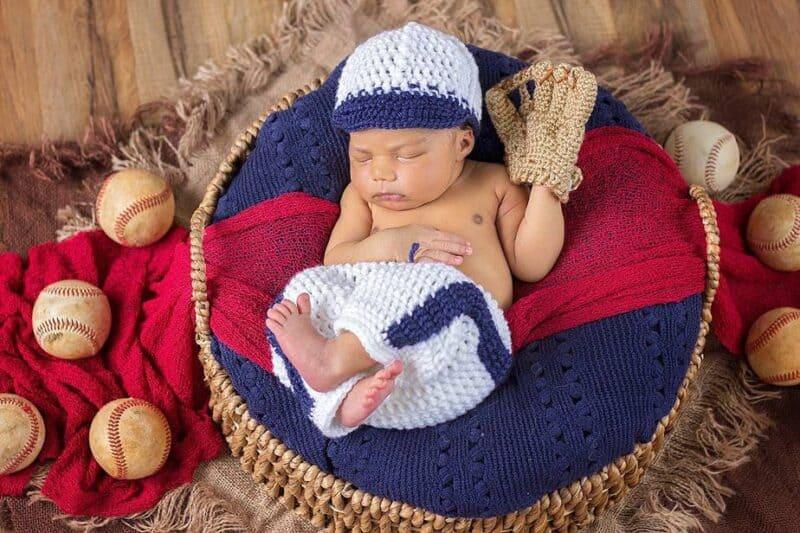
Life is like a baseball game. When you think a fastball is coming, you gotta be ready to hit the curve.
-Jaja Q
Keep on reading this post for the pattern, or purchase the ad-free pdf download on Etsy or Ravelry.
This outfit is a homerun for a baby shower gift!
Baseball Opening Day
Each year thousands of fans anticipate the opening day of baseball. It’s a family event full of hot dogs and cheers. Here are a few fun facts about baseball.
- The first Opening Day was April 22, 1876.
- No perfect game has ever been thrown on Opening Day.
- The first pitch is commonly thrown by a celebrity or politician as a ceremonial signal to the start of the game.
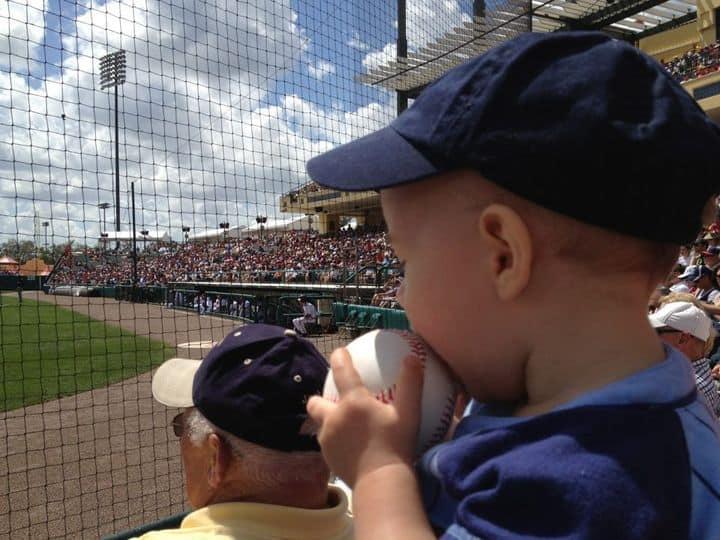
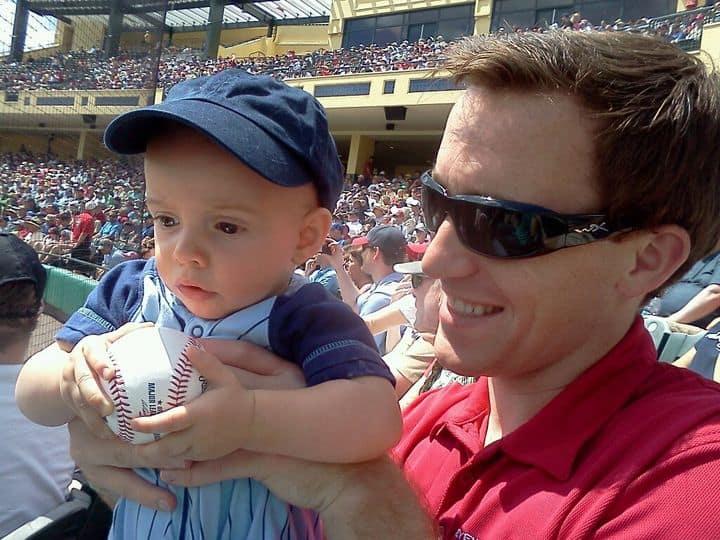
My family has been fortunate to attend a few of the baseball spring training here in Orlando. And of course, in Disney style, we’ve had playdates with some of the characters in the tunnel while we waited for my husband to throw out the first pitch.
Want even more newborn crochet outfit cuteness? Check out these crochet patterns: Free Elephant Baby Crochet Pattern or the Baby Gladiator Crochet Outfit Pattern
Newborn Baseball Crochet Outfit Supplies:
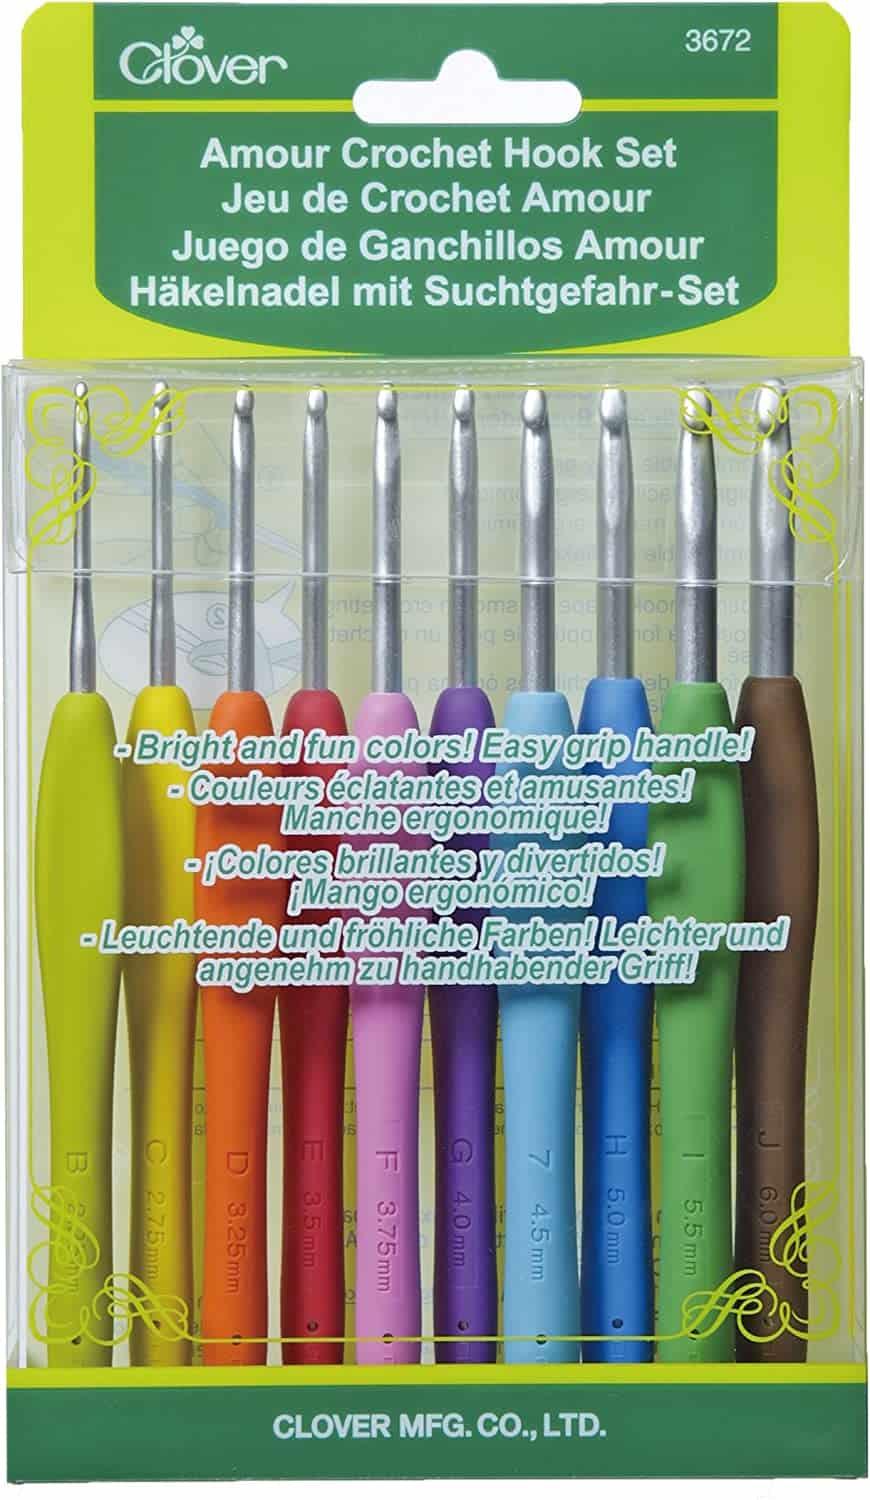
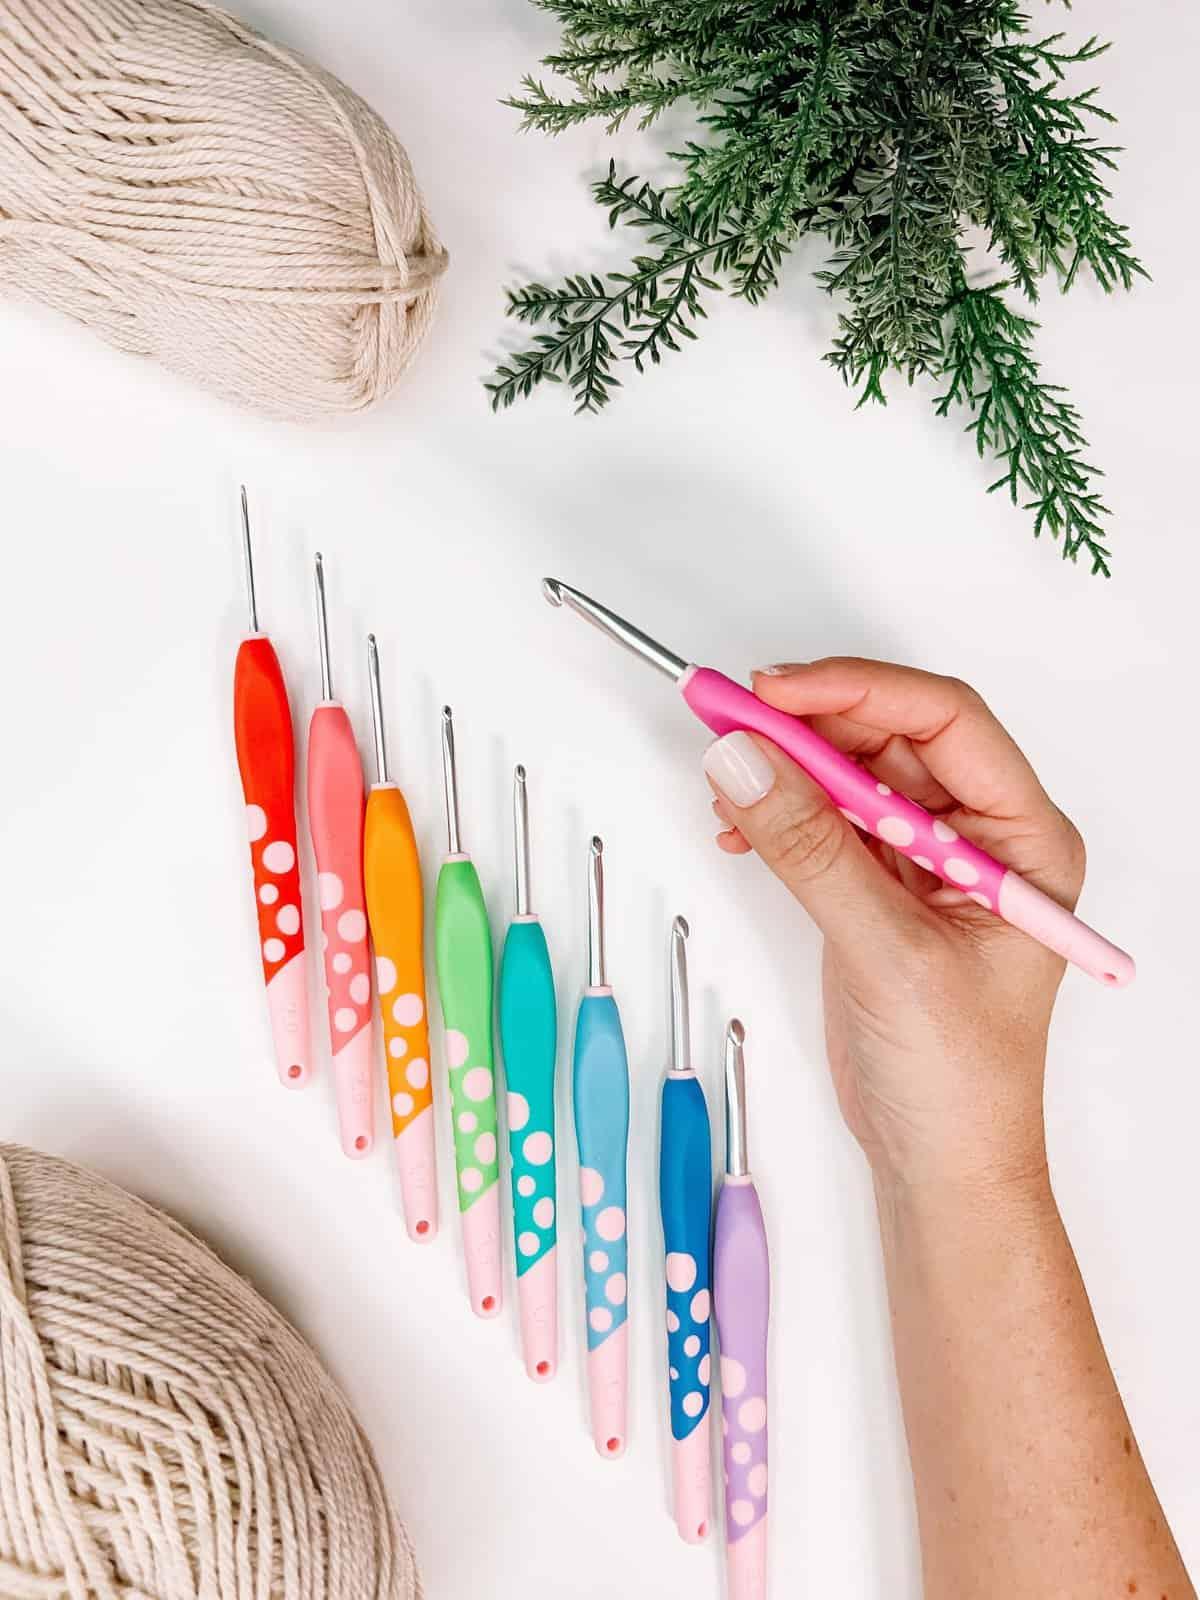
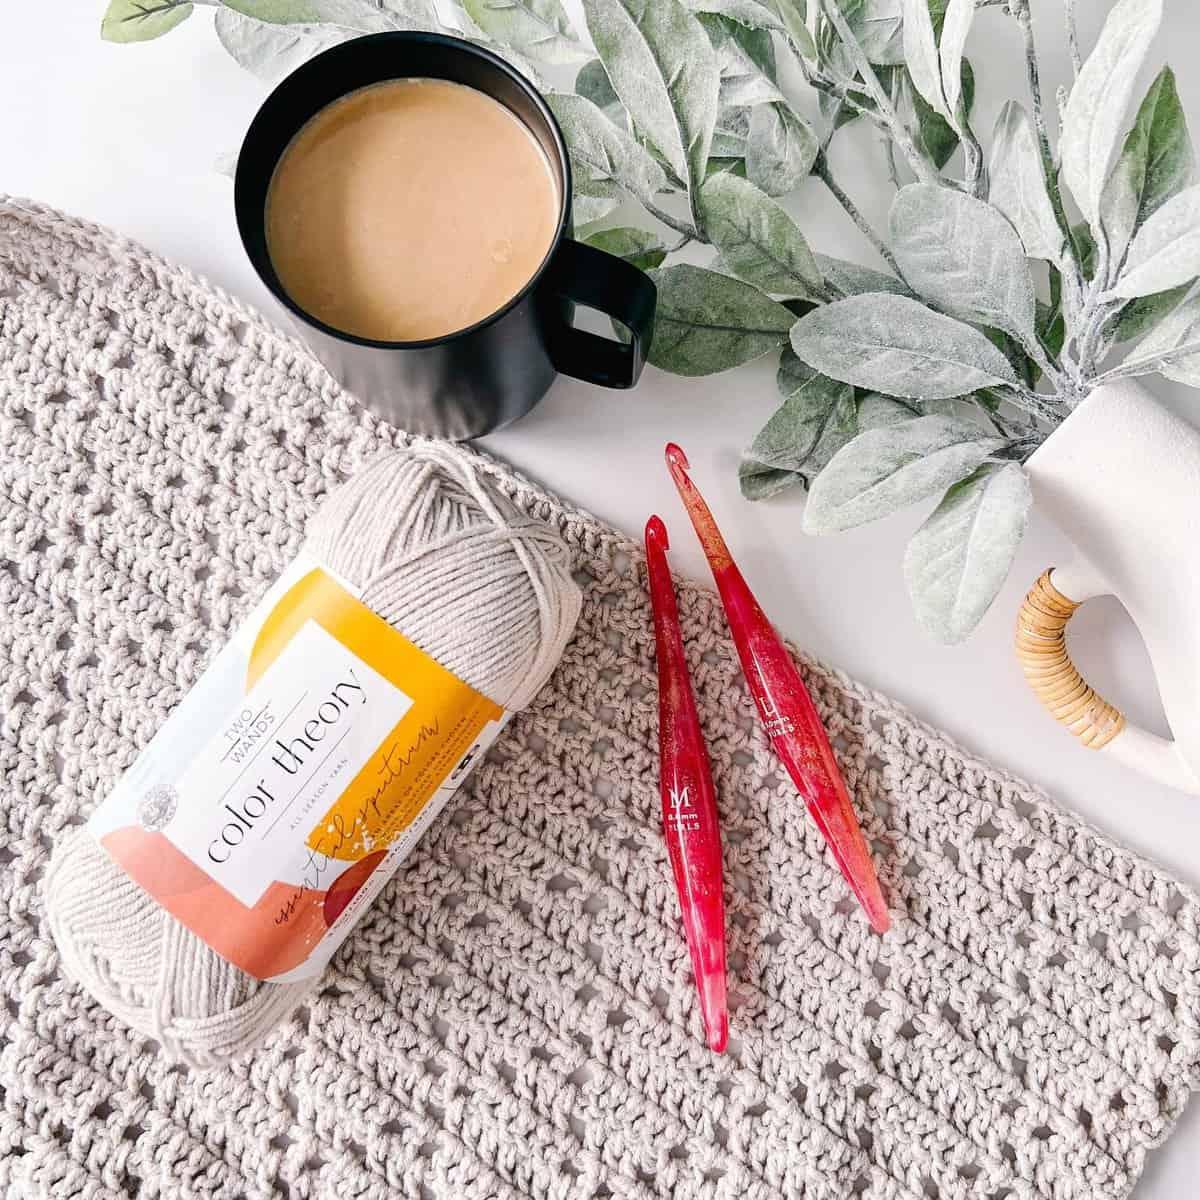
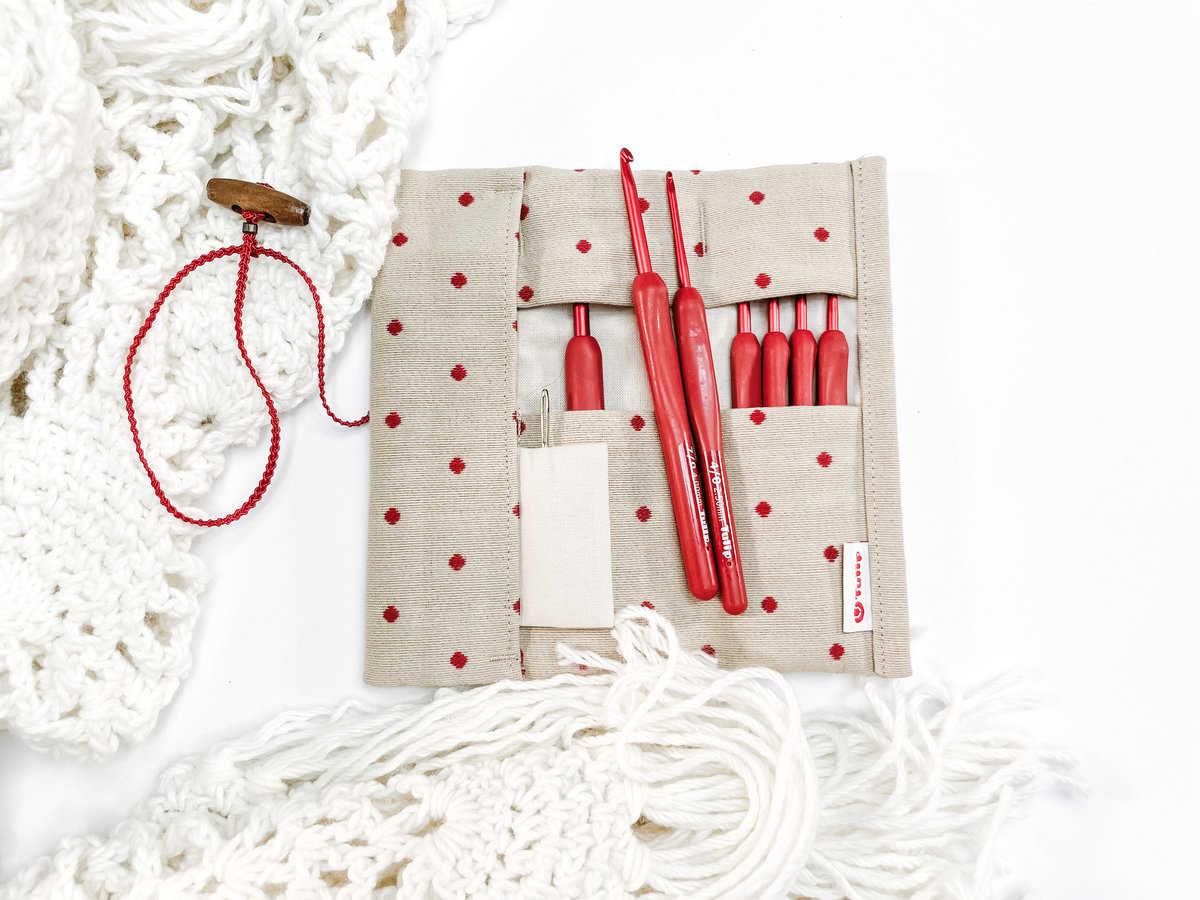
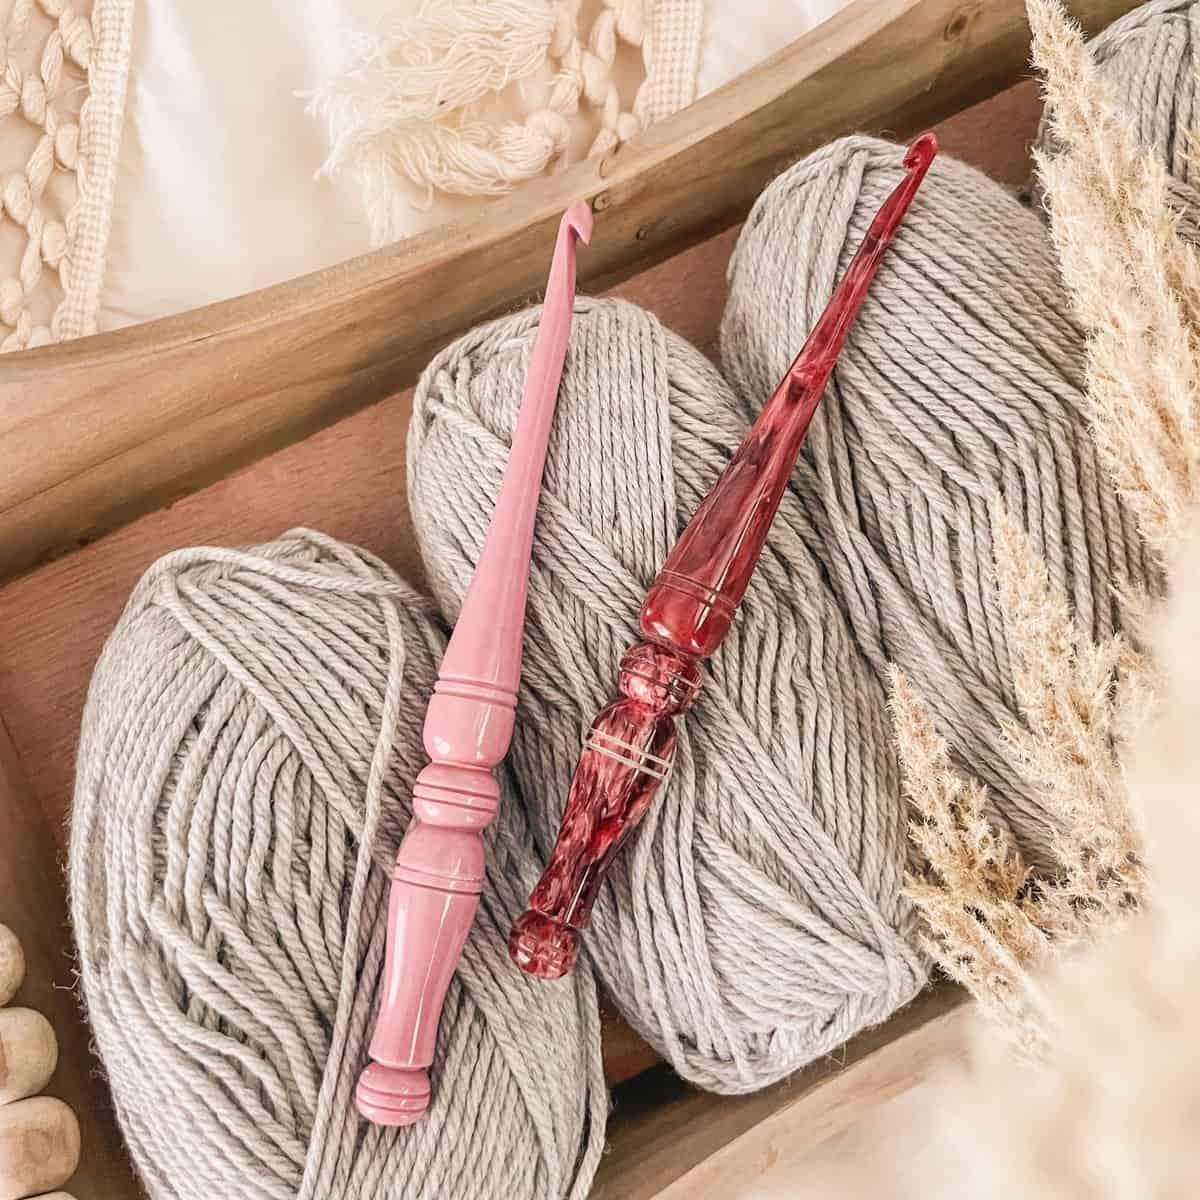
Crochet Hook:
Furls Hook5.0 mm Hook (H)4.0 mm Hook (G), or hook to obtain gauge
Notions:
Removable stitch markers if neededYarn needle to weave in endsScissorsSmall Round Velcro or ButtonGlueIf you would like to make your own logo for the hat pick up some felt in the color of your choice.
Yarn:
WeCrochet Brava Worsted, 100% Premium Acrylic, 218yds/100gIn Colorways:AlmondCelestial (blue)WhiteBrindle
OR you can use Red Heart Soft in colorways:
Red Heart Soft WheatRed Heart Soft NavyRed Heart Soft WhitePlus Vanna’s Choice Toffee
Yardage:
150 total yards.
Abbreviations/Stitches:
ch- Chainst- Stitchsl st- Slip Stitchsc- Single Crochetsc2tog- Since Crochet Two Togetherhdc- Half Double Crochetdc- Double CrochetFPdc-Front Post Double CrochetMC- Magic CircleFLO- Front Loops OnlyFoundation Single Crochet- picture explanation
Gauge:
3 x 3 inch swatch = 10 SC stitches x 11 Rows in Single Crochet
3 x 3 inch swatch = 10DC Stitches x 5 Rows in Double Crochet
Skill Level:
Intermediate
Size:
Newborn
Baseball outfit Pattern
Glove Fingers (make 4)
Use G Hook – Red Heart Soft Wheat
This will be worked continuously.
Round 1: MC, 8 SC in side MC. (8sts)
Rounds 2-10: sc in each stitch around. (8sts)
Fasten off and leave a long tail for sewing onto the glove.
Glove Thumb
Use G Hook – Red Heart Soft Wheat
This will be worked continuously for the first 11 rounds
Round 1: MC, 10 SC inside MC. (10sts)
Rounds 2-11: sc in each stitch around. (10sts)
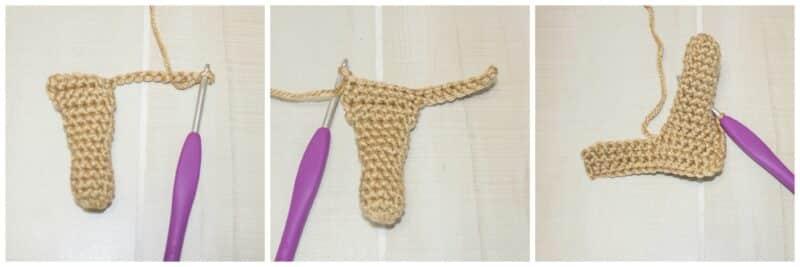
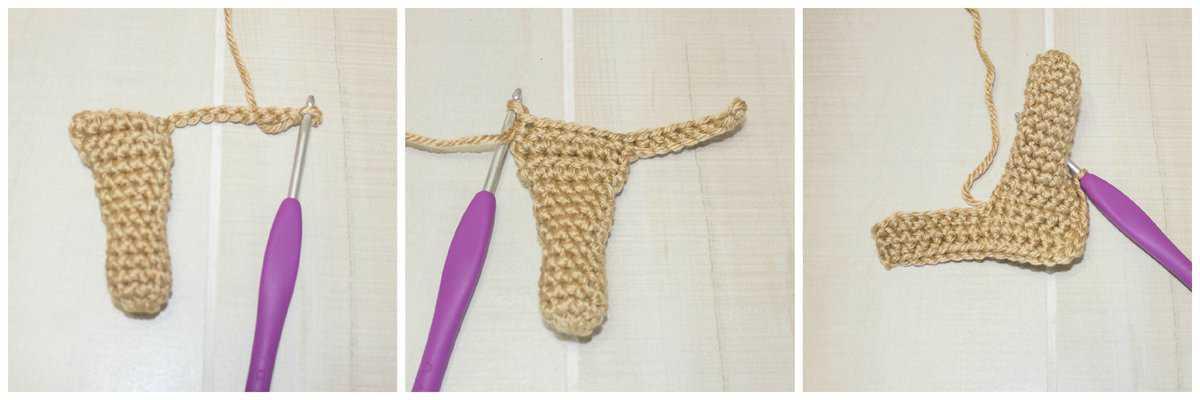
Rounds 12-13: ch 1 and turn, sc 7. (7sts)
Read more : How To Kill Yourself With Rubber Gloves
Round 14: ch 1 and turn, sc 7, ch 9. (16sts including chains)
Round 15: Turn, sc in 2nd ch from hook and across. (15sts)
Rounds 16-17: ch 1 and turn, sc 15. (15sts)
Continue to sc around the outside bottom of the thumb, adding an extra stitch on corners. Join, fasten off and leave a long tail for sewing on to glove.
Glove Body
Use G Hook – Red Heart Soft Wheat or WeCrochet Almond
Round 1: ch 32 and join, ch 1 and sc in each stitch around OR Foundation sc 32, join and ch 1 (32sts)
Rounds 2-3: sc in each stitch around, join and ch 1. (32sts)
Round 4: Working in rows: sc 5, sc2tog 5 times, sc 9, turn and ch 1. (19sts)
Round 5: sc in each stitch across, turn and ch 1. (19sts)
Round 6: sc 5, sc2tog 2 times, sc 10, turn and ch 1. (17sts)
Round 7: sc 16, sc 2 in last, turn and ch 1. (18sts)
Round 8: sc 2 in first, sc across, turn and ch 1. (19sts)
Rounds 9-12: sc in each stitch across. Continue to sc across the back of the glove to other side (see picture), join and fasten off, weave in ends.
Assembly:
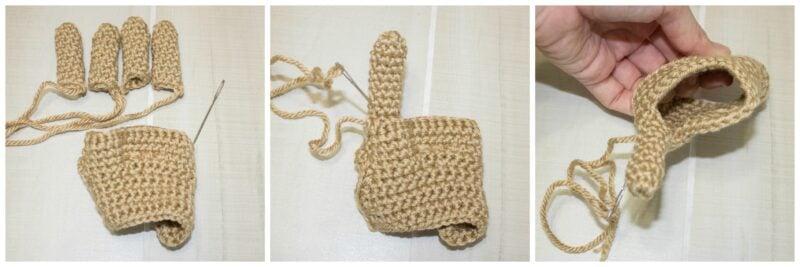
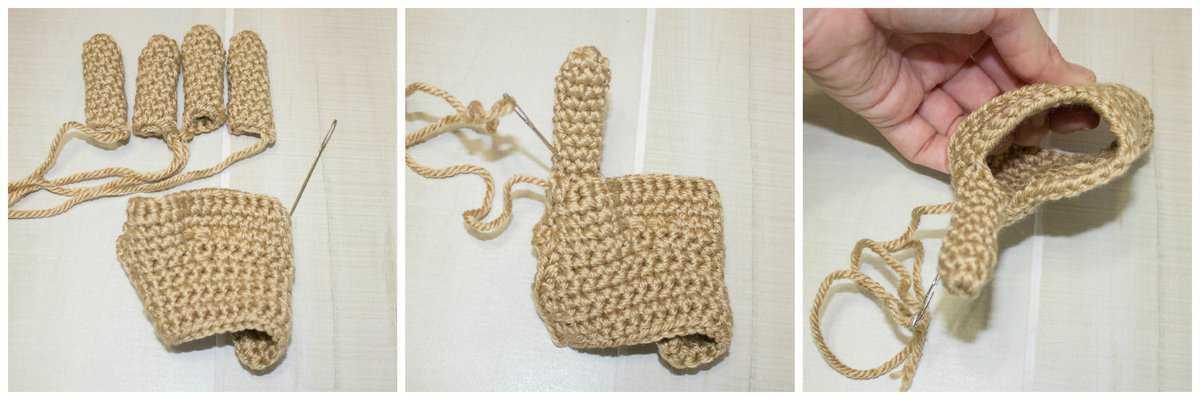
Sew each glove finger to the glove body top opening.
Line up the bottom of the thumb to the bottom of the glove, overlapping a bit. Stitch thumb to the glove.
Thumb webbing:
These three pieces will be used between the thumb and pointer finger:
▪Chain 8, sc in the second chain from hook and across for 7 total sc OR Foundation Single Crochet 7 – Sew on between top of thumb and pointer finger.
▪ Chain 6, sc in the second chain from hook and across for 5 total sc OR Foundation Singe Crochet 5 – Sew on between bottom of thumb and pointer finger.
▪Chain of 10 – Sew vertically on the back of the glove across the horizontal webbing.
Add stitching details with Vanna’s Choice Toffee. Stitch across the bottom and up the inside of the glove on the pinky finger. You can pull your threads a bit to shape and curve the glove.
Using your thread create an X between all the fingers.Continue to stitch over the top of the webbing.
Glue a piece of small Velcro on the back of the glove to hold the strap together.
Hat
H- Hook
Join with a sl st to the top of first dc in each round.
Round 1: With Blue Yarn MC, dc 10 inside of MC, join to first stitch. Attach White Yarn and Ch 2. (10sts)
Round 2: *dc and FPdc in first stitch, 2 dc in next. Repeat *around, join and ch 2. (20sts)
Round 3: *2 dc in first, FPdc in next, 2 dc in next, dc in next. Repeat * 4 more times, join and ch 2. (30sts)
Round 4: *2 dc in first, dc in next, FPdc in next, 2 dc next, dc in next 2. Repeat * 4 more times, join and ch 2. (40sts)
Round 5: *2 dc, dc in next 2, FPdc in next, dc in next 4. Repeat * 4 more times, join and ch 2. (45sts)
Read more : How To Keep Winter Glove Lining In Place
Rounds 6-8: dc in next 4, FPdc in next, dc in next 4. Repeat * 4 more times, join and ch 2. (45sts)
Round 9: dc in next 4, FPdc in next, dc in next 4. Repeat * 4 more times, join and fasten off. Weave in ends. (45sts)
Bill of Hat
Round 1: The round is worked in FLO. Working across the first FPdc, join Blue Yarn (with the right side of the hat facing you) to the FPdc from the last round. sc in the same stitch you joined, sc in next, hdc in next 6, 2 hdc in next, hdc in next, 2 hdc in next, hdc in next 6, sc in last two. Turn and ch 1. (21sts)
Round 2: Working in both loops. sc2tog, sc, hdc in next 3, 2 hdc in next, hdc in next 7, 2 hdc in next, hdc in next 3, sc, sc2tog. Turn and ch 1. (21sts)
Round 3: sc2tog, sc, hdc in next 6, 2 hdc in next, hdc in next, 2 hdc in next, hdc in next 6, sc, sc2tog. (21sts)
Round 4: Do Not Turn. Continue to sc around the bottom of hat and over the top of the bill to the join at the corner. Fasten off leaving a long tail to add detailing. Using your long tail, sew stitching around the bottom of the hat (see picture). Weave in ends. (21sts)
Pants
H- Hook
Join with a Sl St to the top of first DC in each round.
Round 1: With white yarn, ch 56. Without twisting the chain, join and ch 2. dc in each chain around. Join and ch 2 **Alternate is to do a Foundation Double Crochet of 56 and join.
Round 2: *FPdc in first, BPdc in next. Repeat * around, join and ch 2. (56sts)
Round 3: Starting with this round you will be using 3 strands of yarn. Start with white yarn and two blue (one for each leg). For the blue, I pulled from the same skein by using both the inside and outside starting strings. The strands will be carried on the back of work. See photos at end of the pattern. dc 12, join Blue Yarn and dc 4. Join back with White Yarn and dc 24, join Blue Yarn and dc 4. Join back with White Yarn and dc 12. Join and ch 2.
Rounds 4-11: Repeat round 3
Round 12: This is where we will split for the legs.
First leg: Ch 2, dc 12, join Blue Yarn and dc 4. Join back with White Yarn and dc 12, join to the first stitch.
Now you are only working half of your stitches, which is one of the legs. (28sts)
Rounds 13-18: Repeat round 12.
Round 19: Join White Yarn and ch 2, dc 12, join Blue Yarn and dc 4. Join back with White Yarn and dc 12, join to the first stitch, Ch 1.
Rounds 20-21: Working with white yarn only, sc in each stitch around. Join and ch 1. (28sts)
Round 22: sc in each stitch around. Join and fasten off, weave in ends. (28sts)
Second Leg
Round 12: Leaving a long tail for sewing up the crotch, join to the first stitch next to the crotch, working towards the blue stripe (see picture).
Join White Yarn and ch 2, dc 12, join Blue Yarn and dc 4. Join back with White Yarn and dc 12, join to the first stitch. Ch 2 (28sts)
Rounds 13-18: Repeat round 12.
Round 19: Join White Yarn and ch 2, dc 12, join Blue Yarn and dc 4. Join back with White Yarn and dc 12, join to the first stitch, Ch 1.
Rounds 20-21: Working with white yarn only, sc in each stitch around. Join and ch 1.
Round 22: sc in each stitch around. Join and fasten off, weave in ends.
Using strand tail, sew up the crotch. Cut two strands of yarn approx. 30 inches and weave through round two for a belt look.
CROCHET & TAG
I hope you have enjoyed making the Newborn Baseball Crochet Outfit Pattern!
If you have made this, please share it on social media. Above all I love to see the projects created with my patterns and also share your beautiful work.
Please use #brianakdesigns or @brianakdesignsIt is much appreciated and adored!
This pattern was originally published in January of 2015, updated on the blog April 2022.
Source: https://t-tees.com
Category: HOW
