
In order to continue creating amazing customs, it’s important to continue learning new techniques and ways to create unique designs. To help you do this, we have a large collection of tutorials over on our YouTube channel – each offering new tips, tricks, and techniques for painting customs.
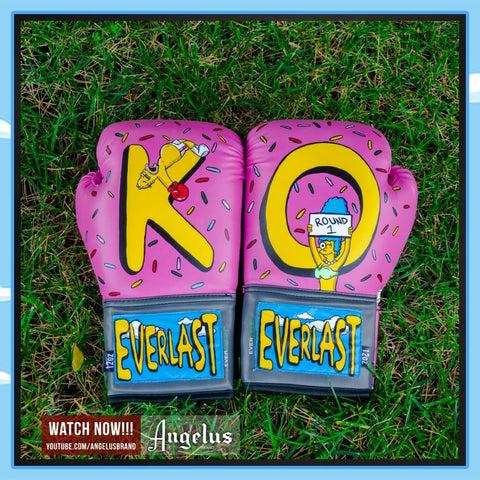
For this week’s tutorial, Austin (also known as @jarcustoms) was nice enough to stop by the studio to teach you how to create a custom pair of boxing gloves. Customizing a pair of boxing gloves has been on our list for a while now so we’re super excited to have final knock these out.
You are viewing: How To Customize Your Boxing Gloves
Keep reading to see how you can create these The Simpsons-inspired boxing gloves for yourself.

Just like customizing a pair of sneakers, you’re going to want to start by preparing the leather on your boxing gloves. Otherwise, the paint will not adhere effectively to the surface. Prepping it will help avoid chipping and peeling after you’re done.
To prep the gloves, use a cotton pad to apply an even layer of Leather Preparer and Deglazer to any area that you plan to paint.
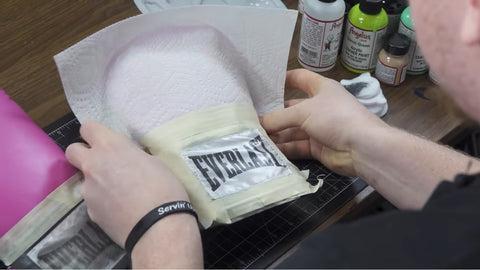
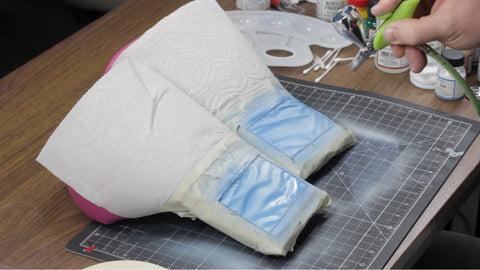
After applying the Leather Preparer and Deglazer, you can use masking tape to tape off the bottom section of the gloves.
By using masking tape and paper towels to separate the bottom and the top of the gloves, you can prevent paint from dripping down into unwanted areas.
Once the gloves are prepared, it’s time to start painting.
Read more : How To Make A Glove Out Of Tin Foil
For this project, Austin started by using an airbrush with a mixture of paint and 2-Thin to paint over the wrist section. Since the wrist section is black, start with a layer of gray paint, then light gray, before finally moving on to white. This will make sure the base is completely covered.
Apply two to three coats of each color, and let each layer completely dry before applying another.
Next, Austin used a mixture of light blue, white, blue, and 2-Thin to create a sky blue base for the wrist section.
Again, be sure to apply multiple light coats and allow each coat to completely dry before applying another.
Next, it’s time to move on from the airbrush and start painting your design.
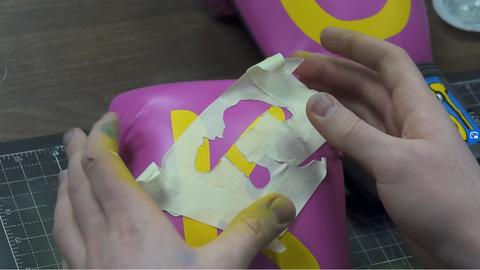
For this project, Austin painted the wrist section to mimic the classing The Simpsons opening sequence. He also used a custom Everlast stencil to finish off the section.
Of course, if you want to paint a different design, you don’t have to stick with the same theme.
*Note: For that classic The Simpsons yellow, use a 60/40 mixture of yellow and maize paint.
Read more : How To Get Rid Of White Glove Service Pier 1
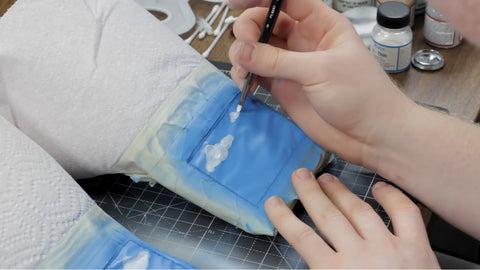
Now, it’s time to transfer your design to the top portion of the glove. To do this, Austin made custom stencils to easily transfer his sketch over to the gloves.
To make a quick custom stencil, place masking tape over a section of your sketch, use a pencil to sketch the outline of your design, then use a detail knife to cut out the stencil.
To use the stencil, simply tape it on to the glove, and use your airbrush to fill it in with a flat white base coat.
Then, use a brush to fill in all of the finer details in the stencil. You can repeat this step as many times as necessary to complete the rest of your design.
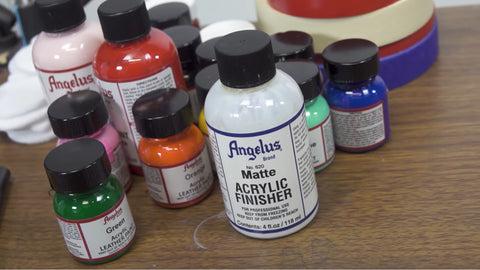
Lastly, once you’ve finished painting your design, use an airbrush to apply a final layer of Matte Acrylic Finisher.
This acrylic finisher will act as a clear protective top coat to protect the gloves from minor scuffs and scratches.
Once the finisher dries, your gloves are done and ready to go.
For a more detailed walkthrough on how to create these custom boxing gloves, make sure to check out the full tutorial on our YouTube channel.
Don’t forget to follow Angelus on Instagram, and make sure to check out our online store to grab the products you need for your next project.
Source: https://t-tees.com
Category: HOW