
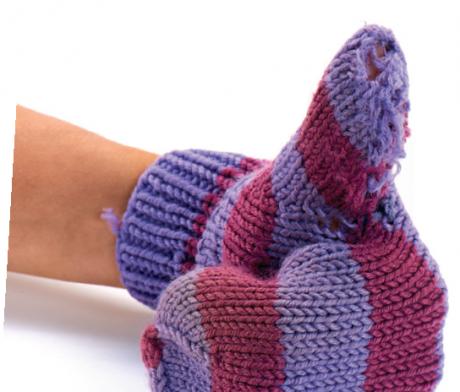
As you can see, this mitten has a holey thumb. The area has worn thin and the strands eventually snapped, causing the fabric to unravel. One option would be to rip out and reknit the entire thumb but we are going to darn the hole instead. You will need to use a colour that closely matches your project but we are using contrasting yarns to clearly show the technique.
You are viewing: How To Darn Wool Gloves

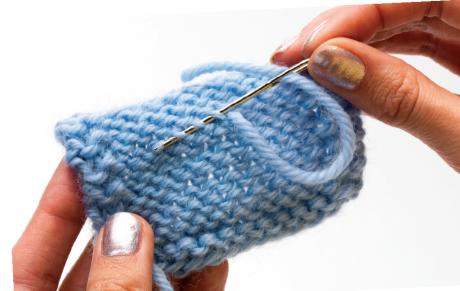
Step 1: First insert your darning tool into the area to be mended and stretch the fabric over it. Beginning a few rows and stitches away from the hole, sew a running stitch through each knitted stitch. When you reach the hole, just strand the yarn across the work. Keep working like this until the hole is covered, then continue for a few more rows to make sure the darning is securely worked into the original fabric.

Read more : How Do You Treat Alergic Reaction To Nitrile Gloves
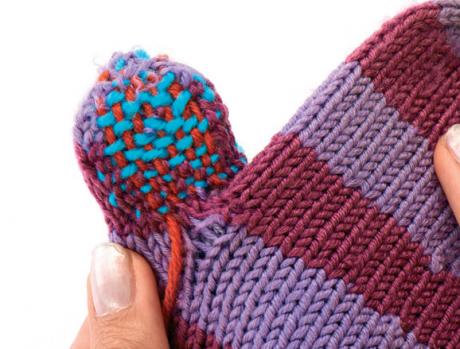
Step 2: Turn your work 90 degrees and weave the yarn over and under the strands you have just worked, again starting and finishing a few rows away from the hole. We have used orange to show the difference between the first and second set of strands. Continue like this until the hole is covered.
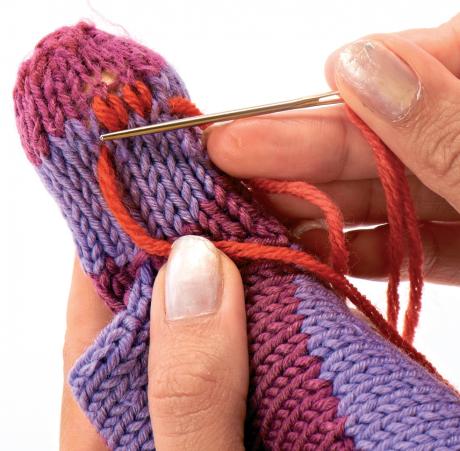
Step 3: If necessary turn the work 90 degrees again and work another row of weaving to ensure the hole is properly filled. When you’re happy with how it looks, you can sew in the ends to disguise the join.
Prevention is better than cure
Read more : How To Clean Cutters Gloves
There are some things that you can do to minimise the risk of holes forming. For example, on potential problem areas like the tops of fingers on gloves or the heel of a sock, weave extra yarn through the stitches on the wrong side of the work. This will create a double thickness in those areas and give the fabric additional strength.
Early Intervention
When you do spot an area that is wearing thin, address it before it develops into a hole. This is easily done by Swiss darning over the stitches. Known in the US as duplicate stitch, this technique involves sewing v-shapes over the top of your knitted stitches. To do this, bring your tapestry needle out through the work at the bottom of a stitch. Following the outline of the stitch, insert the needle underneath the two strands of the stitch above. Now take the needle back through the entry point. Repeat this across the row, then continue until the thin area of the fabric has been Swiss darned.
Ta-da!
Source: https://t-tees.com
Category: HOW