
This article applies to the Toyota 4Runner (1984-1995).
Your 4Runner is a vital member of the family; it gets you to work and back home. Heaven forbid, if someone were to try and steal your truck, you would want some means of preventing them from doing the deed. In comes the kill switch, a custom-made hidden switch that prevents the truck from starting under any circumstance. If this sounds like the perfect anti-theft project for your rig, then read on.
You are viewing: How To Install A Kill Switch To The Glove Box
Step 1 – Decide where you want to install the kill switch
There are several options when it comes to where you want to install your kill switch, as well as what component you want to connect it to. The most popular components to wire a kill switch to are the ignition and the fuel pump. While a lot of folks generally just splice their switch into the vehicle’s existing wires, we’re going to cover a way to do it without cutting up too much factory wiring. By installing a switch in this manner, the engine will crank but won’t turn over when it is in the “off” position. Next, you will want to choose a place to put the switch that is concealed from a potential thief. Many people choose the console, glove box, or under the dash. Wherever you choose to put the switch, make sure you pick a spot that isn’t in plain sight.
Step 2 – Run a wire from the switch to the engine bay
Read more : How Many Golden Gloves Did Oblak Win Last Season
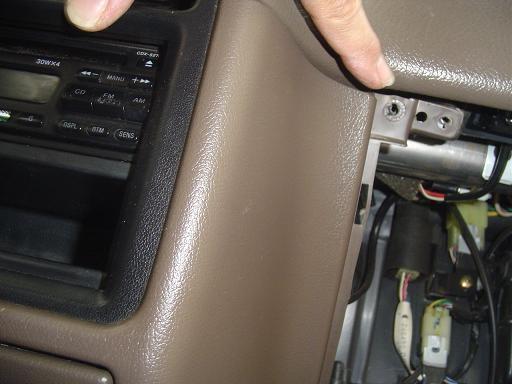
Cut a long enough length of wire to run from the location you want to mount your switch to the engine bay, through the firewall and back. Your firewall has a normally sealed opening behind the glove box. Unfurl the glove box and look behind it for a rubber seal on the firewall. Fish out that seal and you have found your point of entry. Fold the end of your wire in half, and feed the bent end that doesn’t have exposed wire through the firewall from the engine compartment. Position the wire where you want to mount the switch in the cab.

Step 3 – Install kill switch
Cut the folded end of the wire and connect the two ends of the wire to the kill switch. Look under the hood and locate the positive wire, which runs from the ignition coil to the distributor cap (see Figure 3). Cut the positive wire and connect the wires running from your kill switch to each end of the positive wire. The ignition coil’s positive wire will be running to the switch and back to the other end of the ignition coil wire once complete. Be sure and zip tie the loose wire.

Related Discussions
- Installing a Kill Switch Very Easy and Cheap – YotaTech.com
- Need Help Finding Wires for Kill Switch – YotaTech.com
- Installing Simple Ignition Kill Switch – YotaTech.com
Source: https://t-tees.com
Category: HOW