Smartphones have revolutionized our lives, but they have also made wearing gloves a bit of a challenge. However, fear not! With these simple steps, you can create your very own pair of fingerless gloves that are not only functional but also stylish. Pair them with a cute infinity scarf-style cowl, and you’ve got the perfect winter gift. Best of all, both projects can be completed using just half a yard of fleece. So, if you’re a beginner in the world of sewing, this is a great project to start with. Let’s dive right in!
Skills You Will Develop
When sewing these fingerless “gloves,” you will have the opportunity to improve several important sewing skills, including:
You are viewing: How to Make Stylish Fingerless Gloves
- Refining your cutting and straight-line sewing techniques
- Working with fleece fabric
- Sewing around a circular shape
Supplies You’ll Need
Before we get started, make sure you have the following supplies on hand:
- Your basic sewing tools
- A remnant of fleece fabric (or half a yard if you’re also making the infinity cowl)
- A Sharpie or chalk for marking
Ideas for Personalization
While these fingerless gloves look great as they are, you can take them to the next level by adding your own personal touch. Consider hand sewing some embellishments onto them once they are complete. Vintage buttons, fabric flowers, or ribbon can make these gloves even more charming!
Read more : How To Clean Silk Exfoliation Gloves
Note: All seam allowances are 1/2″ unless otherwise stated.
Step 1: Drafting and Cutting the Pattern
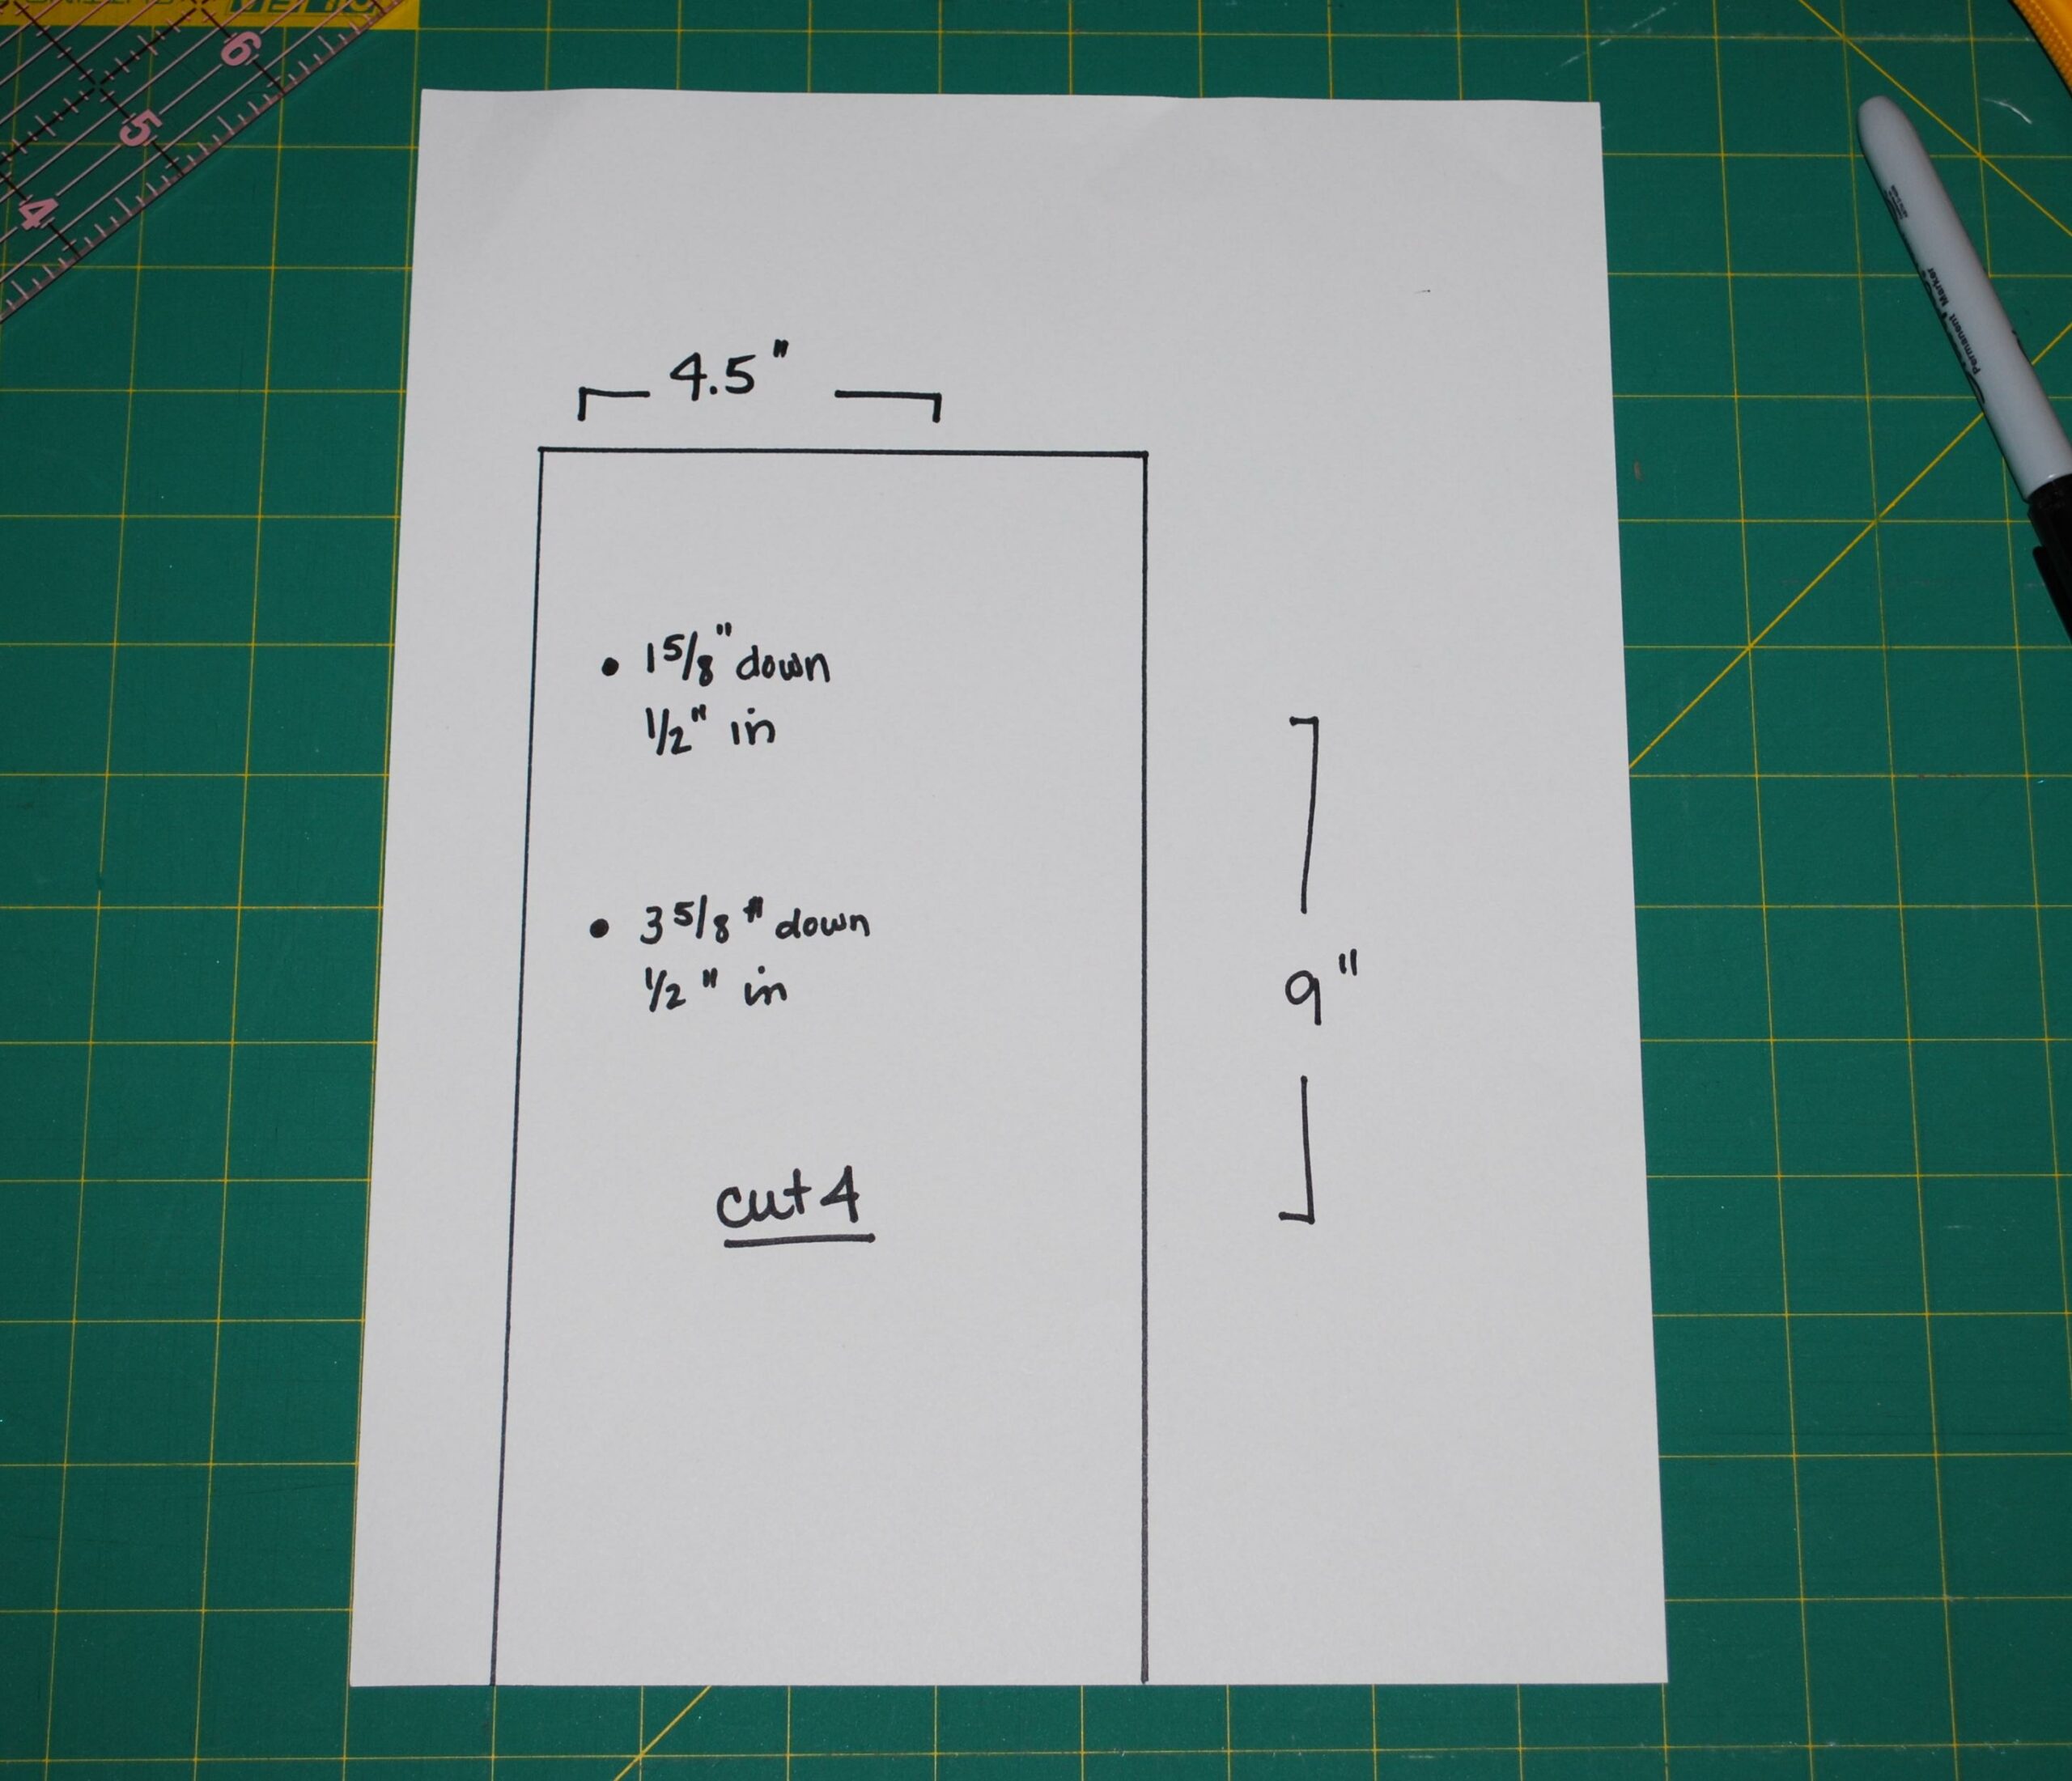
Begin by taking a blank piece of paper and drawing a 4.5″ wide by 9″ long rectangle. Then, measure 1/2″ from the left side and mark a dot 1 5/8″ down and another dot 3 5/8″ down. This will form the thumb hole. Once you have your pattern, cut it out and poke small holes through the marked dots. Now, cut four rectangles from your fabric, making sure to transfer the dot markings. Since fleece can be difficult to pin through multiple layers, tracing the pattern onto the fabric before cutting is often easier.
Step 2: Sewing the Inner Seam
The side with the dots represents the inner seam (the side with the thumb hole). Take two rectangles and place them right sides together. Pin them securely. To sew, start at the top with a backstitch and sew until you reach the first dot. Backstitch again before lifting the needle and presser foot to advance to the next dot. Put the presser foot down and lower the needle to continue sewing, backstitching at the beginning and end. Repeat this process for the remaining rectangles.
Step 3: Reinforcing the Inner Seam
Open up the seam and press each raw edge to its respective side. Pin them in place. Sew a 1/4″ seam allowance down each side of the inner seam, backstitching at the beginning and end. This reinforcement adds extra strength to the gloves.
Step 4: Sewing the Outer Seam
Read more : How To Get Fish Glove Fisrt Try
Fold the glove so that the right sides are together and sew the outer seam, backstitching at the beginning and end. At this point, try on the glove to ensure it fits perfectly, neither too loose nor too tight. Adjust if necessary.
Step 5: Finishing the Top and Bottom Hems
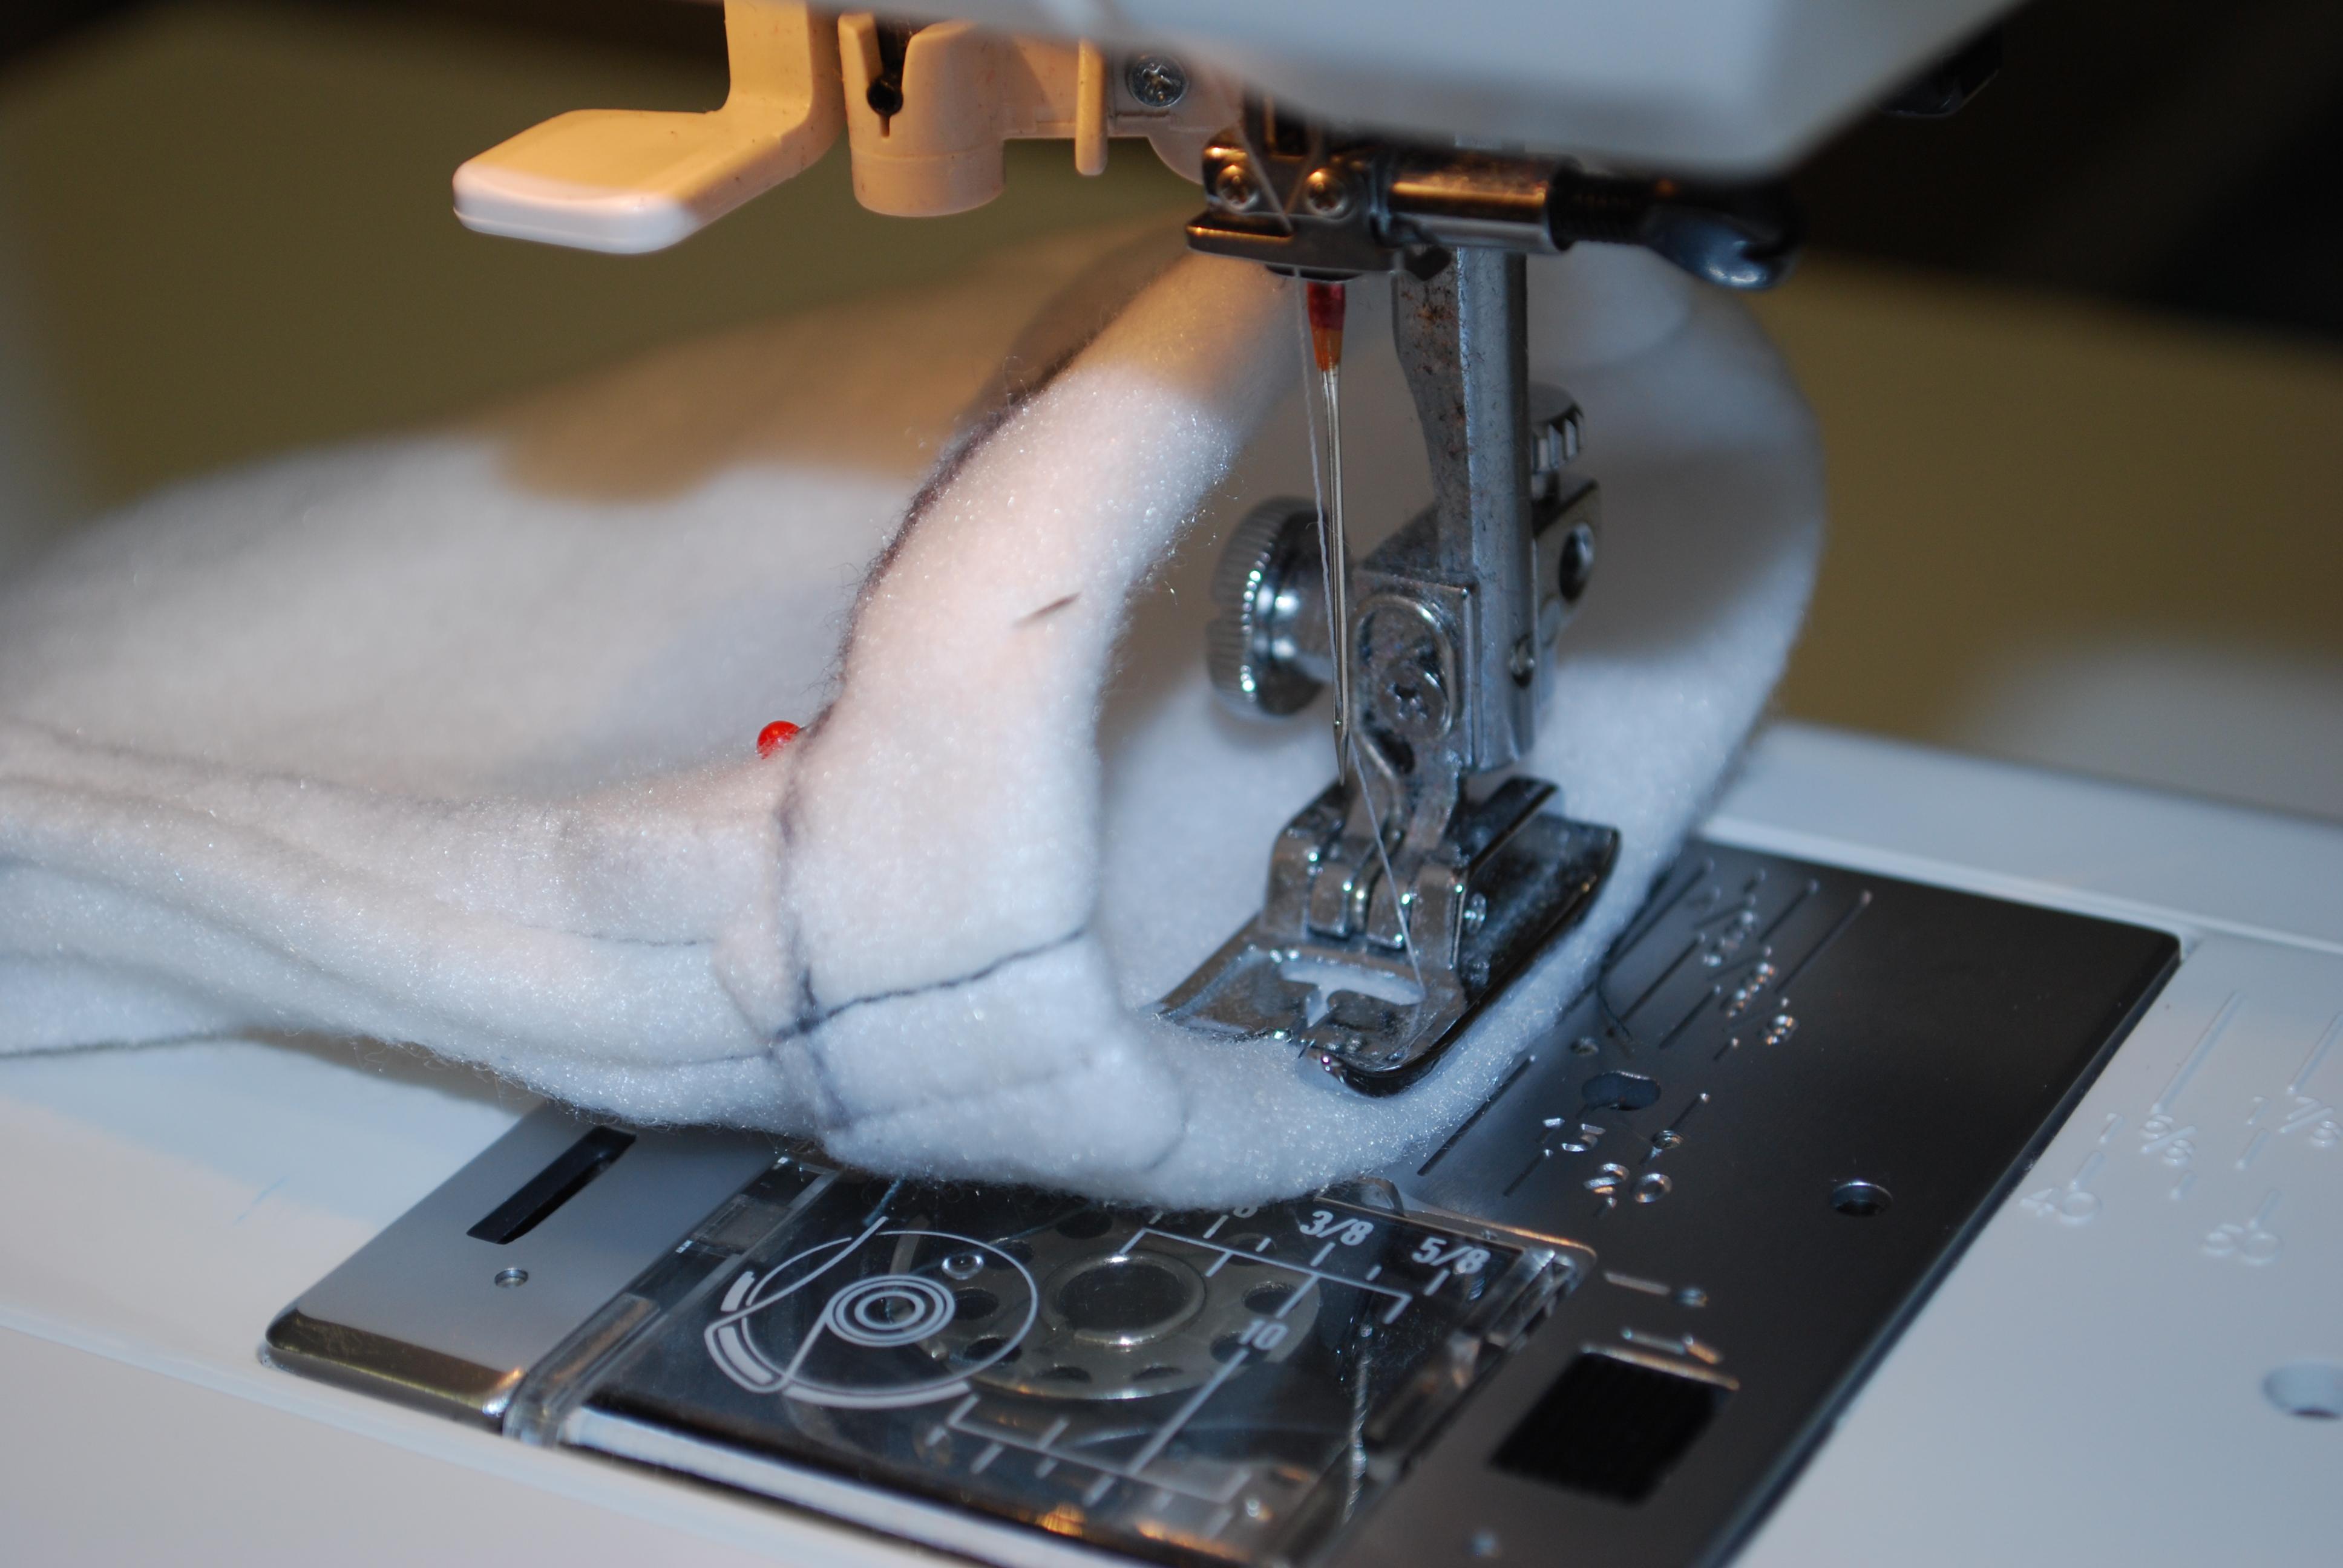
With the gloves turned inside out, use your finger to press a 1/2-inch single fold hem all the way around the opening of the gloves. Pin generously to secure the hem. If your sewing machine’s arm is too large to fit inside the glove, sew slowly and carefully to avoid any mishaps. Once you’ve completed sewing the hem, turn the gloves right side out.
Congratulations! Your fingerless gloves are now complete. Enjoy the warmth and style they bring to your winter wardrobe.

Source: https://t-tees.com
Category: HOW

