The first time I tried to embroider on a pair of gloves, I actually stitched the gloves shut. You probably think I’m joking, but sadly, I am not. Now that I am a bit more experienced, however, I embroider on gloves all the time. They make a great gift and they are actually quite easy to monogram. Never tried it? Here’s how to embroider on gloves.
Why embroider gloves?
So are you wondering why you would ever want to use your embroidery machine to embroider on a pair of gloves? Well there are a lot of reasons. First of all, personalized gloves make great gifts, especially for winter holidays. They are easy to size, relatively inexpensive, and super useful. Plus gloves get lost easily, so there’s a good chance that your recipient would probably appreciate a new pair.
You are viewing: How To Machine Embroider Gloves
Another reason why you may want to embroider on some gloves is to add a monogram. Monogrammed gloves may actually help your recipient hold onto the pair a little bit longer. With a monogram, if they get lost, it’s easy to identify whose they might be.
The size of gloves offers another benefit when it comes to machine embroidery: you can only make the monogram so large. A small monogram stitches out quickly, so this project goes fast!
Finally, gloves are pretty inexpensive. The pairs that I embroidered for my friends this holiday season were less than $5 per pair. I think they look a lot more expensive then that, especially with the monogram.
Where to buy gloves
If you are going to bother embroidering on gloves, you want to make sure that the stitching will complement the style. You’re probably not going to want a to monogram a puffy pair ski gloves. Embroidery is better suited for a pair of gloves that are more fashion focused as opposed to functional.
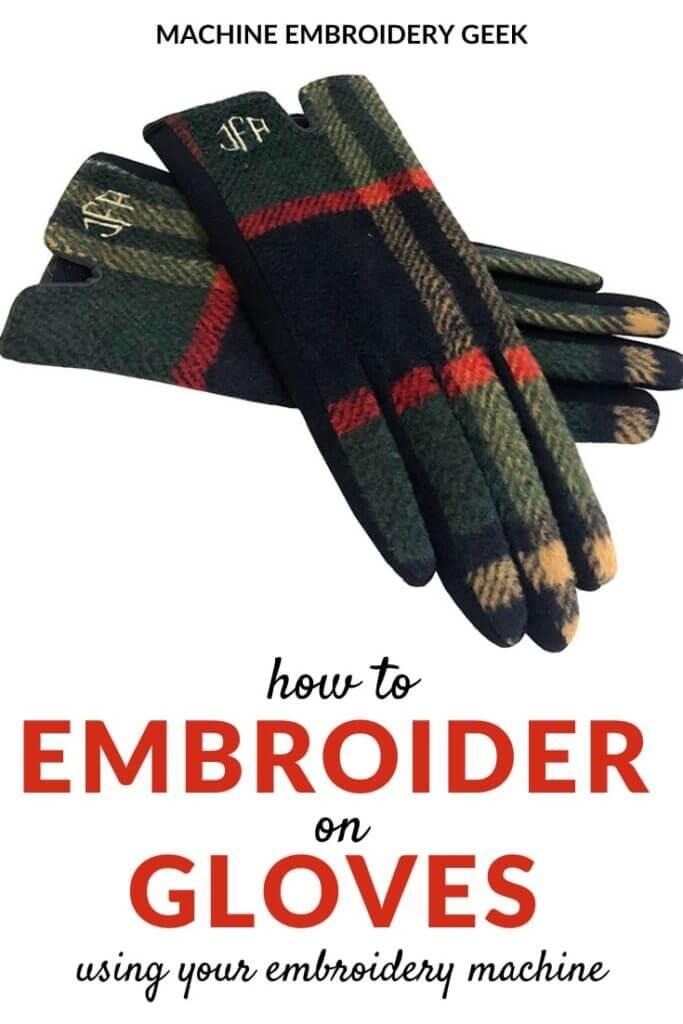
I got my plaid gloves at one of my favorite blanks suppliers: SewforLess. They were on closeout for $4.95 so you may or may not be able to still get them. I found a similar plaid pair of ladies gloves for not much more on Amazon. Not into plaid? There are plenty of inexpensive alternatives.
Making the gloves yourself
Maybe you have made a pair of mittens. There are tons of freely available patterns out there to do so. But, gloves? Not so much. I was surprised to find patterns for gloves you can make yourself. And, if you make the gloves yourself, you can add embroidery anywhere before stitching them all together. How cool is that?
If you are interested in making the gloves yourself, and you want the pair to have a more sporty, outdoorsy-look, I would suggest this Green Pepper pattern. Their patterns are well tested and reliable and styled like typical outerwear.
For a retro look, check out this vintage Butterick pattern that is available as a PDF download. You can adjust the length to be more contemporary if desired. Here’s another PDF glove pattern that is less retro looking but includes some really cute trims.
The challenge of embroidering on gloves
Gloves are also quite small obviously. Which may make them intimidating to embroider because of the difficulty accessing any part of the Love for embroidery. Yes this was my problem on my first attempt. I wanted to create a big initial on the back of the glove and in doing so stitched the glove close. The easiest way to embroider on a glove is to add a simple monogram on both clubs on the outside of the wrist. This location is easy to access.
How to embroider on gloves
Preparing the stabilizer
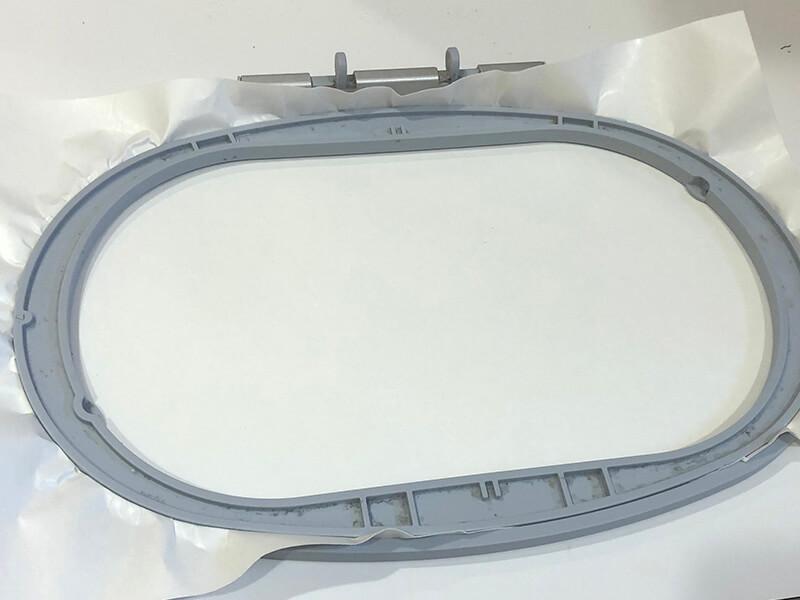
It would be absolutely impossible to hoop a pair of gloves. Really your only option is to float them. Therefore, your first step is to hoop a piece of adhesive-backed stabilizer with the shiny side up. Then, use a pin to score the top paper layer of the stabilizer around the inside edge of the embroidery hoop. Peel the paper away to expose the sticky surface.
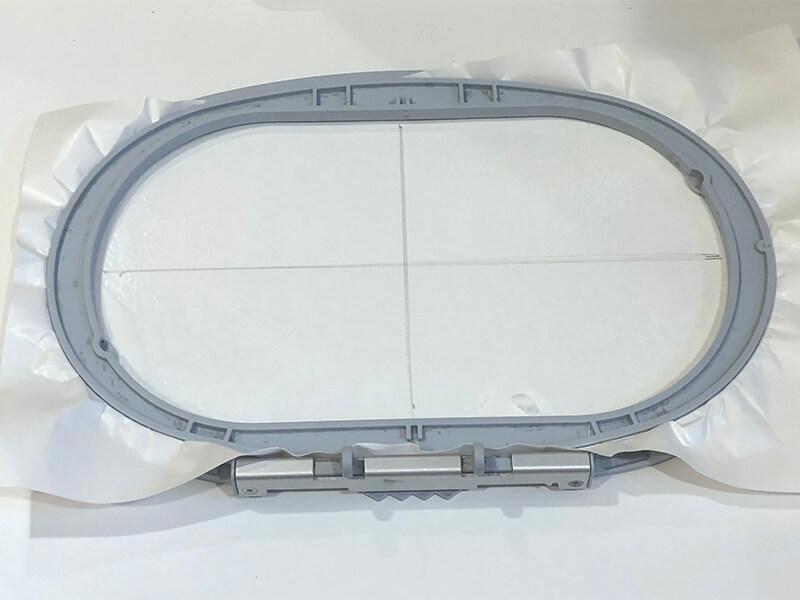
Now, mark the center point of the hooped stabilizer using a disappearing ink pen and extend the lines to the edge of the embroidery hoop.
Preparing the gloves
Now you need to locate the center of the monogram on both of your gloves. I chose probably the easiest spot to monogram on these gloves – right at the bottom edge. The closer the embroider to the edge of the gloves, the easier it will be to access.
When locating the center point of the monogram or design, you need to consider the size. I set up my monogram file to be slightly less than 1″ x 1″, so when I located the desired center of the design on the gloves, I made sure that there was ample room around the center point to stitch out the monogram.
In order for the monogram to get the most exposure, you will want to stitch it out on the outside edge of the gloves. So, the monogram should be on the opposite side of the thumb.
Also, the positioning should be the same on each glove. I measured the distance from the side and the bottom of the glove to ensure that the center points were consistent.
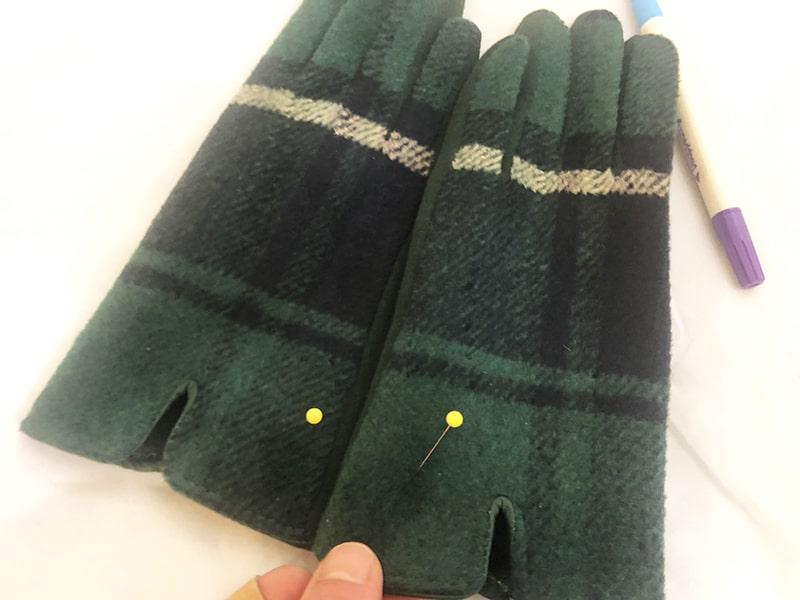
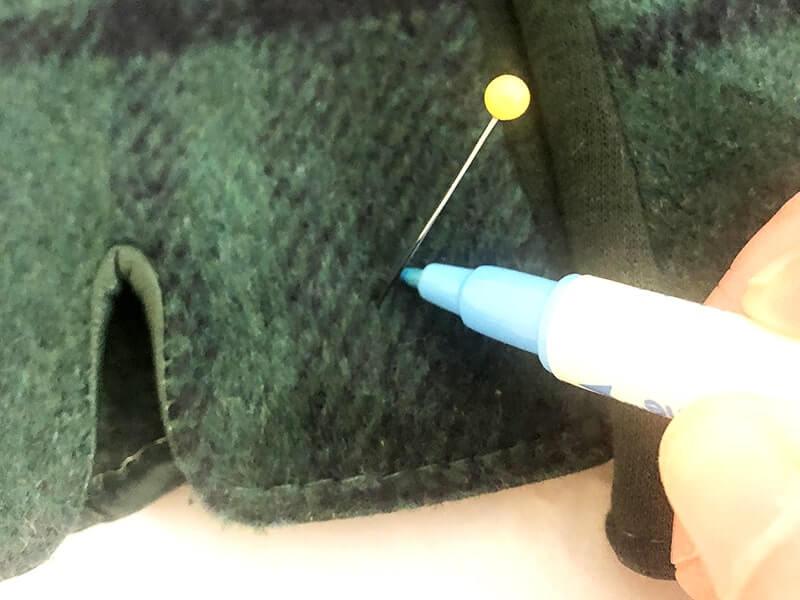
After you locate the center point of your monogram or design, mark the spot with a disappearing ink pen.
Turn the glove inside out and push back the back side of the glove in order to expose the front face. Stick the glove onto the adhesive-backed stabilizer lining up the intended center point of the design with the center point of the adhesive-backed stabilizer .
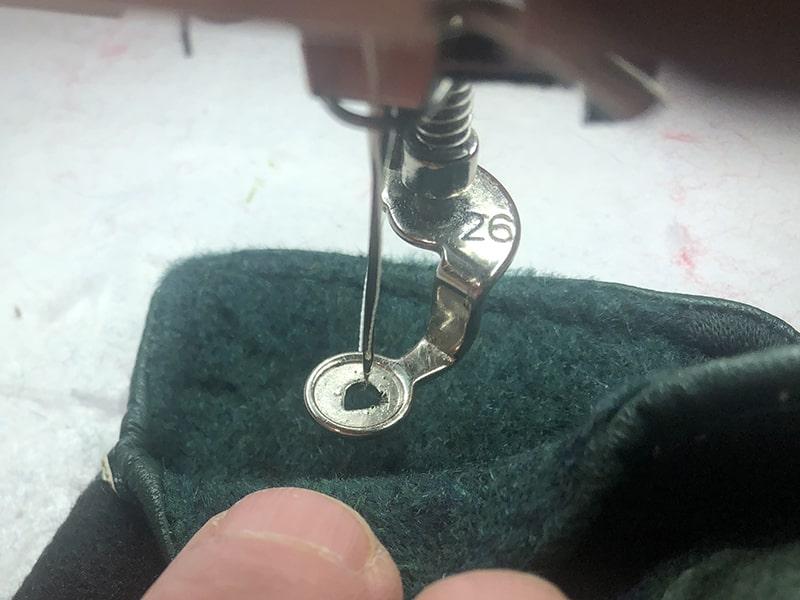
Read more : How To Determine Nitrile Glove Size
Use blue painters tape to hold back the back side of the glove. Then lay down a piece of water soluble stabilizer over the embroidery area. You are ready to stitch.
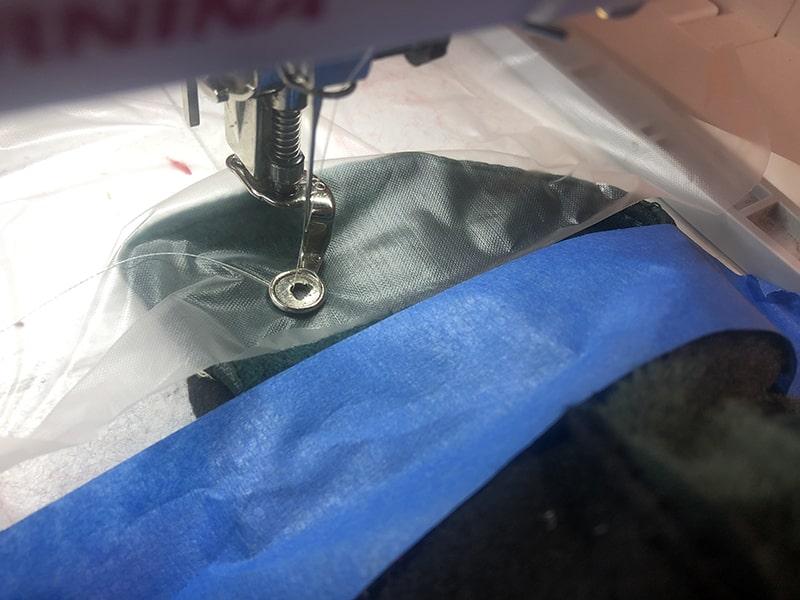
Double checking your design
Before you start stitching out the design or monogram, double check the orientation. I stitched on my monograms so that the top of the monogram pointed towards the opening of the glove – not the fingers. This way the monogram is legible to people looking at the gloves. That orientation just looked right to me, but you can certainly set it up however you want. Just make sure it’s oriented the way you want it before you start embroidering.
Embroidering on the gloves
If you are just embroidering a small monogram on the gloves – just as I did – the stitching goes pretty quickly! Just stay close by to make sure the back of the glove does not fall into the embroidery area.
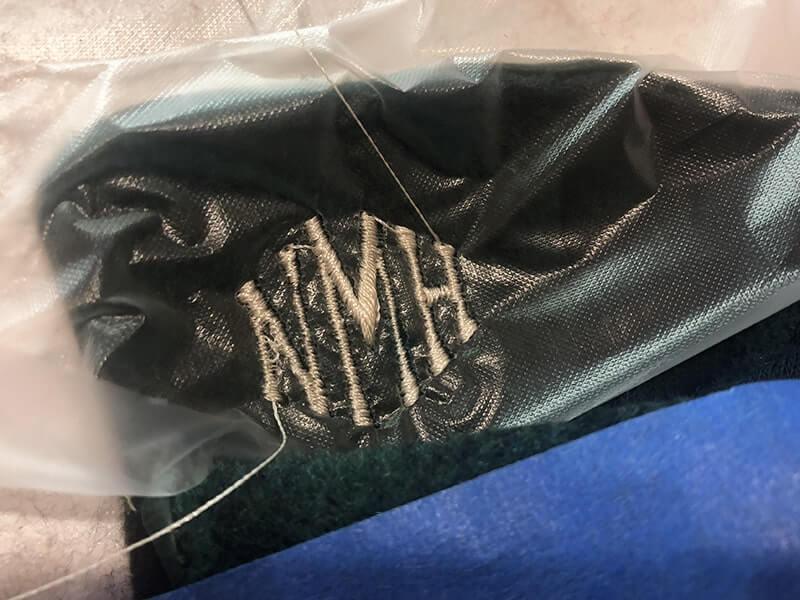
When the stitching is done, tear the glove away from the adhesive backed stabilizer, trim the jump stitches, remove the water soluble stabilizer . And now you have the perfect gift.
I stitched two pairs of gloves for some of my friends and packaged them up with a coordinating bluetooth beanie. Now, if I were really ambitious, I would monogram the beanie as well. But, if I’m ever going to get to the end of my Christmas stitching, I better leave it at that.
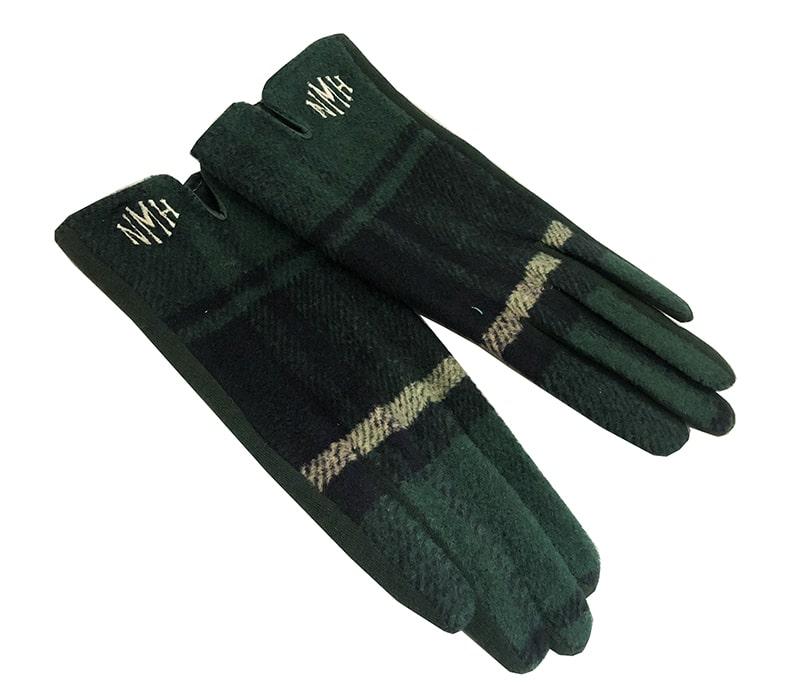
Happy stitching!
xo
Julie
Want to remember this? Save “How to embroider on gloves on your favorite Pinterest board.”
Source: https://t-tees.com
Category: HOW
