


I recently decided that a fun new activity would be archery from horseback. I already do both archery and horseback riding separately, so why not put them together?
You are viewing: How To Make A Leather Archery Glove
The first step in this expedition was to purchase and learn to effectively shoot a horsebow. I already had a compound, and was surprised to learn about all the armor required for traditional bows. First you need an armguard, which has the dual function of protecting your arm from string slaps and keeping your sleeve out of the way. Also required is a glove on the bow hand, as horsebows have no arrow rest and the arrow sits on, and slides off, the knuckle of the index finger. (Some kind of glove or finger protection is recommended for the draw hand too, but I decided my fingers were tough enough that I didn’t need one.)
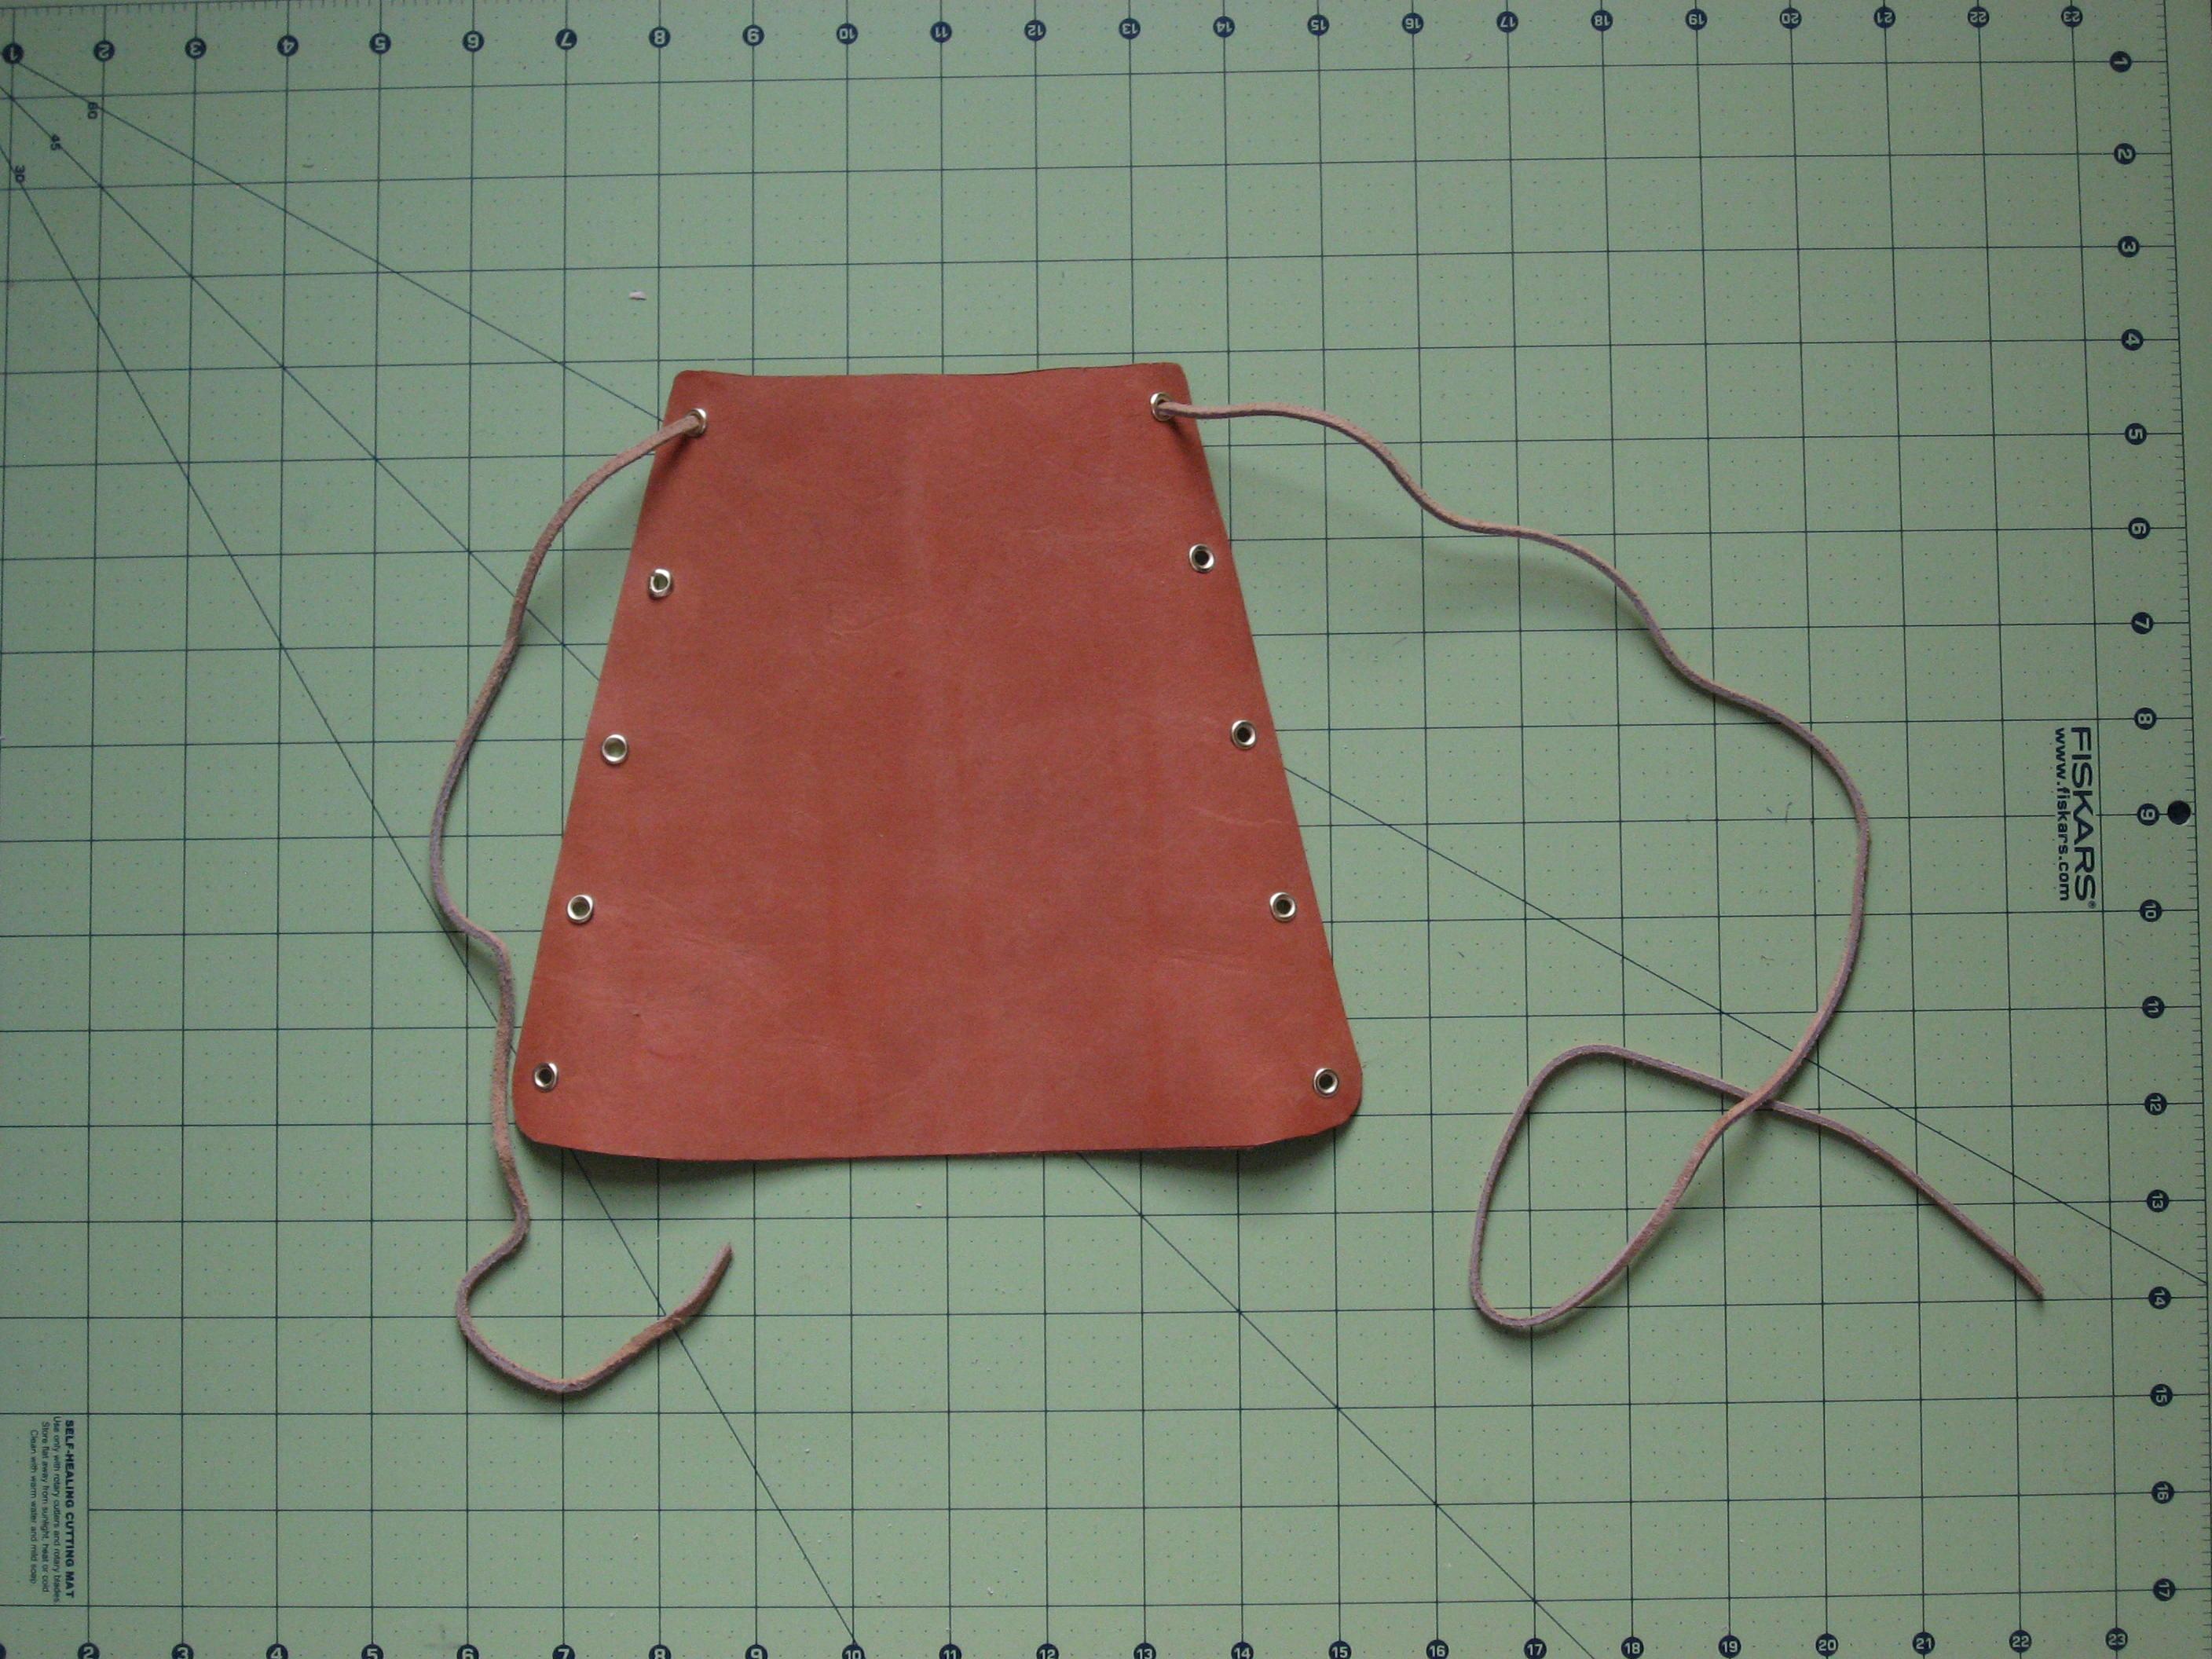
I decided I wanted a more traditional bracer instead of a modern armguard, and unable to find what I wanted for purchase, I decided to make my own. I used the pattern from this website, but because it was a child’s pattern, I had to enlarge it some. I cut the bracer out of a thick piece of leather, punched and grommeted the holes, and laced it up with some suede lace from Michael’s. Easy.
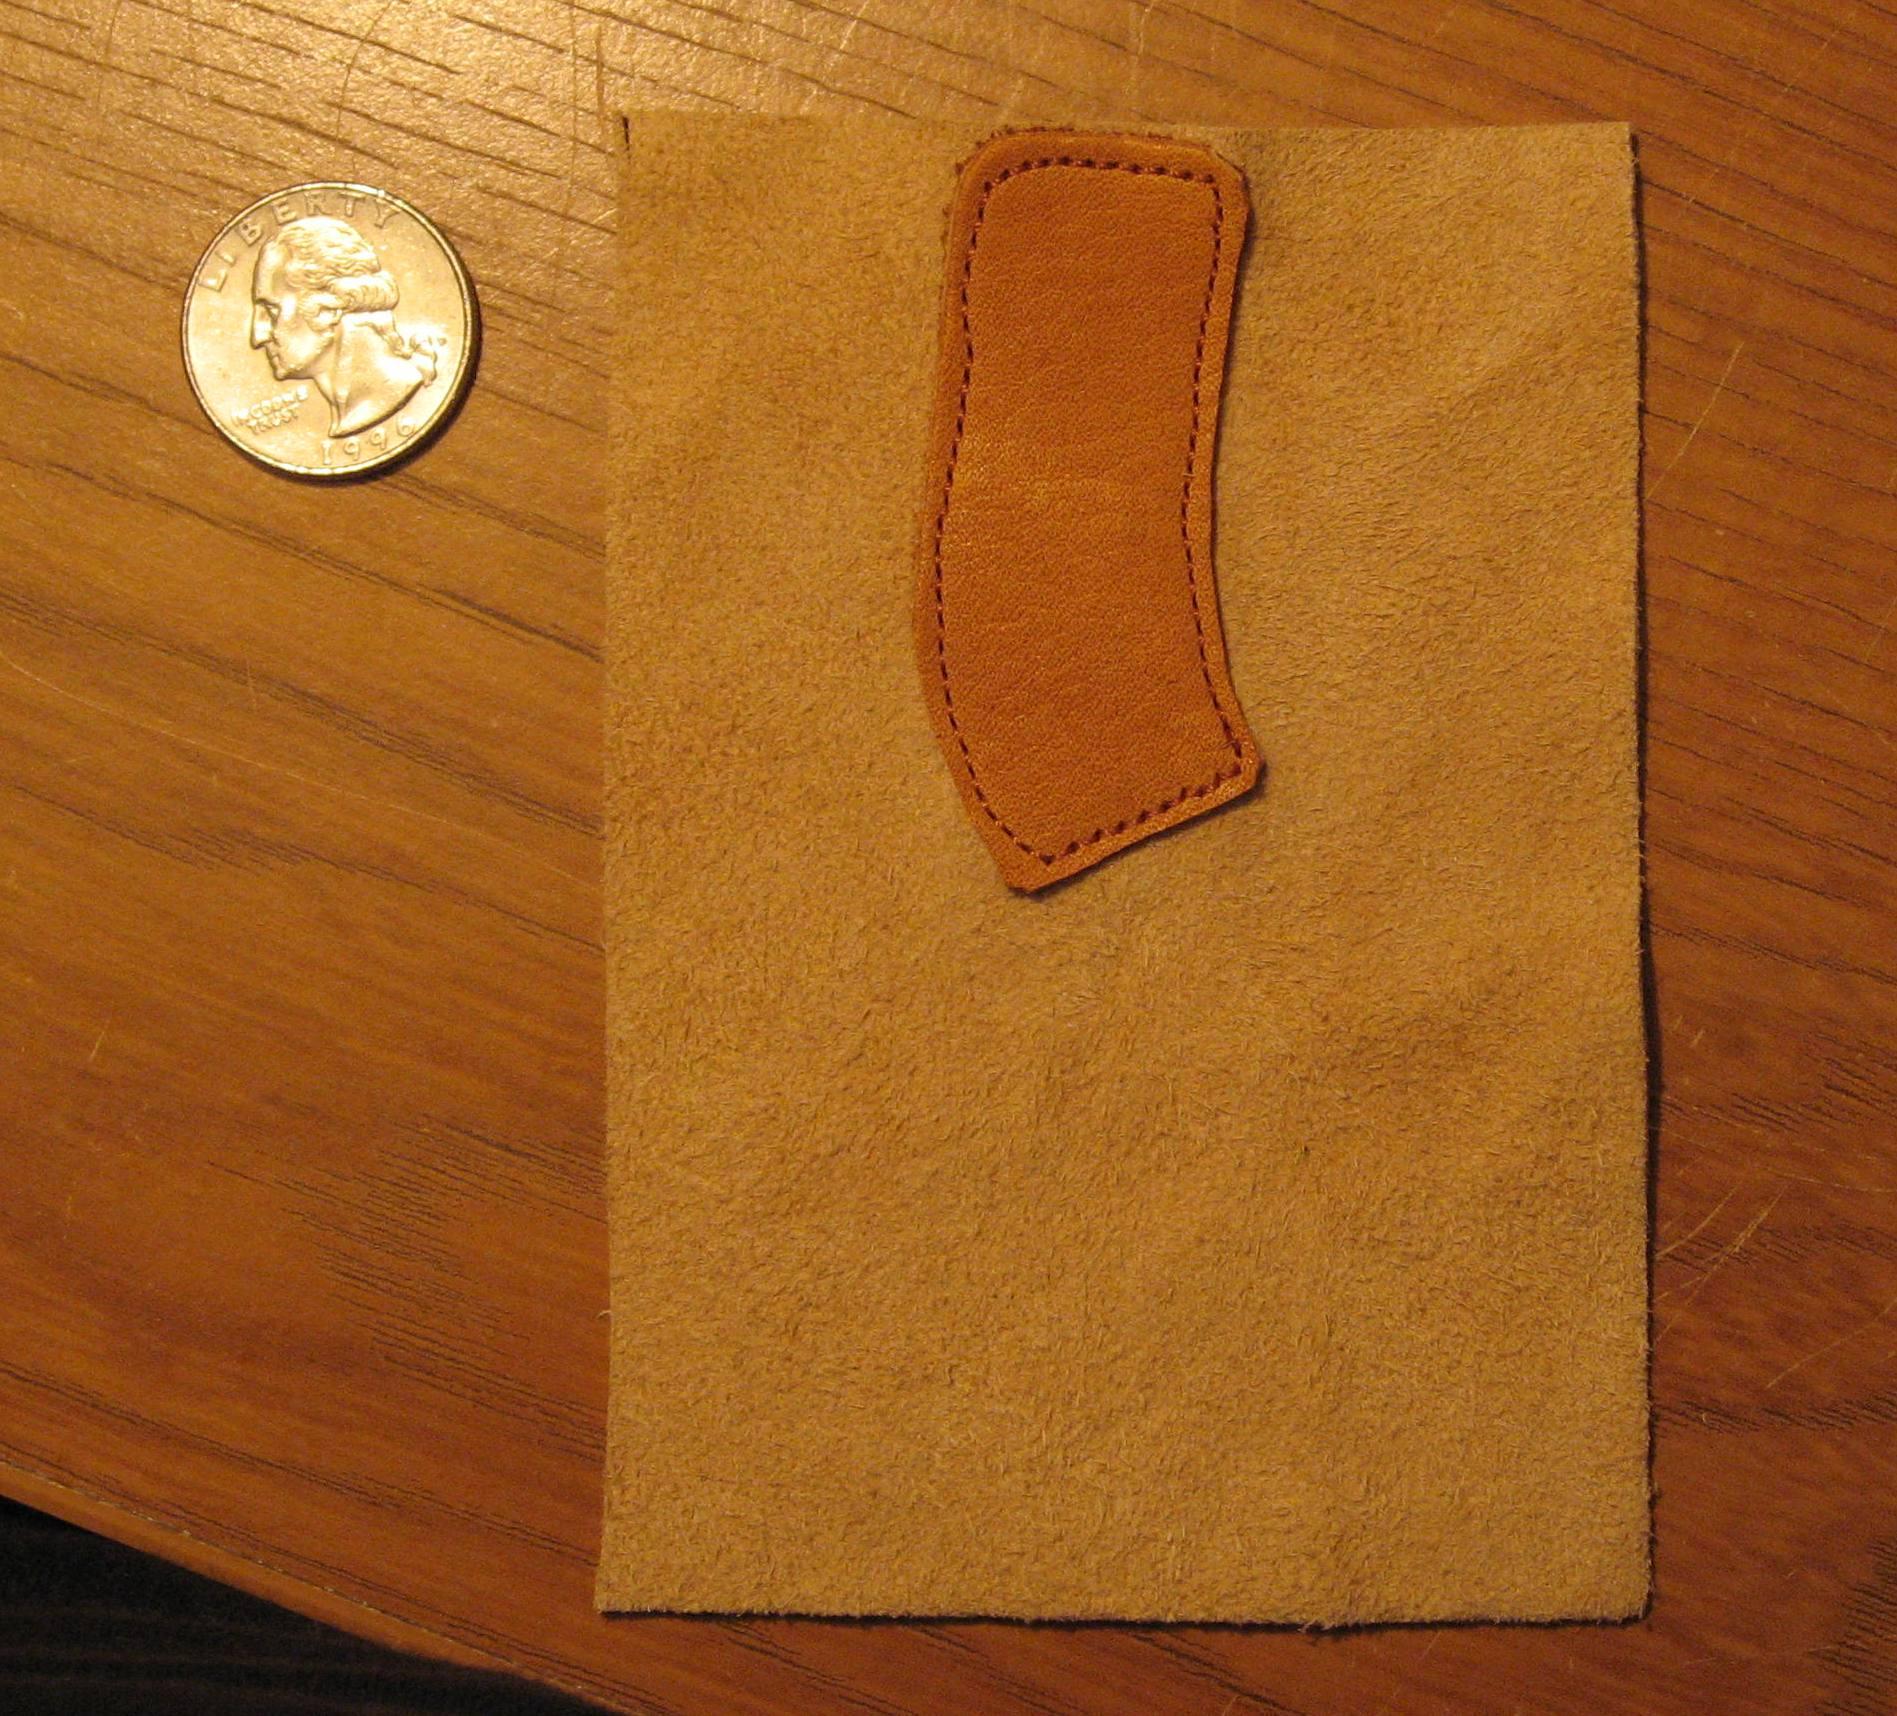
The bowglove was a bit more complicated. I had never made a glove nor sewed leather before. It was to be an exciting project. I started and scrapped two patterns before deciding to start with the most important part of the glove, the arrow rest. Because the arrow is sliding across my skin at high speed, a lot of friction is created. I shot with no protection a couple rounds and quickly realized why a glove is necessary. I choose a slightly thicker leather to go atop the knuckle, which I sewed on top of the soft suede I choose for the rest of the glove. It’s slightly curved to match the contour of my hand when holding the bow.
Read more : How Much Do Football Gloves And Arm Sleeves Cost
 To make the finger I sewed the sides of the suede rectangle together at the top. The rest of the suede fell over my thumb and back of hand.
 I then trimmed the suede so it matched the contour around my thumb and lay flat to the back of my hand.
 Next I needed to add suede so the glove encircled my hand. I wasn’t going to make any other fingers, so the rest was basically a sleeve. I had to undo my finger stitching in order to work the second piece on.
 I restitched the finger, put the glove on, and taped the suede into place. At this point I realized that I was going to have to handstitch one of the seams. Deciding the less handsewing the better, I ripped out the palm seam and machine stitched the back seam.

Scotch tape quickly became my best friend.
Read more : How To Make Bird Claw Gloves
 Luckily the handsewing was not too bad, as the holes in the suede were pre-punched thanks to the previous seam.
 I trimmed the wrist edge to a nice even line, and stitched up the thumb seam. Then I decided I wanted a more finished, and fitted bottom edge, I ripped that seam out and added a edging of the thicker leather, that Velcros shut.
 I convinced Nick to photograph some action shots:

 Now if I can just learn to hold my arm correctly. Ugh!
Tags: archery, leather, sewing
Source: https://t-tees.com
Category: HOW