
So I’ve been getting a few questions on how I made everything and I decided to make a tutorial post to make it easier on me to answer questions. I’ll be making another post after this for the ear, hand and boot cuffs.
Link is here
You are viewing: How To Make Claw Gloves Cosplay
CLAWS:
Materials: 4-way-stretch spandex, claw rings, wire cutters, pliers, black spray paint, Pledge Floor Care Finish (a.k.a. Future floor wax- or some sort of sealant finish to help the spray paint from scratching off), disposable gloves, Elmer’s glue, blank paper, scissors/x-acto knife, tweezers, chalk
We’ll work on the claws first. I ordered the claw rings from ebay. They come silver and as pictured on the website (NOT BLACK), but they only actually fit on my thumb. If your fingers are thicker or thinner than mine you’re going to need to cut it anyway.
Wire Cutters:

Pliers:
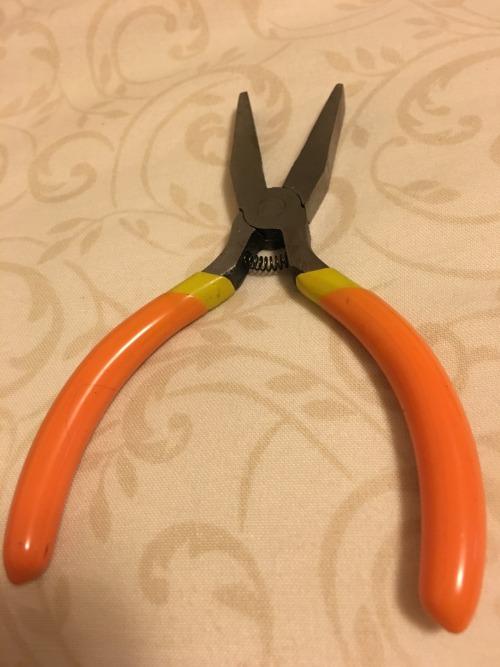
First, you’re going to need to try them on your fingers. Make sure you’ve established some sort of ordering so while you cut and adjust the rings so you know which hand and which finger a ring goes on.
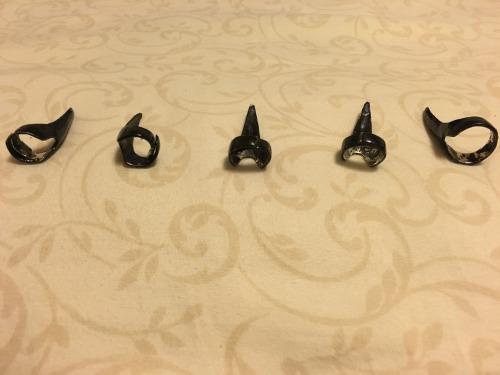
Cut the rings using the wire cutters down the “middle” of the back and take some pliers to mold the now adjustable ring to fit your finger.
Read more : How To Knit Gloves With Four Needles
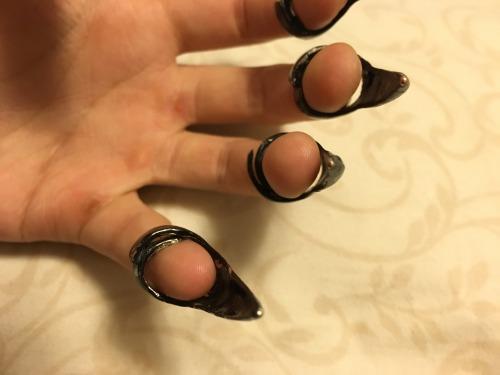
It should fit comfortably enough against your finger that you can bend your joints and not slip off immediately.
Here are my results:
After adjusting all of these, now is the time to spray paint. Put on your disposable gloves and fit the rings over it and spray as light of a layer you can. Allow the paint to dry (about 30 minutes, or until it’s not too damp-so expect to sit around) and carefully remove the rings and place on a piece of newspaper or cardboard to spray a light layer to the underside of the claw (because only the claw will be showing through the gloves). Check that the claw section is satisfactorily painted over. If not, keep layering the paint so it covers everything.
Let it thoroughly dry for 24 hours before you seal it with a top coat. Let that cure for 24-48 hours.
GLOVES:
Spandex material used: Yaya Han’s line of black spandex at Joann’s for $19.99/yd + 50% off online coupon. Whatever spandex material your suit is using. If your suit was bought, just find the closest looking spandex material.
You want to cut off a section of your black spandex material that is large enough for you to fold in half and fit the outline of your hand and wrist. This tutorial on skin tight gloves is what helped me. Make sure that what’s showing on the outside is the INSIDE of the glove. (i.e. shiny on the inside, dull on the outside) You’ll reverse it later so that no stitches show.
I didn’t have any freezer paper, an iron, or any kind of stabilizer paper, so I just used watered down elmer’s glue to glue my pattern to the spandex. I also glued a sheet of paper to the other side of the gloves as well to prevent the spandex from catching in the machine. I didn’t pin my gloves like the tutorial did- binder clamps were used on the edges to keep the spandex together.
When machine-sewing/hand-sewing, don’t stretch the spandex or it might come out wonky. Also make sure you are using a stretch stitch. I used the chain-stitch that the tutorial recommended. Since I use a retro-sewing machine, there isn’t a direct option for the chain stitch (like newer machines do). But the chain-stitch can be implemented using a straight stitch and the forward 1 back 2 option. (This is just for people who use old machines like me…. I should buy a newer model)
Here’s an example of what things should look like. Make sure your fingers have enough space in between them for the stitch (if you are not using chain-stitch) and that the stretchiest direction of the spandex goes instead of up to down. I indicated this in the picture with the looong arrows.
Read more : How To Break In Soccer Goalie Gloves
Also make sure you have enough room for your wrist to actually fit your hand through. It’s better to give too much room than to little. That’s easily fixed. Don’t worry if your stitches aren’t straight enough-spandex is pretty forgiving on that.

When you’re finished, peel the paper on both sides off. Use tweezers to remove any bits stuck between stitches.
Stick your hand through the gloves (which are still inside-out) and use chalk to mark on the glove where the middle point of your fingernail is located. This is where you will cut a very small hole to stick the claw rings through.
After you cut the holes, seal it with a little Elmer’s glue/fabric glue to help prevent any unnecessary unraveling.
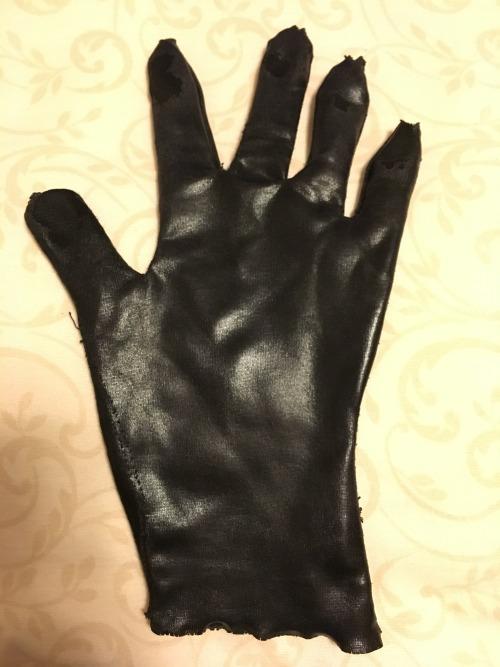
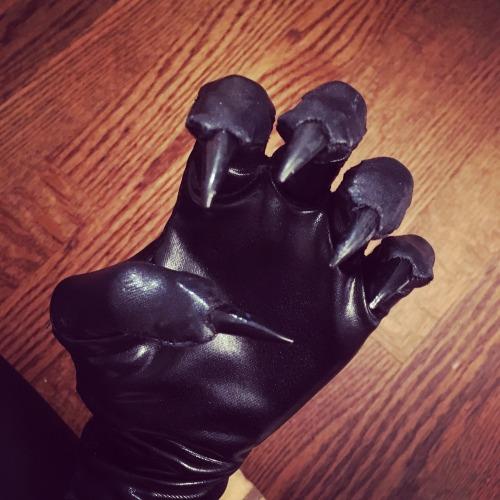
You can already see the wear and tear and mistakes on my gloves after Katsucon ahaha
Then you reverse the gloves so the shiny is on the outside and slip each individual ring through and voila! You have one claw glove.
How to Wear: Slip your hands through like it’s a normal glove, and adjust the ring for each finger so that you are essentially wearing the rings through the glove.
Note: It’s a little difficult to get used to typing in these gloves on a smart phone, or grabbing things out of your bag…, or doing any delicate fine motor stuff in general…
Any other questions, feel free to message me or send an ask!
Source: https://t-tees.com
Category: HOW