
Are you tired of searching for the perfect gloves to complete your costume? Look no further! In this guide, we will show you how to make your own custom gloves. Not only will this save you money, but you’ll also have complete control over the design. Let’s get started!
Step One: Gather Materials
Before we dive into the process, let’s make sure we have everything we need. Here’s a list of materials you’ll need for this tutorial:
You are viewing: Make Your Own Custom Costume Gloves Easily
- About 2 yards of fabric (just in case of mistakes)
- A sewing machine (or needle and thread)
- Measuring tape
- Roll of elastic
- Spool and bobbin full of thread the same color as the fabric
- Scissors
- Dark or light-colored pencil
Step Two: Measure Your Arm
The first step is to measure your arm. This will ensure that the glove fits you perfectly. Measure the circumference of the part of your arm where the glove will end. Next, measure the length of the glove, extending down to your middle finger. Remember to add an extra inch for comfort and sewing. For example, if your arm circumference is 13 inches and the length of the glove is 23 inches, mark the measurements accordingly.
Step Three: Cut Out the Pattern
Fold your fabric in half and mark the length and circumference measurements on the fabric. When you open the fabric, it will reveal the full width. Cut out this pattern twice, one for each arm. Remember not to cut the fold.
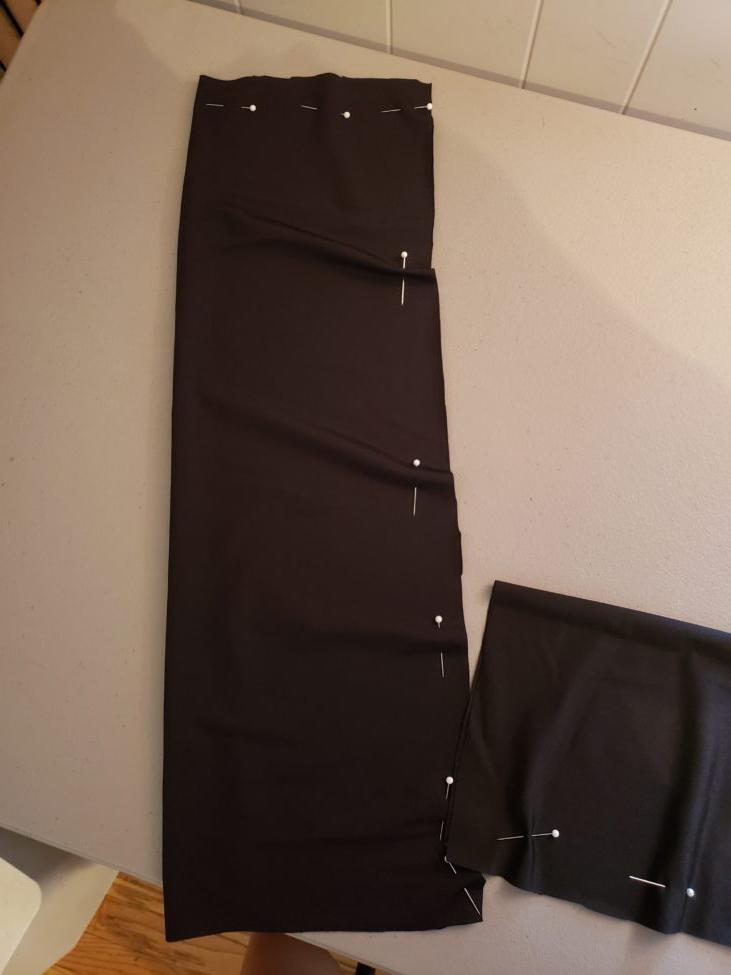
Step Four: Make a Pillow Case
Now, flip the fabric inside out. This means sewing on the opposite side of the fabric, which looks duller or slightly different in color. By doing this, the extra fabric will be on the inside of the glove, resulting in a neater appearance. Pin the long end and one short end of the glove together, creating a pillowcase-like shape. Sew along the pins to close, leaving one end open for your arm to slide in.
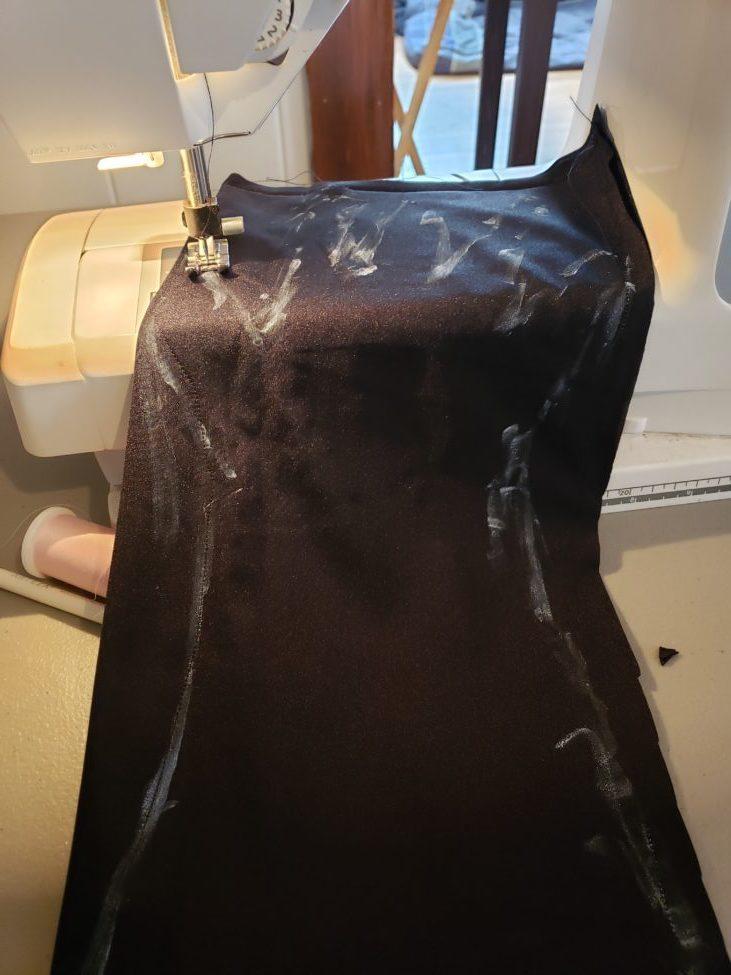
Step Five: Trace Your Hand
Read more : How To Dispose Contaminated Waste Gloves Blood-soiled Materials
Using a pencil of the opposite color, trace the outline of your hand inside the pillowcase. Make sure to leave some space for comfort. If you make any mistakes, the good news is that watercolor pencils can be easily washed out with water.
Step Six: Sew
Time for the fun part! Sew along the lines you’ve made in your glove. It may take a few attempts to get the hang of sewing round shapes, but don’t worry, practice makes perfect. Once you’ve sewn the shape, try on the glove and make any necessary adjustments. To keep the glove in place on your arm, you can add elastic to the part that won’t stay up. Cut the fingers apart down the middle, without cutting the sewing, to release your fingers. Trim any excess fabric as needed.
Step Seven: Adding Elastic
Cut a band of elastic that has the same circumference as your arm. Sew the elastic to the loose end of the glove in the shape of a small square. This will ensure that it doesn’t move. Fold the elastic into the glove, sewing it into place. Remember, you’re working on the inside of the glove, which is the opposite side. Make any final adjustments to ensure the glove stays in place.
Step Eight: Flip it Inside Out and You’re Done!
Finally, flip the glove to the “right” side and check your work. If everything fits well, congratulations, you’ve made your very own custom glove! Now you can add all the bells and whistles you want to make it truly unique.
Remember, making custom gloves allows you to express your creativity and ensures a perfect fit for your costume. Have fun creating and enjoy the process of making your personalized gloves!


Source: https://t-tees.com
Category: HOW