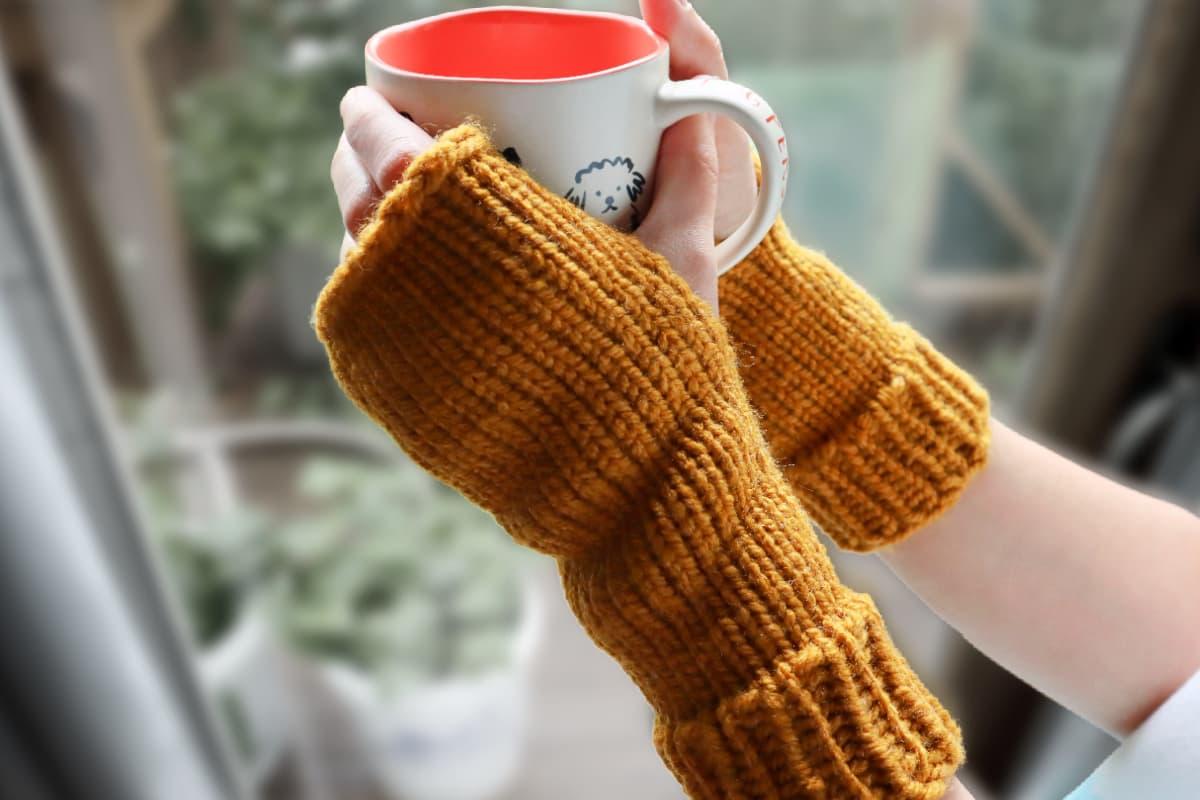
Step into the world of loom knitting and create a cozy pair of fingerless gloves with this simple and beginner-friendly pattern. Whether you’re a seasoned knitter or just starting out, this tutorial will guide you through the process, resulting in a warm and fashionable accessory that’s perfect for chilly days.
The Best Knitting Loom for Fingerless Gloves
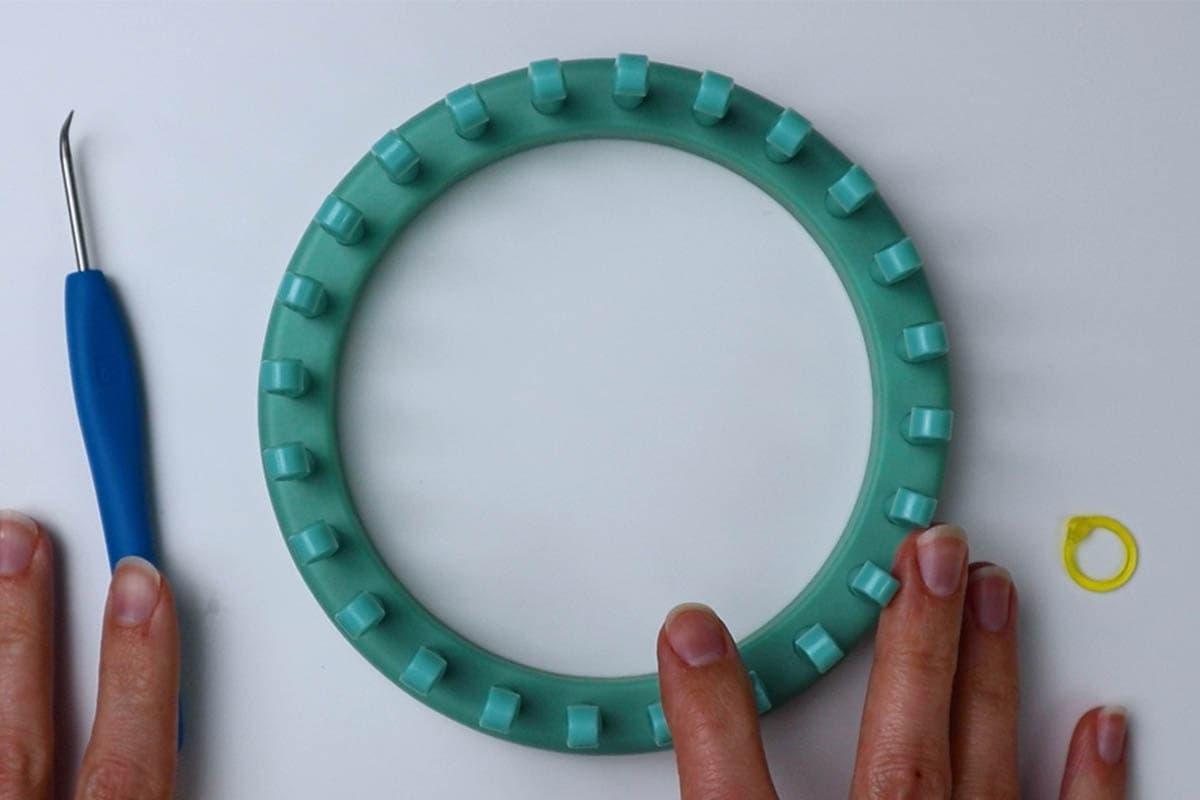
To make these gloves, you’ll need a 24 peg knitting loom. This is typically the smallest circular loom in a set. The KB large gauge loom set and the 24 peg Knifty Knitter round loom are both excellent options.
You are viewing: How to Knit Stylish Fingerless Gloves on a Loom
The Ideal Yarn for Loom Knitting Fingerless Gloves
Read more : How To Clean Deerskin Leather Gloves
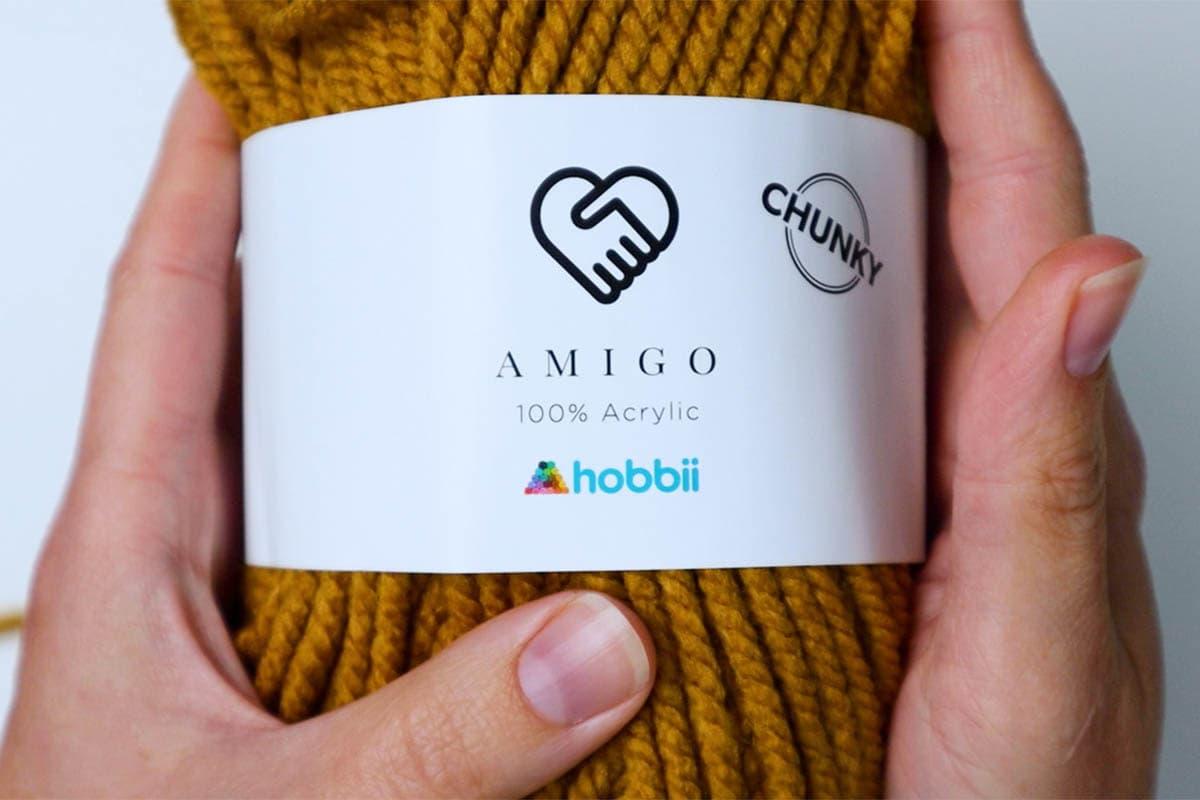
For this project, I used Amigo Chunky yarn from Hobbii. It’s a size 5 acrylic chunky yarn that’s easy to work with and can be conveniently washed. You can also try Lion Brand Wool Ease Thick and Quick, which provides extra warmth and coziness. Alternatively, you can hold two strands of worsted weight yarn together for a similar effect.
Supplies You’ll Need
- 1 skein of chunky size 5 yarn (such as Amigo Chunky by Hobbii)
- 24 peg large gauge knitting loom
- Knitting loom hook
- Stitch marker
- Yarn or tapestry needle
- Scissors
Loom Knit Fingerless Gloves Written Instructions Tutorial
Before you begin, I highly recommend checking out the video tutorial on my YouTube channel. It provides a visual walkthrough of the entire process and ensures you don’t miss any important steps.
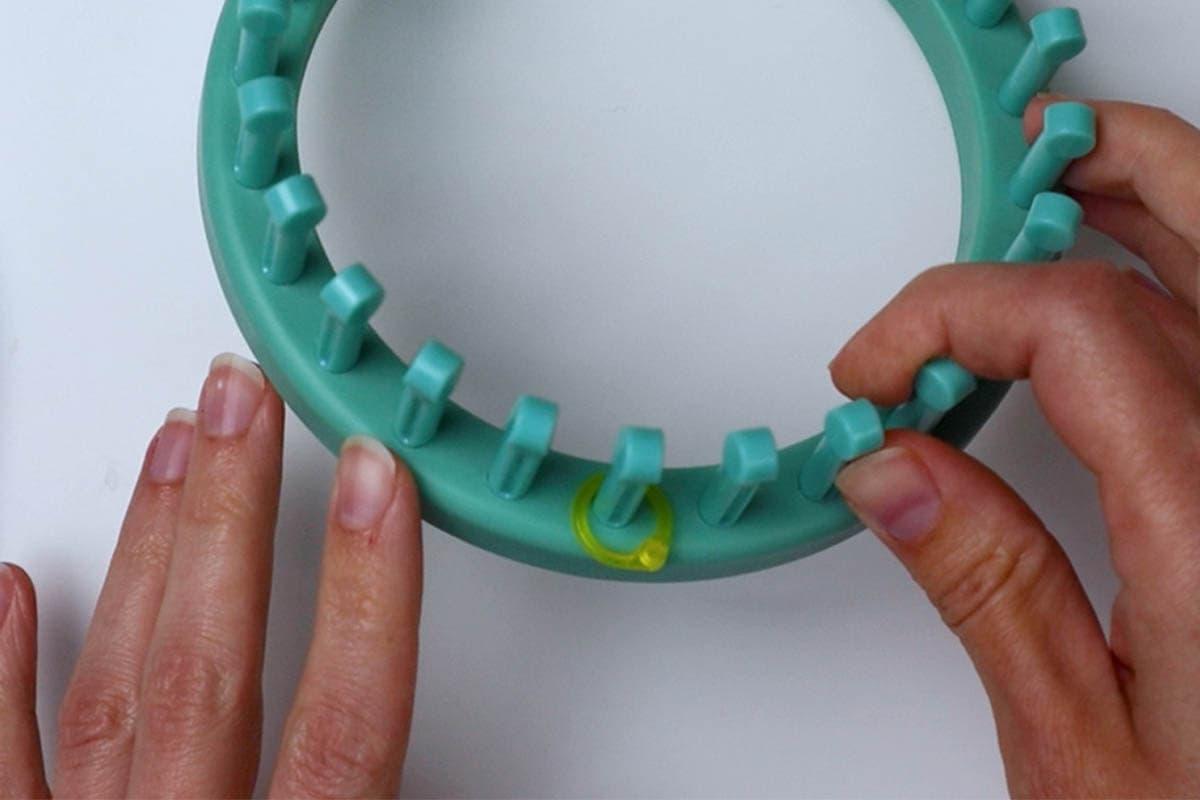
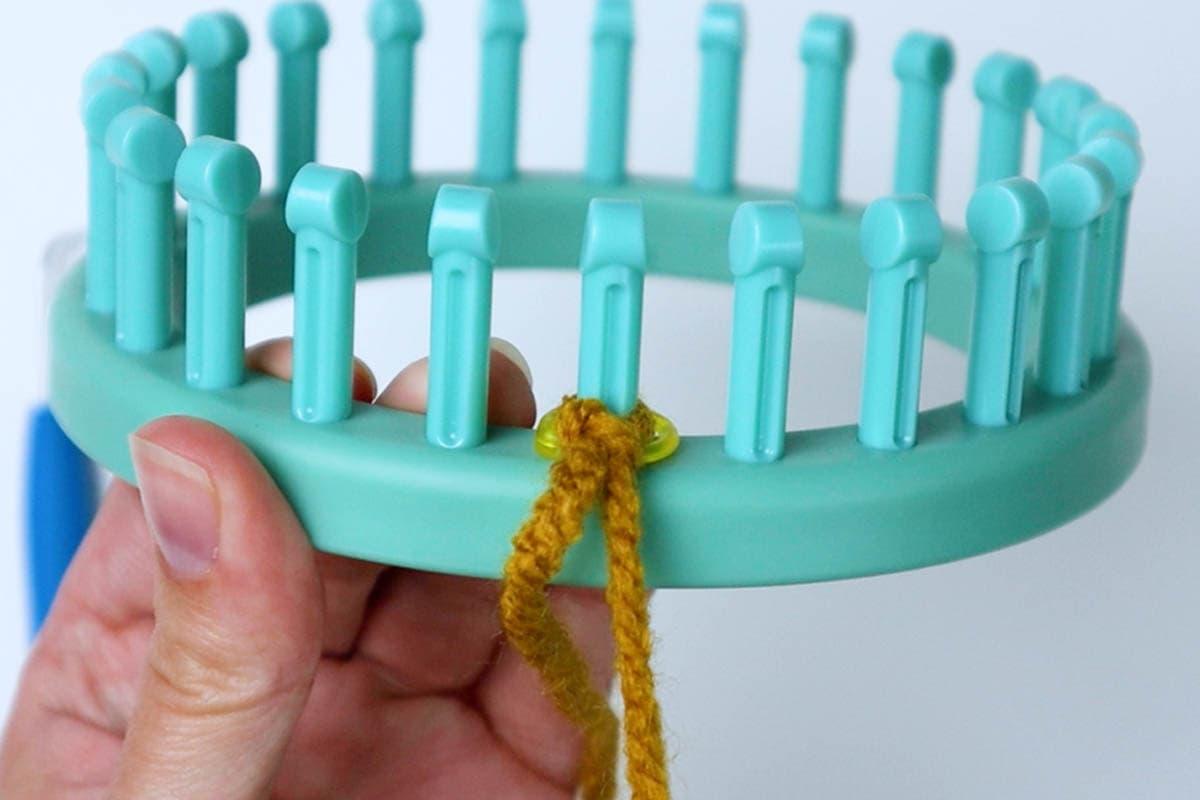
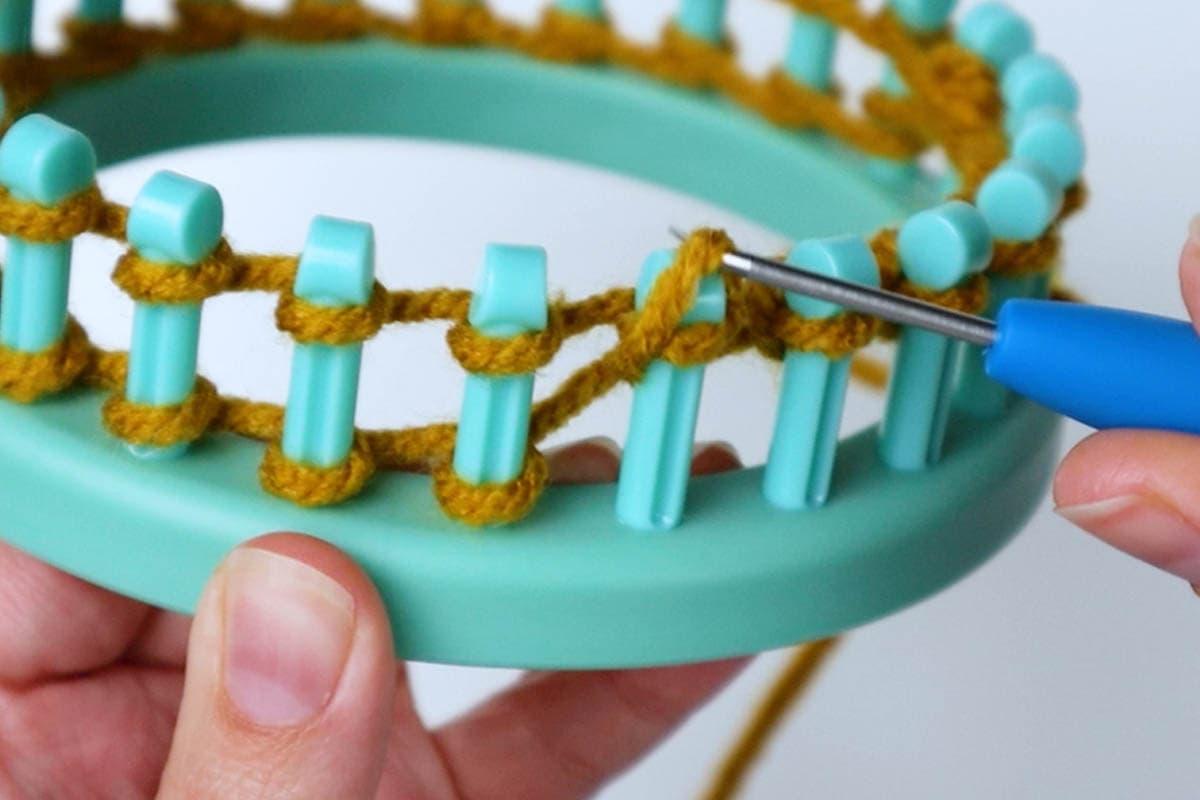
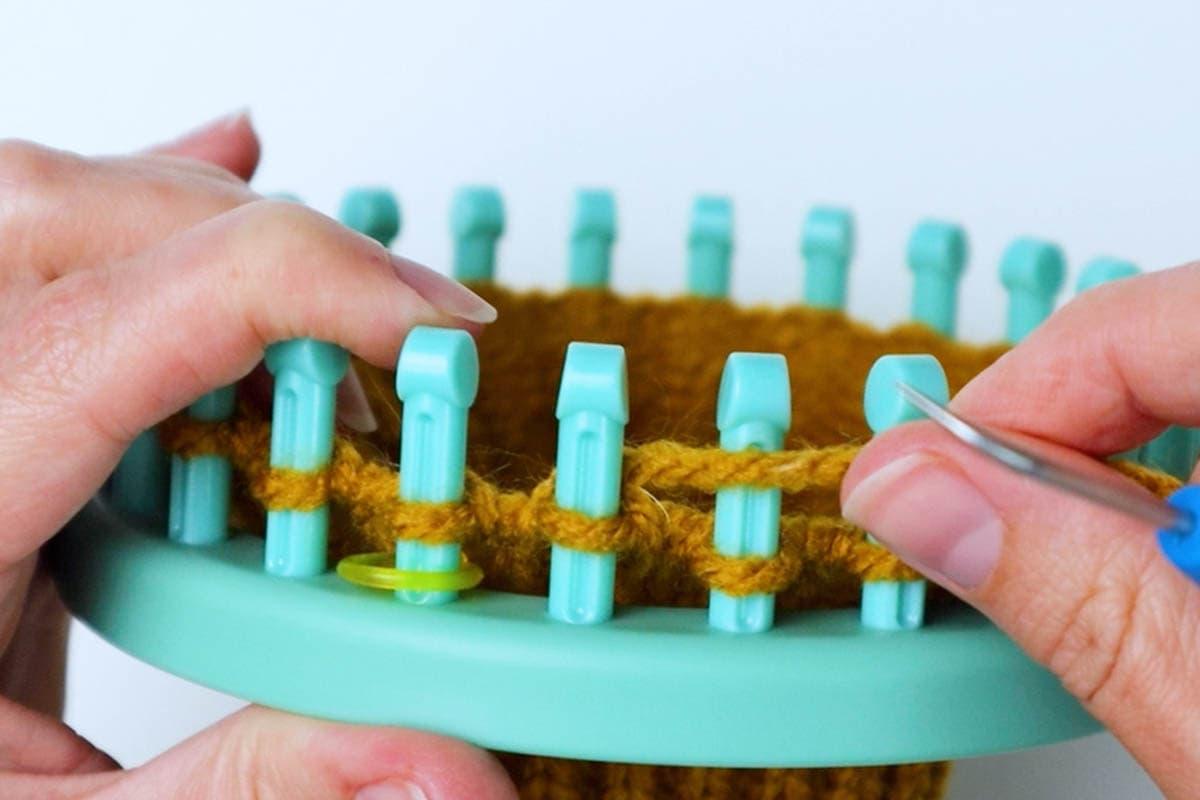
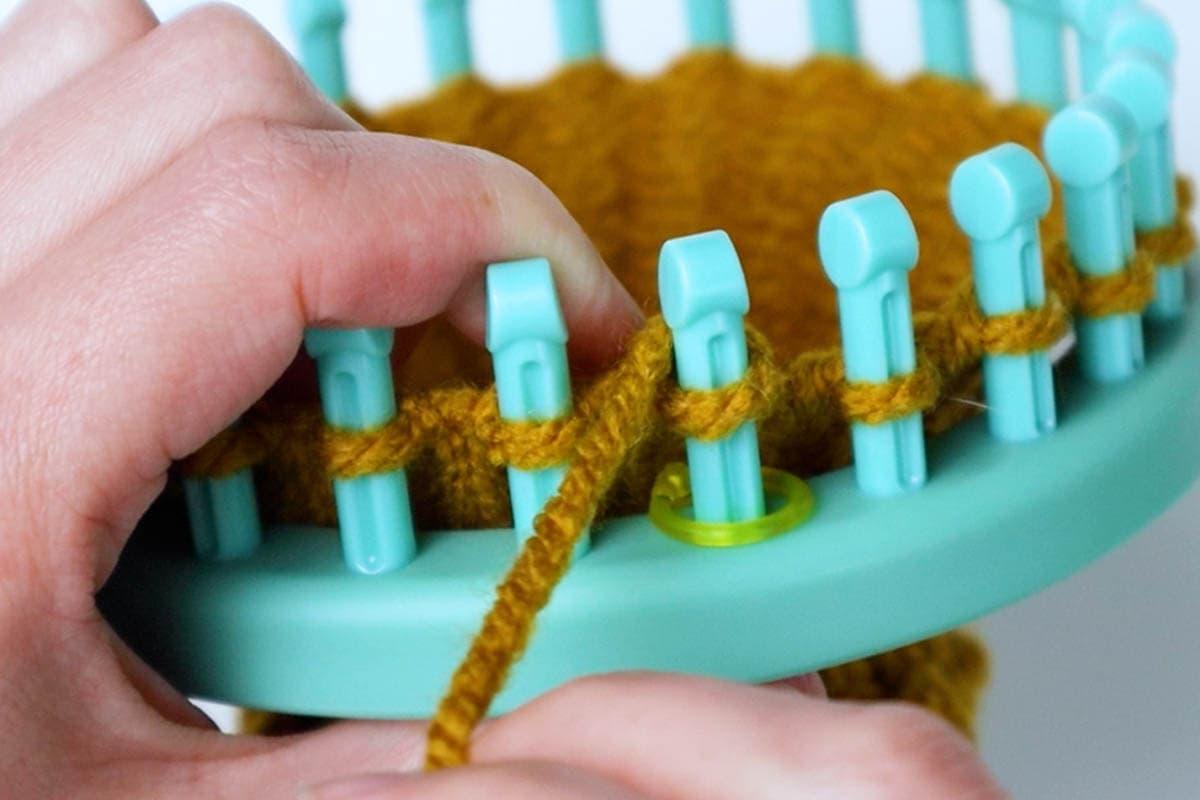
Step 1: Cast On Row
- Place a stitch marker on one of the pegs to mark your starting peg.
- Make a slip knot and place the loop on the marked peg.
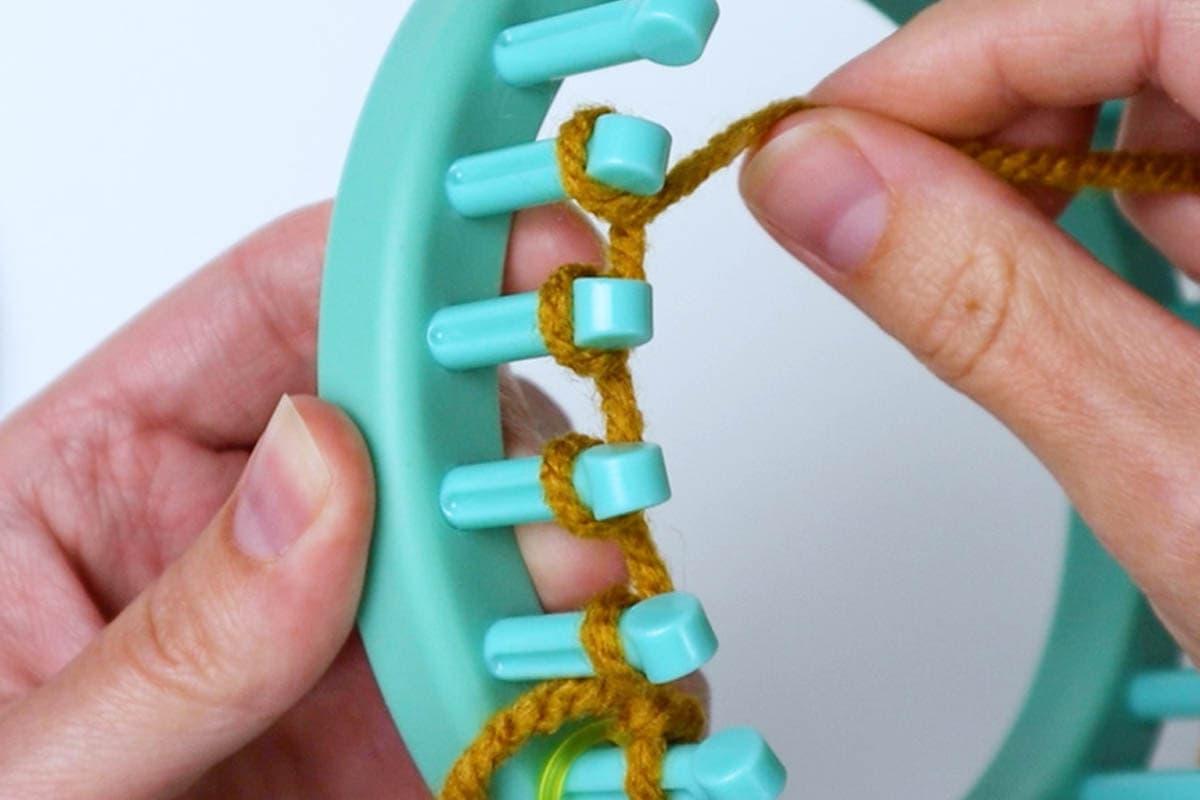
- E-wrap around each peg, going either left or right.
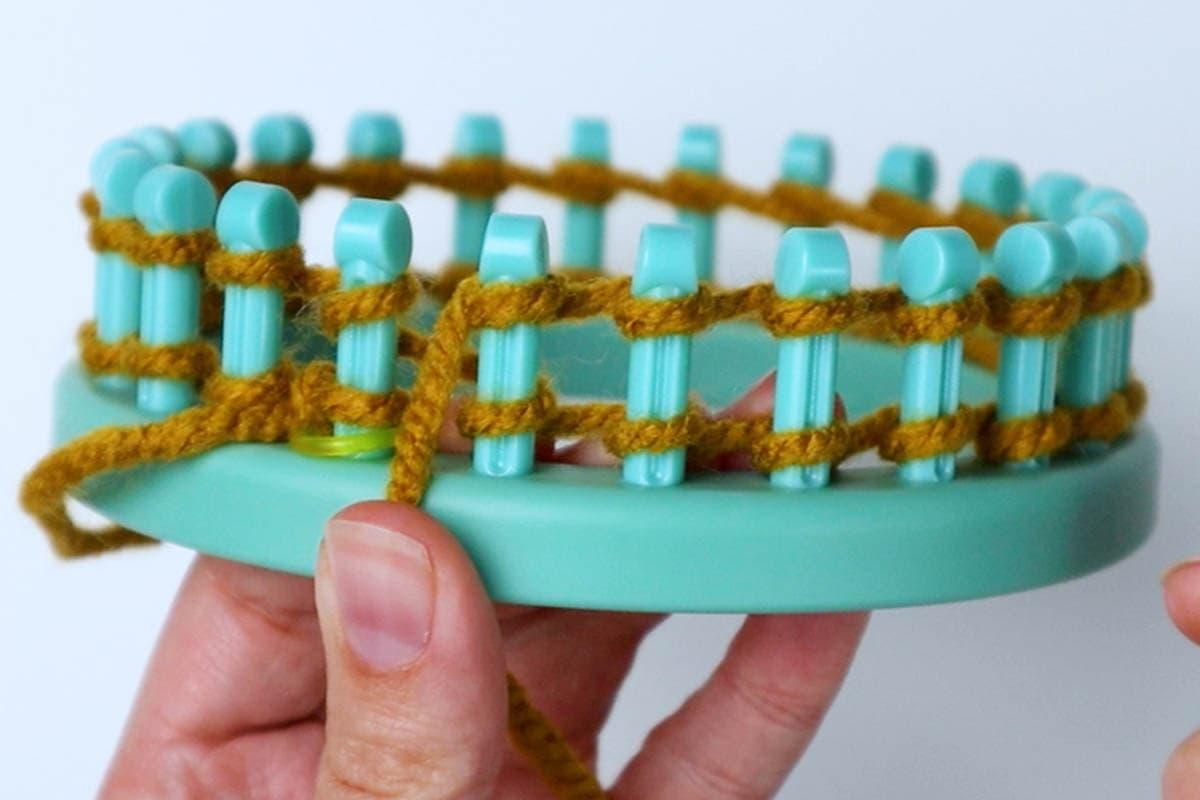
- Push the loops to the bottoms of the pegs and make another row of e-wraps.
- Use the hook to bring the bottom loop up over the top loop and off the first peg and all the remaining pegs.
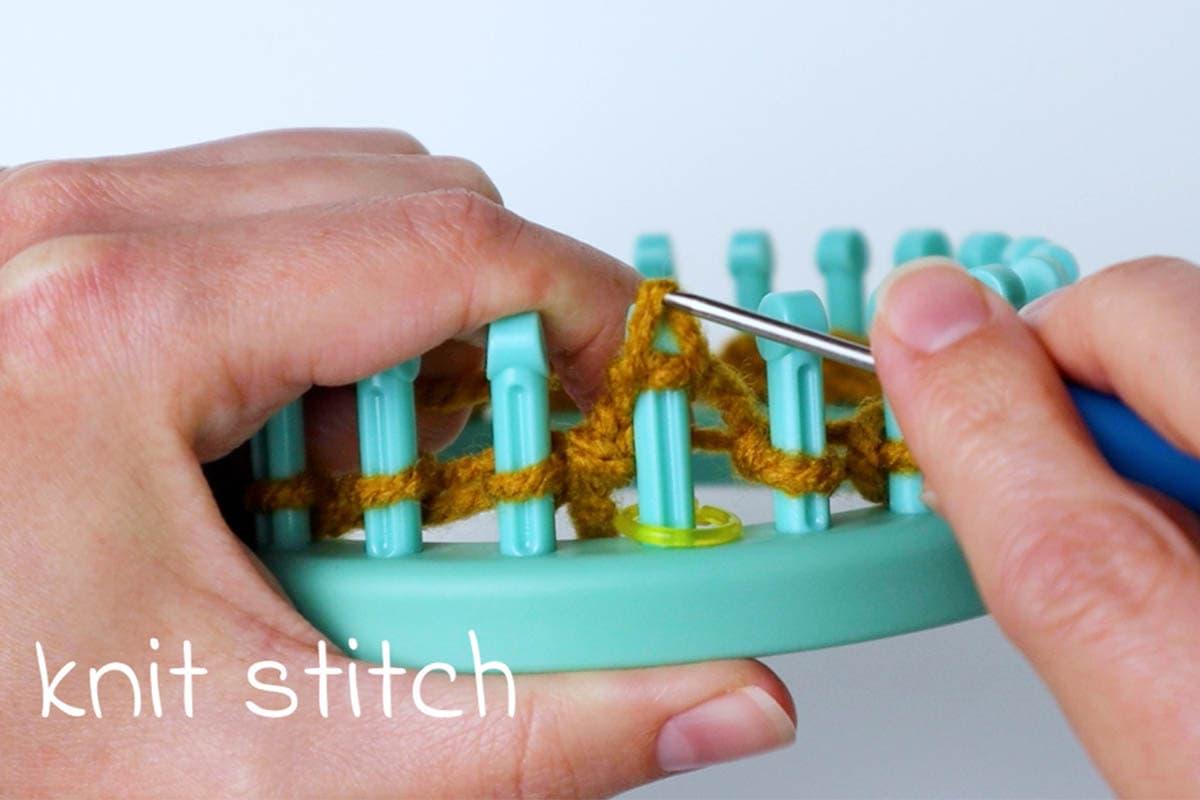
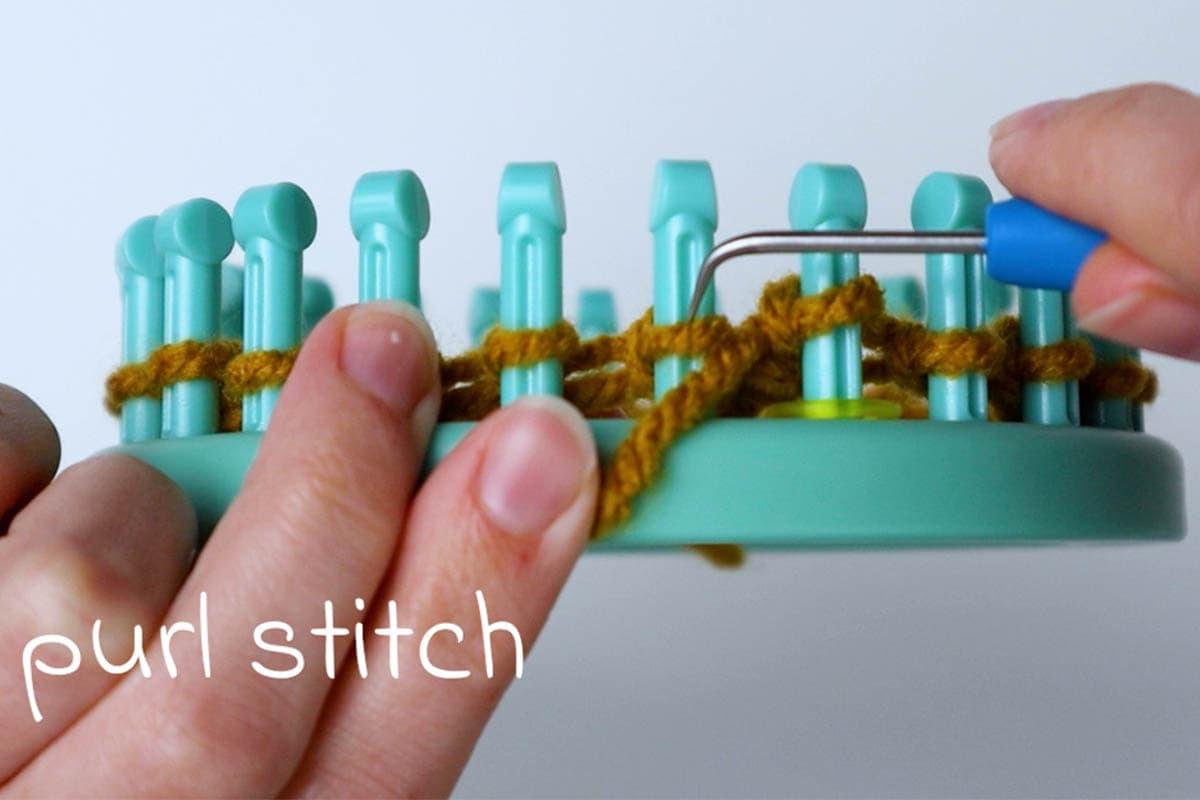
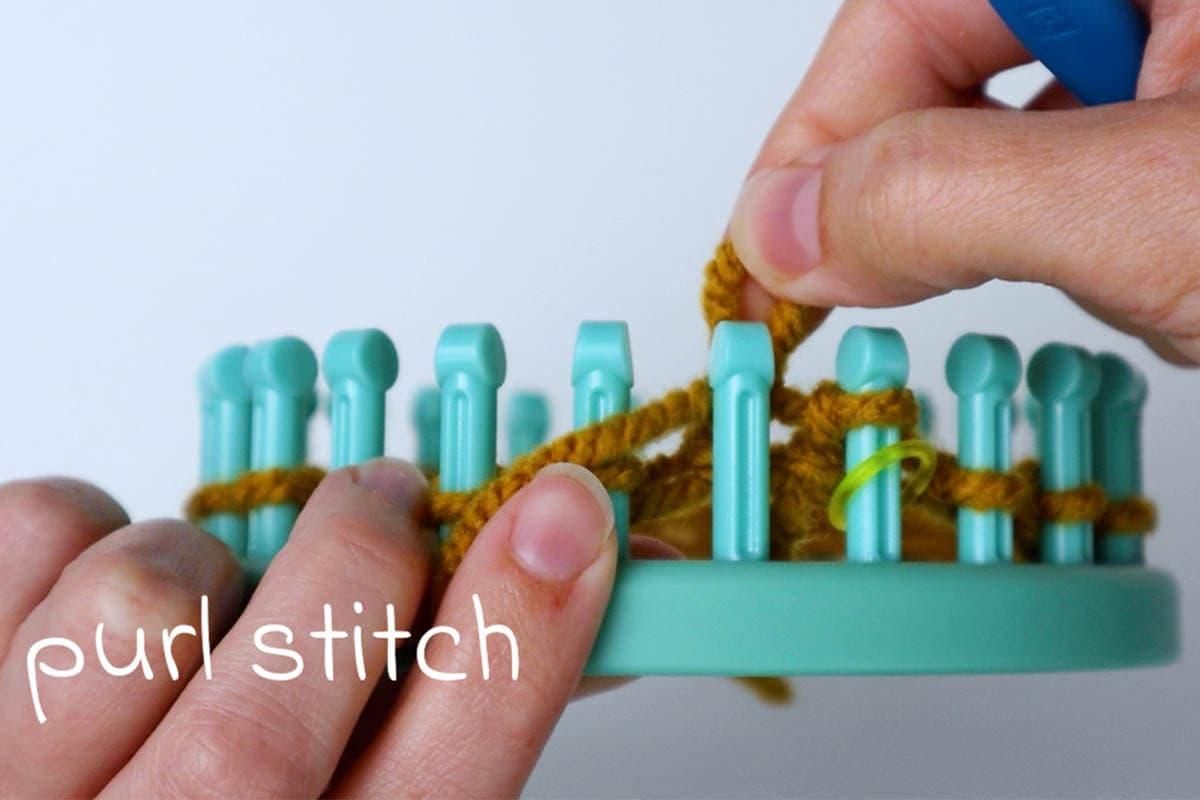
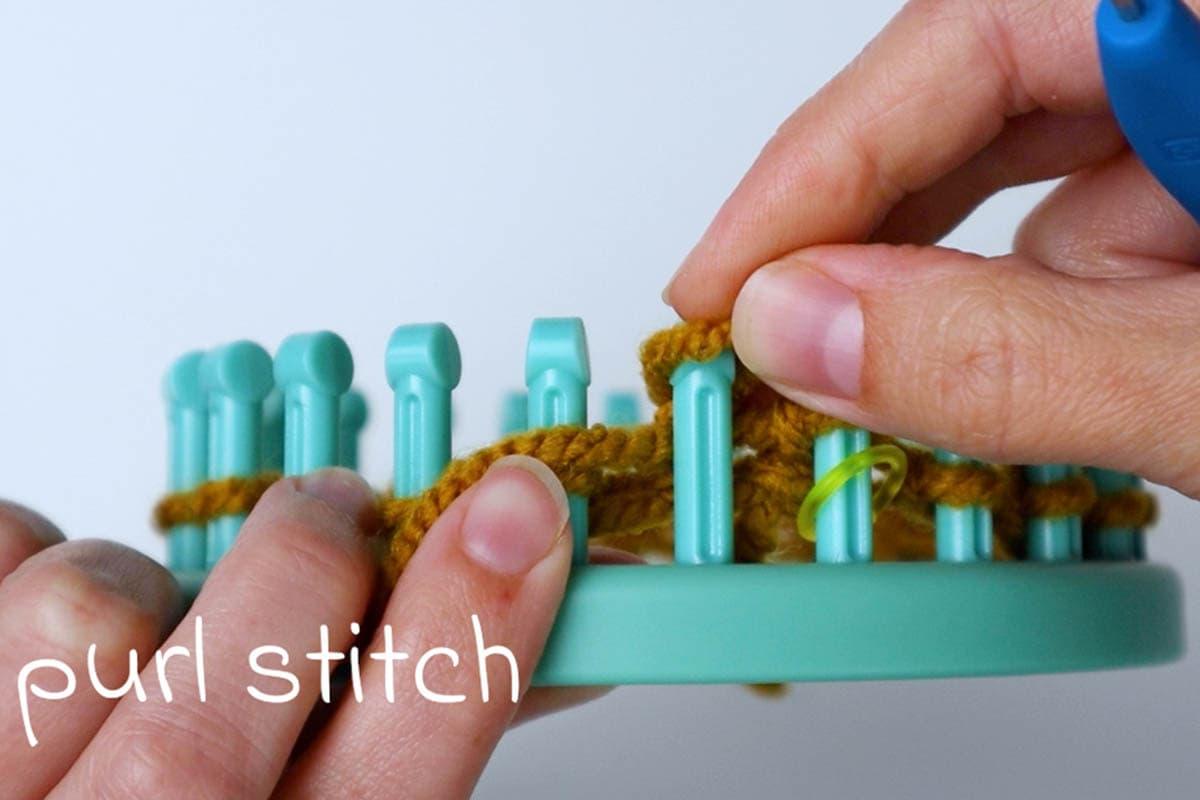
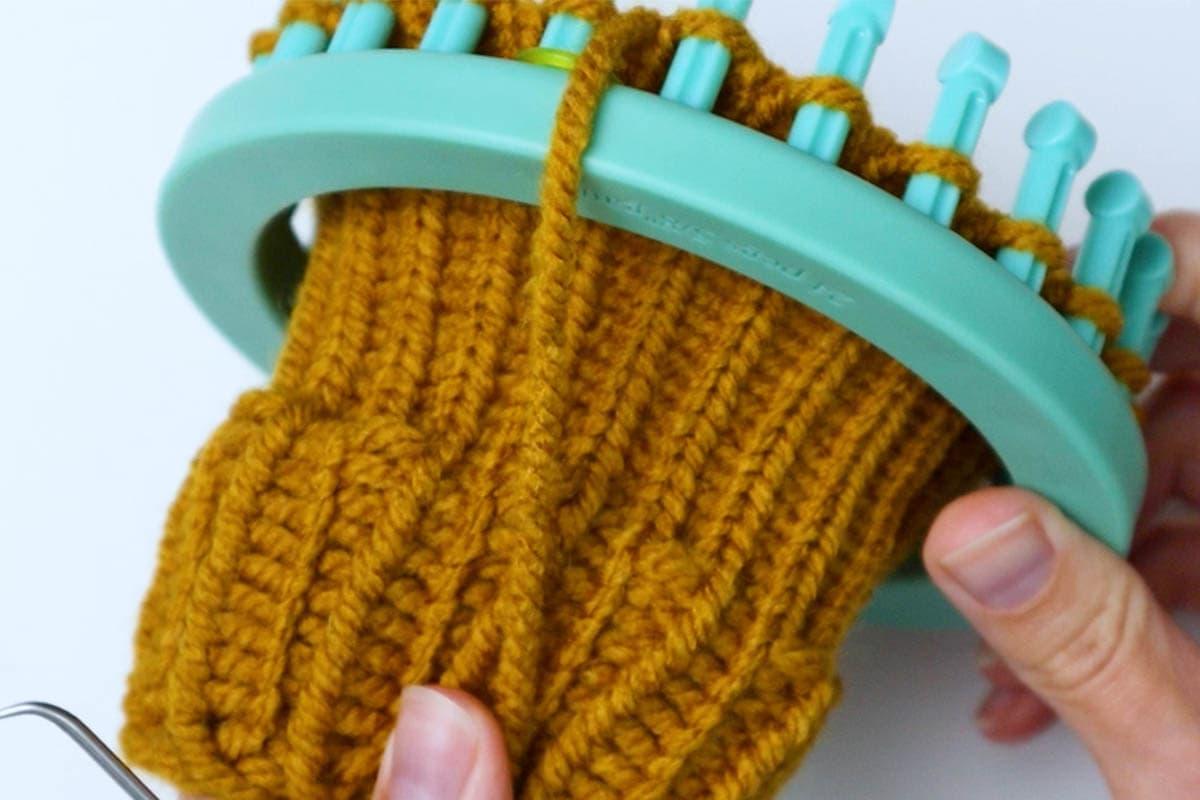
Step 2: Ribbed Cuff
- Knit one, purl one rib for 10 rows.
- Make a u-wrap knit stitch on the first peg and a purl stitch on the second peg.
- Repeat this pattern for the first row.
- Continue the ribbing pattern for the next 9 rows until you have 10 rows of ribbing.

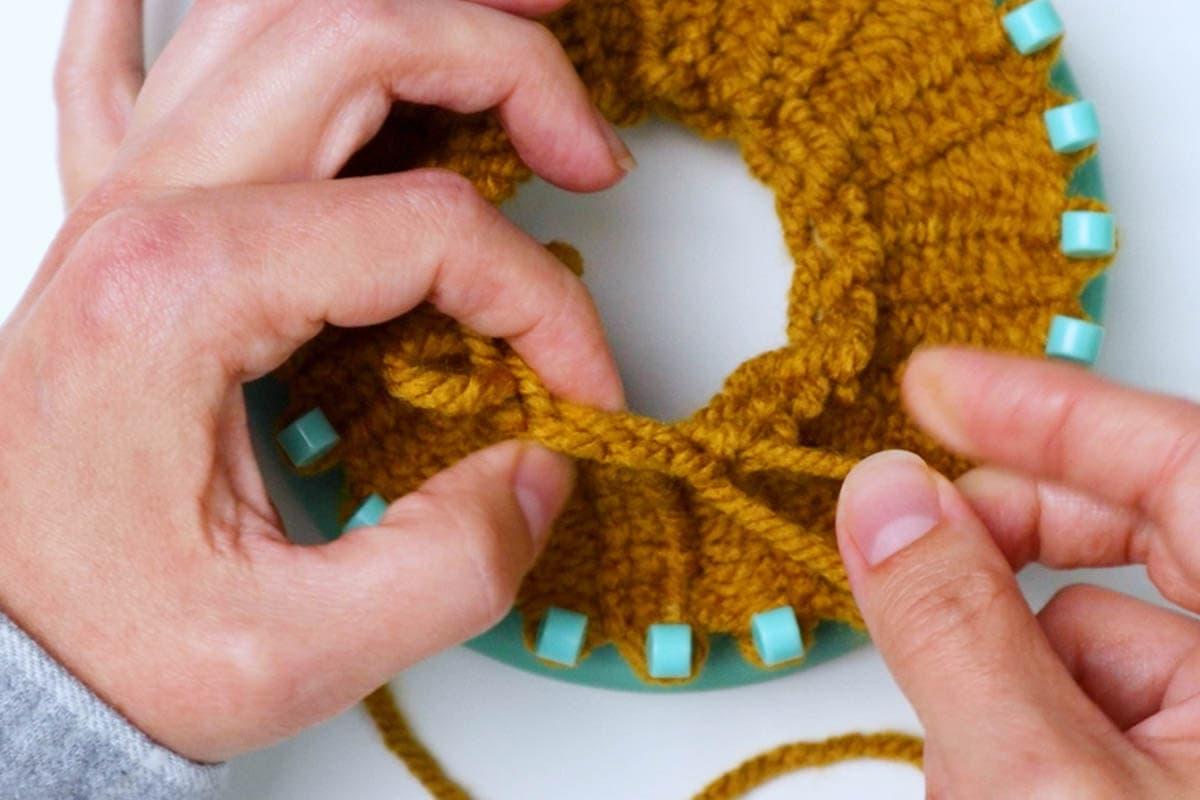
Step 3: Tightening the Cast On Row (Optional)
- Untie the slip knot partially, leaving it loosely knotted.
- Pull the first loop to the right of the knot to remove any slack.
- Repeat this process, moving the accumulated slack yarn down the row.
- Once you reach the slip knot, pull on the yarn end to remove the excess slack.
Step 4: Main Body of the Glove
- Knit 20 rows using the u-wrap knit stitch, maintaining a balanced tension.
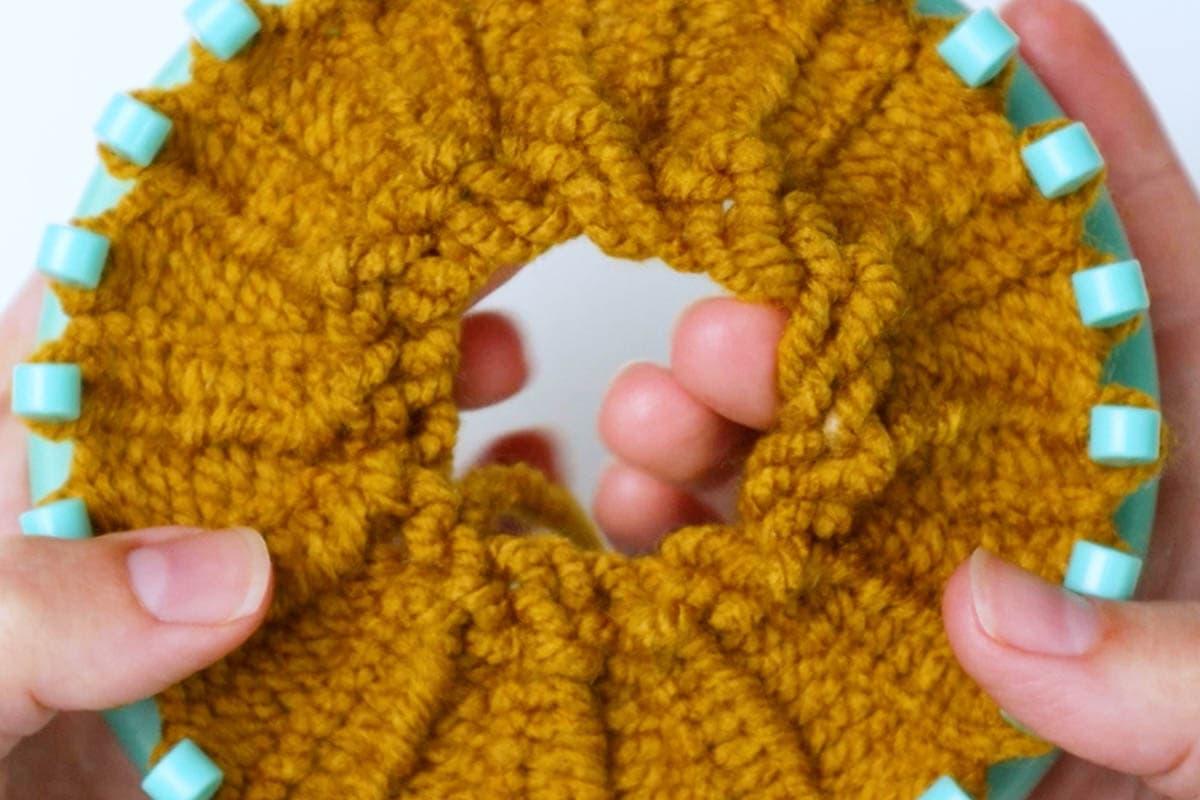
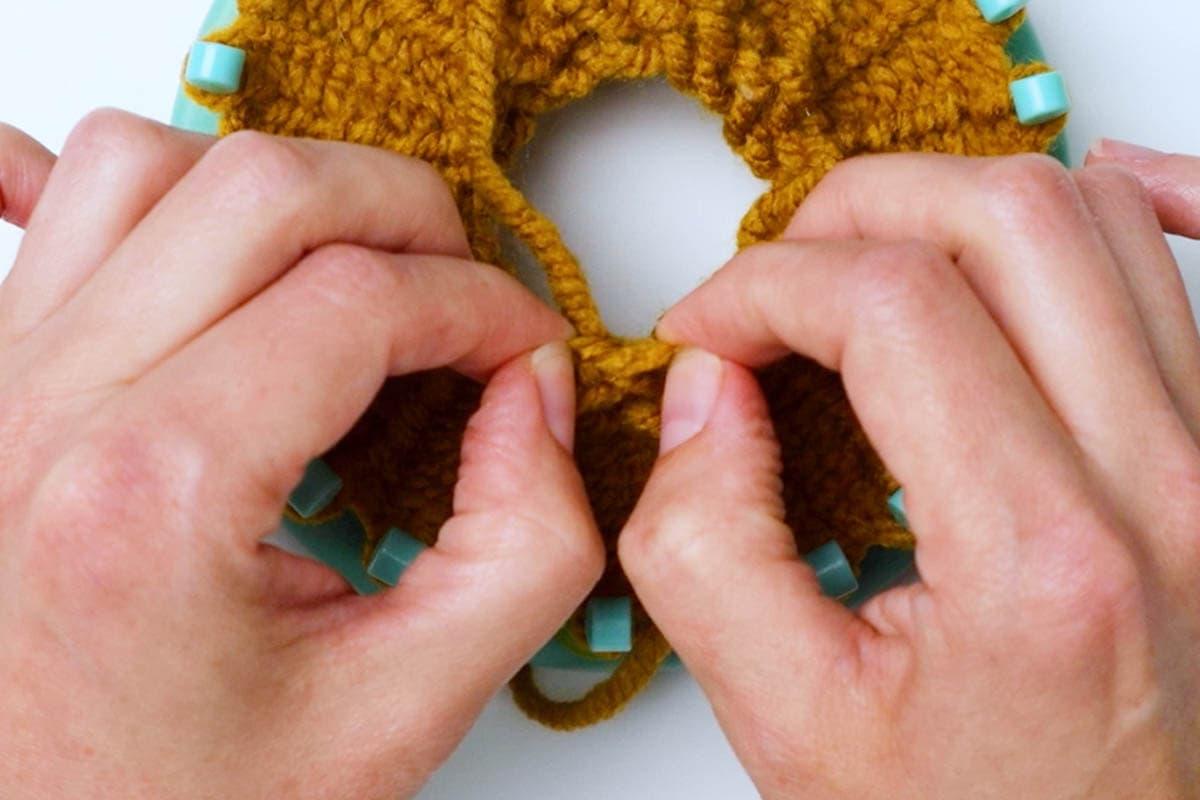
Step 5: Thumb Hole
- Continue with the knit stitch for the next 10 rows.
- Work back and forth instead of in the round to create a hole at each turn.
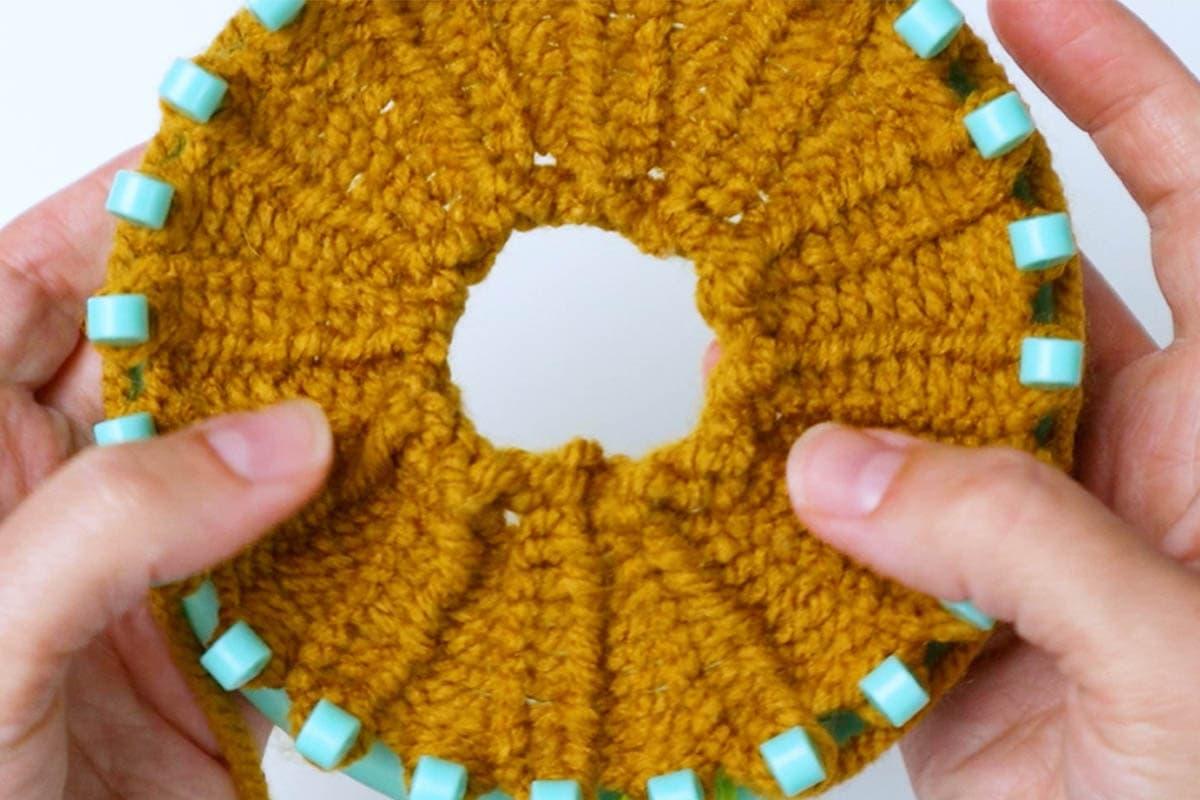
Step 6: Top of the Glove
- Resume knitting in the round for 15 rows, using the u-wrap knit stitch.
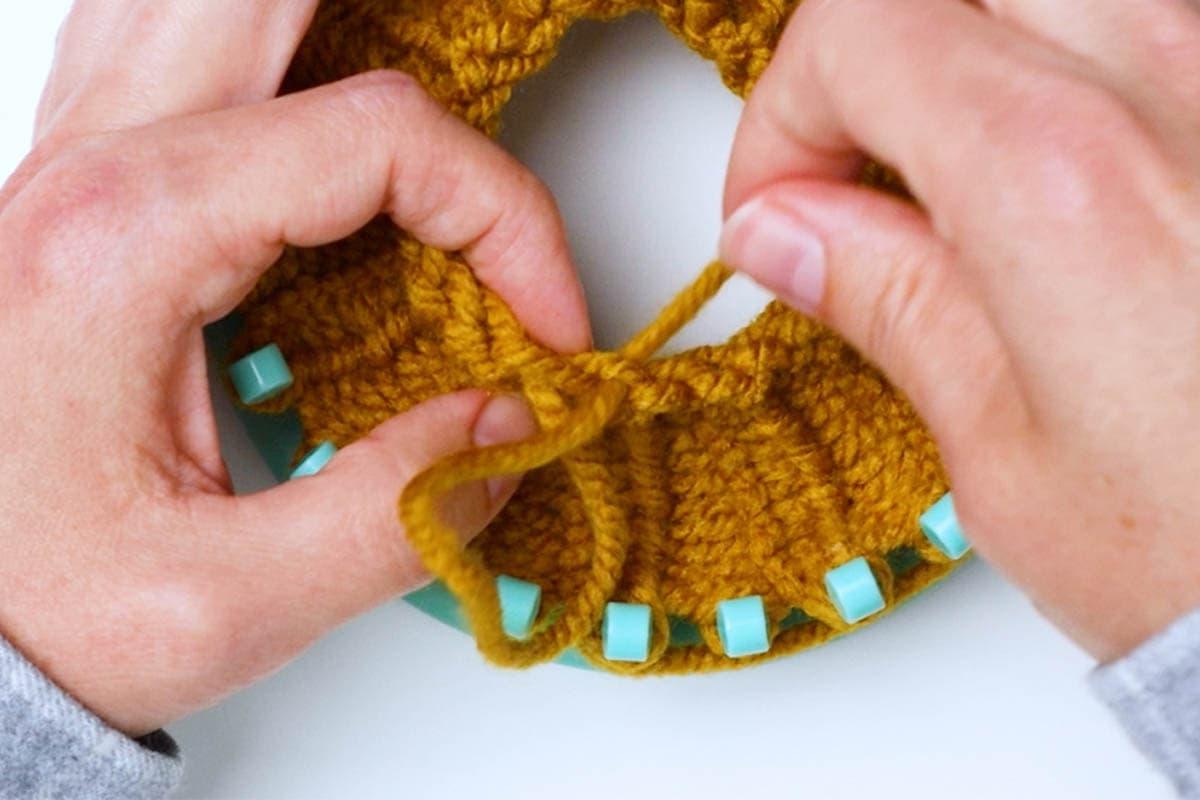
Step 7: Cast Off
- Knit the first 2 pegs as usual.
- Move the loop from the second peg to the adjacent peg.
- Knit the bottom loop over the top loop and off the peg.
- Move the loop back to the original peg.
- Repeat this process for all the pegs until you have one loop left on the last peg.
- Remove the loop from the loom, cut the yarn leaving a few inches of tail, and pull the loop to secure the yarn.
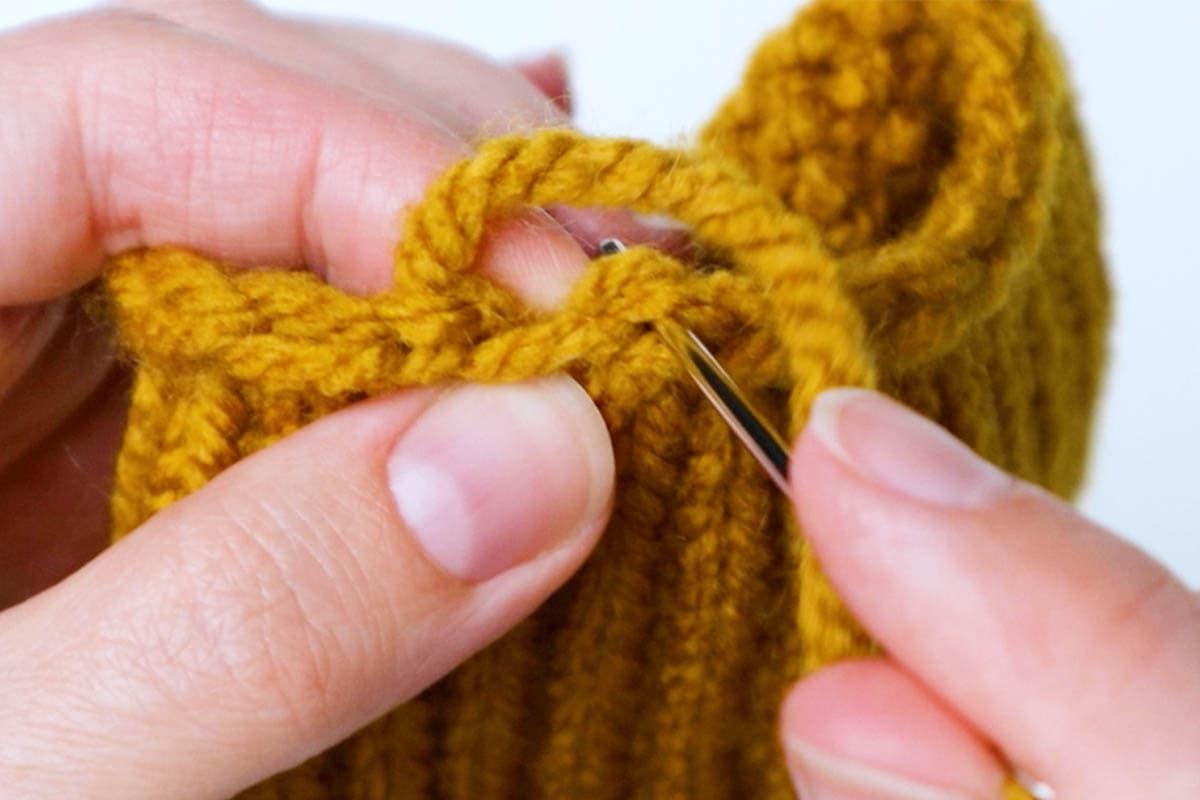
Step 8: Finish off and Weave in the Yarn Tails
- Thread the end of the yarn onto a yarn needle.
- Make one stitch to pull the top edge of the glove together.
- Weave the end under a few stitches on the inside of the glove and tie a knot to secure it.
- Cut off any excess yarn.
- Repeat this process for the cuff side of the fingerless glove.
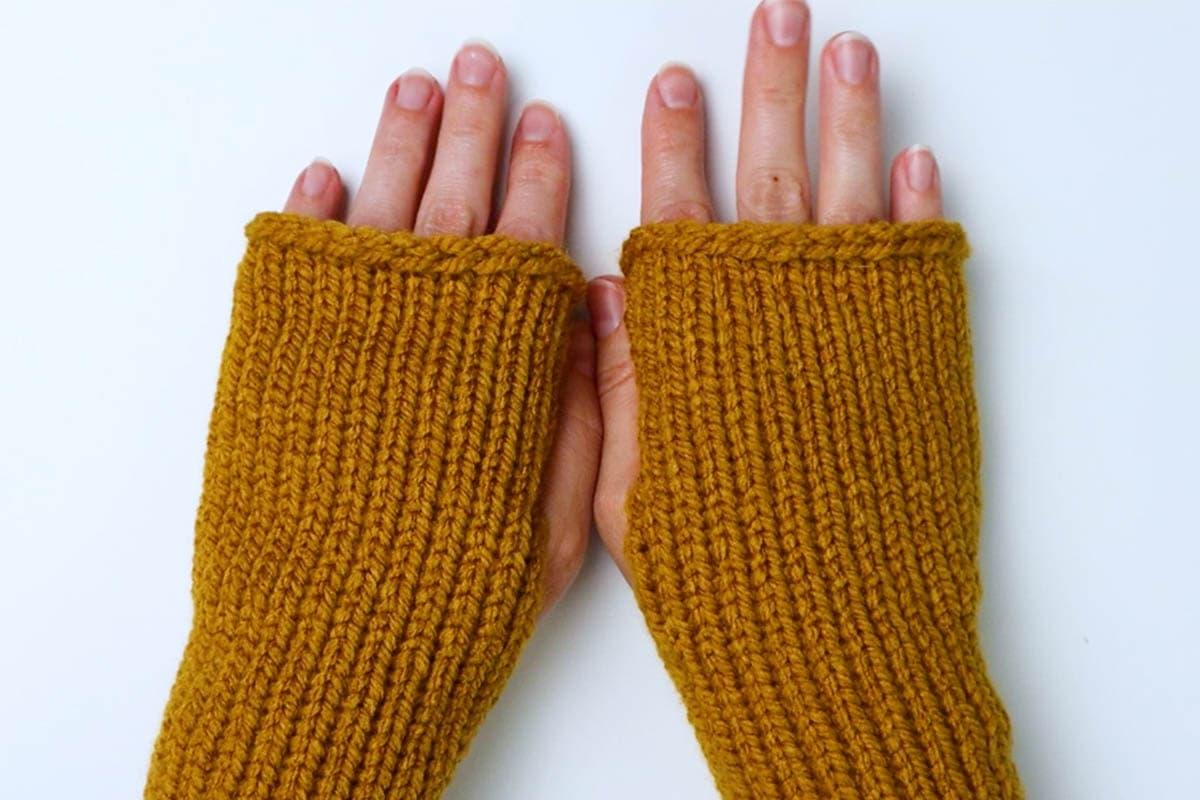
- Congratulations! Your first glove is complete. Now it’s time to create the matching pair.
In Summary
I hope you’ll enjoy making these stylish fingerless gloves with this easy tutorial. Don’t forget to share a picture of your creation on Instagram and tag me @marchingnorth – I’d love to see what you make!
More Free Loom Knitting Patterns & Tutorials
Consider checking out my other free loom knitting patterns and tutorials for additional inspiration and creative projects.
Source: https://t-tees.com
Category: HOW