
I have a few pairs of these knit fingerless gloves and I have to say, I actually prefer the ones that have the finger holes, but either way, I like my fingers exposed for phone capability and photo-ready hands and wear whichever pair matches my outfit better.
You are viewing: How To Make Low Profile Furry Gloves
This green pair have seen better days. The knit is pilling a little and has a few pulls so I thought what better way to give them a new life than to add fur, right? Right. 🙂
I initially thought I’d use the shorter, lighter colored fur I use for so many of my DIY projects, but whilst in our coat closet the other day looking for these green gloves, I happened upon and was particularly excited about this small patch of superior brown faux fur I found… until I realized it was a beard… huh?… attached to a headband that said DUCK DYNASTY. Um WHAT?
And so I figured Chad wouldn’t mind if I transformed his redneck novelty treasure into chic faux fur gloves 😂 Shhhh, don’t tell him.
Here’s What You’ll Need…
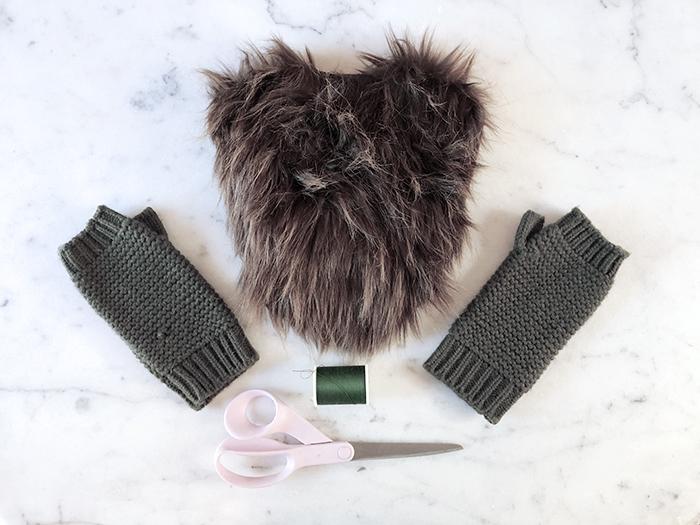
* Knit fingerless gloves (if you can knit your own, BONUS! I cannot knit -or shall I say, I haven’t learned how to knit, so I used an old pair of gloves I already had) * Faux fur… you can really use any faux fur you like, short hair or long, any color. I chose brown because well, I had brown fur, but also, it matched my green gloves * Matching thread and needle * Scissors
Steps…
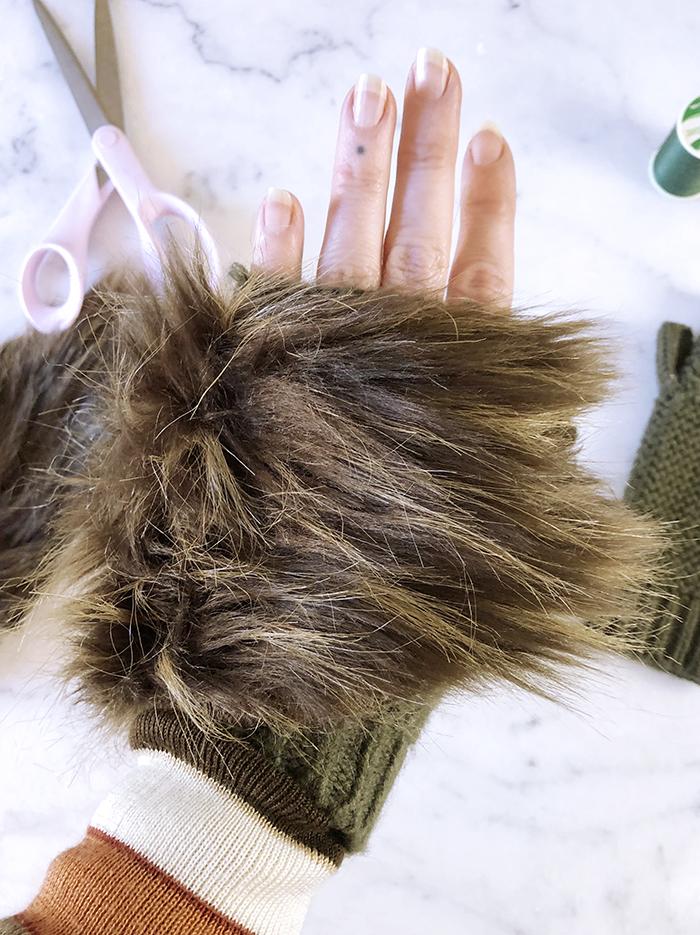
Try on your gloves and decide where to begin and end your fur. Remember, the knit is stretched when you are wearing them so trying them on multiple times while sewing on your fur is important.
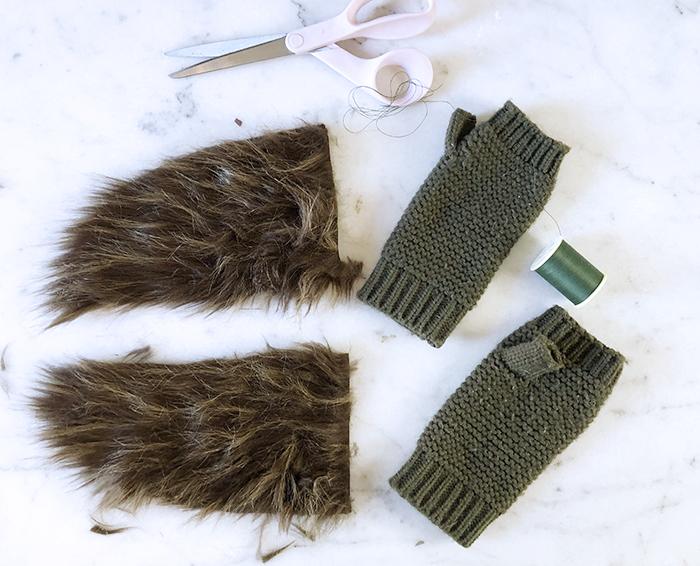
My fur already had a sort of rounded edge… You can choose to cut your fur like this so they have a bit of a curved edge like mine (though using the outer edge of the fur is best unless you cut it very carefully) or you can cut a square/rectangle, but I do like the smaller end/point as a starting point just above the thumb seam.
If you have a flat/even piece of fur you can follow the side seams of the gloves to determine how much you’ll need or where to start… or wherever you like the way it looks on the back of your hand/gloves.
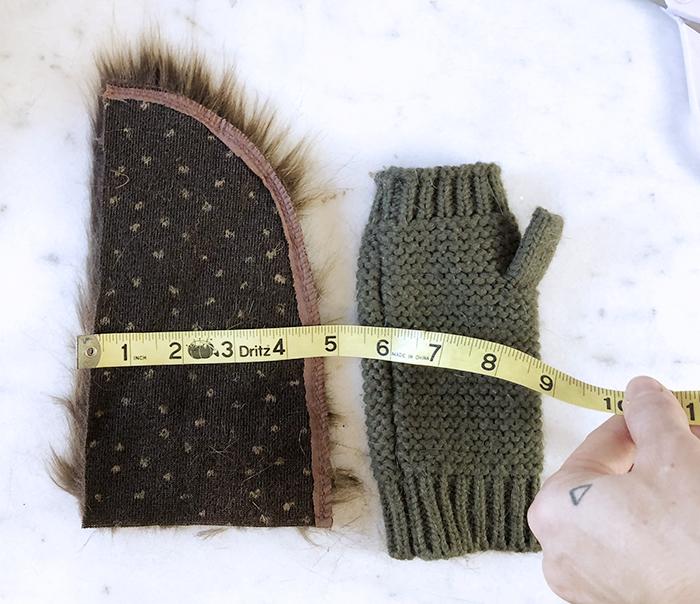
Mine is about 4-1/2″ wide, which will cover the back of my hand area from my knuckles down to my wrist. If you have smaller or larger hands, adjust for that (this is why working with your glove on is helpful)
Remember… your knit will stretch, your fur will not (though it does have some flexibility)
Read more : How To Make Fingerless Gloves On Loom
I began with my glove on my hand and my smallest point right above my thumb… (once you do the first one, the second one is much easier, though I did a few stitches with my left hand)
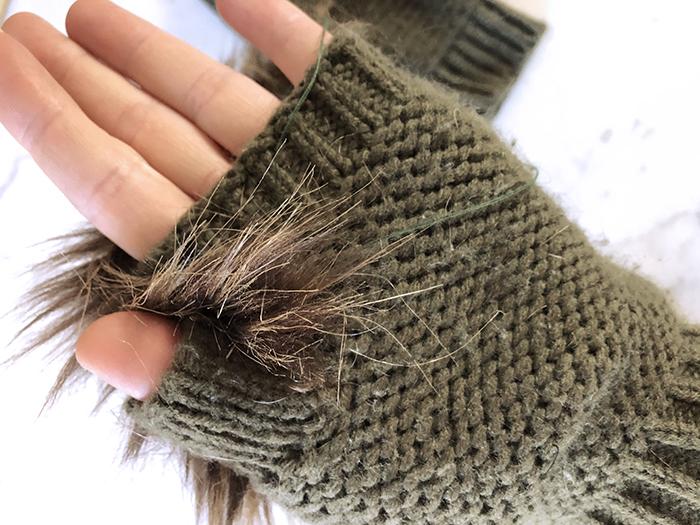
Thread your needle, double your thread and knot it. Run it up through the back of your fur. Set your fur starting point where you want it and do a simple hem or overlap stitch down into the knit and back through the fur.
NOTE: The fur should/will hide most stitches unless it’s really short, but do pull the hairs out and around the stitches so they’re completely hidden.
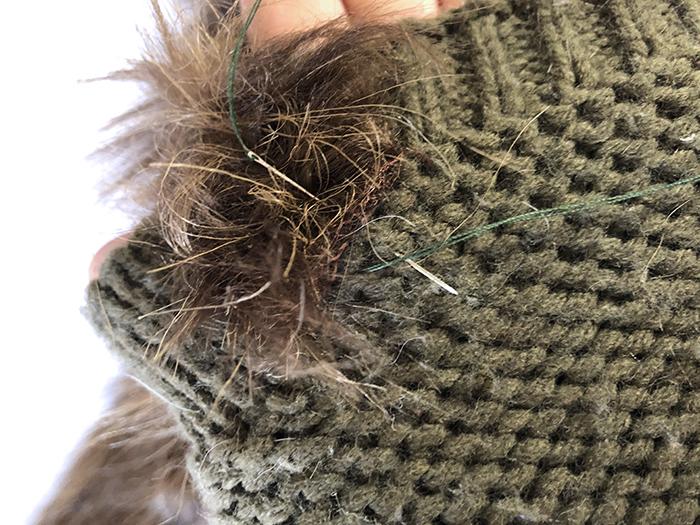
Continue stitching down the bottom until you get the side seam on the side of your hand. End there for now, knot your thread and re-thread your needle.
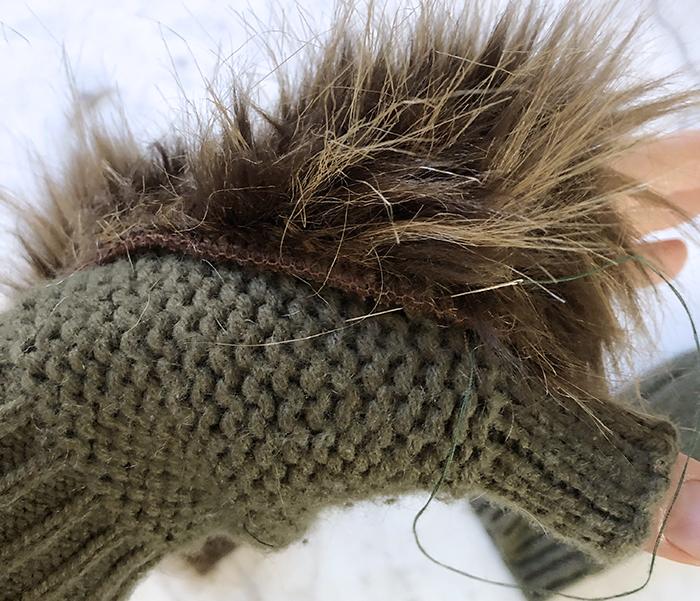
Now go back to your thumb and repeat the steps above but going across the top of your glove. Stretch your knit with your fingers as you stitch in place.
NOTE: Since you’re stitching to knit, you’ll have some give already when the glove stretches, but you just don’t want your fur too tight because you won’t be able to pull your gloves on and off.
I left some of the glove showing at the top because I liked the look. You can do whatever suits you.
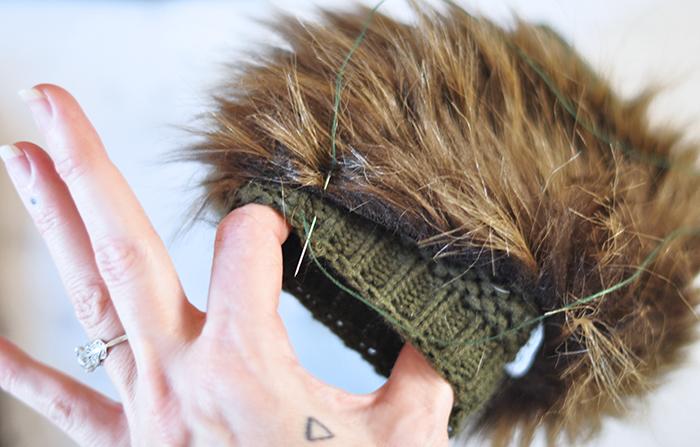
Since I wasn’t sure just how much fur I’d need, I left it long to start with… better have too much than too little.
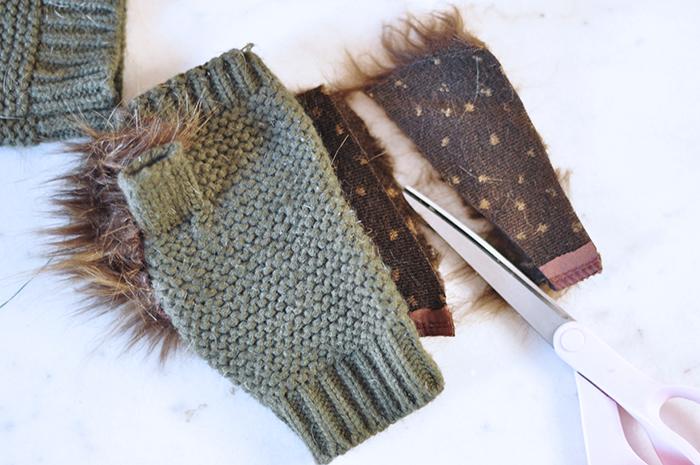
At this point, I cut off the excess, leaving enough fur to cover the side seam of the glove.
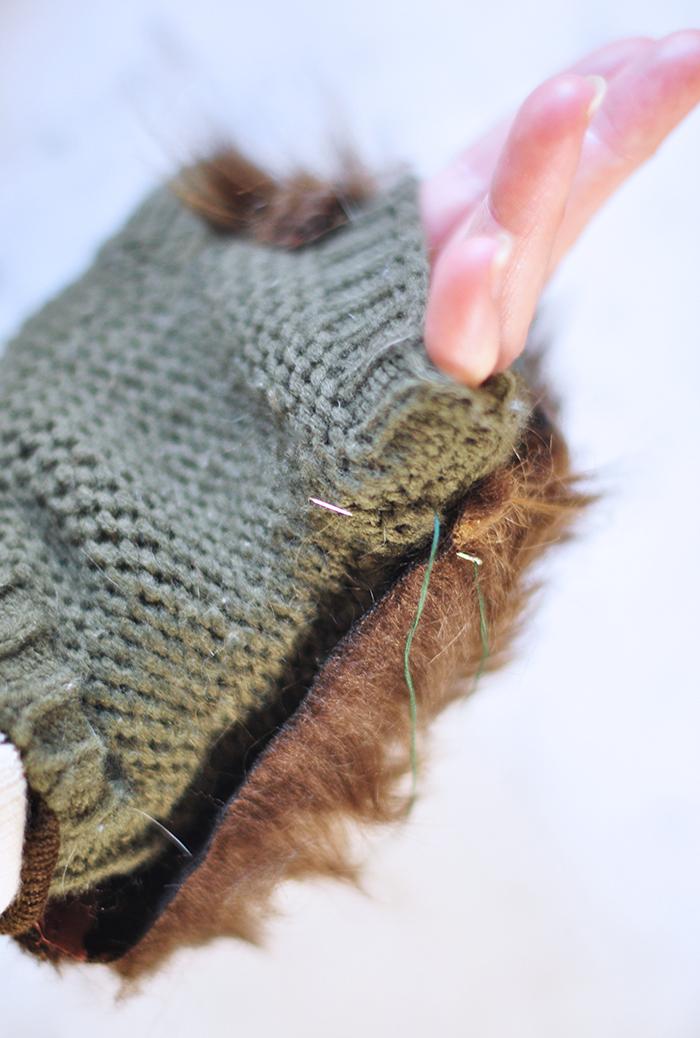
Now stitch the side down along the side seam of your glove, rolling the fur under as you go to hide the edges so it looks seamless.
If your gloves don’t have seams, just align your fur with the side of your hand.
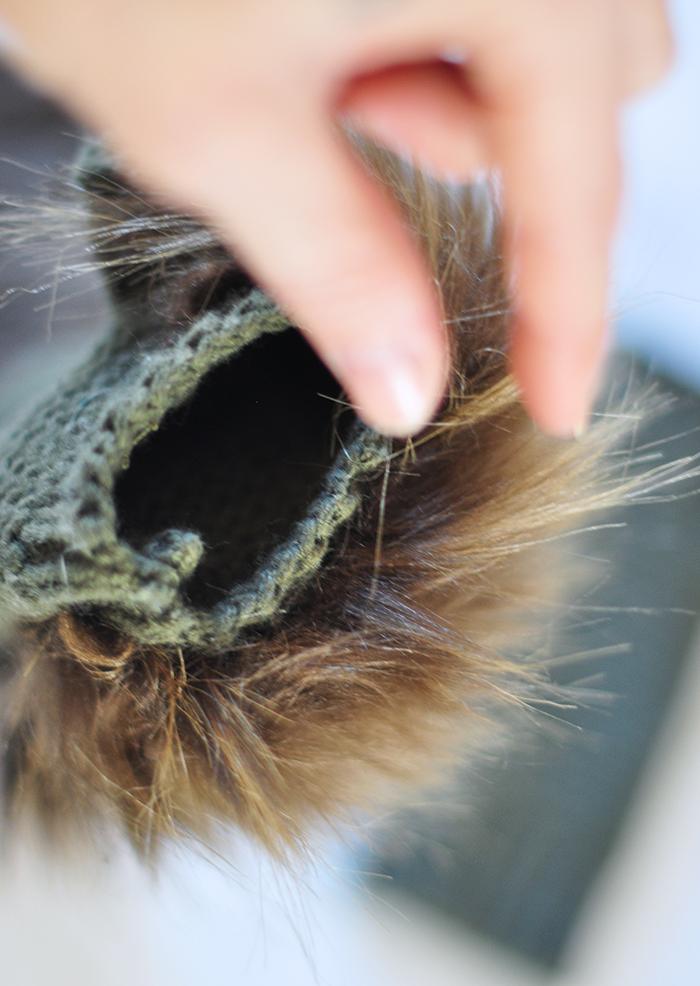
Finish by pulling your fur out of your stitches and making sure the edges are neat and your fur is all laying the same way. You can pull it out with your fingers or the needle helps pluck out the fine strands.
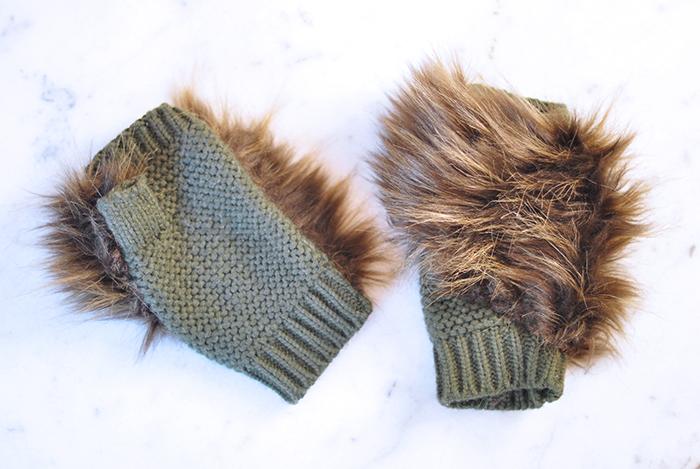
Front and back!
And… Voila!
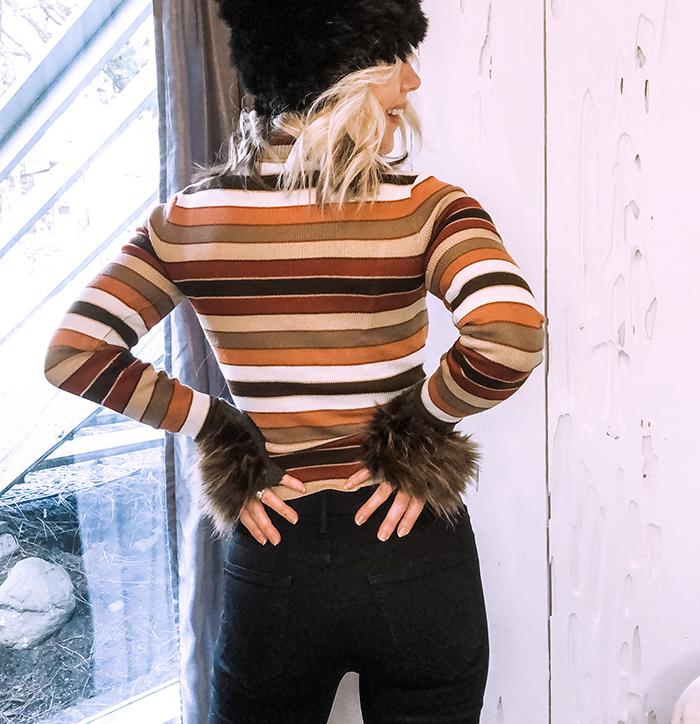
I should note here that the fur addition makes them 10 times warmer! Fashion+function upgrade!
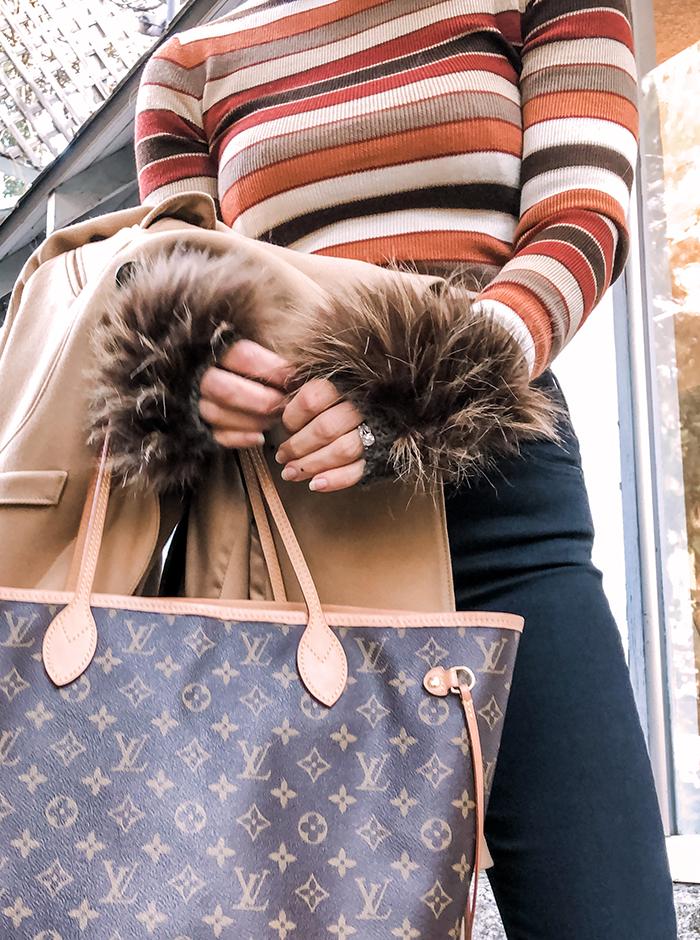
I happened to be wearing an outfit that matched!
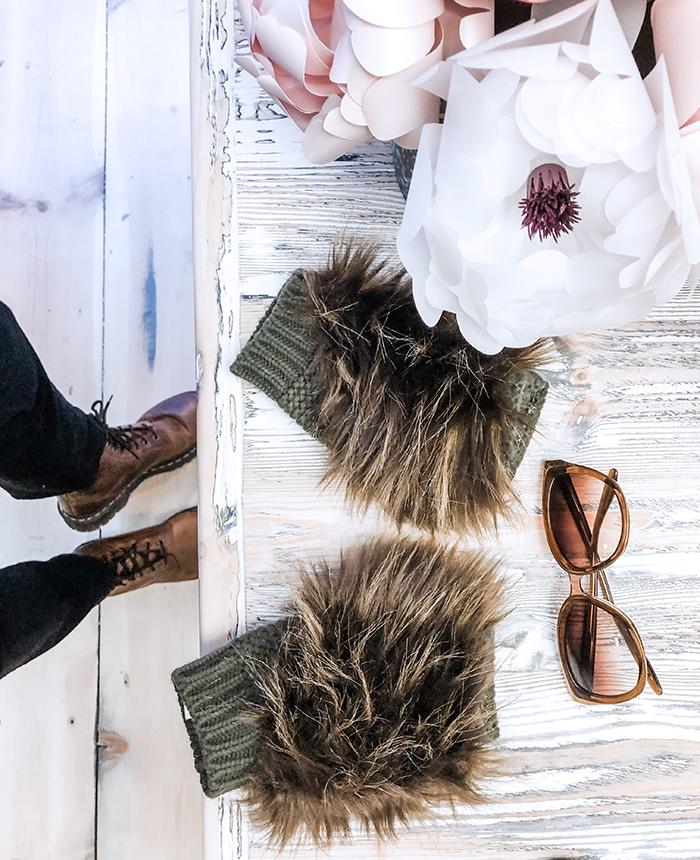
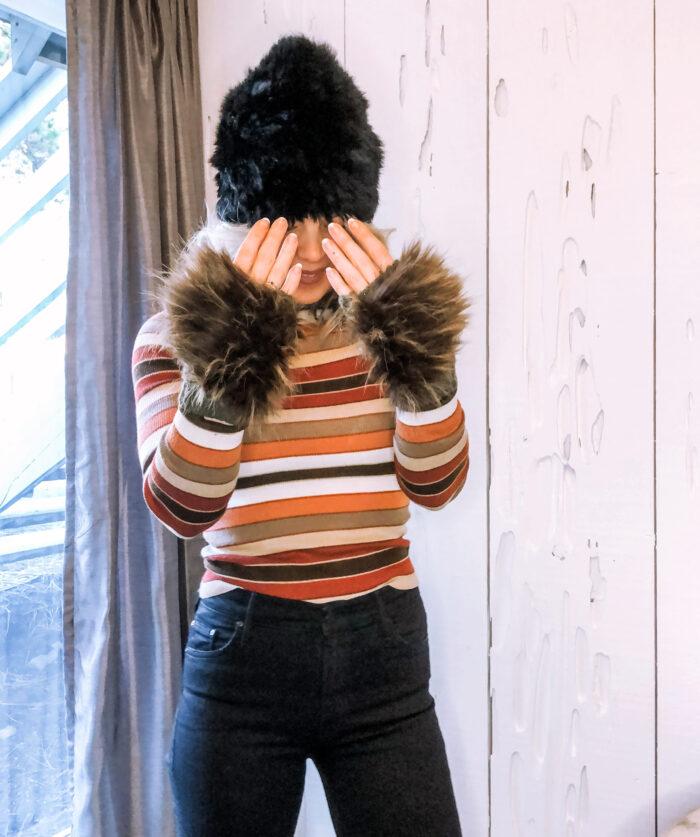
Fur OVERLOAD 😉
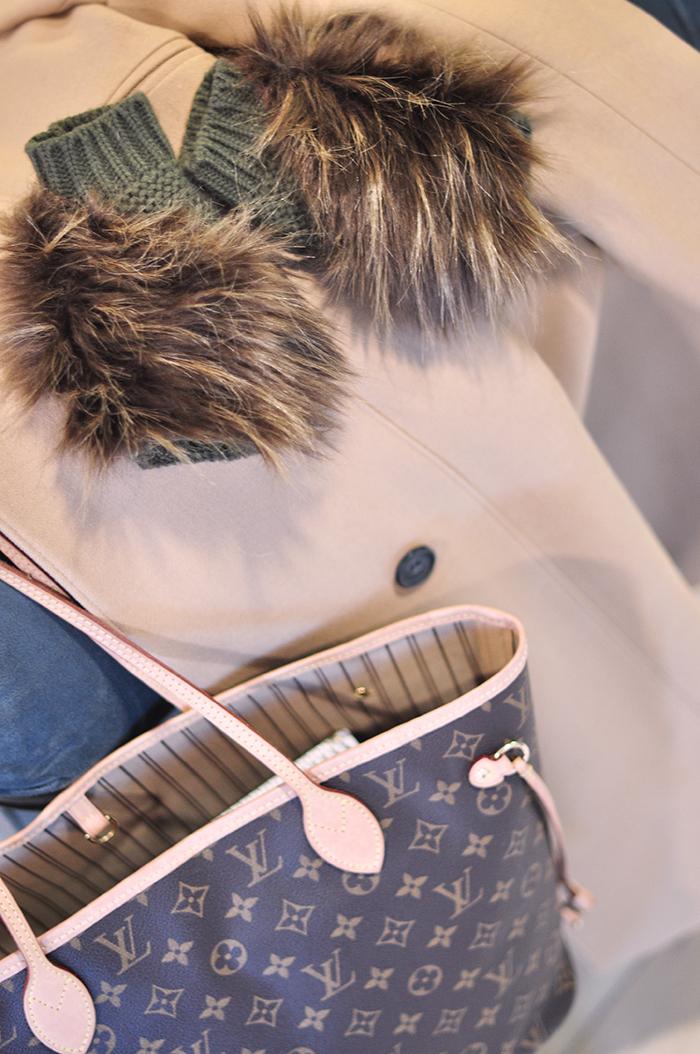

And, if you don’t want to make them, below are a few pretty affordable versions to buy…
Have Fun!
* Find all my DIYs here * Find all my Faux Fur DIYs here
Source: https://t-tees.com
Category: HOW
