35
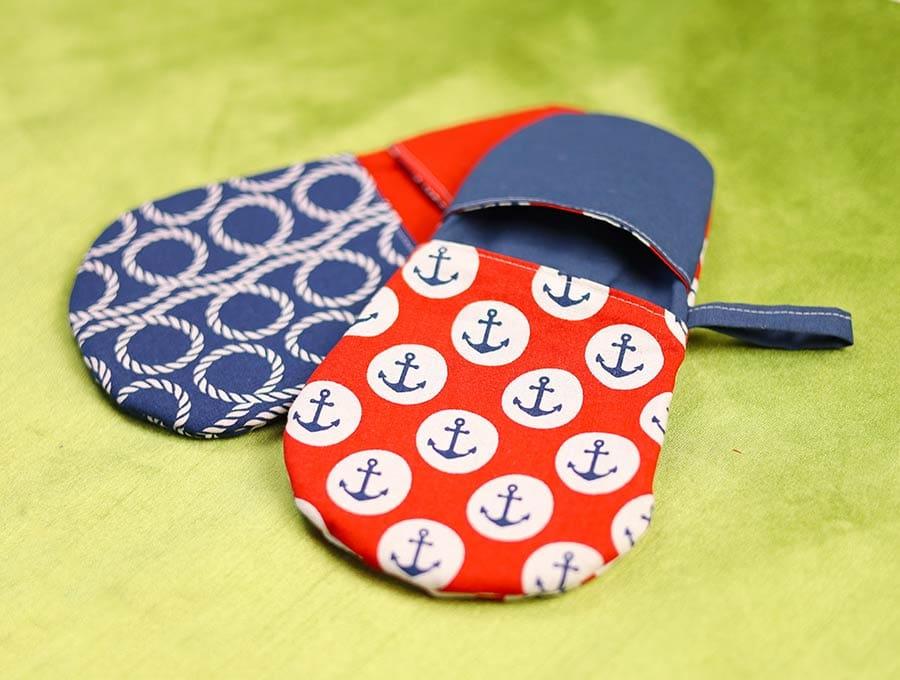
These mini oven mitts, also know as finger thumb oven mitts are so much easier than the large oven mitts used for taking out heavy roasting trays. We need these little ones for taking bowls out of the microwave, pulling forward an oven rack to check how our baking is doing and for handling light cookie sheets. They are so much easier than putting on a long oven glove. Most times we tend to just grab a dish towel to protect our fingers for these light weight jobs, and that’s when we don’t fold it properly or its wet, that we get our fingers burned. So, make yourself one of these today – you’ll soon have friends asking for the finger thumb potholder, or mini-microwave mitts as these are known.
You are viewing: How To Make Microwave Gloves
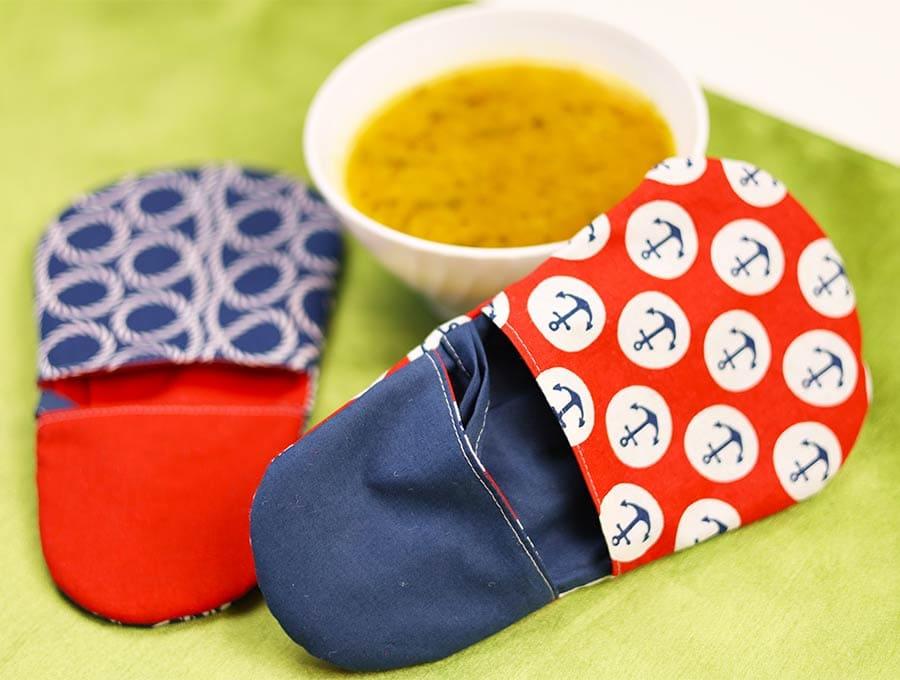
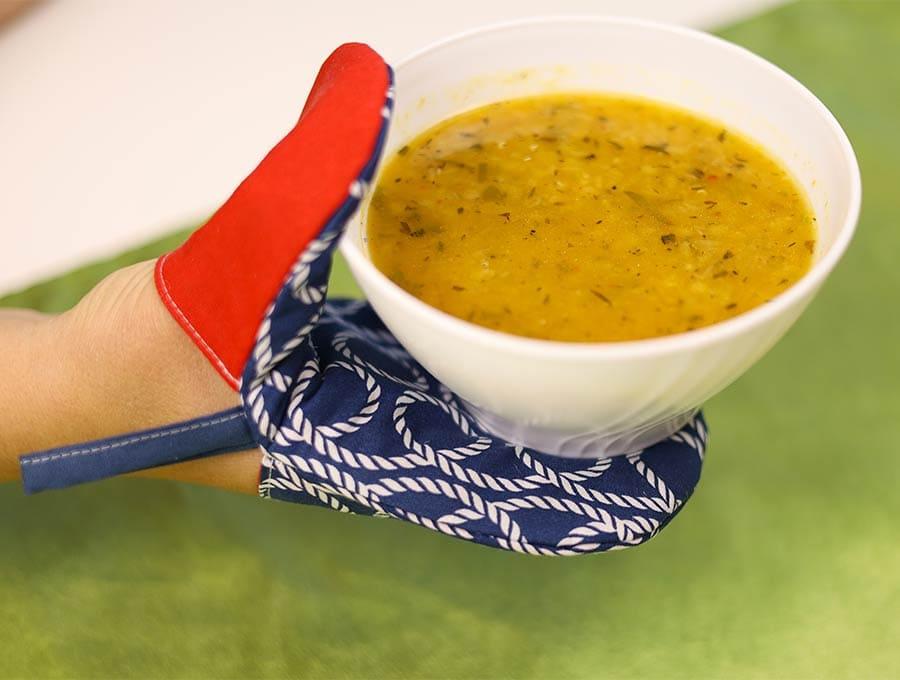
We all know the feeling of reaching into a microwaves, anticipating our steaming bowl of noodles that have only been in there for two minutes and getting a nasty surprise because the bowl is too hot to handle. Enter the mini oven mitt that slips on easily, unlike those long oven gloves, and can be grabbed in a second to retrieve bowls from microwaves or adjust baking trays in the oven. They are sufficiently padded to protect your hand for those lighter jobs around the kitchen – the ones where you usually underestimate how warm a hot lid or handle will be. Follow our step-by-step tutorial to learn how easy the mini-mitt is to make.
Below you will find my step by step finger thumb potholders written tutorial with VIDEO instructions for all the visual learners.
We occasionally link to goods offered by vendors to help the reader find relevant products. Some of the links may be affiliate meaning we earn a small commission if an item is purchased.
How to make Mini Oven Mitts
Supplies and tools
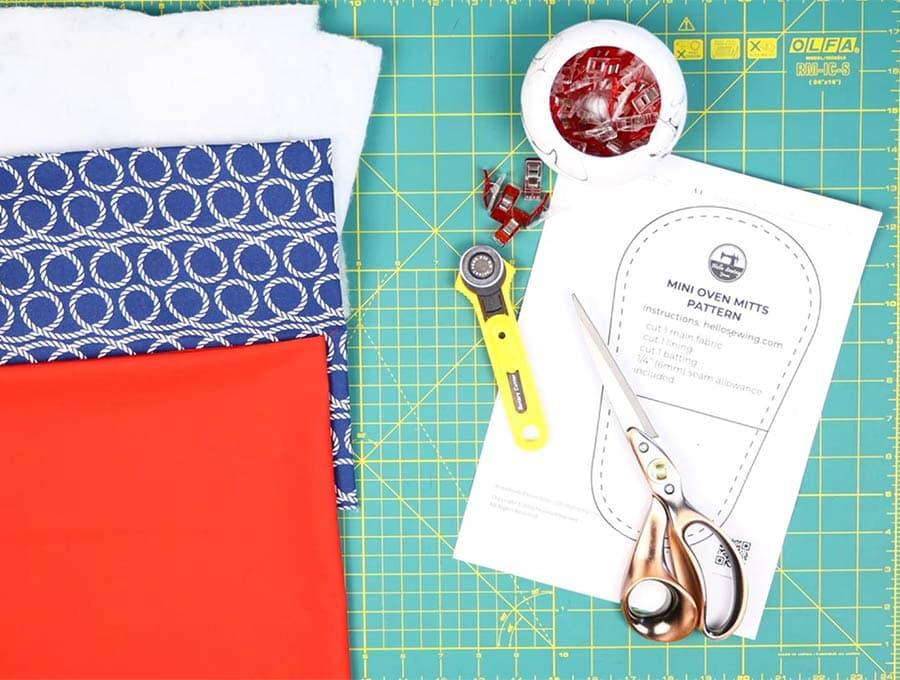
- main fabric – patterned cotton
- lining fabric – plain cotton
- batting ( I recommend heat resistant batting like Insul-Bright)
- matching thread
- scissors (or rotary cutter and a cutting mat)
- ruler or measuring tape
- iron and ironing board
- sewing clips or pins
DOWNLOAD: mini oven mitts pattern [Free pdf file]
Follow us for free patterns & tutorials!
How to Sew a Finger Thumb potholder aka Mini Oven mitt
Watch the diy finger thumb potholder video first and then follow the written step by step instructions below. Please enjoy and don’t forget to Like and SUBSCRIBE over on YouTube to be kept up to date with new videos as they come out.
Finger Thumb Mitt VIDEO TUTORIAL
INSTRUCTIONS:
STEP 1: Get the mini oven mitt template
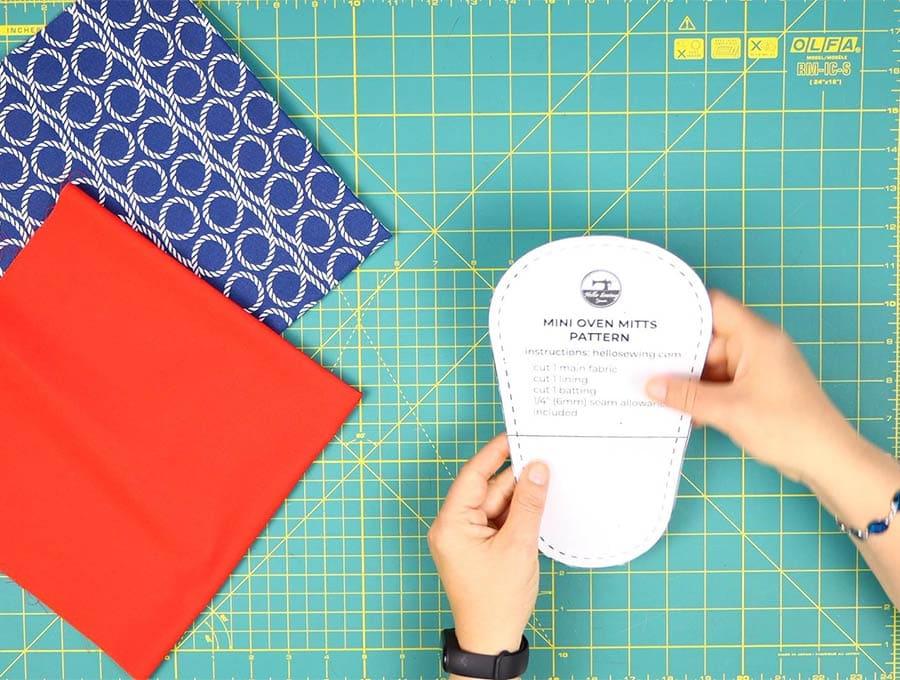
Download the mini oven mitt pattern provided for this project. Print it at 100% on US letter paper/ A4 and cut out the pattern.
STEP 2: Layer fabrics
You’ll need two 10-inch (25cm) squares of fabric – one patterned and one plain as well as a piece of batting (wadding) 5 x 10″ (13 x 25cm) to make a mini oven mitt. Pin the squares with the right sides facing each other.
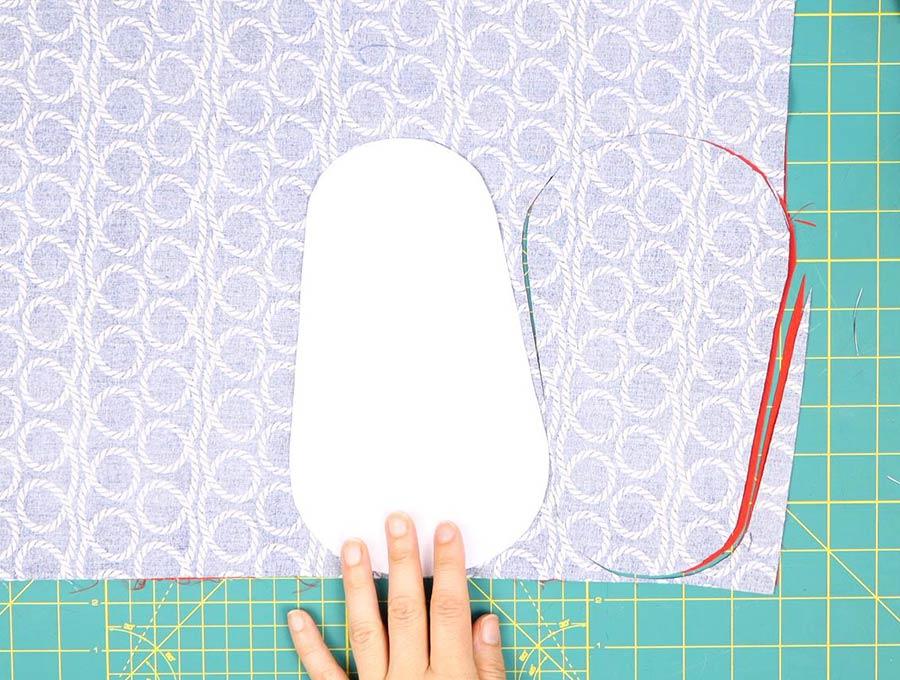
STEP 3: Cut out the fabrics
Read more : How Old Is Donald Glover Jr
Draw the pattern onto the wrong side of the plain fabric – it is easier to see the lines on this than on the printed fabric, placing the pattern first facing up and then flip it down before you cut out the second set to best use the fabric. You will see a line on one of the pattern pieces through the center – don’t forget to mark this on one the fabric and cut along the mark. These will be for the finger part (the larger piece) and for the thumb part (smaller piece) of the mitt.
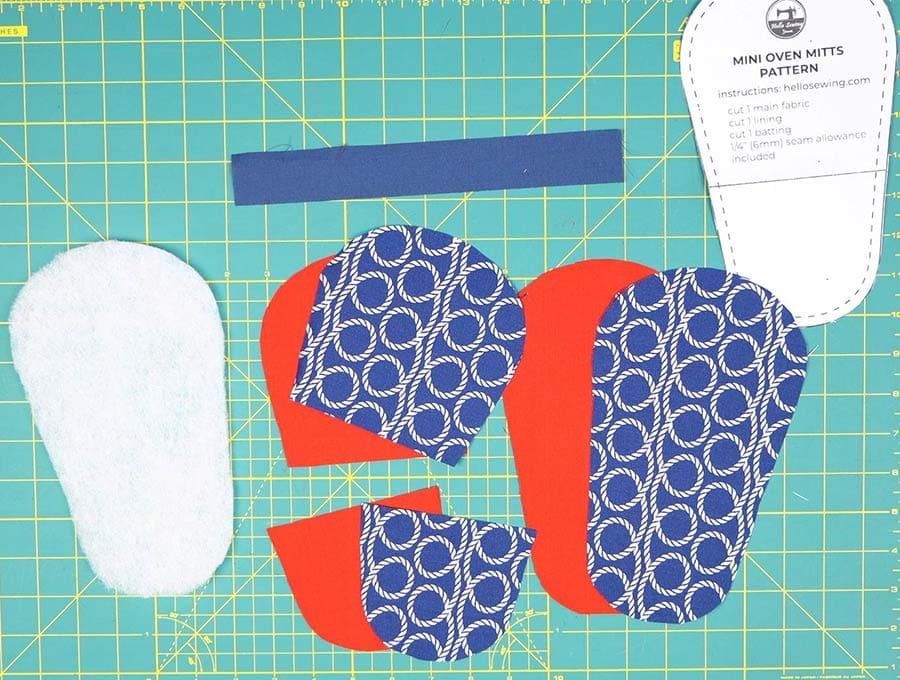
There will be a little extra fabric on the one end – just chop that off using scissors or your rotary cutter and a cutting board. It will be 10 inches by 1 inch (20cm x 2.5cm) roughly. Keep the printed offcut, because this will be your hanging loop for the oven mitt.
Also cut out one piece of the batting.
Step 4: Prepare the hanging loop
Some people like to sew down the two edges on the wrong side of the fabric, of the folded strip, then turn it the right way out. That is fine but I find it easier to fold the strip in half down the length, press in the fold, then open out and turn in ¼ inch (6mm) on either side, press then fold down the original pressed fold, then stitch down the one side opposite the fold. It’s just a little less fiddly than turning fabric.
Cut to the size you want your hanging loop to be. I cut it down to 5″ (13cm).
Step 5: Stitch
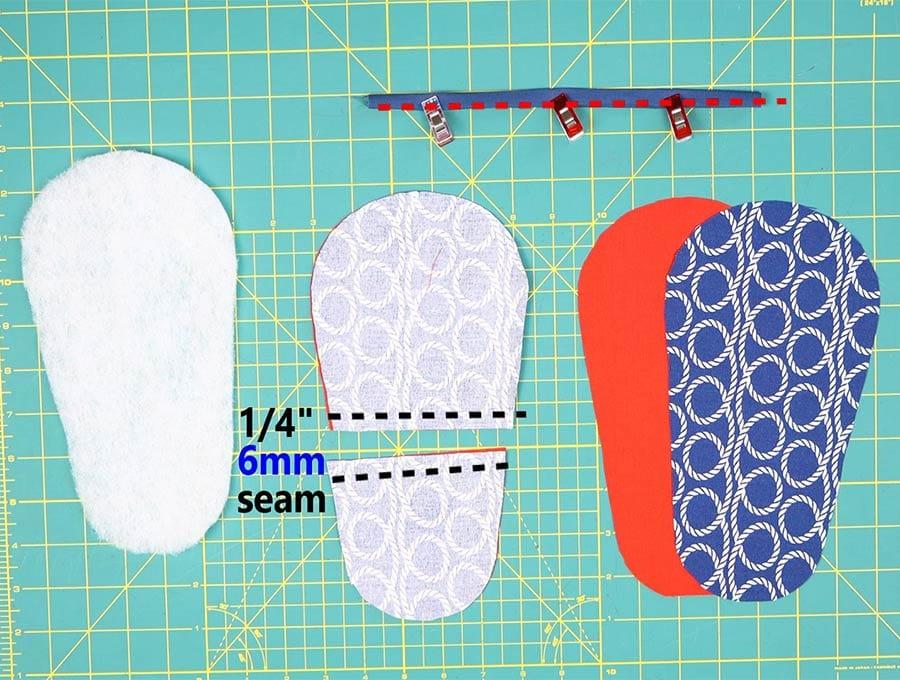
Take the pinned fabrics for the finger part and the thumb part of the oven mitt and stitch down 1/4″ (6mm) along the straight edge.
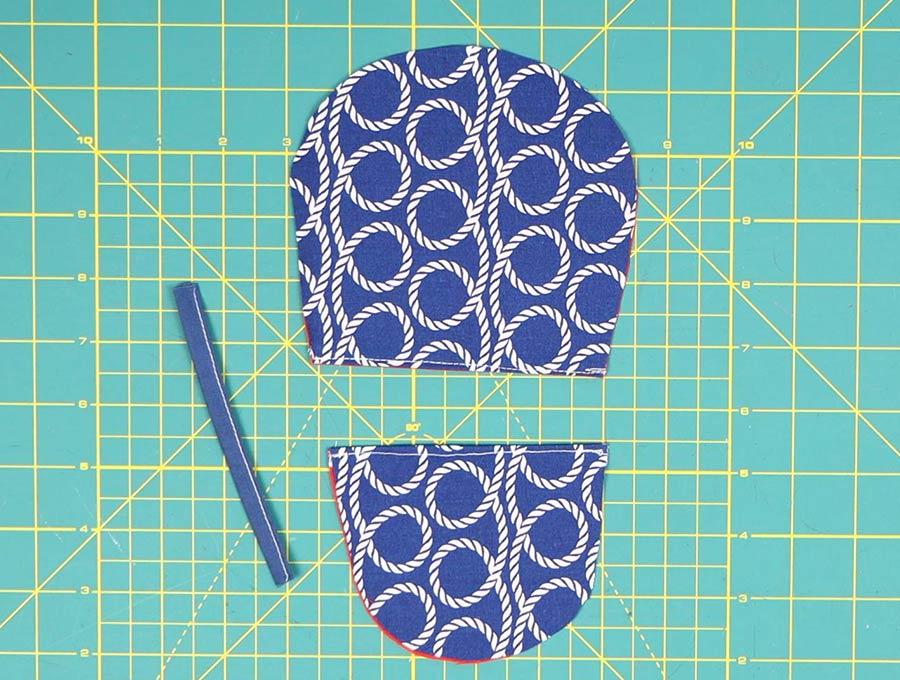
Step 6: Topstitch
Fold each piece open to the right sides are outwards, finger press the seam and then fold so the wrong sides are facing each other and top stitch along the straight edge on each.
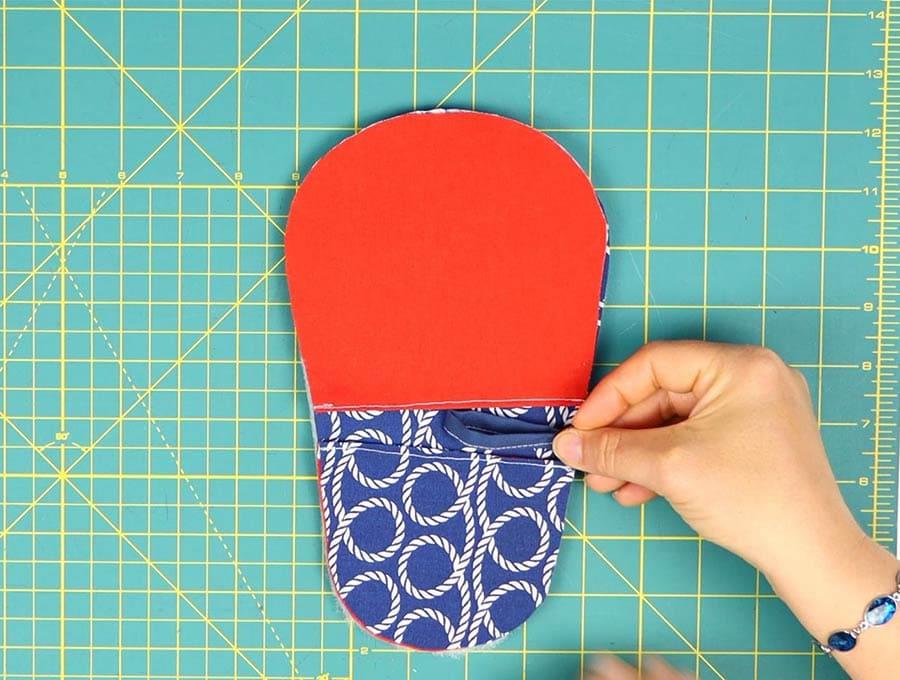
Step 7: Stack the fabrics
1. Place the batting on the worktop 2. The printed fabric right side up, aligning so the pattern shapes match up – one side is wider than the other. 3. The smaller printed side of the half piece you top stitched patterned right side facing the patterned right side and aligning with the edges on the smaller end 4. The larger printed side of the other half piece you top stitched, patterned right side facing the patterned right side and aligning with the edges. (Note there will be a ½ inch (1.3cm) or so gap between the smaller pieces – this is fine.) 5. In the gap between the two smaller pieces the hanging loop you stitched with the raw edges facing the edge of the pattern and the loop facing into the center of the gap. 6. The plain piece of fabric, right side down.
Step 8: Pin all layers
Pin or clip (clipping is easier), all the layers together making sure that nothing moves.
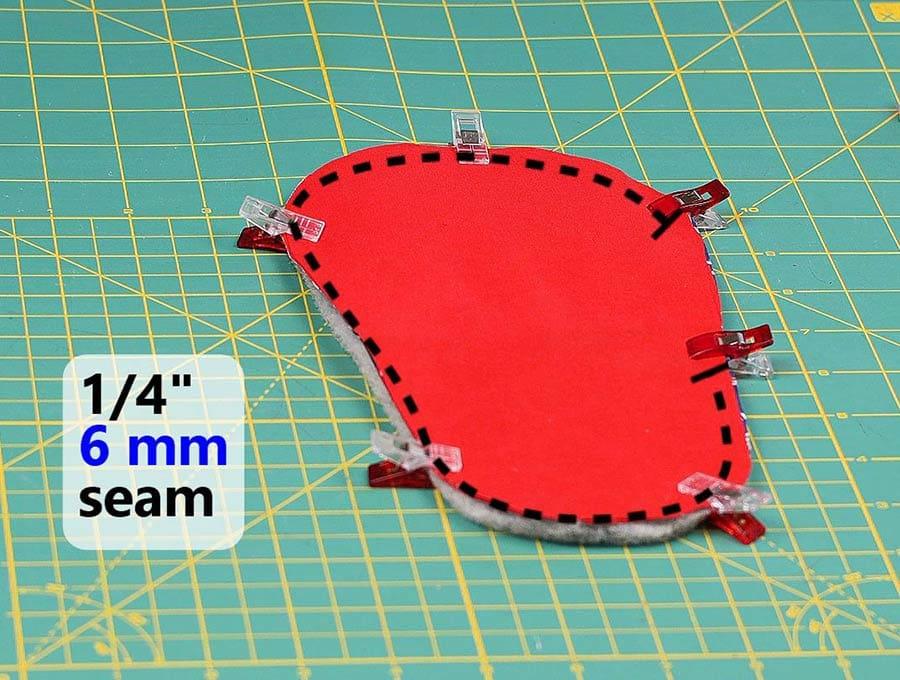
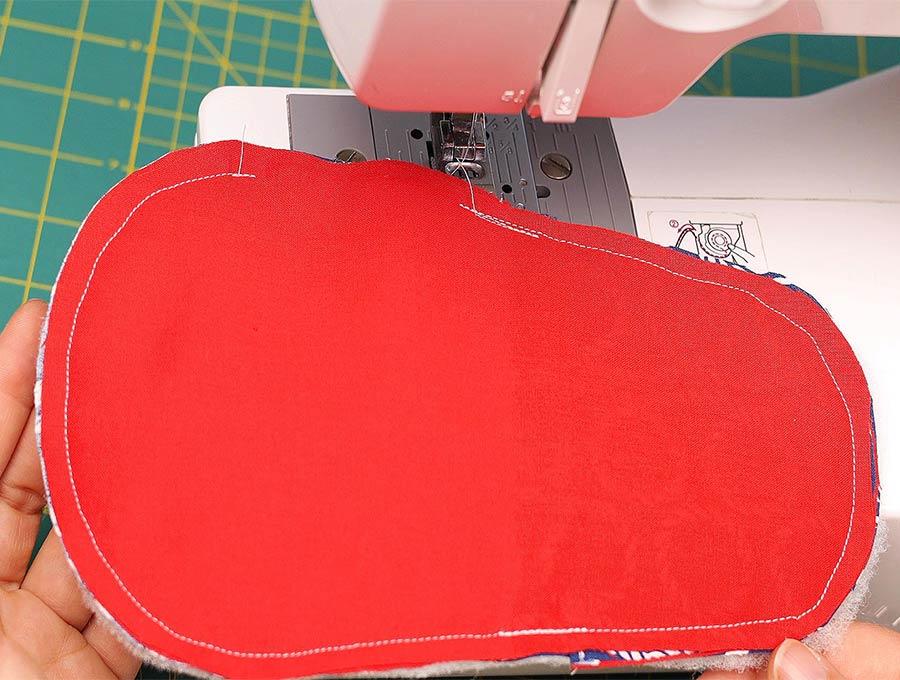
Step 9: Stitch around the mitt
Read more : How To Load Stanford Pretrained Glove Vectors To Spacy
Carefully stitch all around ¼ inch (6mm) from the edge leaving a gap of 2 inches (5cm) just above the part where the loop is inserted to enable you to turn the fabric. Back tack at the start and finish of the gap and backtack over the gap between the small pieces to reinforce that part. There are a few layers to sew through but take it slowly and steadily and your domestic machine will handle it – just make sure you have a sharp needle. If you need you can release the foot pressure a little and remember to leave the needle in the fabric and release the pressure foot when turning through the curves. Once done, check that all the layers have been caught by the machine stitching.
Step 10: Trim
Once stitched, all that remains is to trim any wayward edges and the excess batting, and turn out the right way through the gap.
Step 11: Sew the gap closed
Turn in the raw edges of the gap and stitch closed either by hand or with your machine with a top stitch.
If you don’t feel lazy, you can turn the finger part of the oven mitt inside out, fold under the raw edges and stitch the gap. Then turn it over so there will be no stitches visible.
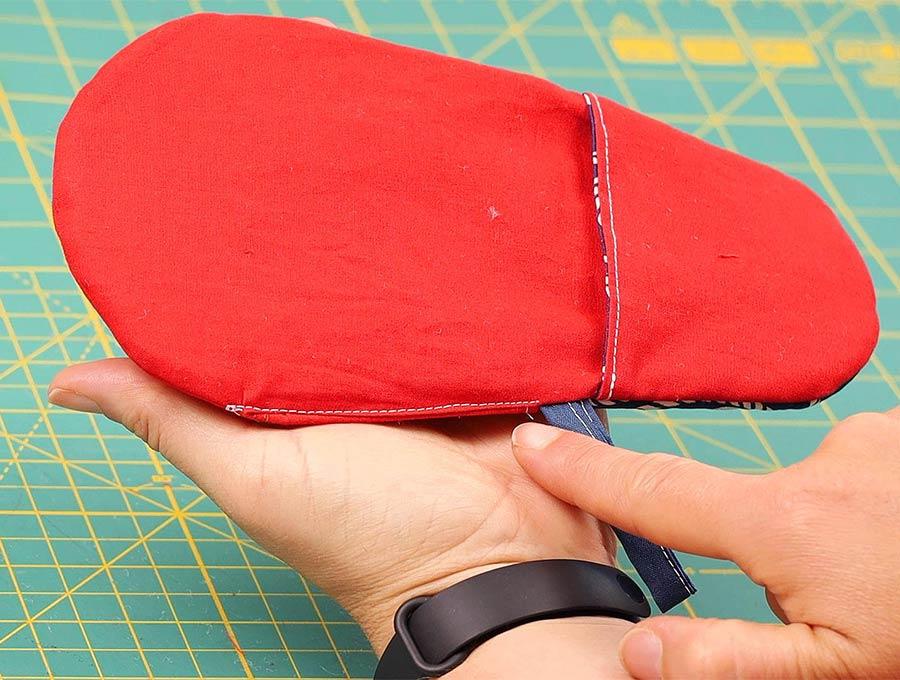
Step 12: Turn right side out
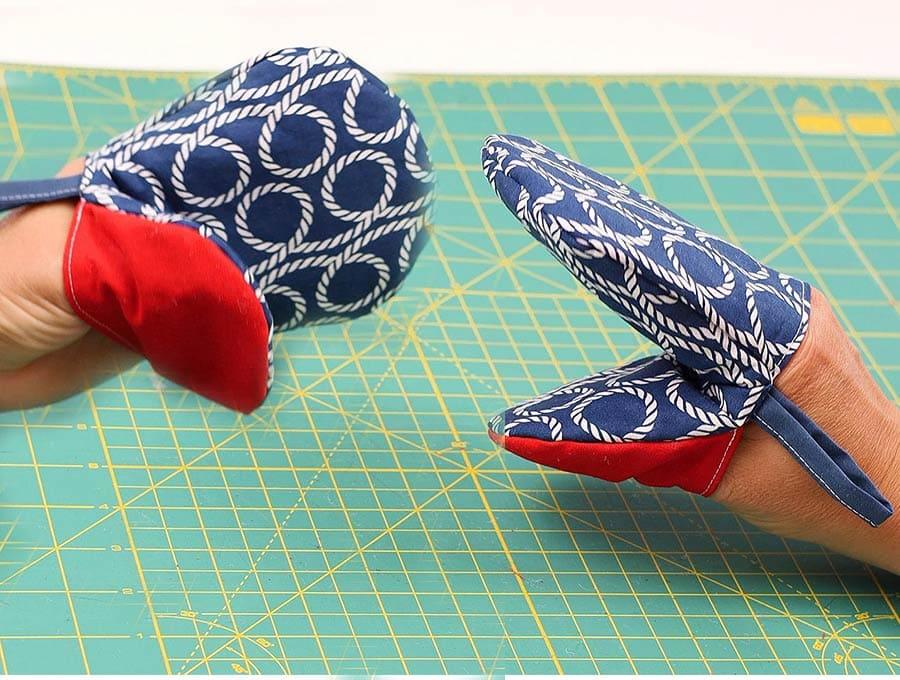
The actual little finger grips of the oven mitt remain to be turned out and it will be ready to use.
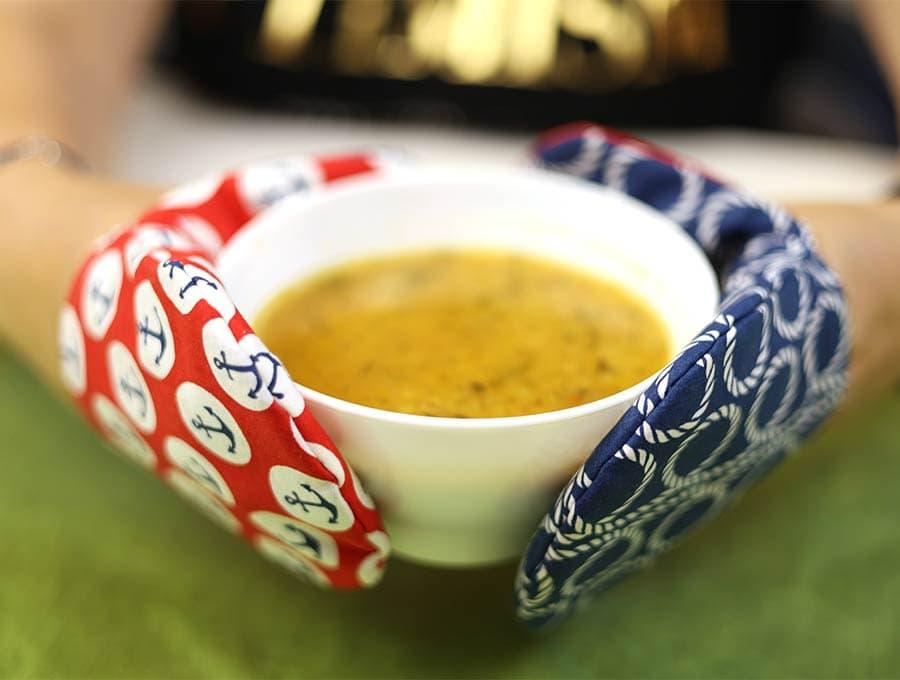
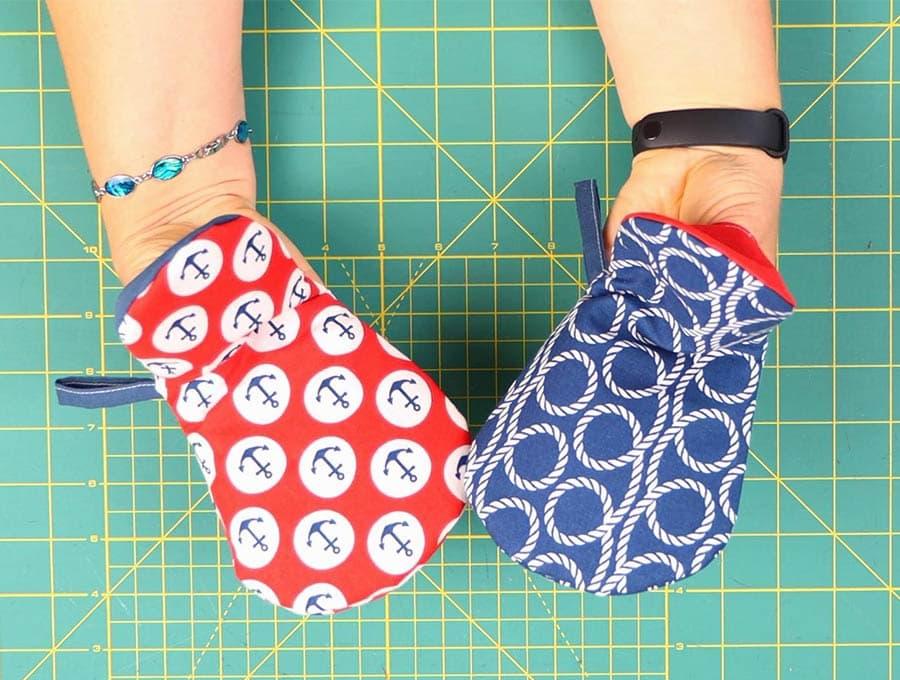
These are such a useful little item to have in your kitchen – especially hanging right next to the microwave. If you enjoyed making up this pattern from two 10-inch square of left-over fabric, then hit the subscribe button to have more of our projects delivered straight to your inbox.
Do you like this? Pin for later:
Wanna be friends? Click HERE and follow me on Pinterest
RELATED:
Large quilted oven mitts tutorial
Free apron sewing patterns for everyone in the family
DIY hot pads with pattern
Source: https://t-tees.com
Category: HOW