

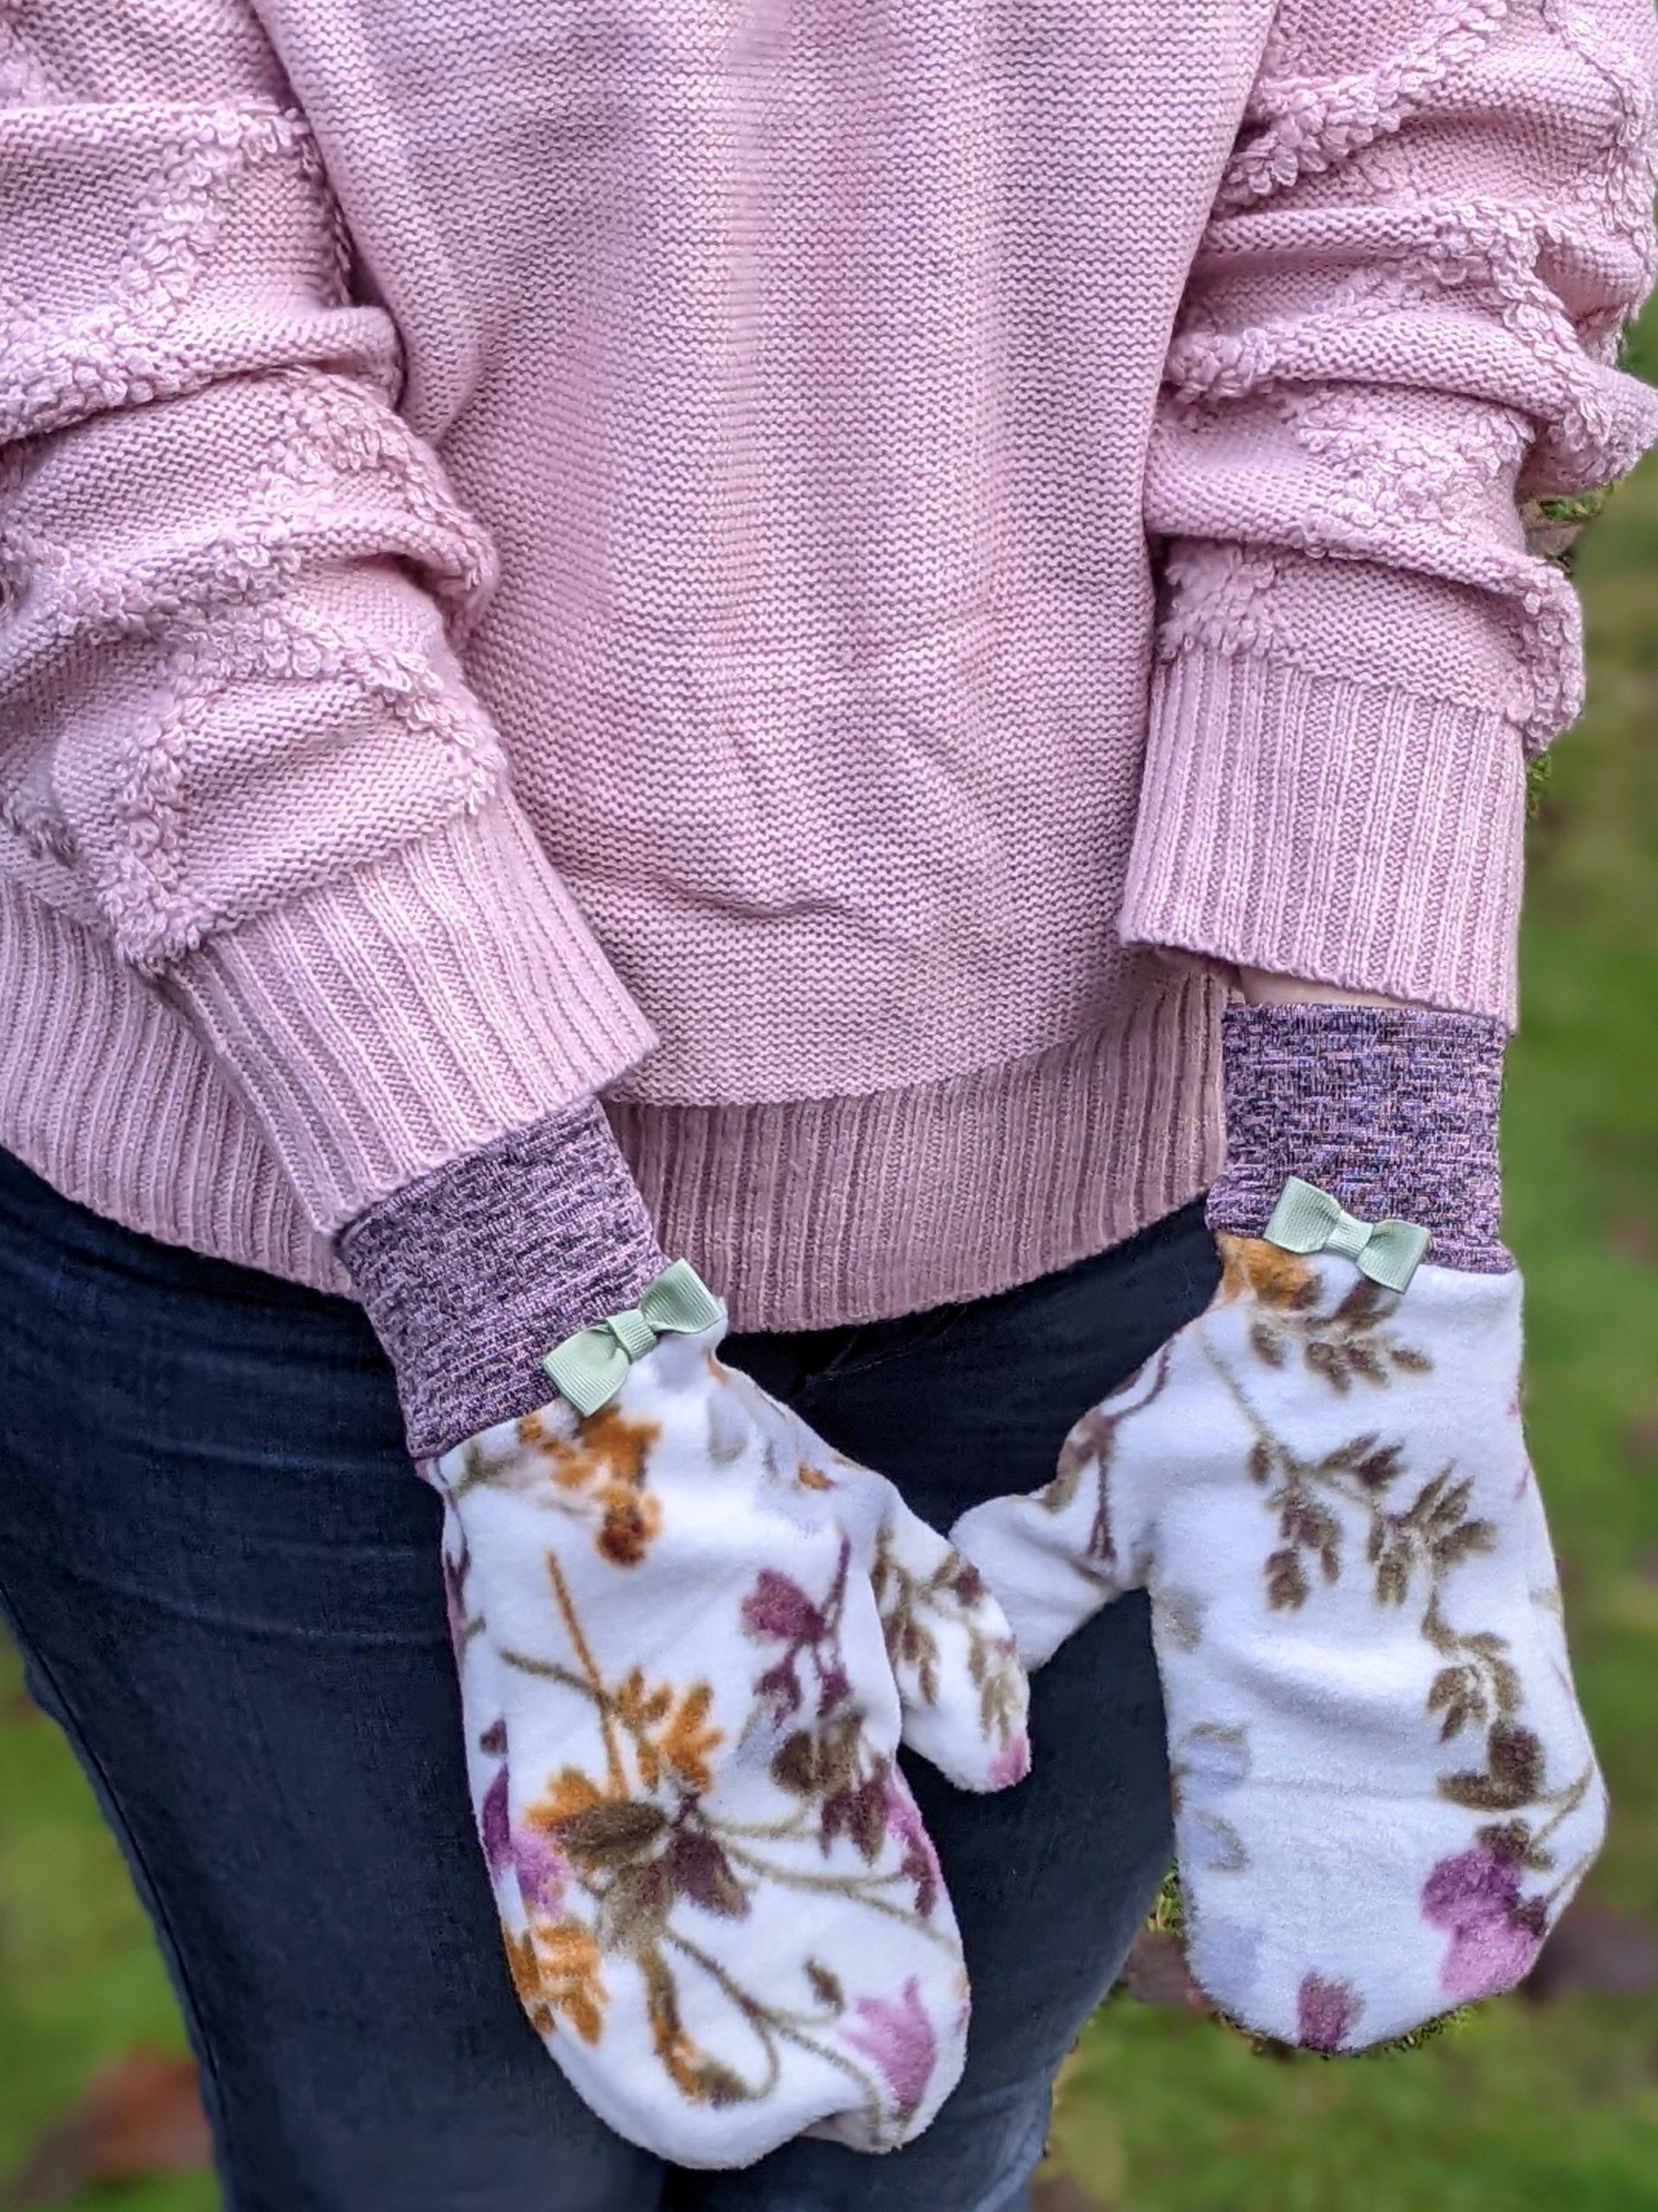
Anytime I make something out of fleece I always have leftovers. Somehow we managed to lose all of our hats and gloves since last winter so I wanted to make some quick mittens with all of that leftover fleece.
You may be interested
Materials
- Fleece
- Knit fabric for cuffs
- Sewing machine and basic sewing supplies
- Paper and pencil
- Optional: ribbon, bows, buttons, etc.
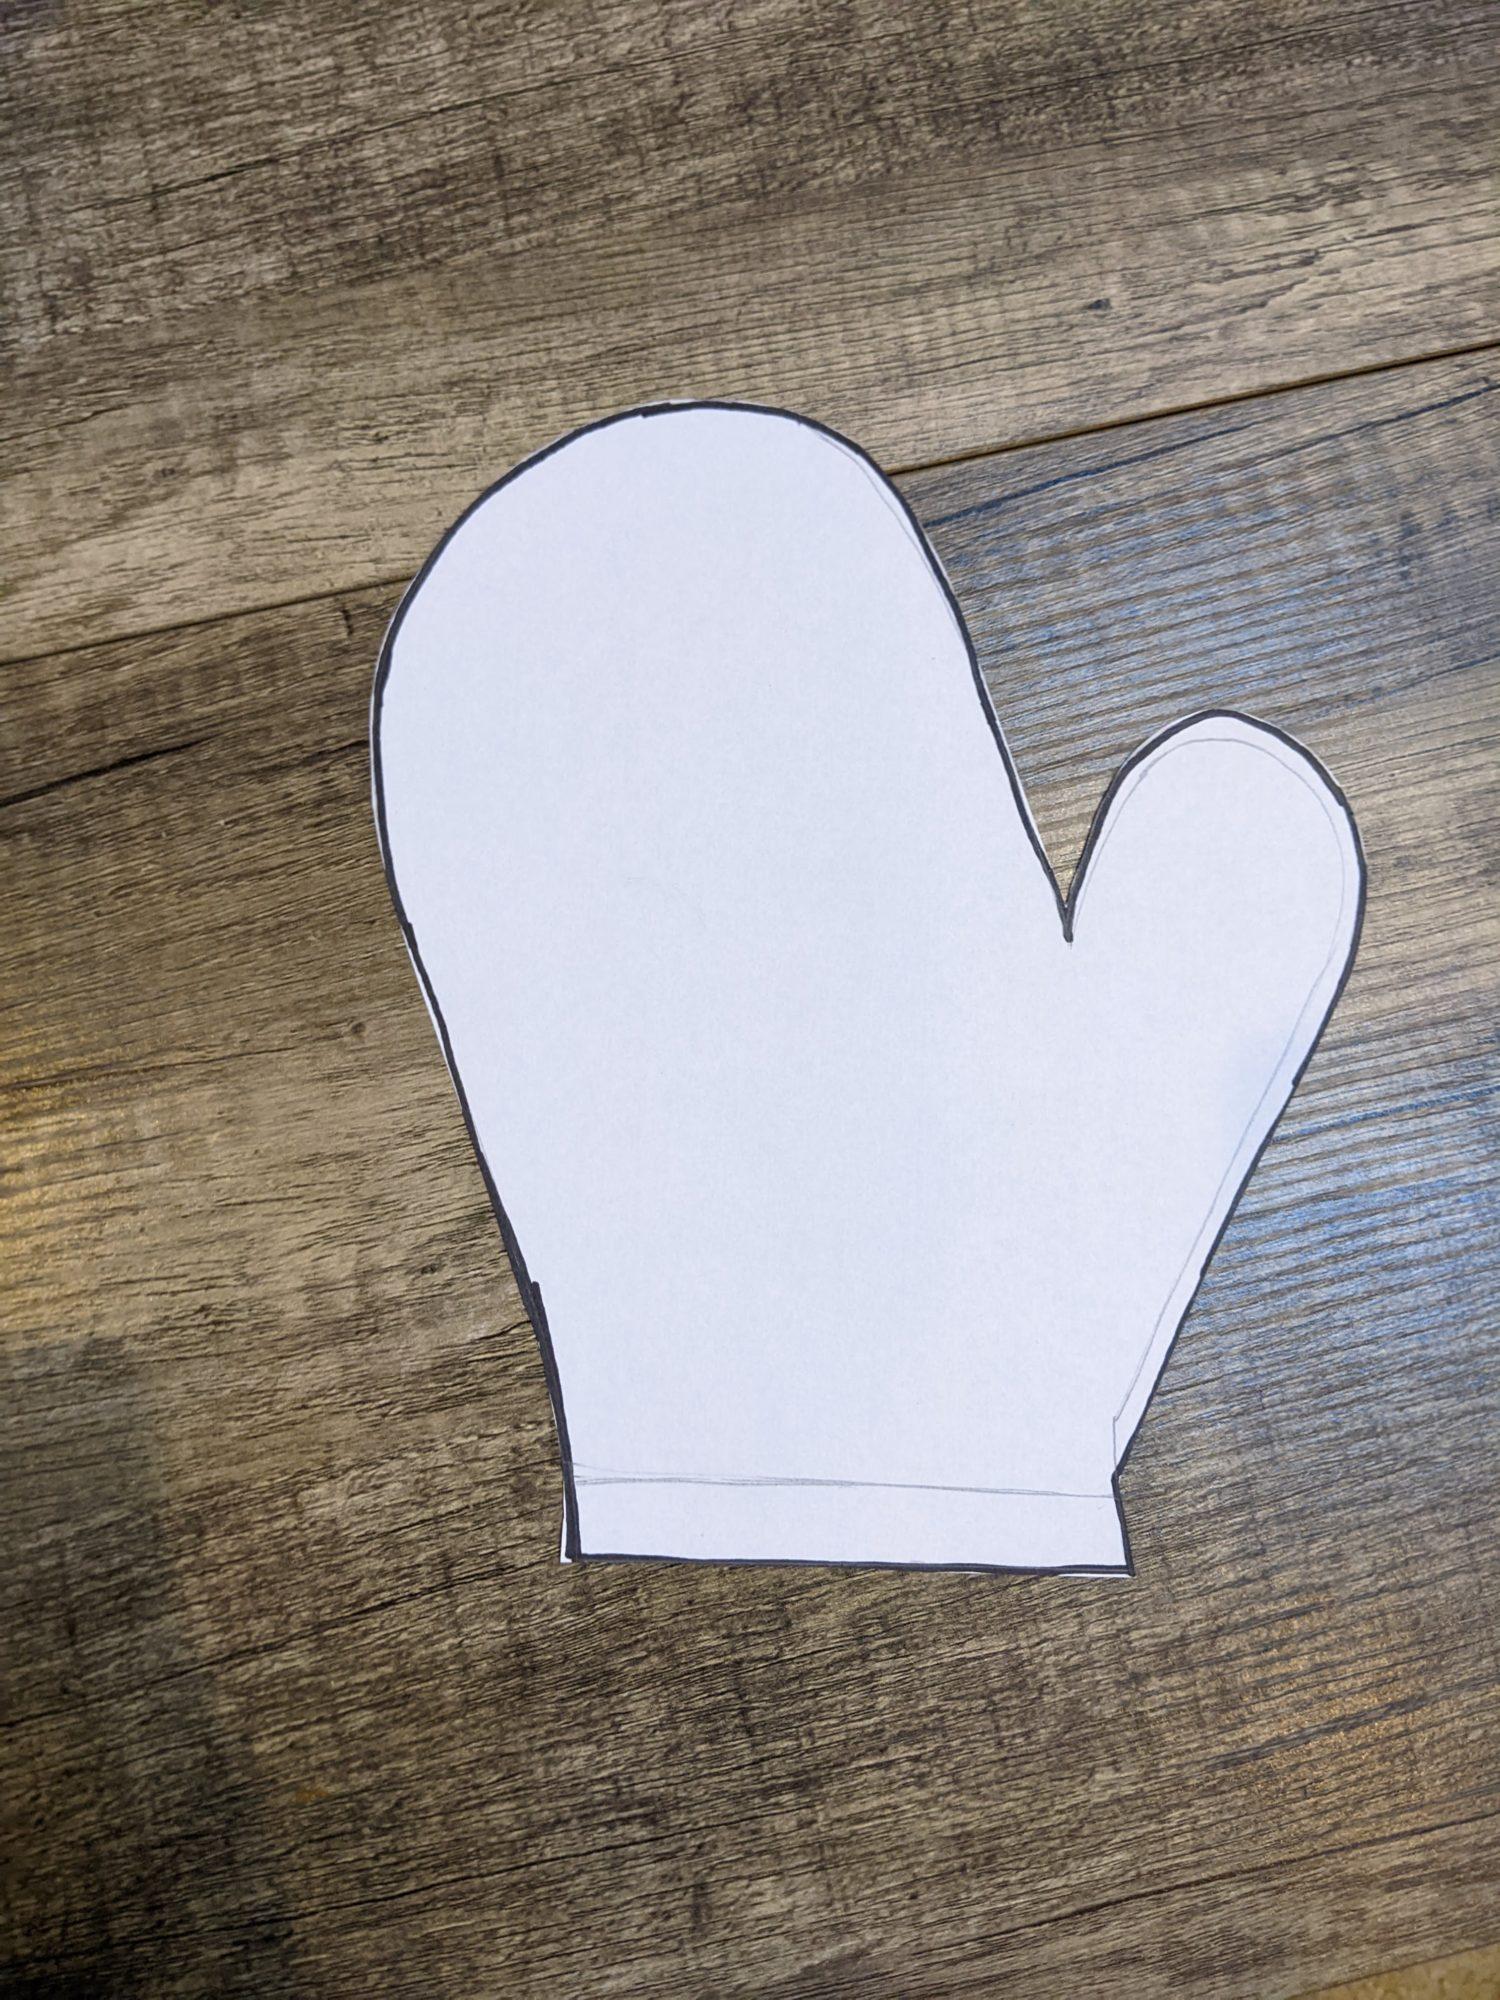
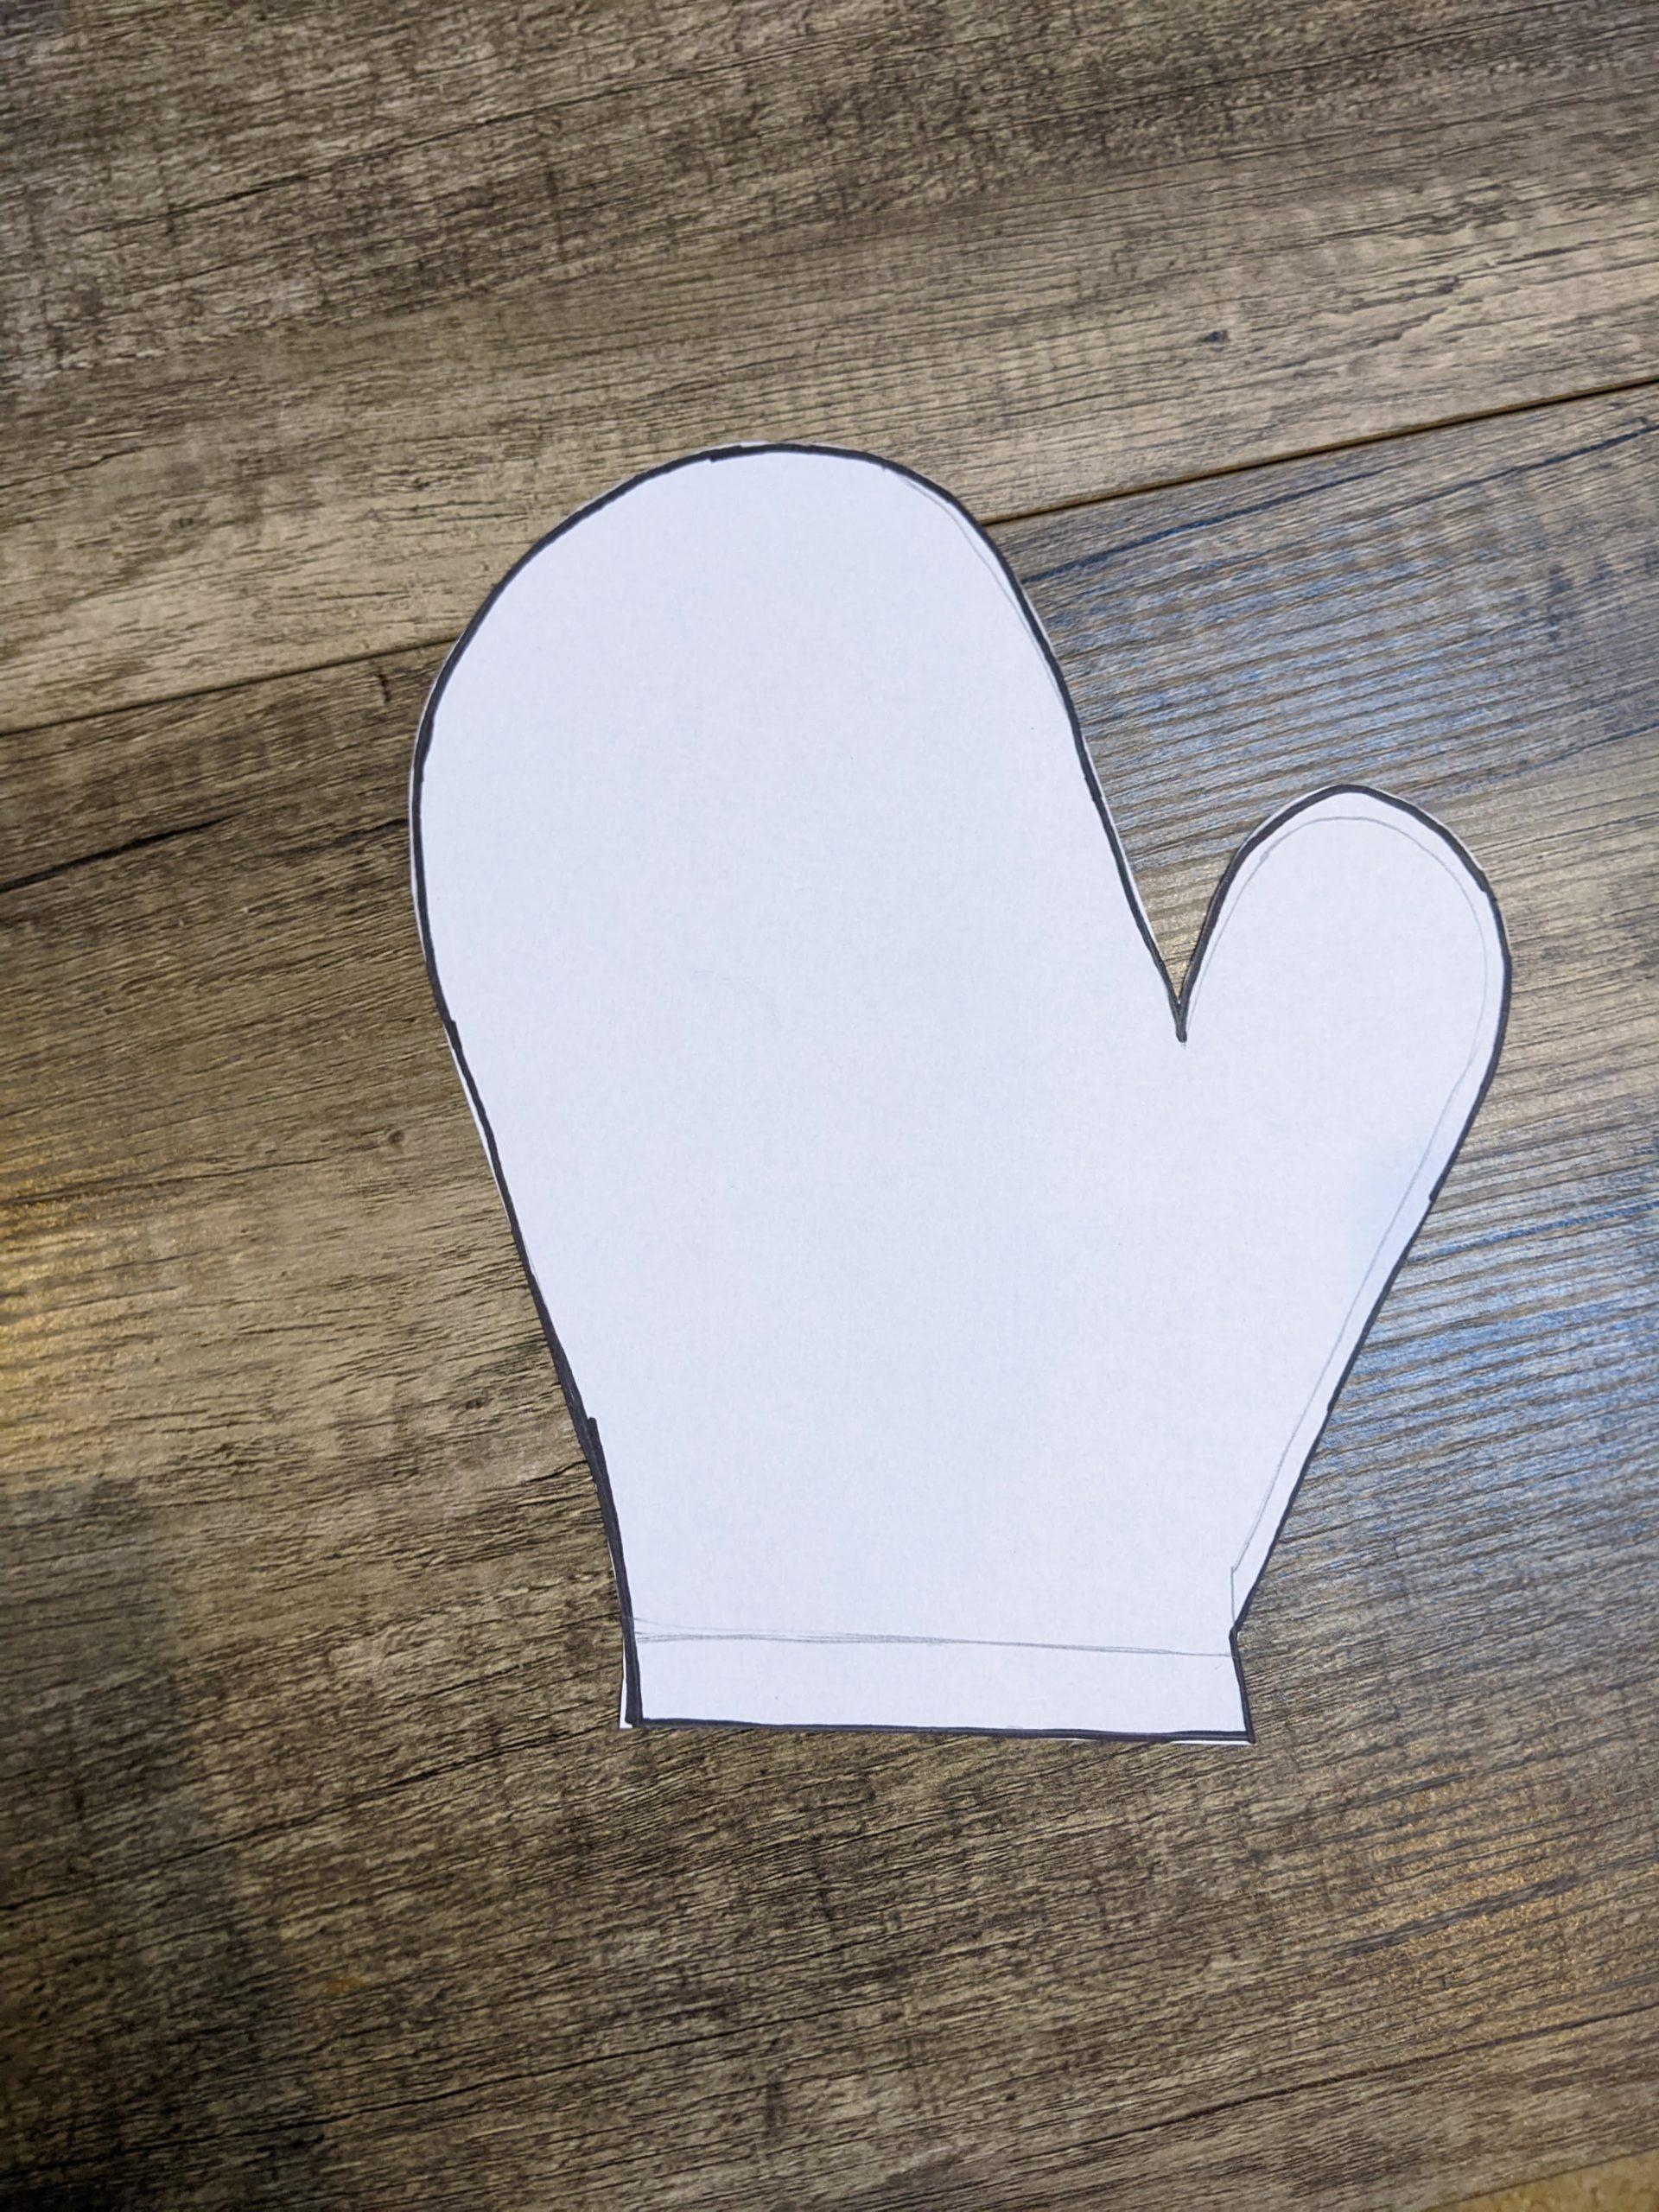
Making a Template
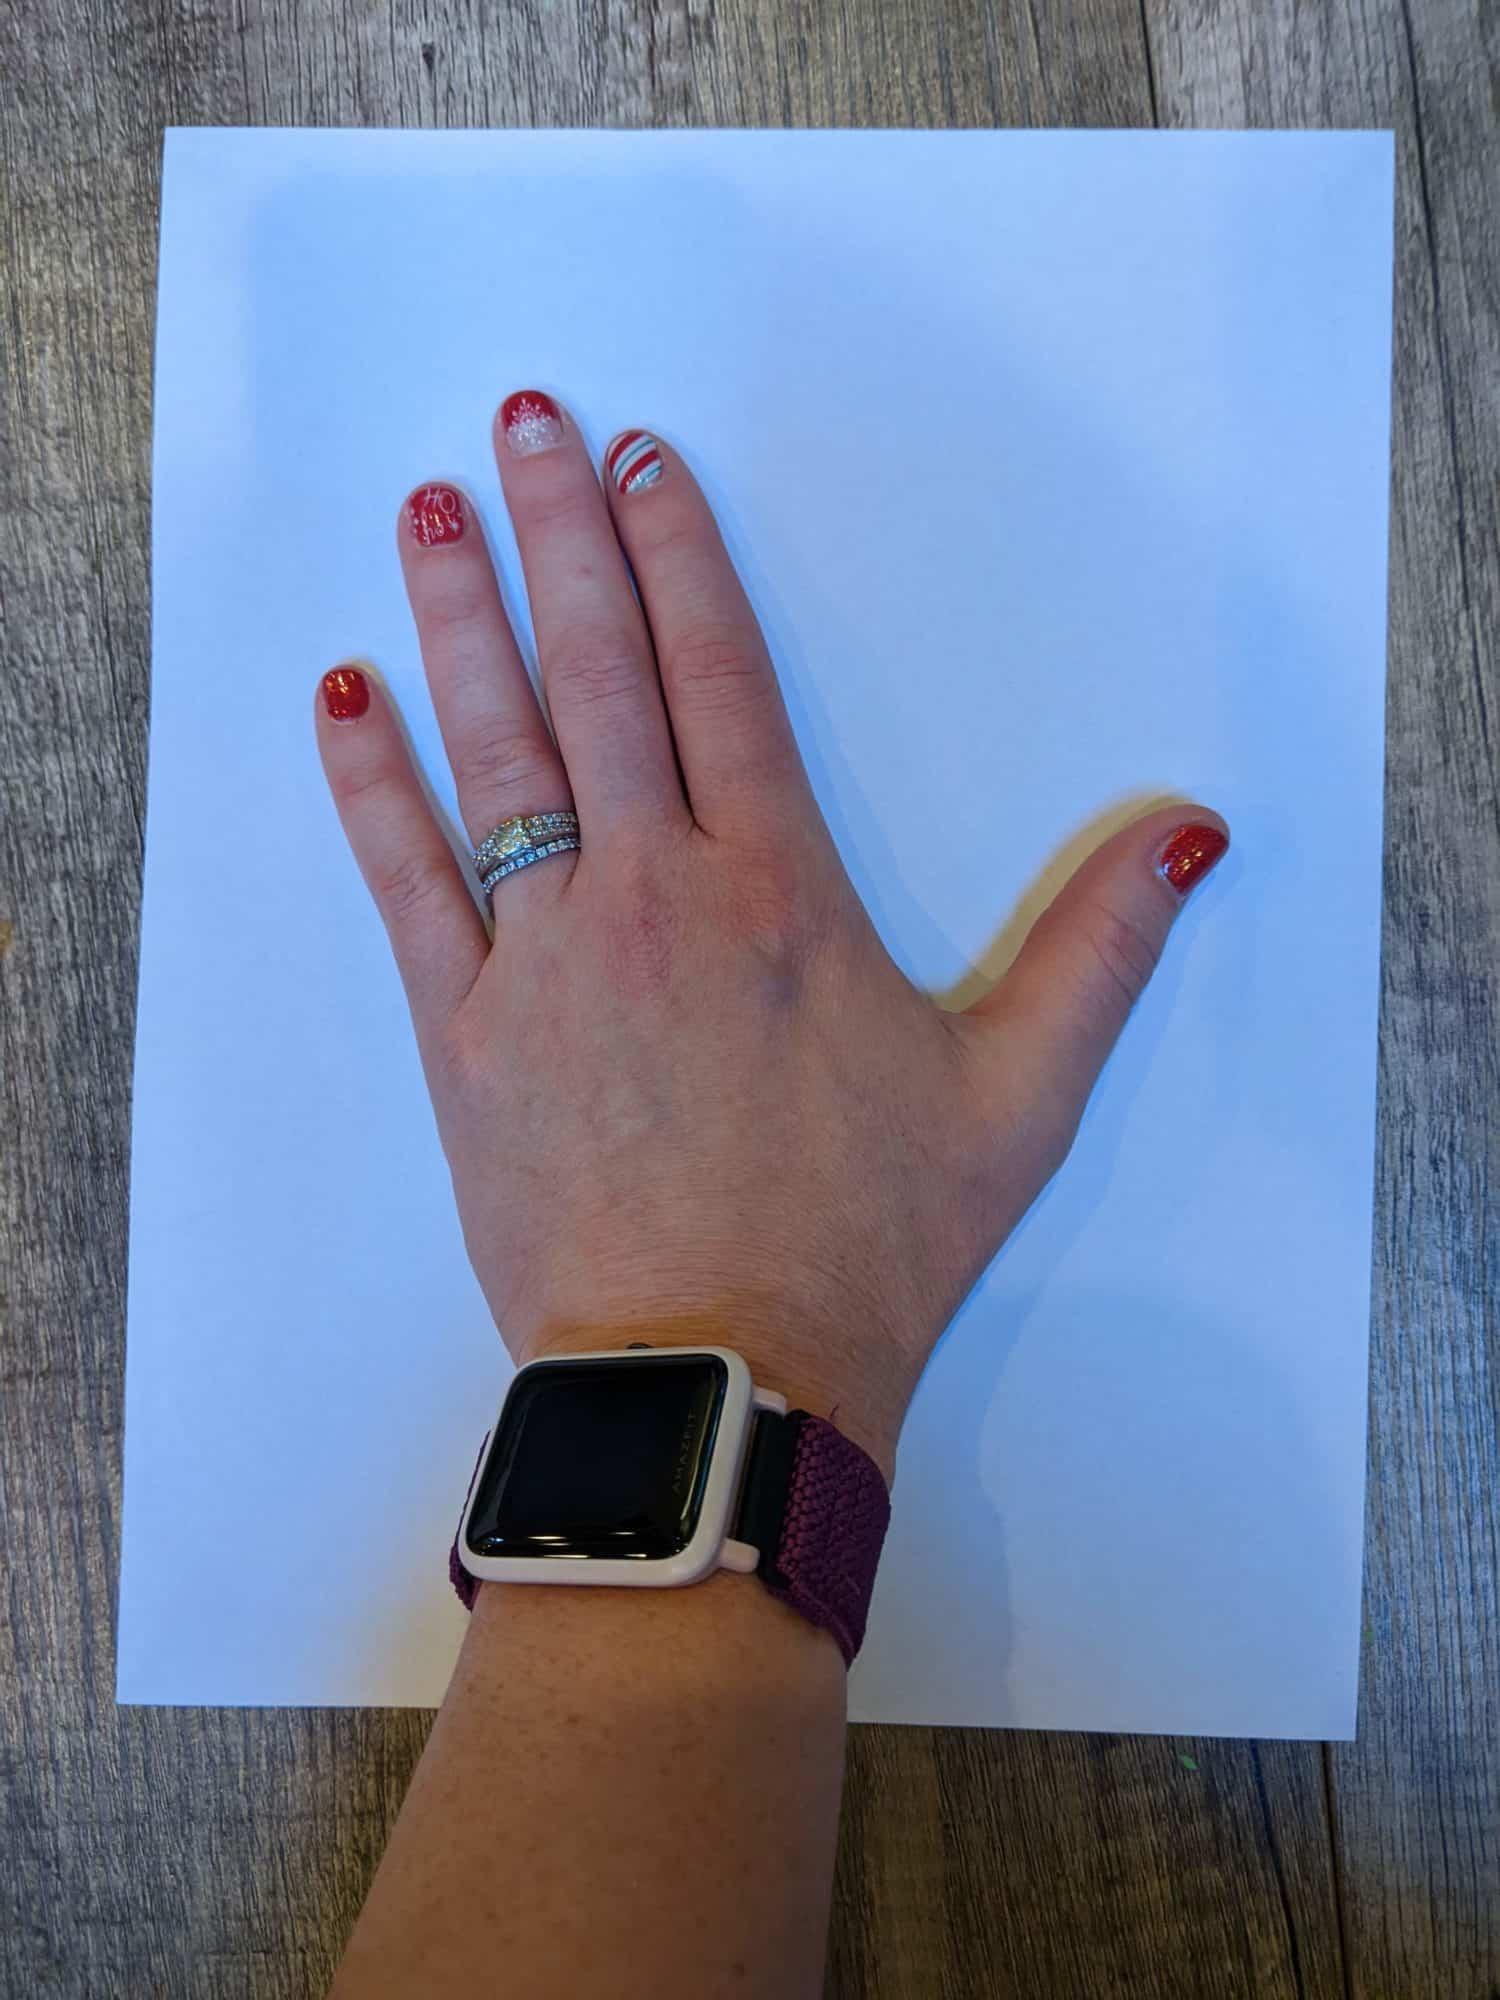
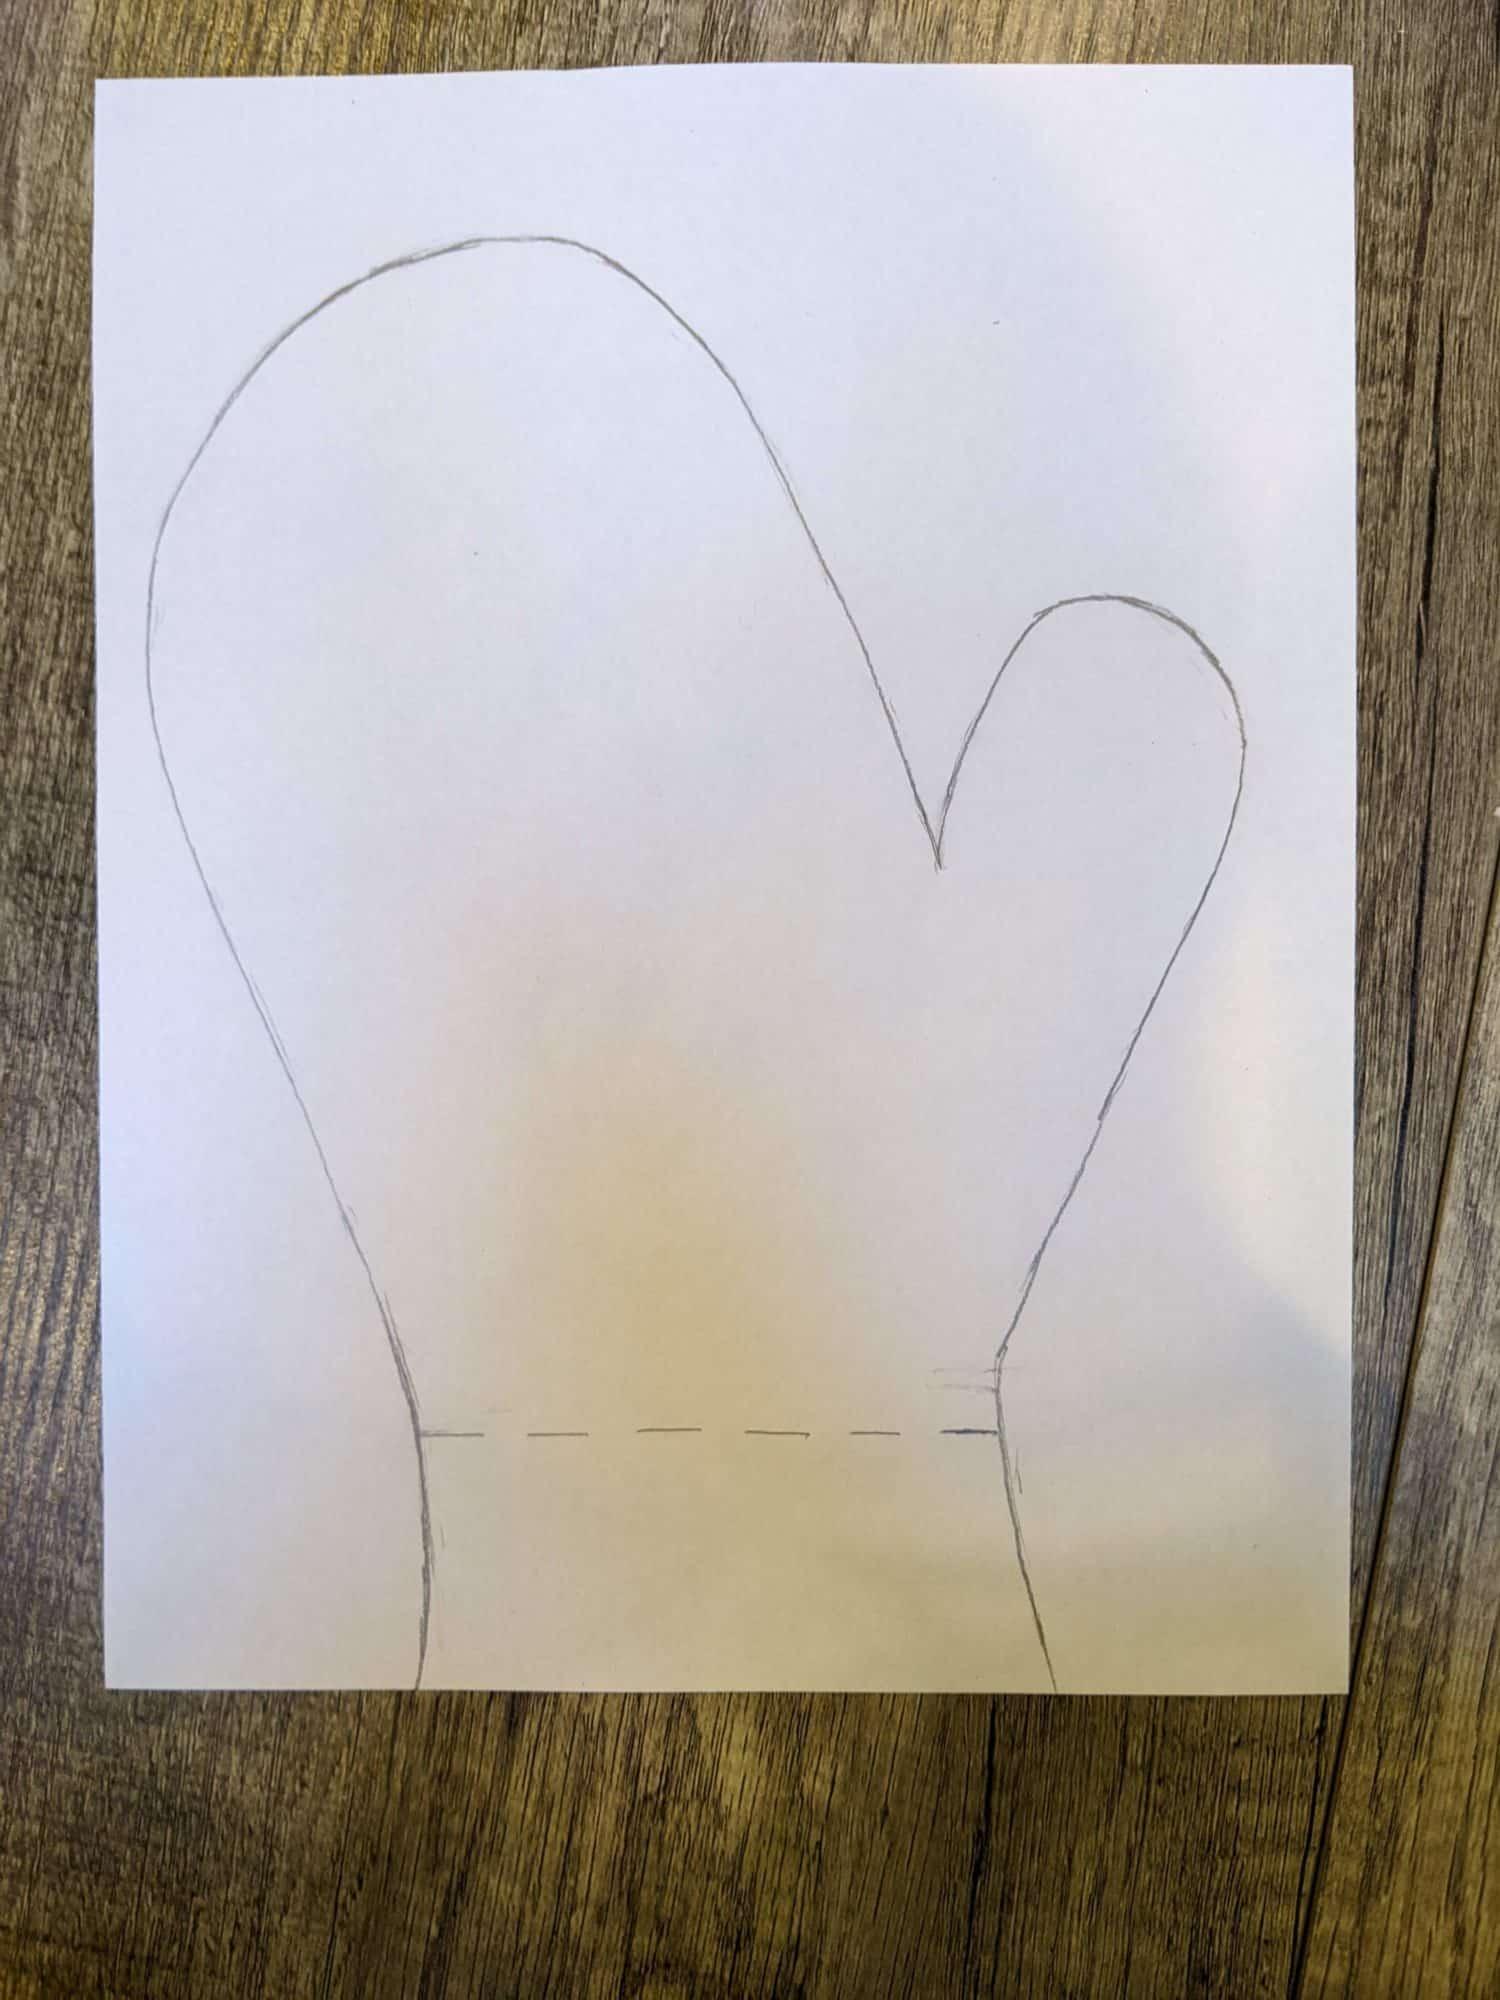
- Lay your hand flat on a piece of paper.
- Leave your fingers relaxed.
- Don’t spread them out or keep them squeezed together.
- Tilt your hand outward away from your thumb at an angle while keeping your wrist mostly straight.
- Spread your thumb out where you can comfortably keep it without straining.
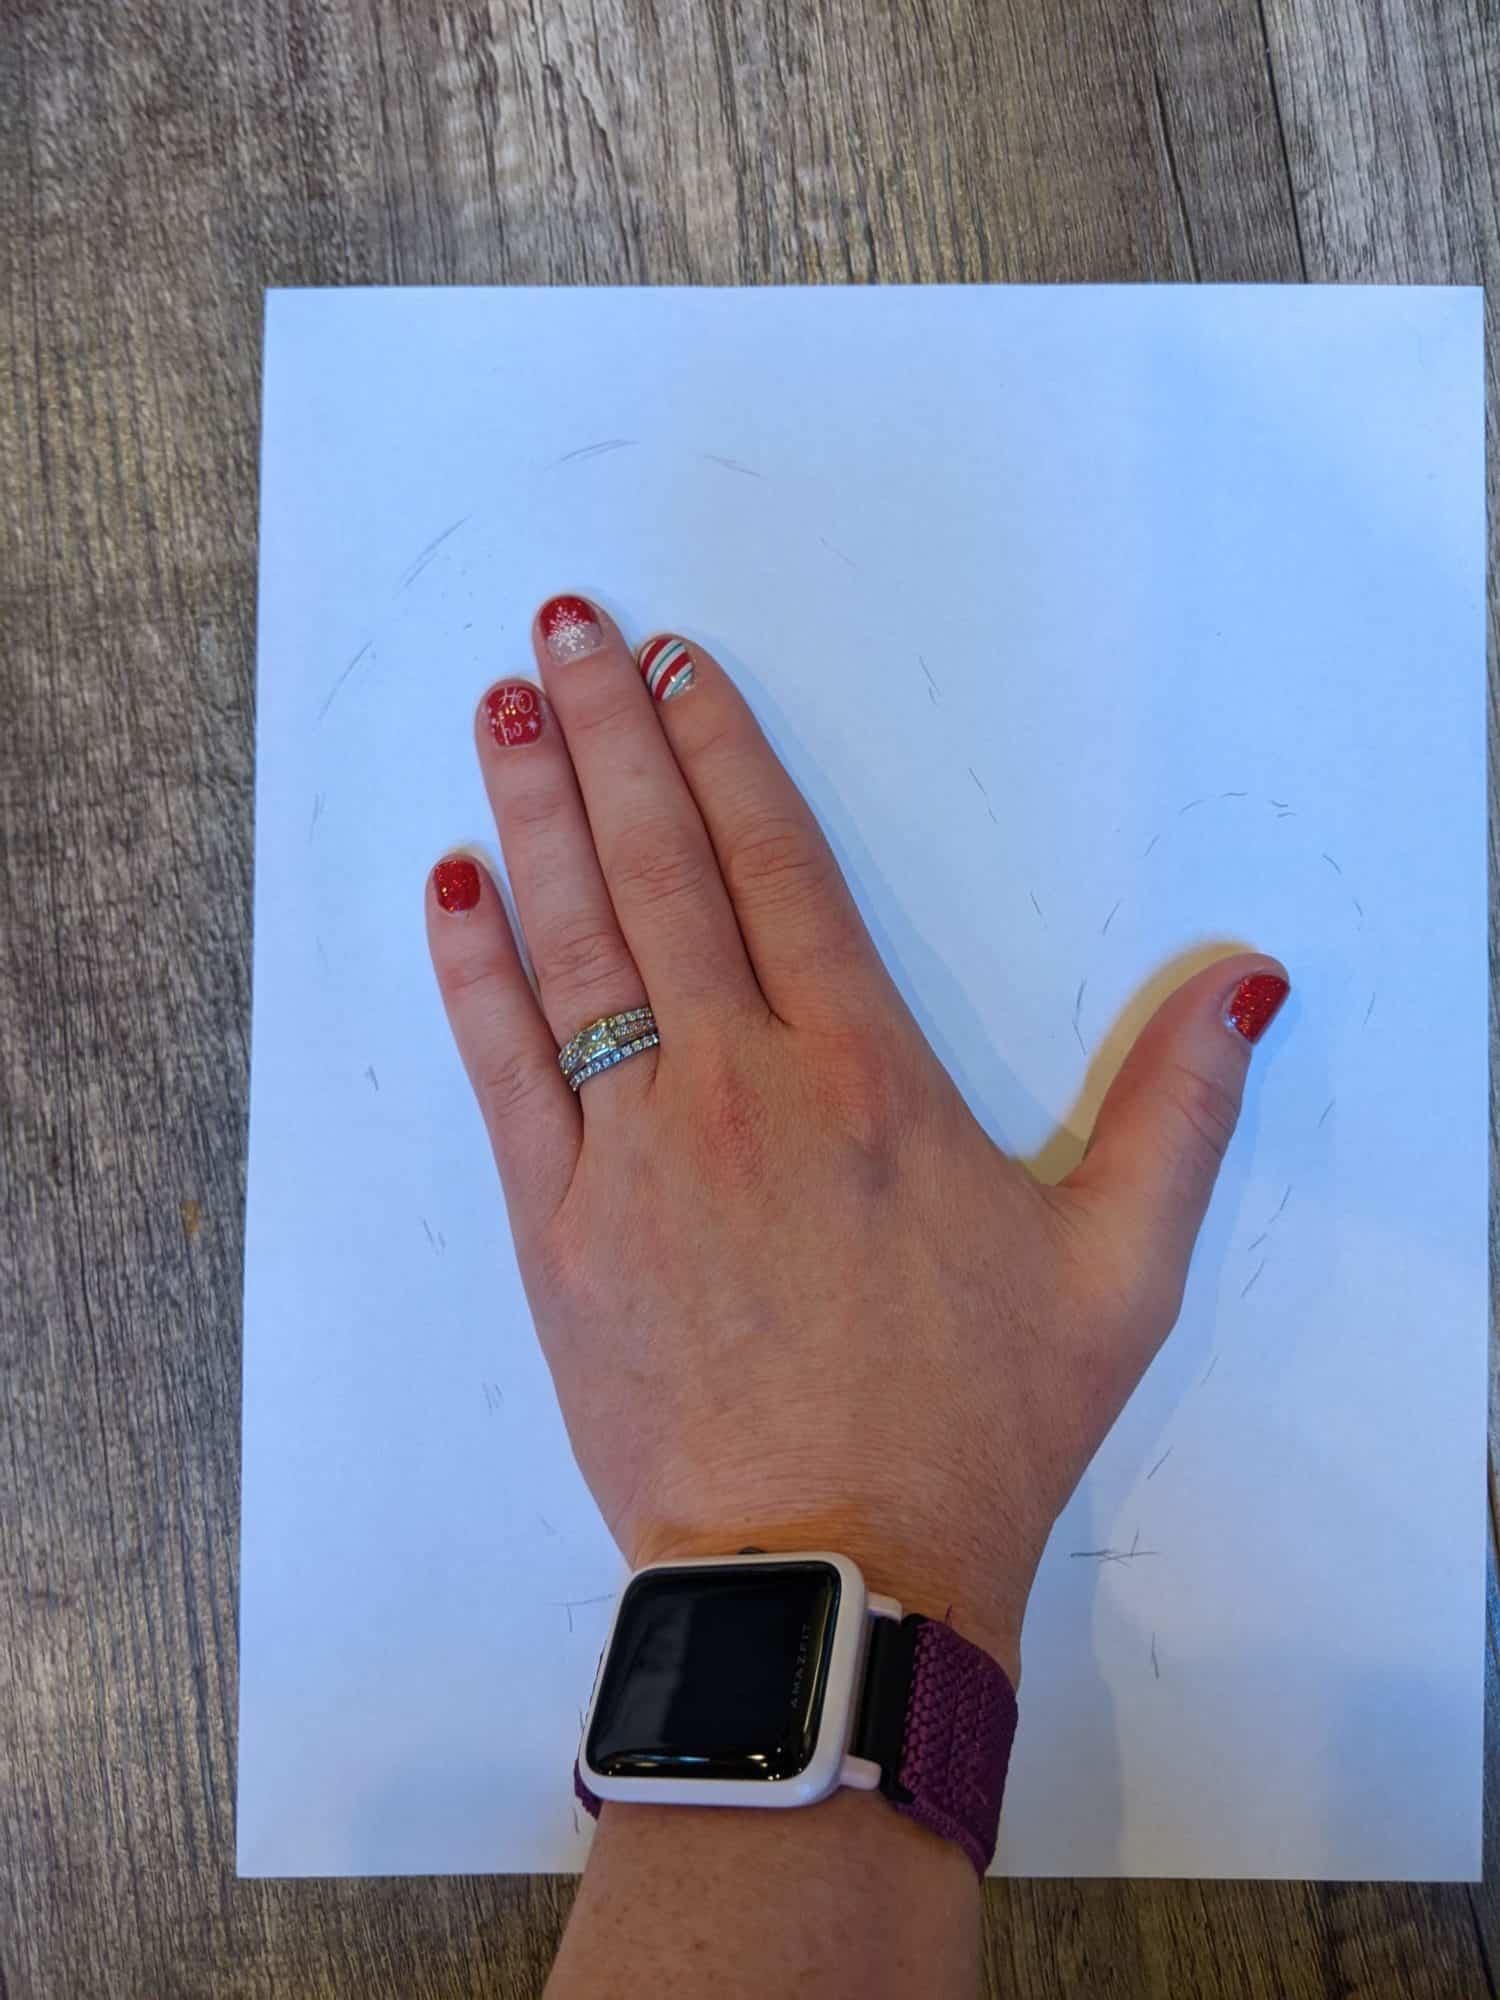
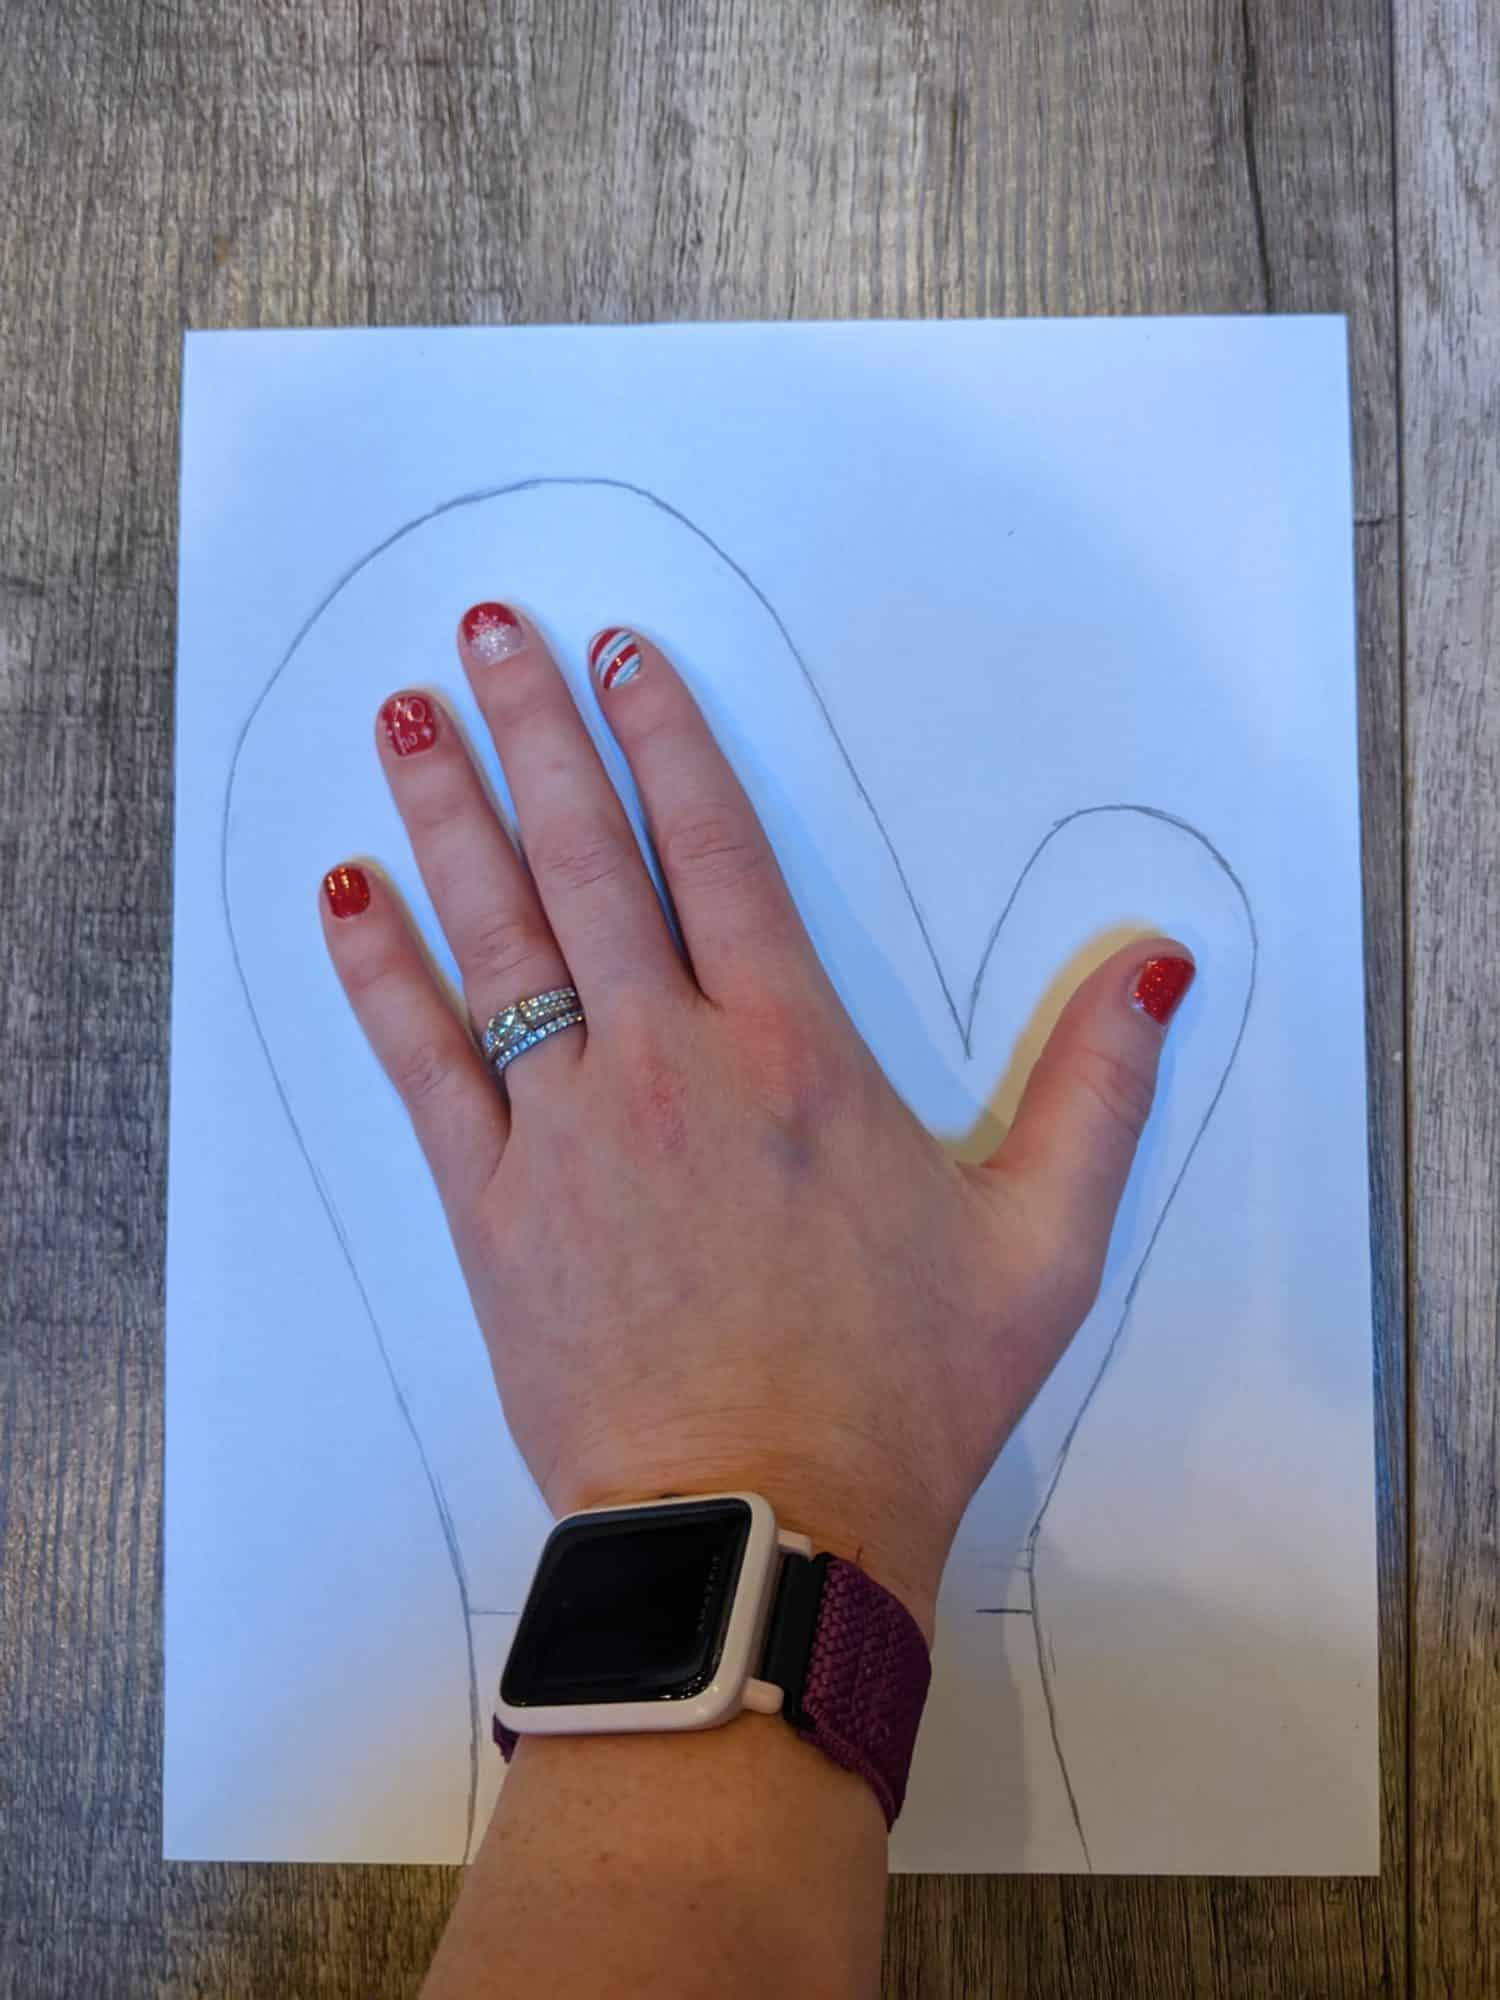
- Trace around the perimeter of your hand in a mitten shape 1” away from your hand.
- Mark the paper just below your wrist bone.

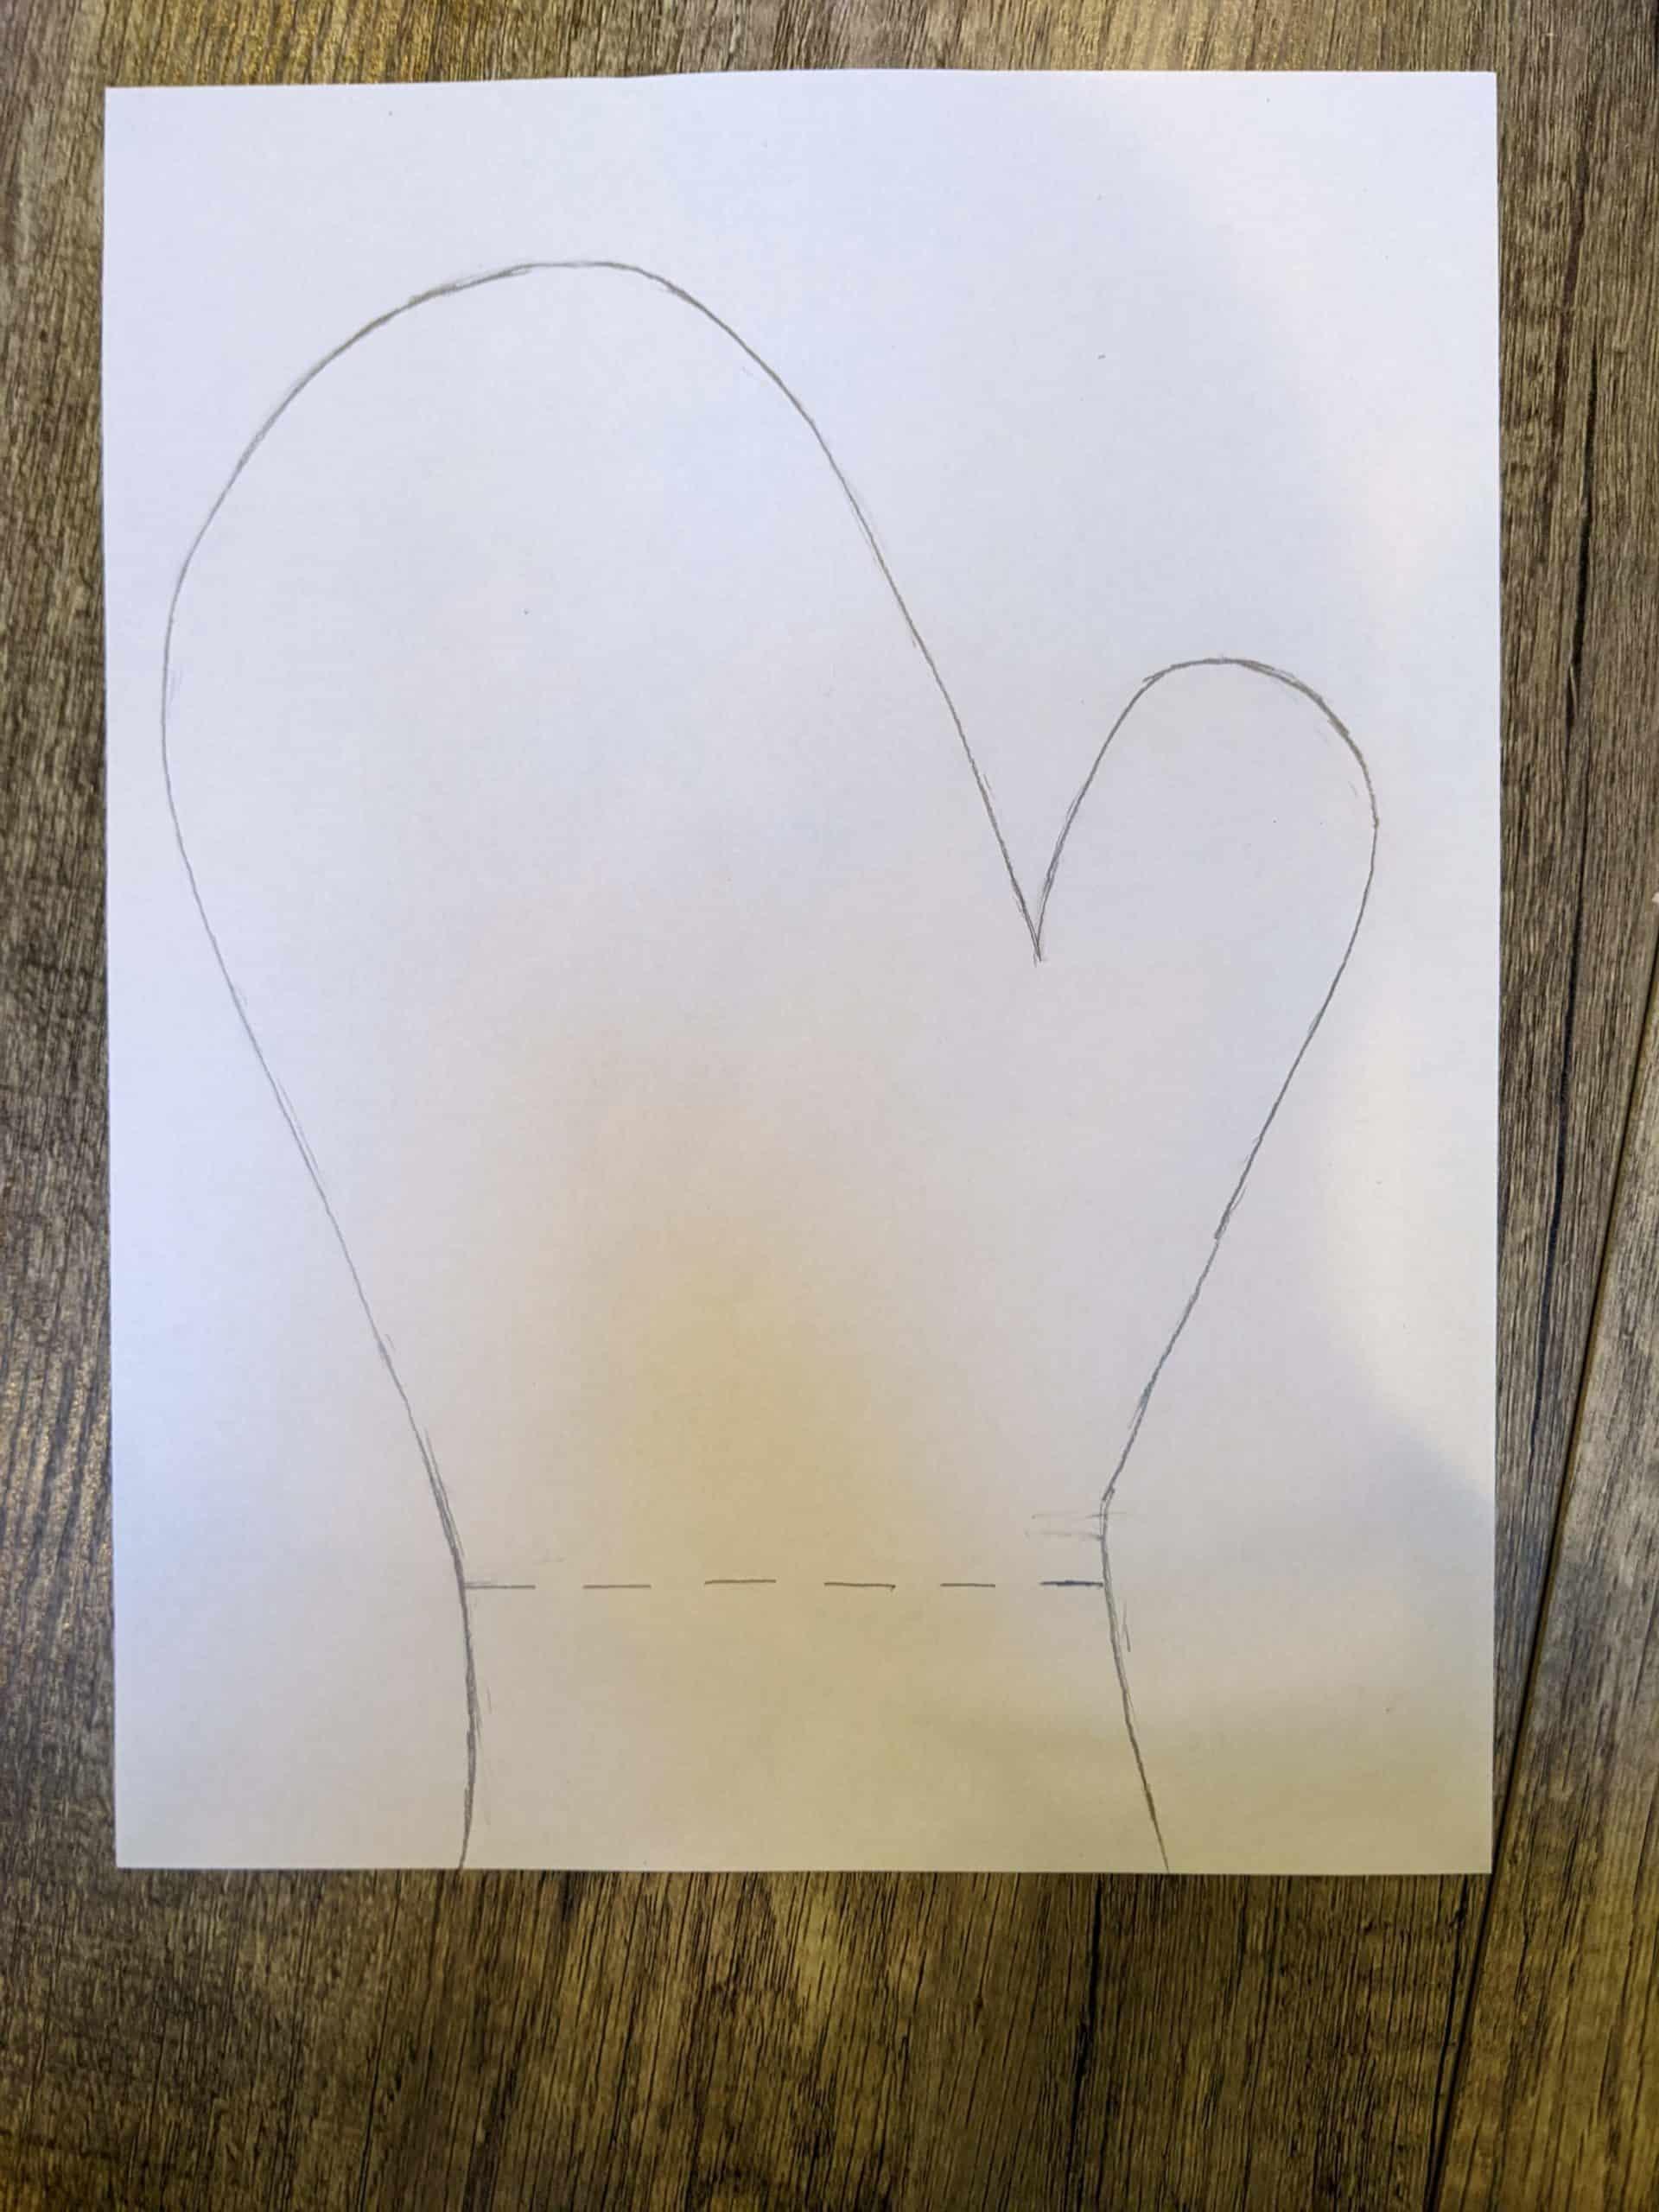
- Pick up your hand and make any adjustments needed to make it a smooth pattern piece.
- On the thumb, add another ¼” and retrace that area.
- Draw a line ½” below your marked wrist point.
- Cut out the pattern piece.

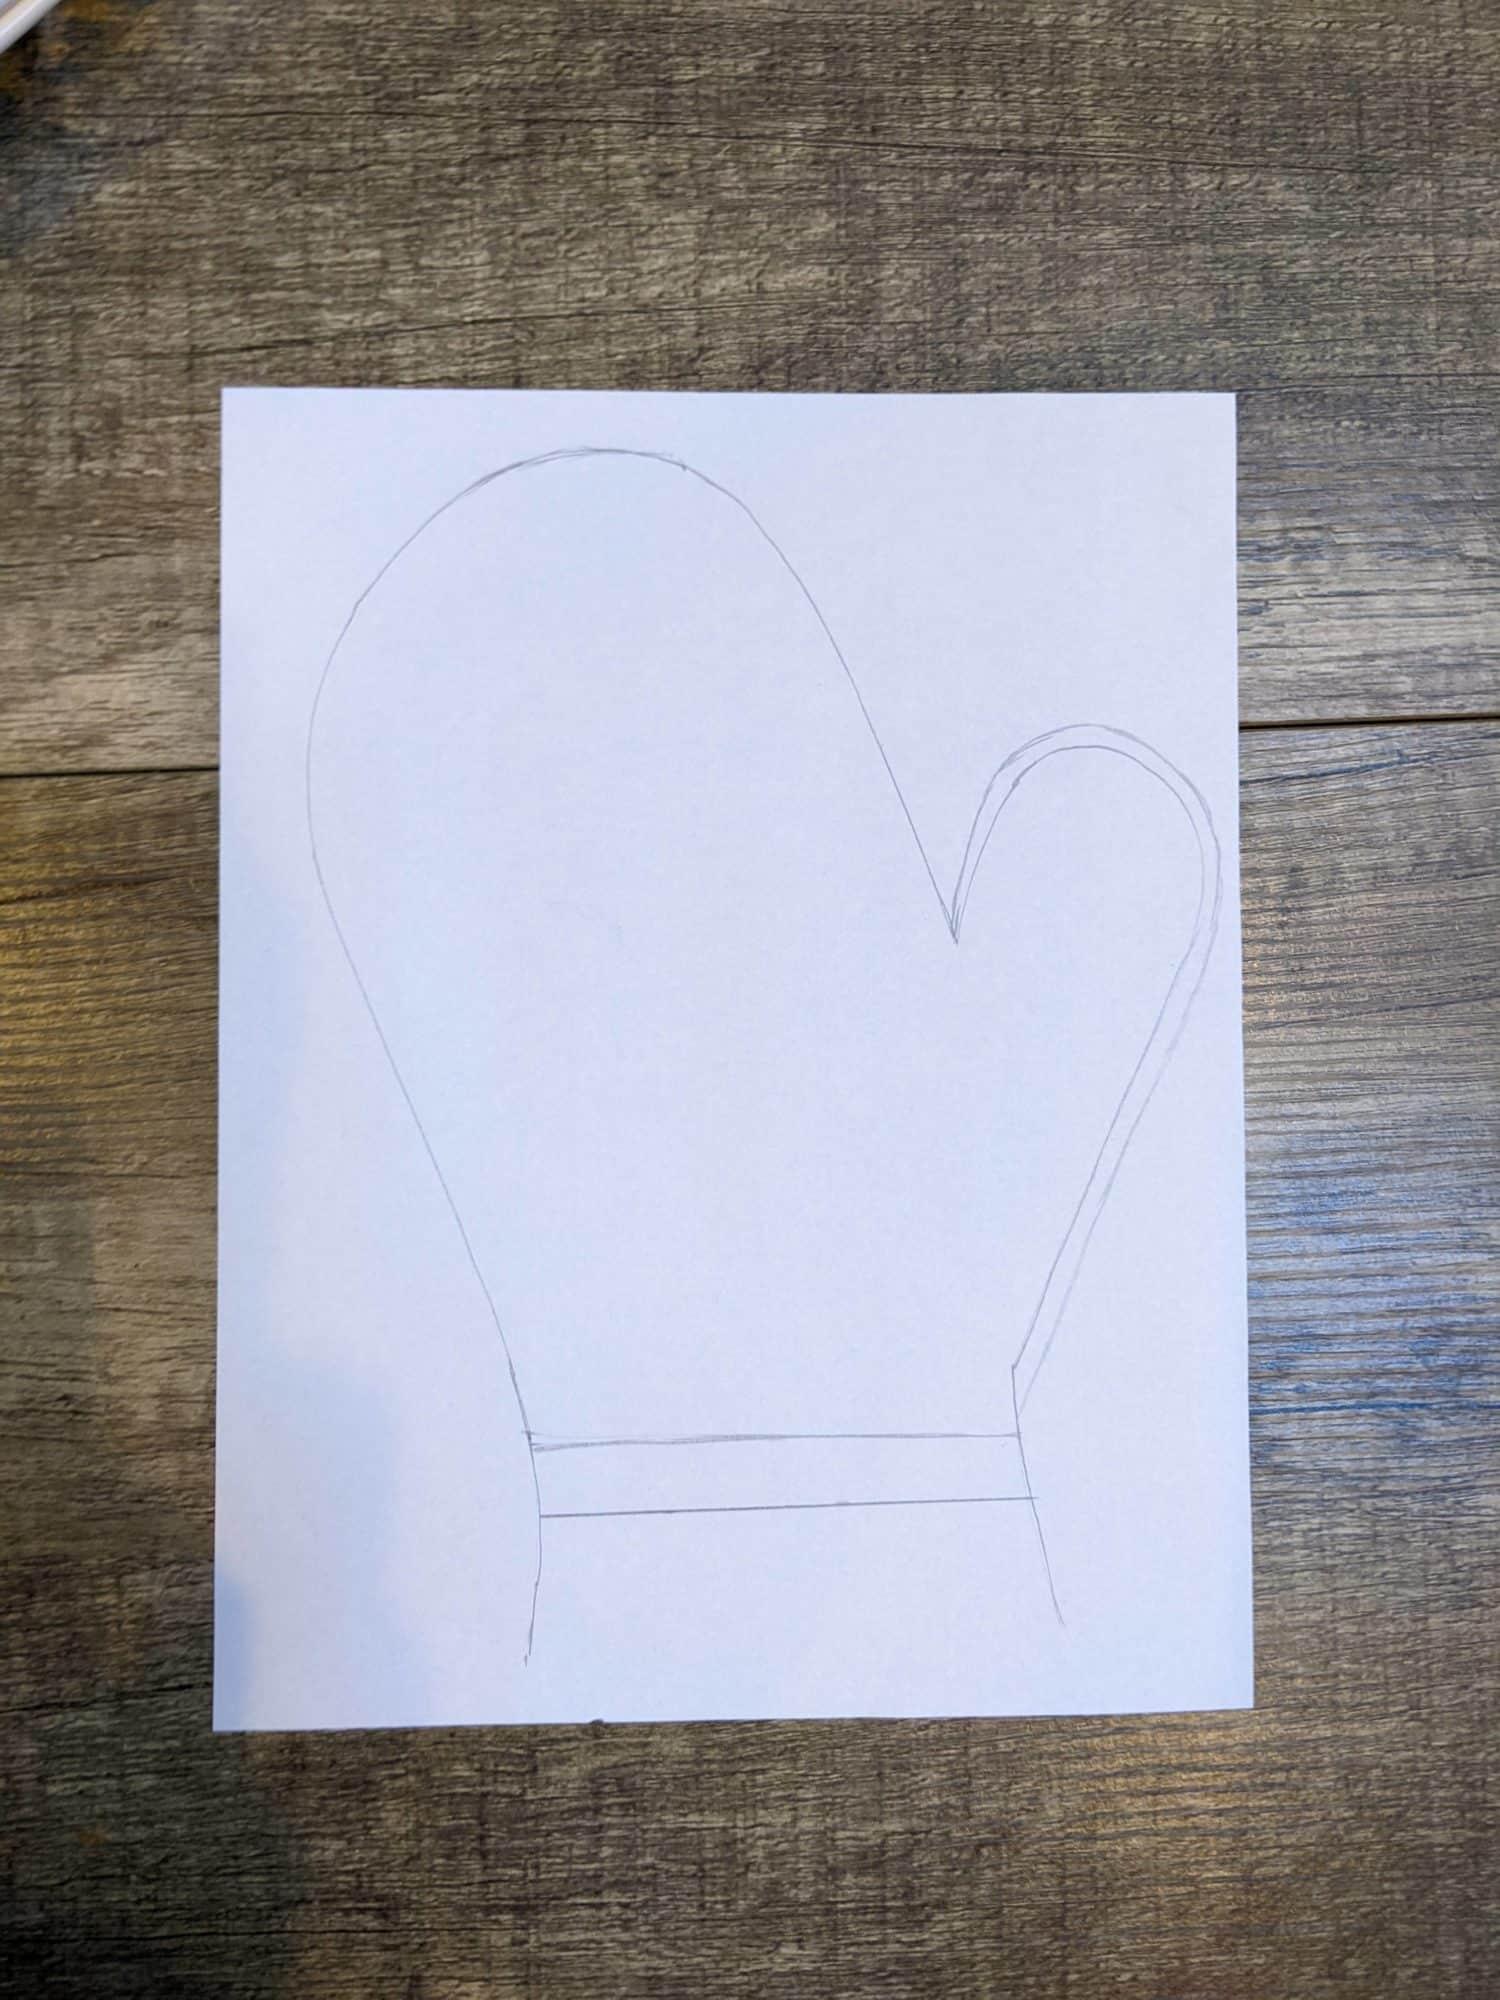
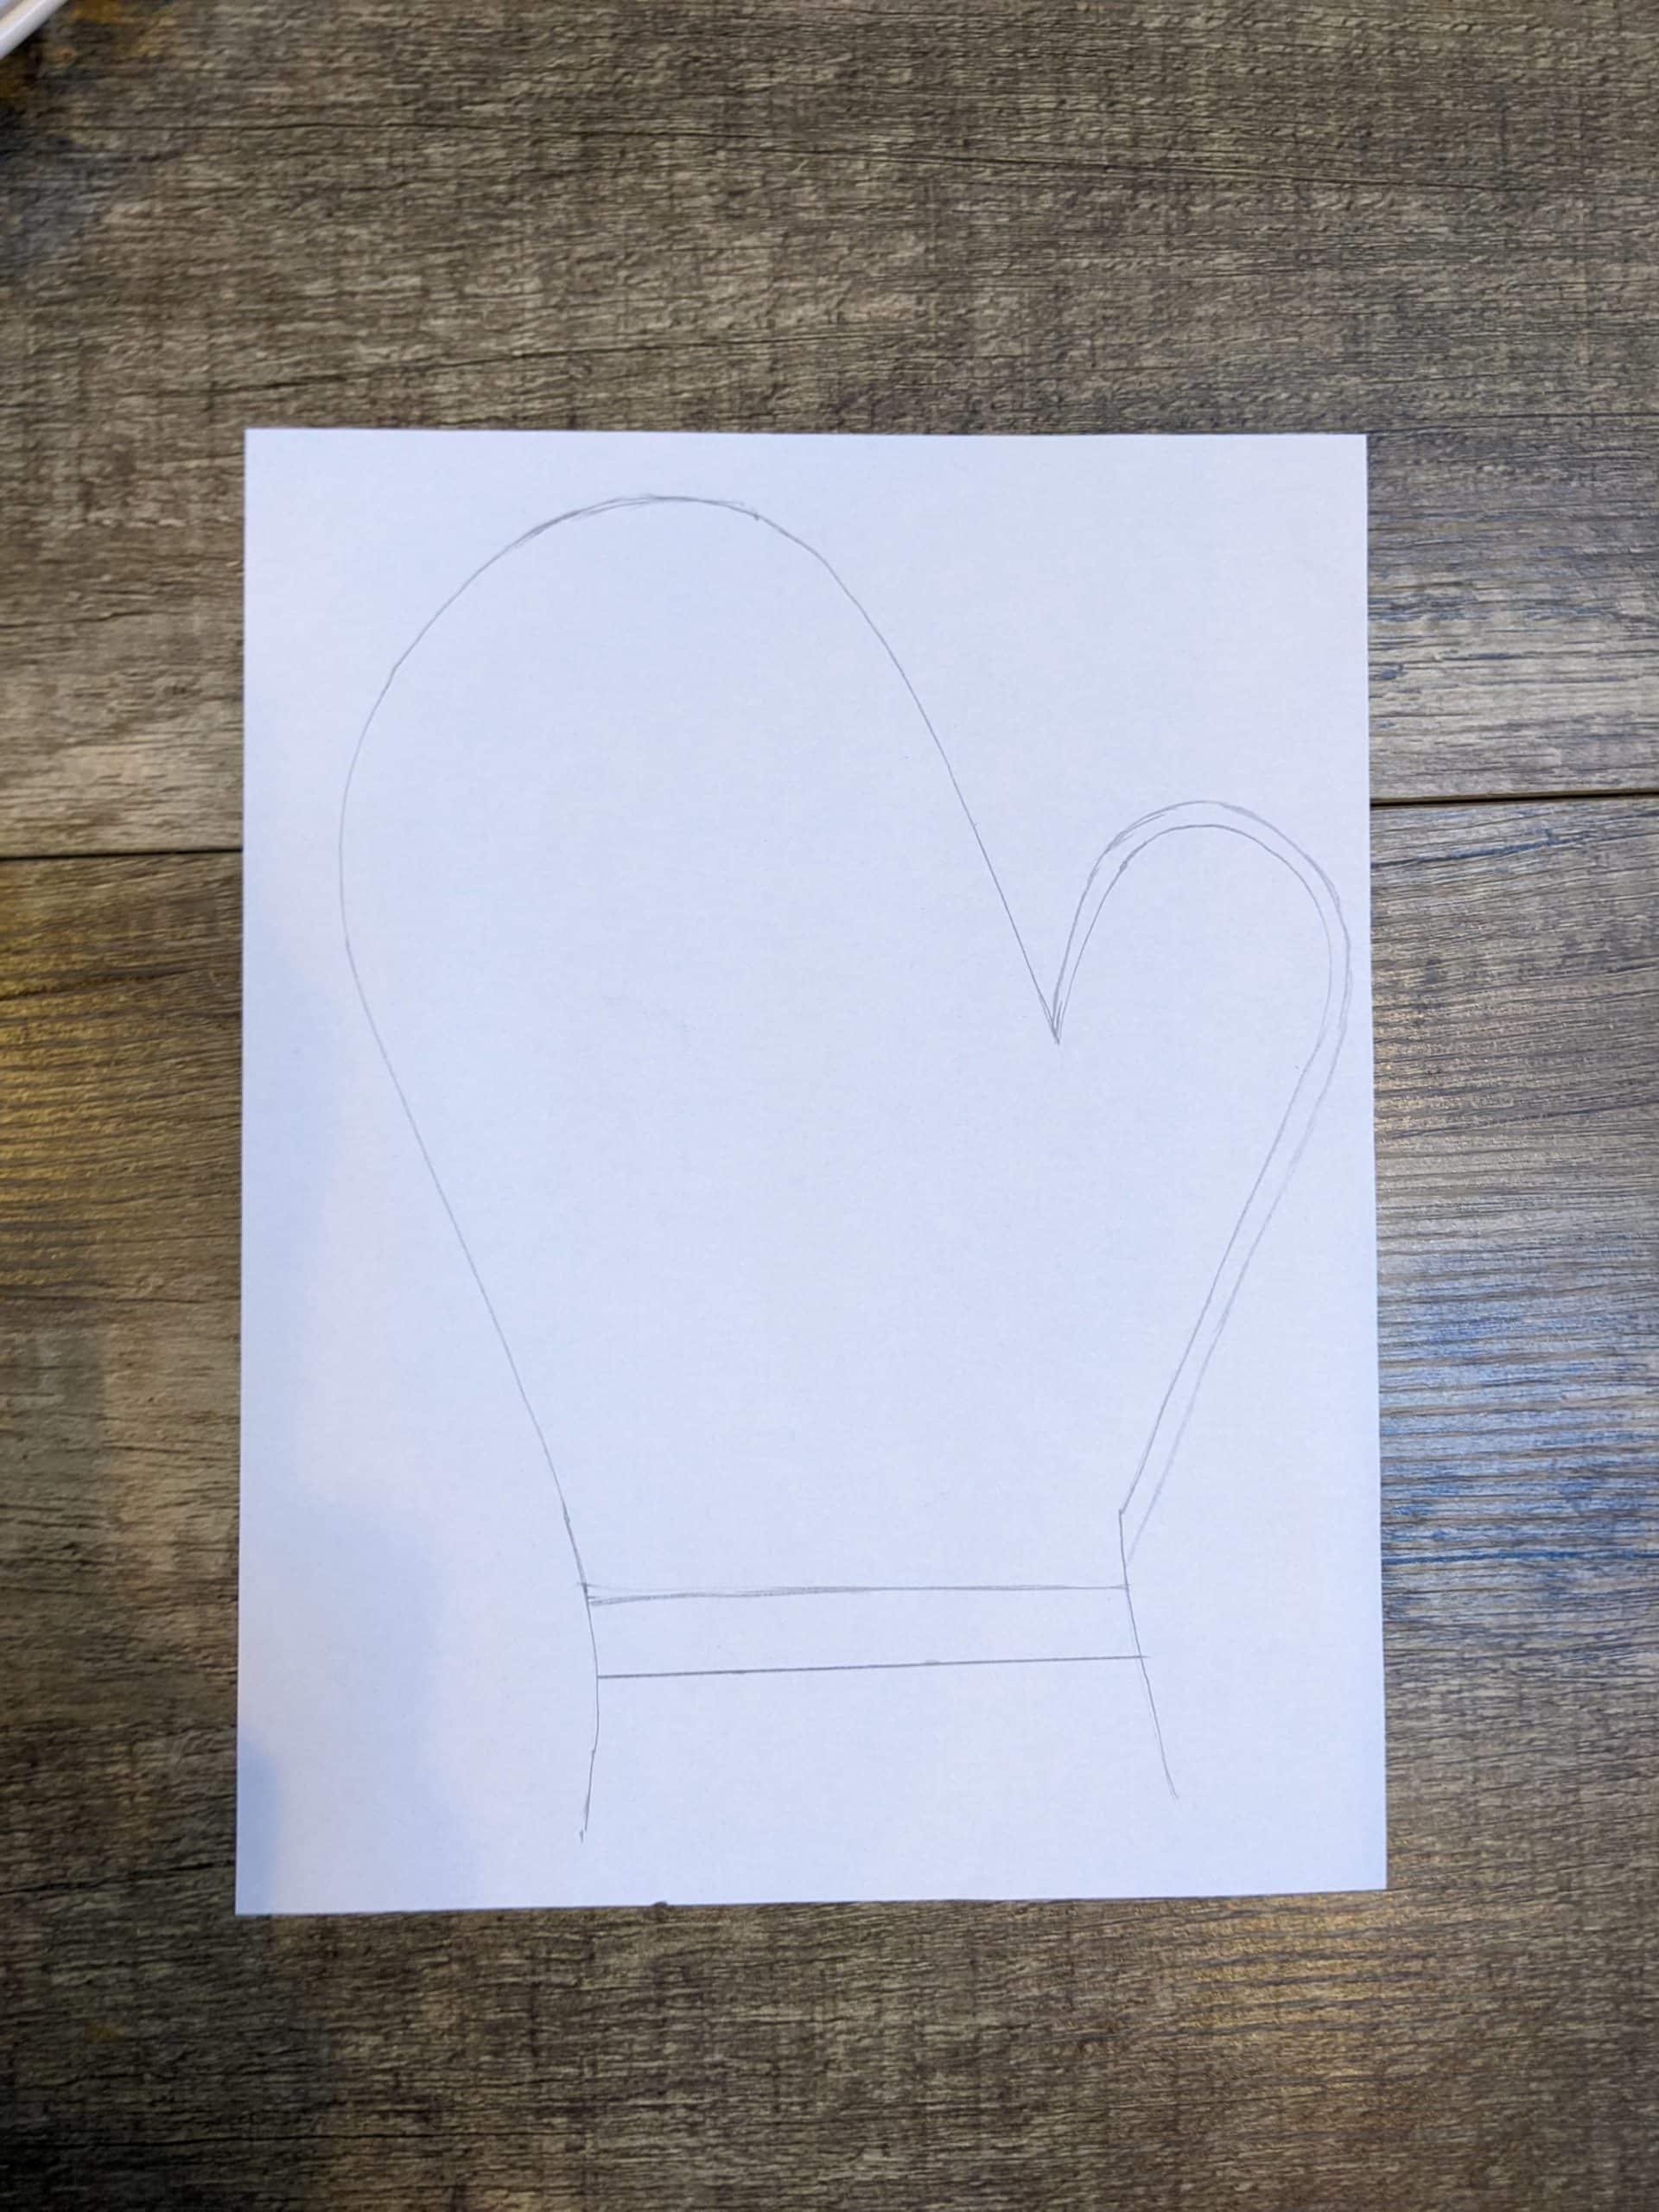
Cuff
- Measure the bottom (wrist edge) of the mitten pieces and add them together.
- Multiply that number by 90% to find the width of the cuff.
- You can decide how tall you’d like the cuff to be. I wanted mine to be 2” when finished, so I made it 2 ⅜” tall to account for the seam allowance.
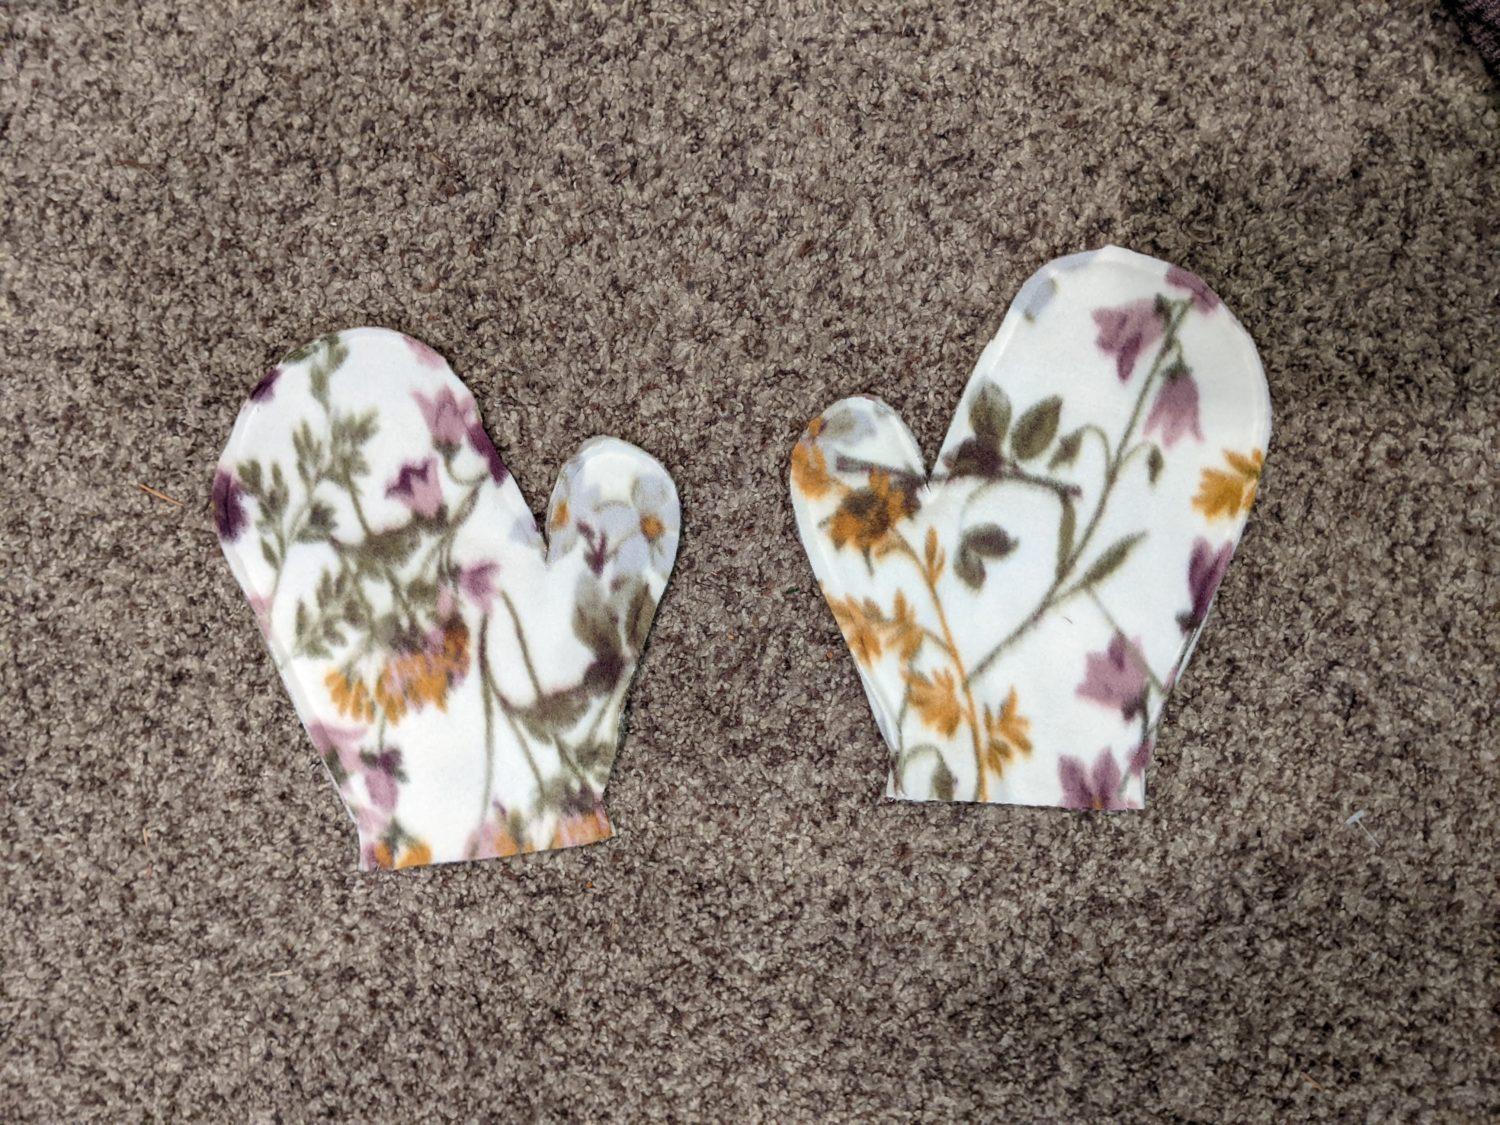
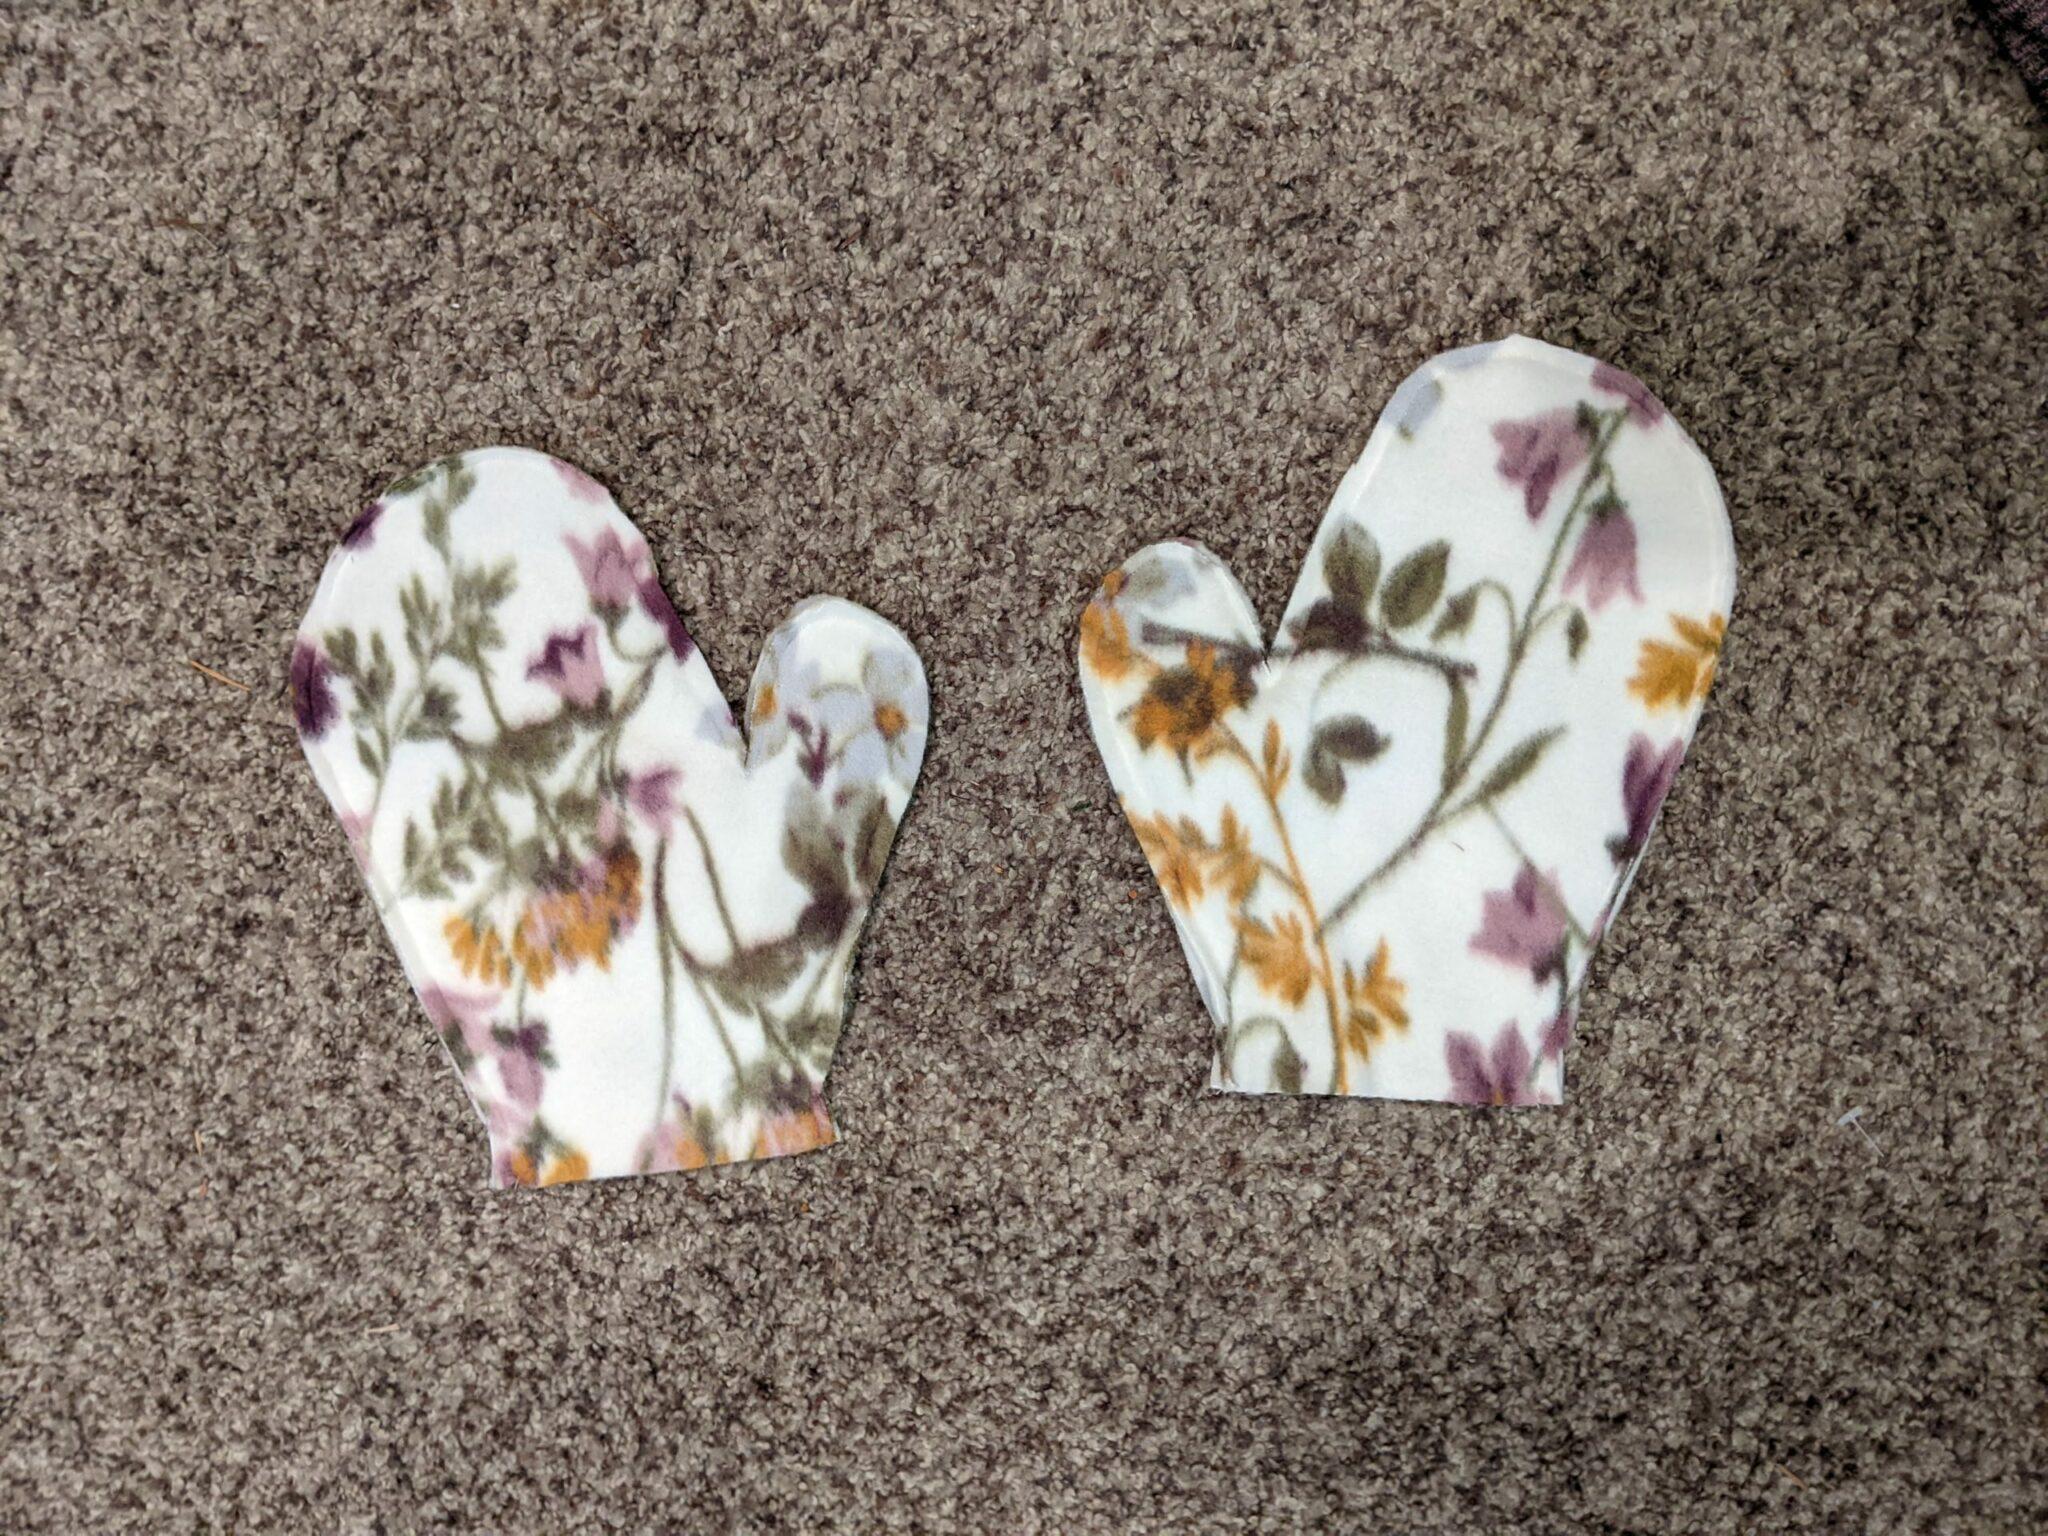
Cutting the Fabric
- Cut 2 mirrored sets of mittens from your fleece
- Cut 2 cuffs from the knit fabric
Sewing
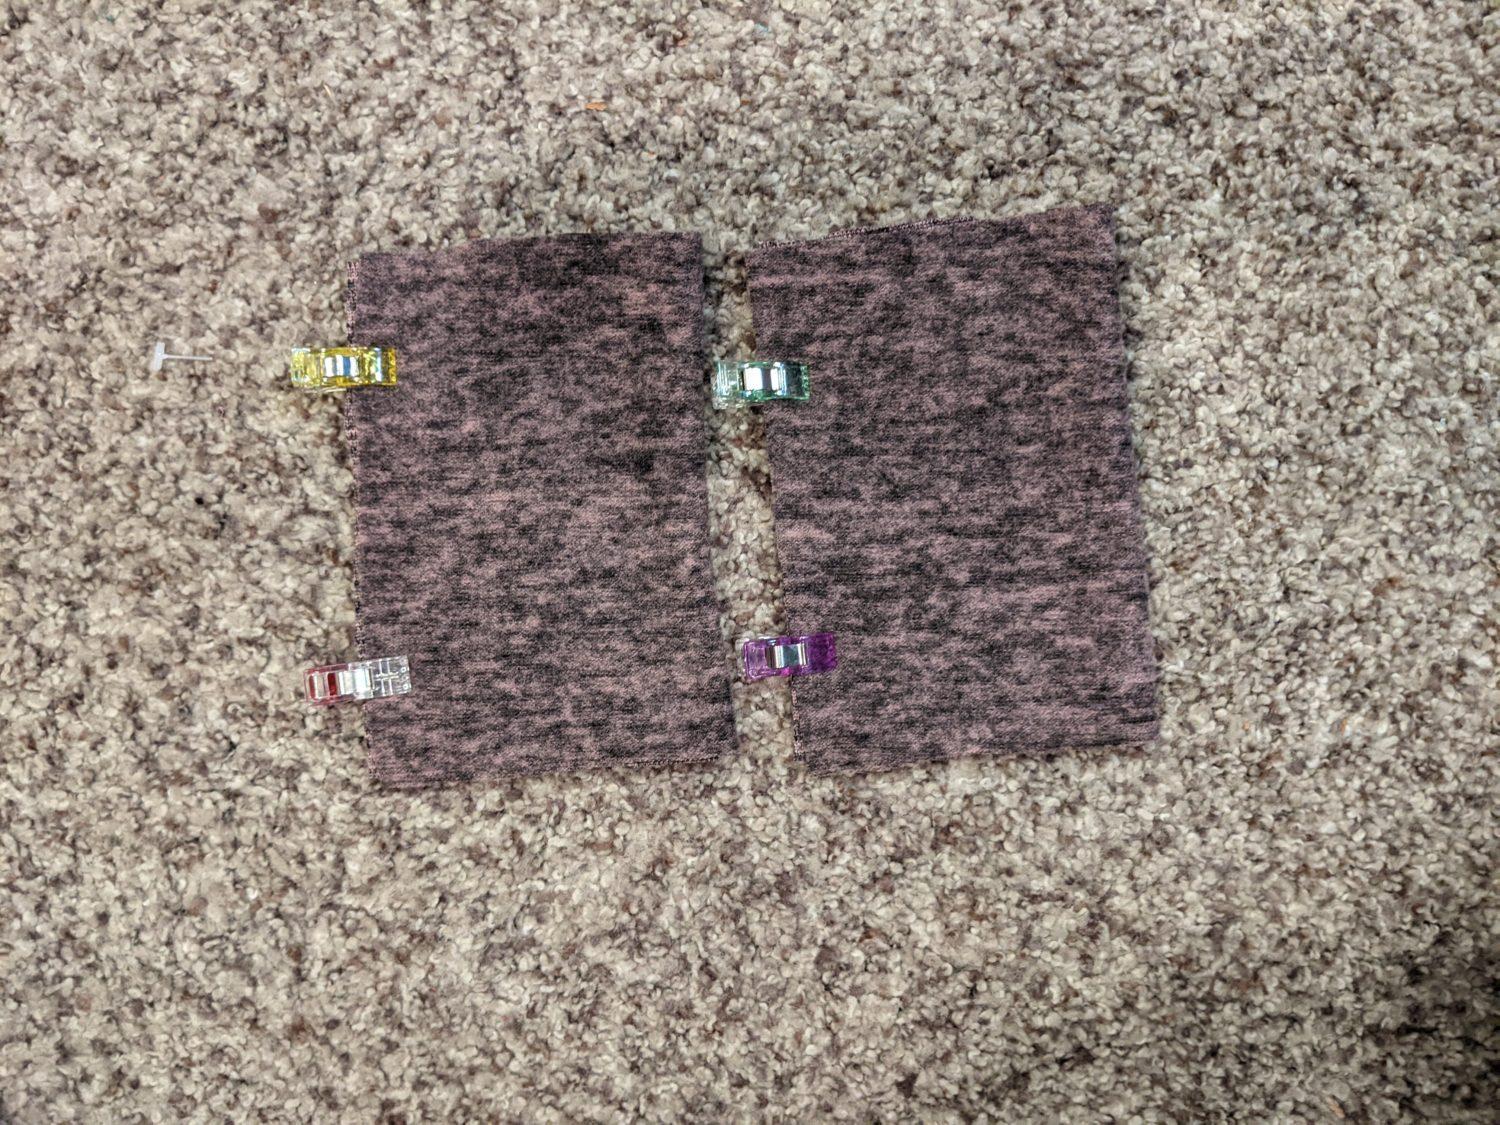
- Place your two mirrored mitten pieces right sides together and pin.
- Sew along the edge with a ¼” seam allowance.
- At the “V” of the thumb, keep the needle down, lift the presser foot, pivot the fabric, replace the presser foot and continue sewing. (Leave the wrist end open)
- Snip the fabric at the “V” without cutting any stitches.
- Fold the cuff in half widthwise right sides together and pin the long edges together.
- Sew the edge with a stretch stitch or serger.

- Turn the mittens right sides out.
- Fold the cuff over with wrong sides together to form the cuff loop.
- Quarter and pin the raw edge of the cuff and the mitten.
- Slide the cuff over the mitten lining up the quarter points and pin.
- Sew the cuff to the mitten with a stretch stitch or serger and a ⅜” seam allowance
- Optional: Sew a bow, buttons, etc. to mark the back of the wrist.
So cute and cozy!
Want more FUN DIY Freebies? Check out the FREEBIE TUTORIALS and the FREEBIE PATTERNS!
You are viewing: How To Make No Sew Fleece Gloves
Read more : How To Make A Glove Tree
As always, we’re here to help if you need it! Join us HERE and on Facebook, Instagram, Twitter, Youtube, and Pinterest. We’re everywhere you are.
Reader Interactions
Source: https://t-tees.com
Category: HOW