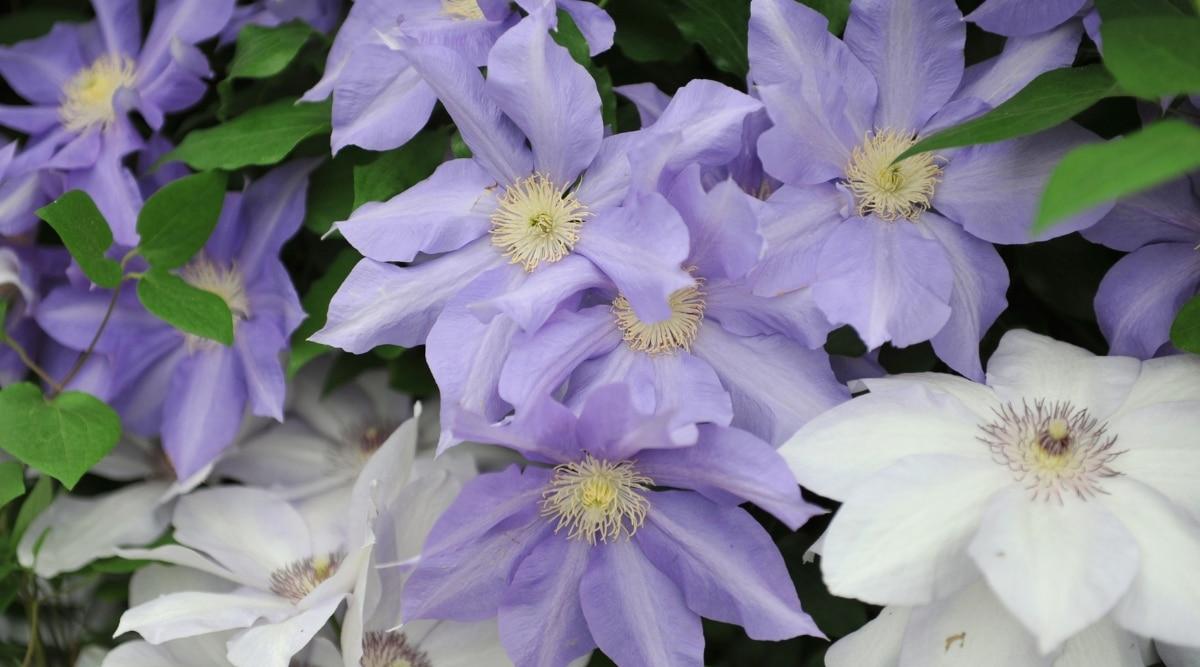
Clematis are a perennial garden favorite. They are a familiar sight growing up a trellis or arbor, or cascading over the edge of a wall or large container. They are reliable bloomers and are probably best known for their prolific displays of beautiful showy flowers.
There are many different types of Clematis. They are mostly perennial vines, although a few varieties have more shrub-like growth characteristics. They are hardy plants that grow in just about any climate zone.
You are viewing: When To Transplant A Clematis
When to Transplant
If you find yourself in need of transplanting a Clematis vine, pay attention to the season and the current growth phase of the plant. You will want to transplant your vine during its dormant phase. Make the move in late fall when plant has died back for the year or early spring before plant has started growing for the season.
If you are in a warmer climate and have an evergreen variety of Clematis, anytime from late fall through early winter is probably the best time to transplant, before the plant has started to develop flowers. Dormant plants tend to withstand transplanting shock much better than plants in the midst of a growth or flowering cycle.
At the time you want to do your transplant, choose a day that is overcast and cool. If possible, choose a day that is overcast with some more cool and rainy days to follow. Do not transplant on a day that is hot, dry, and sunny, as this will overly stress your plant.
This will give you the best chances of success because your plant will receive plenty of moisture and be well protected from stressful environmental conditions for a few days.
How To Transplant Clematis
When transplanting, there are several steps you can follow to ensure you will give yourself the best chance of success. There is no guarantee your plant will acclimate to the transplanting process, as many growth factors can come into play.
But, by following the steps below, you’ll give your plant the best possible chance to reach it’s best potential for growth.
Step 1: Choose Your Location
Read more : When Do Polls Close Ohio
Choose the location where you would like to transplant your Clematis. Make sure the new location can accommodate the size and growth habits of your Clematis plant. Do you need a trellis? Is there room for a trellis?
If you expect your plant to sprawl, do you have room for a sprawling vine? Does the site receive the proper amount of sunlight for your plant? Is the soil in the area rich and well drained?
Step 2: Prepare The Planting Site
Once you have determined that the new location is suitable for a Clematis, you will need to prepare the planting site.
First, dig a hole that’s a bit larger than you think you will need. Make sure the new hole is wide enough and deep enough to accommodate the entire root mass that you will be digging up. Leave a little extra space for fresh soil and in case the roots are larger than you expect.
After you remove the original soil from the hole, if you plan to re-use it, mix it with some fresh rich soil with lots of compost or organic matter. You can use this enriched soil to help fill the hole again after transplanting.
Step 3: Prune The Plant
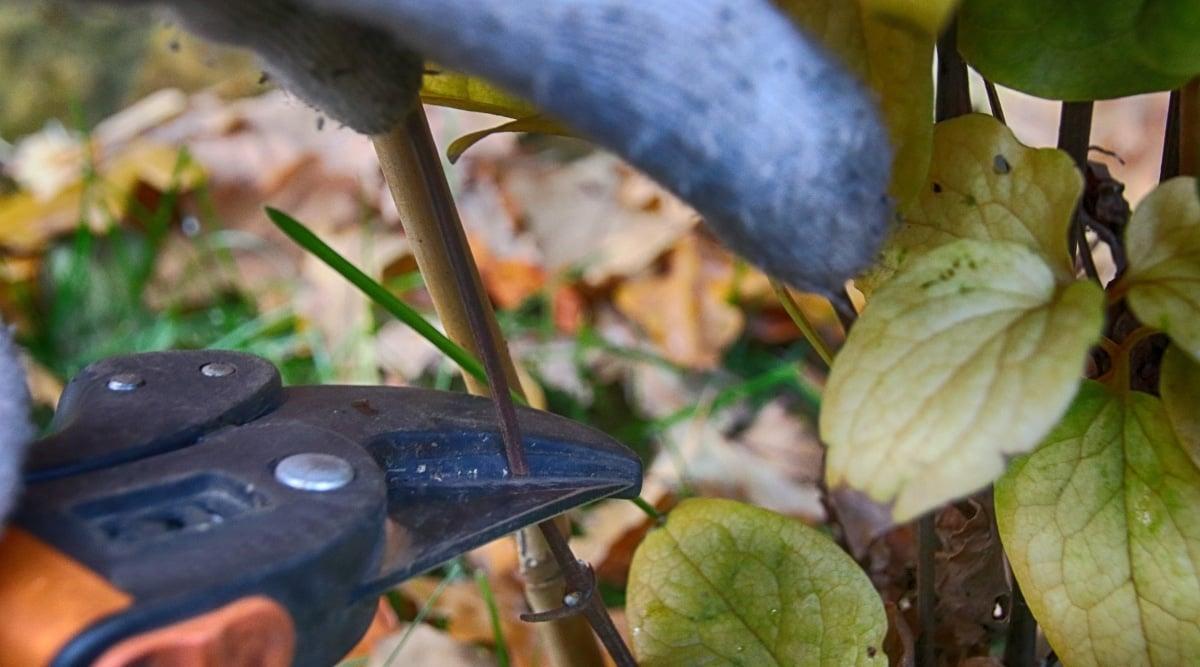
Before you remove the Clematis from its existing location, prune it. You can prune it back to between 12 and 24 inches, or a bit longer for a larger plant. If your plant is growing on a trellis or other support, pruning will make your plant much easier to disentangle.
Pruning will also make your plant easier to handle as you move it. Finally, pruning before transplanting will help the plant focus its growing energy on getting established rather than maintaining an abundance of pre-existing biomass.
Step 4: Use a Water Bucket
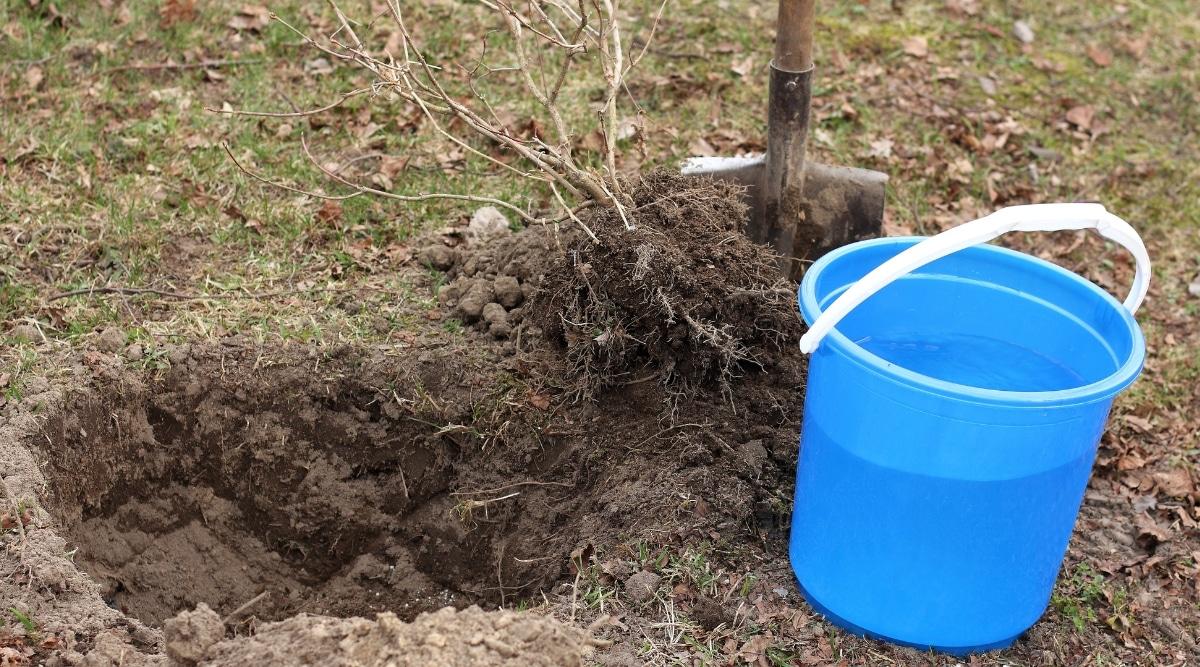
Before you start digging, fill a bucket or shallow bin with water. Immediate after digging out your plant, put it into the water. The roots will not like to be dry and exposed, so dipping them in water while you work can help minimize shock and stress.
Step 5: Transplanting
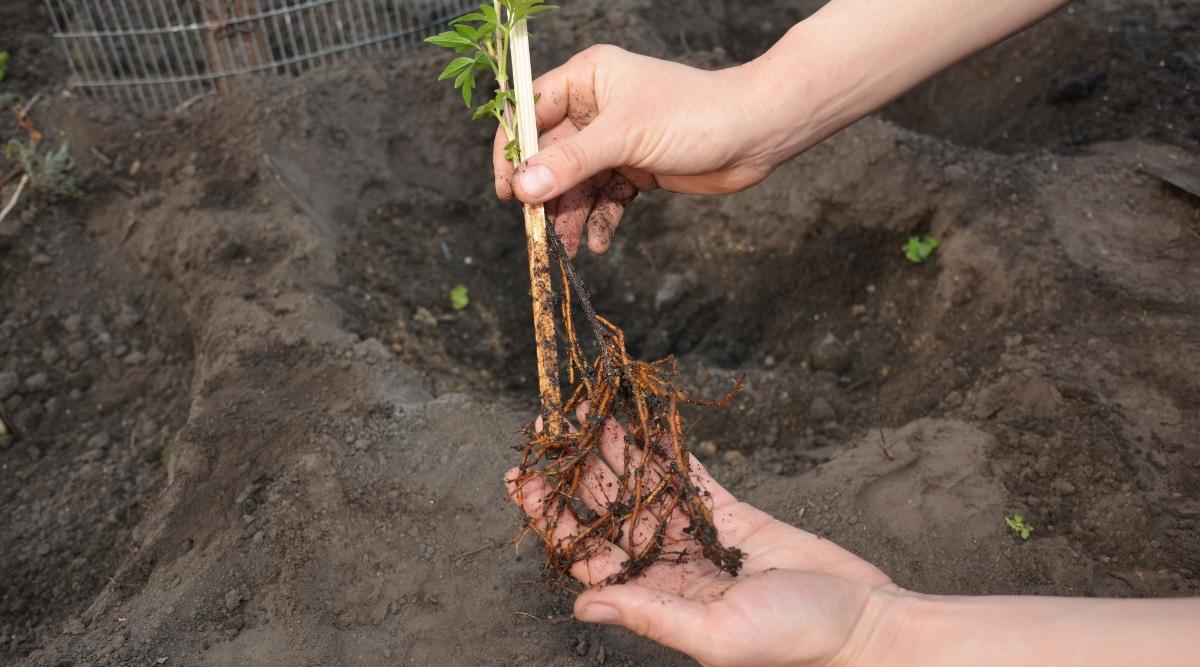
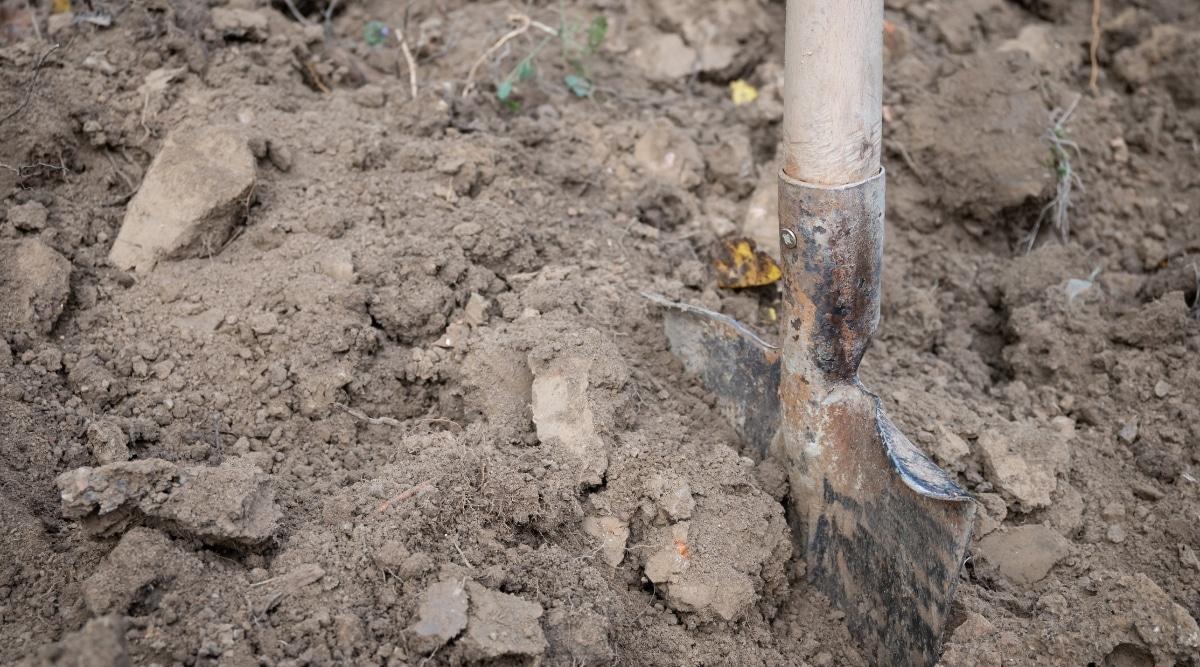
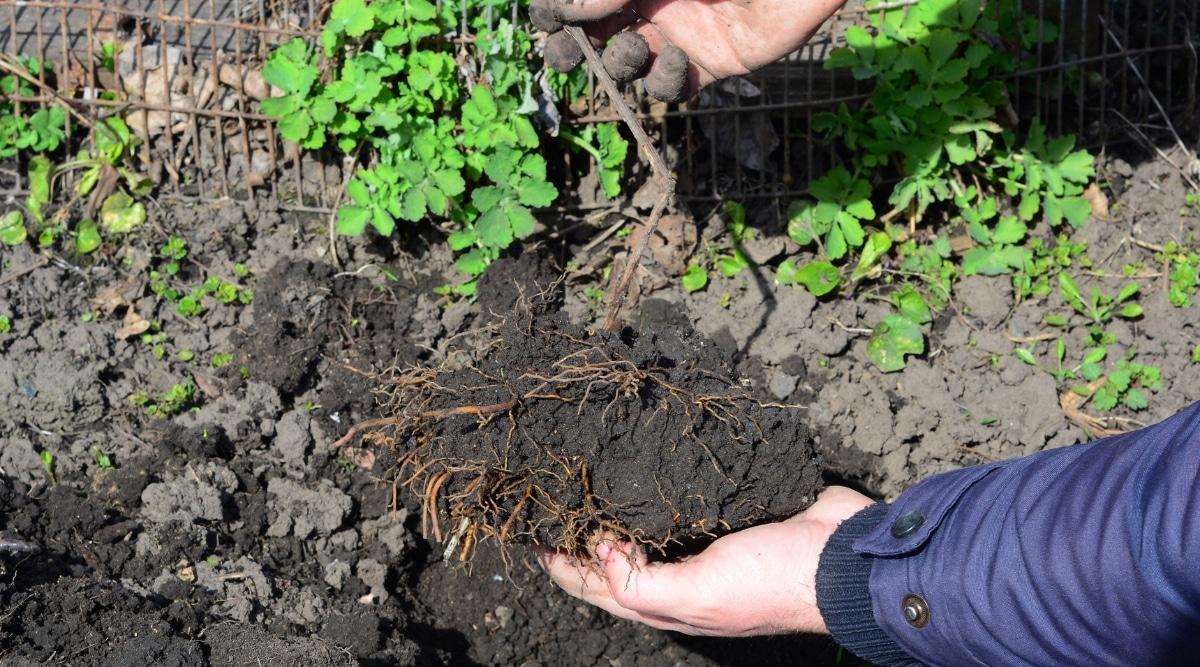
Be very careful when digging out the roots. Using a shovel or spade, dig a generous amount around your Clematis so you can safety remove as much root mass as you can, being careful not to break apart the largest main roots.
Read more : How To Tell When Apple Pie Is Done
Clematis can have rather deep roots, so be sure to work carefully and get as much of the root mass as you can.
As soon as you remove the plant, put it into the bucket of water. Then, transport it to the new hole. Carefully set the plant into the new hole so the roots are all below surface level and the crown of the plant is slightly below or level with the surface.
Be sure that all the roots fit into the hole. Make your hole larger if necessary to accommodate all the roots.
Step 6: Cover the Plant Base
Using the soil mix you removed and amended, replace the soil over the roots and around the newly set plant. Then give a hearty drink of water (you can re-use any remaining water in the bucket for this purpose). Mulch well around the plant with wood chips, bark chips, or organic compost.
If you have a climbing variety of Clematis, be sure to give your plant something to climb on. Remember that some Clematis grow quite large, so be sure your support is large enough to accommodate the variety of plant that you have.
Post-Transplant Care
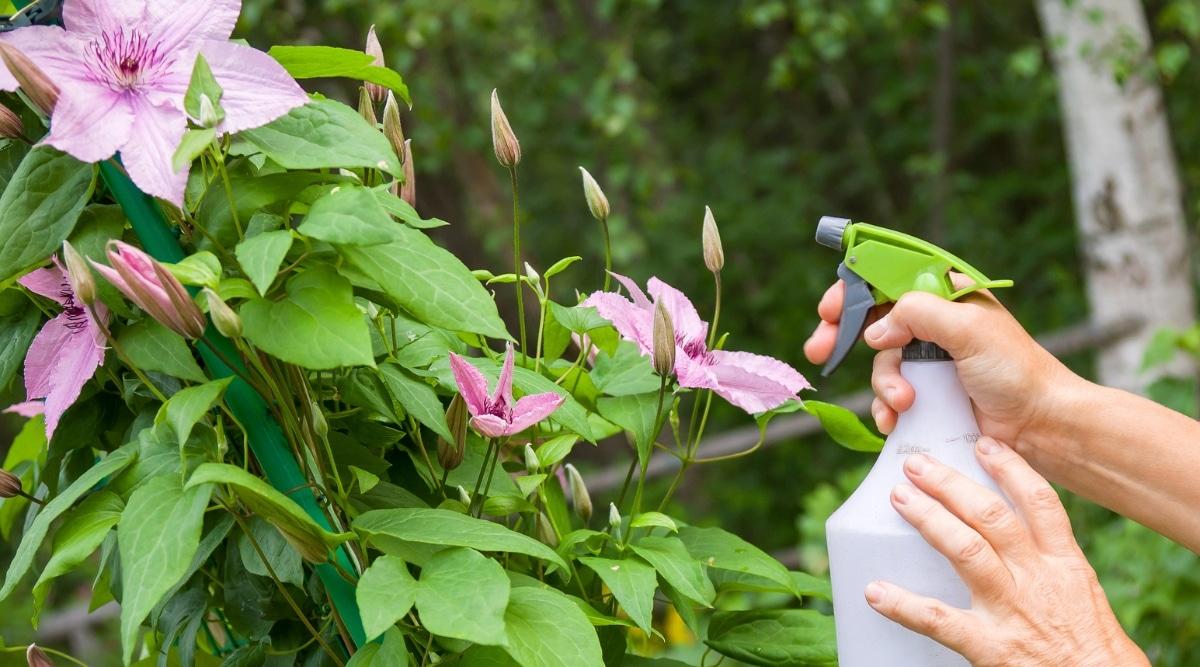
After transplanting, check on your plant daily for a few weeks. You will want to know if it needs any extra help and take care of it promptly if necessary. It will be very important to keep your plant moist for the first few weeks after transplanting. You don’t want the soil to be wet, but it should stay consistently moist. Also, make sure the roots don’t dry out.
Clematis may take a while to completely recover from a transplant and resume their normal growth rate. Don’t expect to see rapid growth during the year after transplanting.
Within 2 to 3 years after transplanting, your plant should resume its normal growth habits. This also means that you may not see flowers for a year or two after transplanting.
Given time, patience, and a little extra care, your plant should be ready to bloom again within a few years. The year after transplanting, you can resume normal fertilizer applications and any regular pruning schedule, as needed. If you were able to transplant without too much root disturbance, you should have good luck with your plant getting re-settled in its new home.
Frequently Asked Questions
Source: https://t-tees.com
Category: WHEN