
Looking at things that way, it’s pretty easy to do the math and realize that saving seeds is worth the bit of extra effort this gardening project requires.
In order to get the highest quality harvest from your future garden, you’ll need to follow several important steps now with your existing crop.
You are viewing: Where Are The Seeds In Carrots
Since these root vegetables are biennials, saving their seeds is a two-year process. And in order to successfully grow carrots that are true to type, you’ll need to get started in year one.
Before we begin, here’s an overview of what I’ll cover:
Start with Open-Pollination
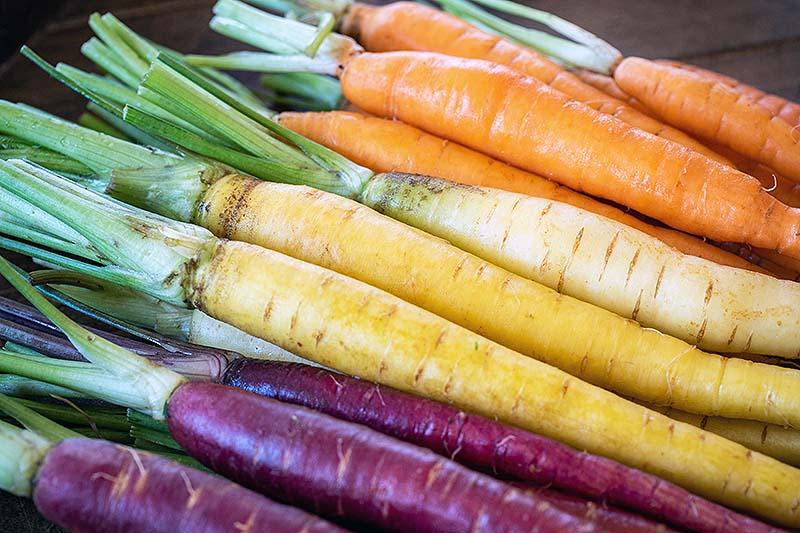
For most backyard gardeners, the easiest way to ensure that you get a seed crop which grows true to type is to plant a single variety – for reasons we’ll get to in the next section.
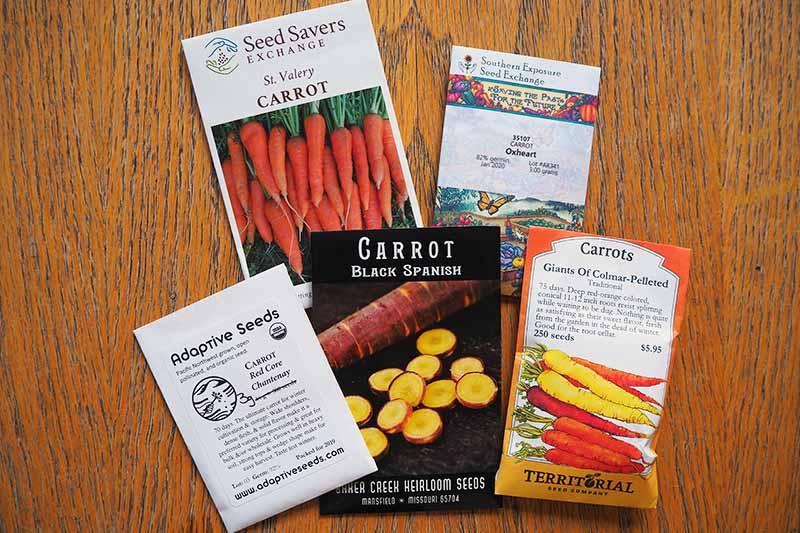
But don’t pick just any cultivar. Make sure you choose one that is open-pollinated rather than a hybrid.
Why?
Hybrid cultivars are the result of cross-pollination between two distinct parent plants.
When plant breeders create a hybrid vegetable, each parent plant is chosen for various desirable properties – for example, long orange roots from one parent, and super sweet flavor from the other.
The first generation produced from the F1 hybrid will have these selected properties – but if you let those carrots mature, the seeds they produce are not guaranteed to produce true to type, or replicate and maintain the characteristics of the parent plant.
Seeds from hybrids may produce plants with desirable traits – or they may have undesirable ones. With hybrids, the seed may also fail to be viable at all.
So choose an open-pollinated variety to start with, to make sure you know exactly what to expect when you plant your saved seeds.
If you need some ideas, you’ll find a selection of open-pollinated cultivars in our article on the 13 best varieties of these root vegetables.
Isolate Your Variety
Saving seeds is about growing food, of course, but it’s also about preserving the genes from the specific varieties that you like – so that you can ensure more predictable results.
In the interest of producing plants with the characteristics you are expecting, you will want to isolate your selected plants from other varieties.
Here’s why:
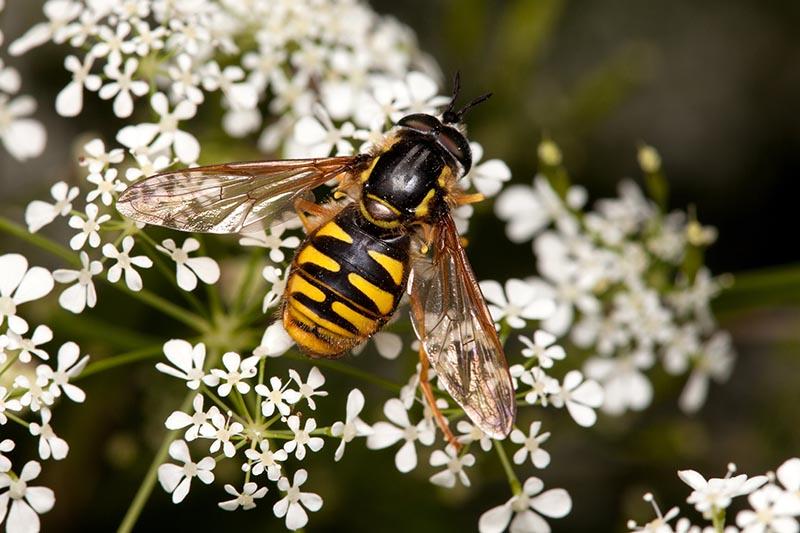
These plants are pollinated when pollen from other cultivars is floating in the air, or – the most likely scenario – via insects that stop at flower after flower, feeding on the nectar and moving pollen around.
If there are other carrot varieties growing within a certain radius, the pollen from these could potentially fertilize your flowers, resulting in unexpected and possibly unwanted characteristics when those seeds are planted.
For the home gardener, the easiest way to isolate your carrots and keep your next generation predictable is with distance.
Professional growers sometimes use seed isolation cages, but the use of these means the grower has to then hand pollinate flowers or do a controlled introduction of pollinating insects – neither of which is a simple process.
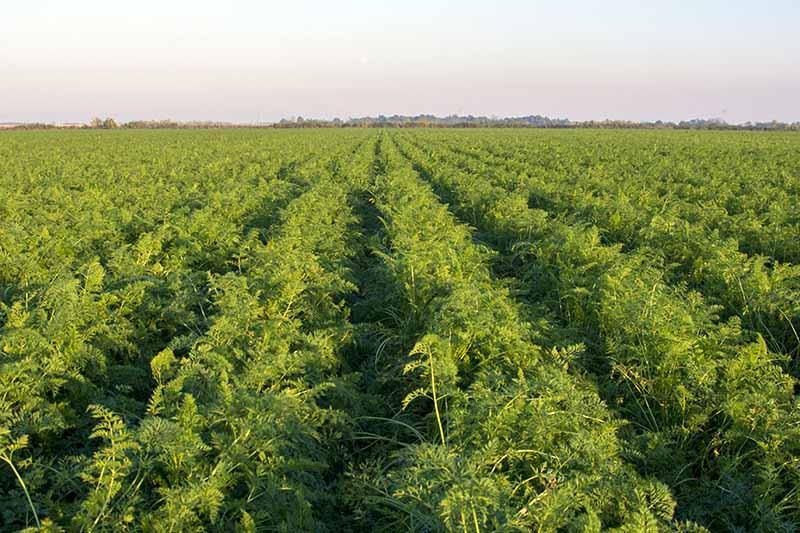
Many commercial growers rely on isolation through distancing, by creating zones dedicated to growing certain cultivars over a large area of land, rather than using isolation cages.
So when using distance to isolate, just how far away from other varieties do you need to keep your crop?
J.E. Ells and D. Whiting at the Colorado State University Extension recommend isolating carrots at a radius of 1/4 of a mile.
However, the radius required to successfully isolate carrots will vary depending on obstacles such as buildings and vegetation, as well as your local climate – how humid your weather is, and how windy.
In humid locations like Virginia, a one mile radius is recommended, while in more arid regions like parts of the southwest, where hot dry winds can damage airborne pollen and discourage insect mobility, 1/4 of a mile may be overkill.
Because of these variables, I recommend that you start with a 1/4 mile radius, and try a small batch in your location to see if your saved seeds are producing true.
You may need to coordinate with your closest neighboring gardeners on this project.
They may be more than willing to help you out for a year and grow the same cultivar as you – especially if you offer to share your seeds.
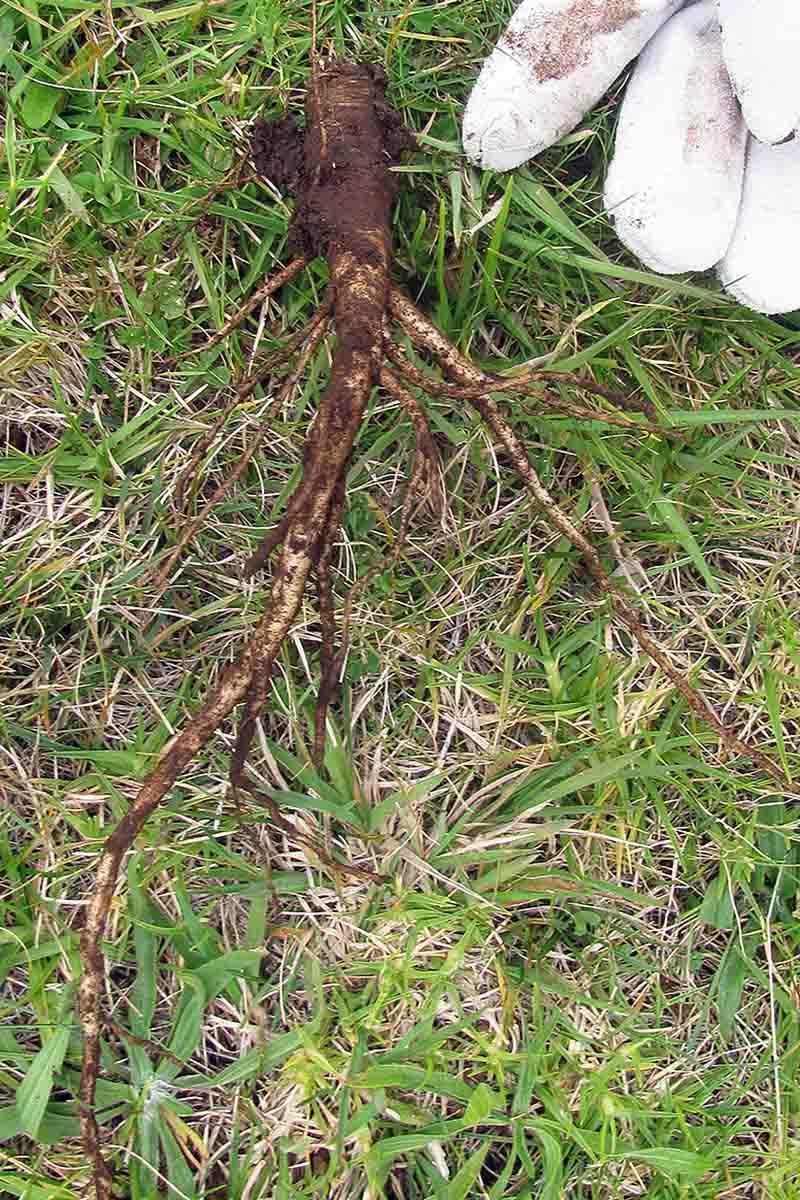
You’ll also need to make sure your plants are isolated from Queen Anne’s lace or “wild carrot” (Daucus carota), which is the same species as the domestic carrot and can easily cross-pollinate it.
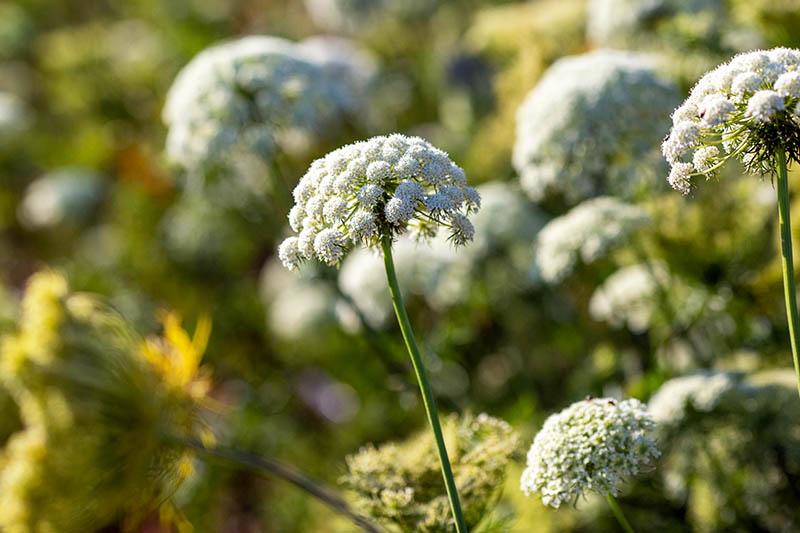
Just as with other carrot cultivars, the presence of Queen Anne’s lace can introduce some unwanted genetics into your seed crop – resulting in unreliable flavors and colors in your future harvests.
Queen Anne’s Lace is considered an invasive weed and can grow in disturbed areas, pasture, and hay fields.
When on the lookout for this weed, it can be hard to differentiate from carrot foliage.
Read more : Where I Was Before I Was Born
But underground the difference is obvious – Queen Anne’s lace has a long slim taproot and fibrous, woody secondary roots.
If you have Queen Anne’s lace on your property, according to J. Colquhoun and co-authors at Oregon State University, the best means of control is mechanical – either by plowing it under the soil and replacing with a different crop, or mowing it down.
If this isolation business sounds like a giant headache, the good news is, your carrots only need to be isolated from other cultivars and their wild relative, Queen Anne’s lace, when your crop is flowering – in its second year of growth.
So you can grow multiple varieties in the first year, harvest the ones you intend to eat, and leave a selection of your chosen cultivar in the ground to produce seed in year two.
And by the way, you’ll want to plan on saving at least 5 plants to harvest seed from, for reasons I’ll explain in the harvesting section below.
Mark Your Planting
Whether you grow more than one variety in the first year or not, you’ll want to make sure you mark your crop in some way.
This will provide a visual reminder that at least some of these plants should be left in the ground and not harvested as this year’s food.
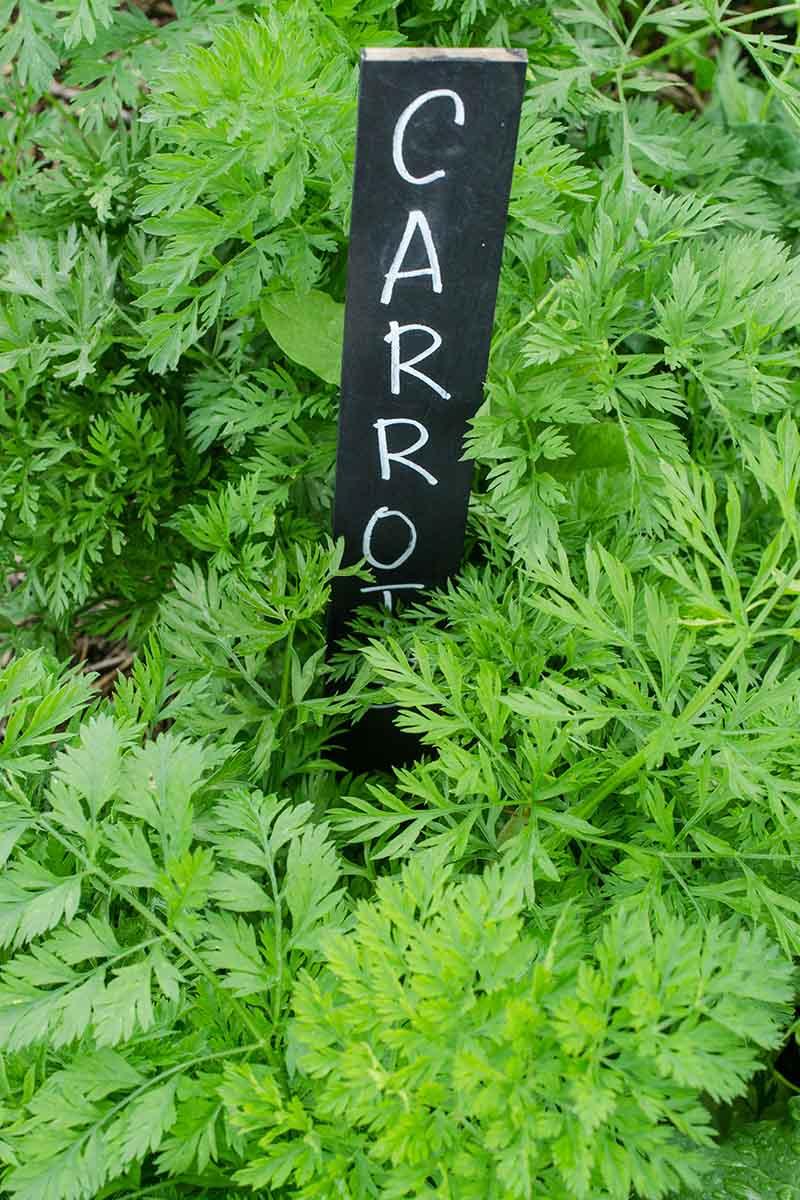
I recommend doing this in year one, at the time when you first plant your root veggies.
And, by the way, If you need a primer on proper practices, check out our guide to growing carrots in your garden.
There are many ways you can mark your plantings, such as making a detailed map of your garden in your garden journal, or by using physical plant markers.
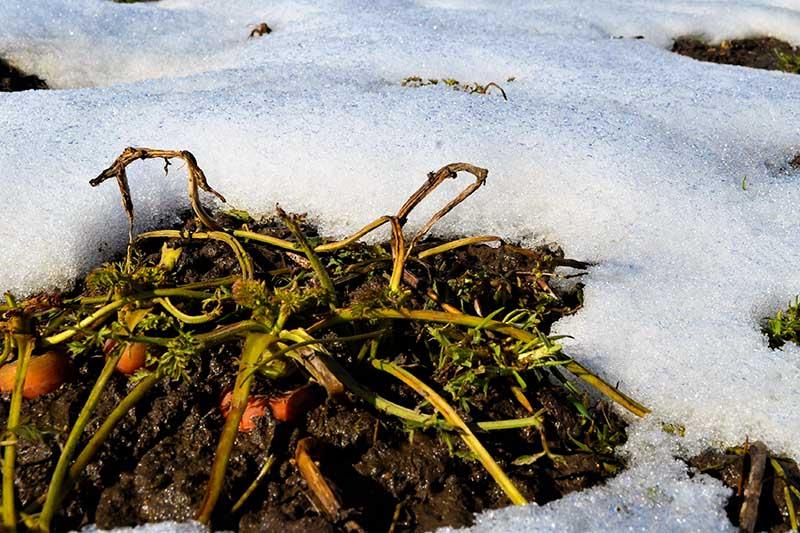
What happens in between these two growing seasons to tell the plant to go ahead and get busy reproducing?
Cold, that’s what. This cold period is also known as vernalization.
Vernalization triggers flowering in biennial plants. Your biennial crop needs to experience cold temperatures in order to mature and begin its reproductive cycle.
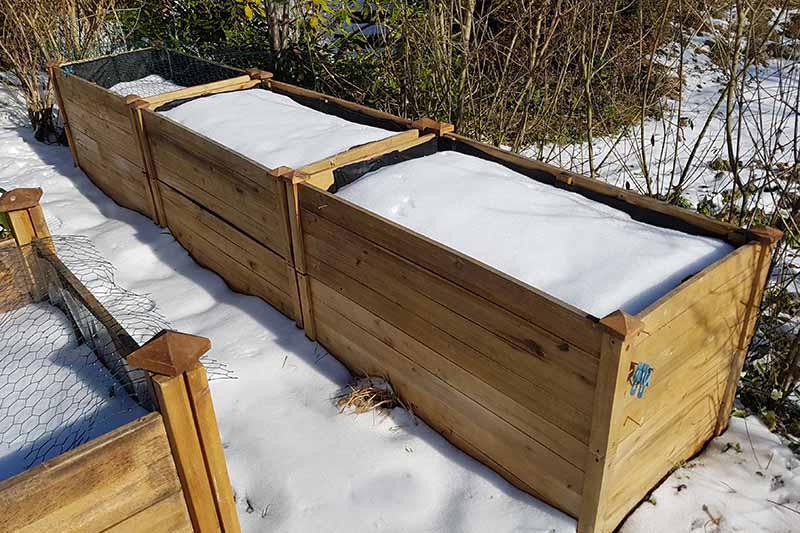
You can overwinter your crop in your garden if your area experiences at least 10-12 weeks of temperatures that are consistently below 59°F.
If your ground freezes solid in winter, like mine does, you can still leave your carrots in the garden during this time, as long as they are well mulched.
I’m able to successfully overwinter this root crop in Zone 5a where the lows can get down to -20°F.
You can learn more about this technique in our article on overwintering carrots.
If your location is either too warm or too cold for overwintering in the garden, your roots can be harvested before the first hard frost and vernalized in storage – such as in a fridge, root cellar, or cool basement.
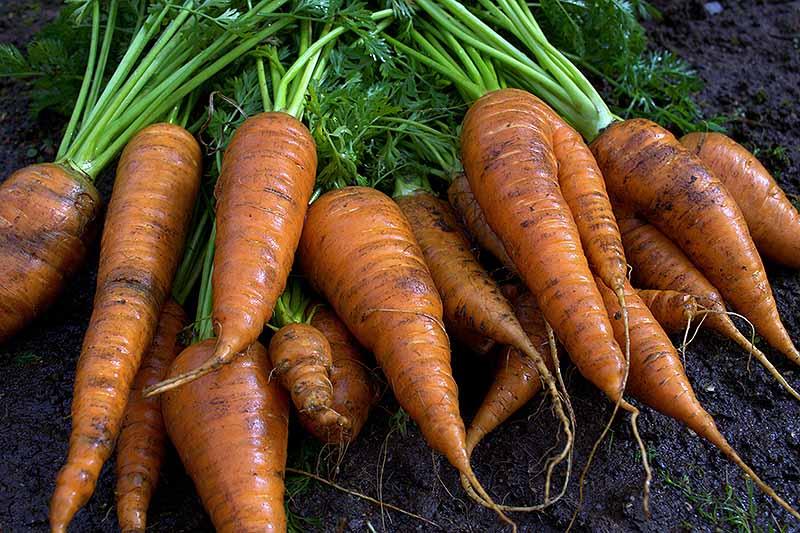
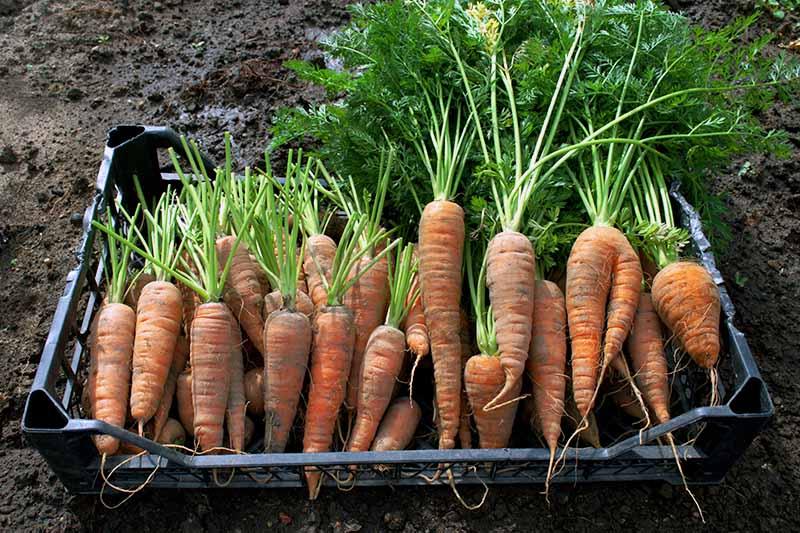
Carrots kept for seed saving rather than eating may be harvested and stored in the same way as your edible crop would be for long term storage:
- Dig them up
- Trim off the greens, leaving an inch or so of stem
- Brush off extra soil with your hands but do not wash them
For more details, just follow the steps outlined in our guide to harvesting carrots.
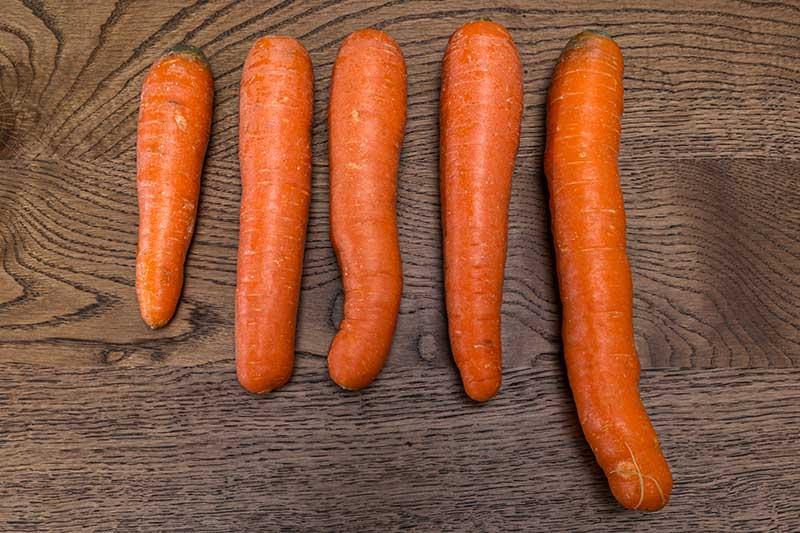
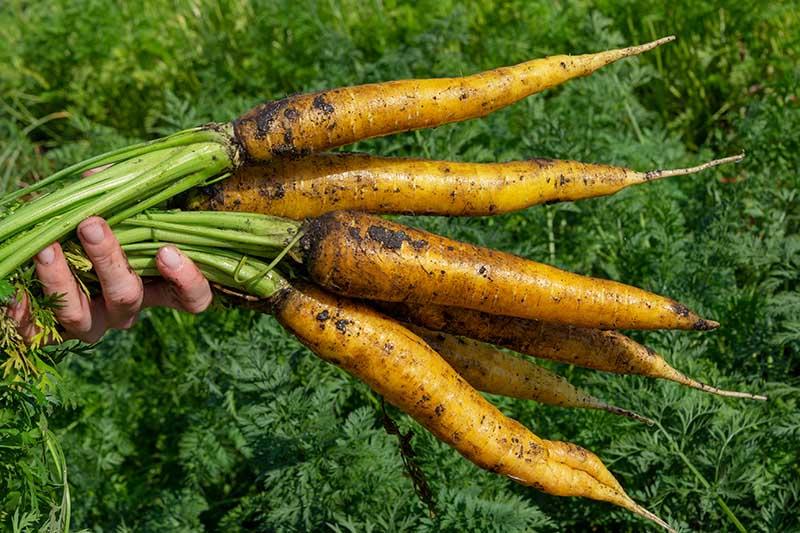
When selecting plants to use for seed saving, look for healthy ones – and remove any plants that have bolted in their first growing season or that have unhealthy looking foliage.
If you are tempted to try planting store bought carrots to grow seeds, consider that it is unlikely that you will know what variety you are starting out with.
And since most commercially available carrots are hybrids, the next generation is unlikely to be the same as the root you started with.
Vernalized carrot roots that have been stored for seed production should be replanted in the garden – in spring – at the same time that you would sow carrot seeds.
Just make sure to replant only healthy looking roots. Some carrot roots may not survive their winter storage, so if any of them show signs of rot, feed those to your compost.
Winter-stored roots should be planted at the same depth as they would have previously been growing – with the tops of the roots bulging slightly from the ground.

Whether you are working with an overwintered or winter-stored crop, make sure to allow 3 feet of space between each plant – these vegetables will need extra room in their second year of growth.
If you need to thin your bed to allow plants this extra room to grow, make sure to remove carrots gently, without disturbing the plants you intend to leave in the ground.
Despite their sturdy appearance, carrot roots are very sensitive to disturbance.
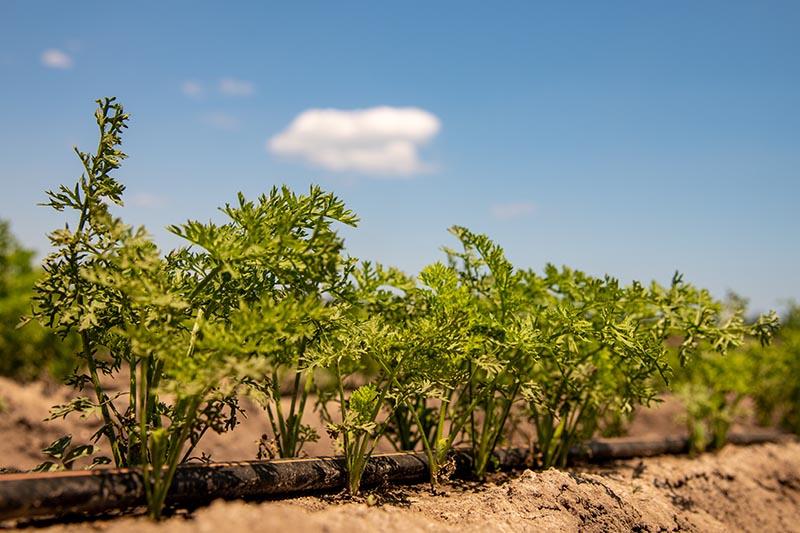
Let Your Crop Grow
Finally, the easy part. Now that your carrots are in their second year of growth, it’s time to watch the leafy growth and flowers that will eventually produce seeds take shape.
Read more : Where To Buy Palo Santo Near Me
Once the warm days of spring arrive, you will notice fresh growth sprouting from the tops of your carrots, and the flower stalk will develop in 4-6 weeks.
Keep your crop watered as you would normally, and keep your eye out for pests or disease. Remove any infected plants immediately.
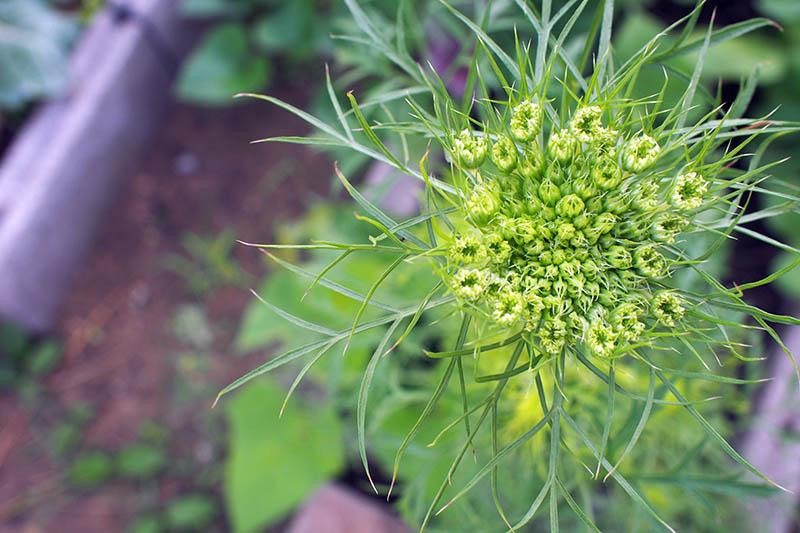
If you’ve never let your carrot crop flower before, you might be surprised at how these flowers look very much like those of their umbellifer relatives, dill, and caraway.
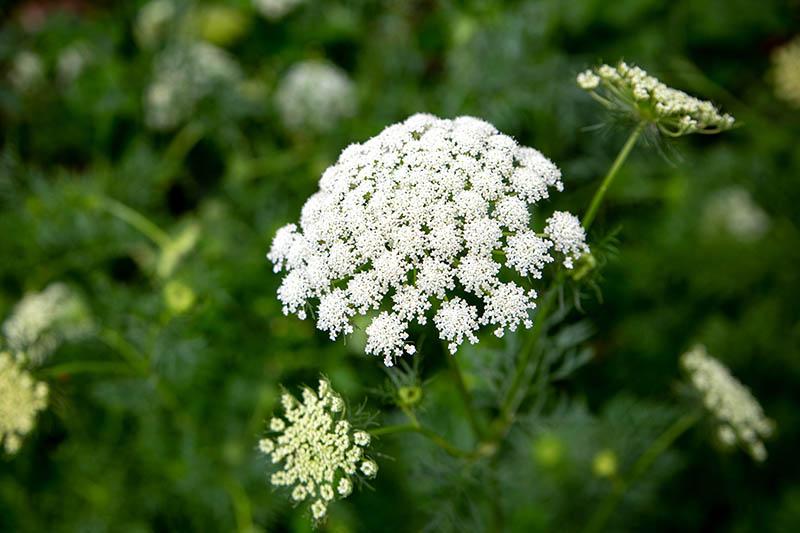
The green umbels will soon start to blossom into an umbrella-shaped cluster covered with tiny blooms, during which time they will attract droves of beneficial pollinators.
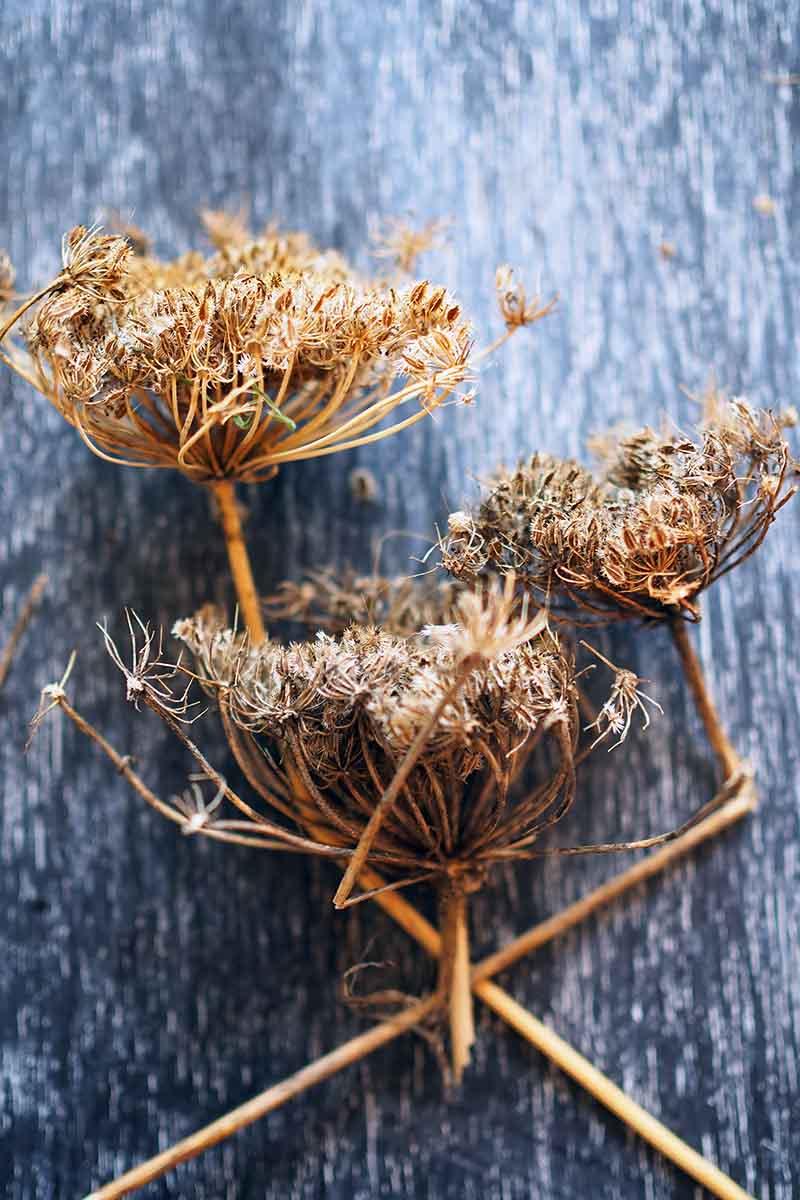
Later in the summer, you will see these beautiful umbels dry out and turn brown – and this is the time to harvest your seeds.
How to Harvest
When you choose which umbels to harvest, collect them from several different plants.
Seed Savers Exchange recommends harvesting from at least 5 plants, but preferably 20 – to make sure you obtain enough seed that’s viable, and to ensure genetic diversity and resilience.
And try to pick the healthiest looking plants in order to preserve the strongest sets of genes – don’t bother saving seeds from any diseased or insect infested plants.
Clip off the dry umbels with pruners and place them in brown paper bags. Do not pack them in too tightly as they need good ventilation to prevent mold from growing.
Place the bags in a dry spot in your home to allow the umbels to finish drying out.
Alternatively, you can spread the umbels out to dry in a single layer on a screen or other flat surface where they will have good ventilation.
You will know they are thoroughly dry when the plant material is brittle instead of pliable.

Once your flower umbels are dried out, it’s time to remove the seeds.
Separating the seeds from the umbel will allow you to store them in a smaller container, as well as removing chaff which takes up unnecessary space and could potentially harbor mold or diseases.
When harvesting a small batch of umbels – the amount common for a backyard gardener – you don’t need any special equipment for this process.
I do this with just a few items from my kitchen.
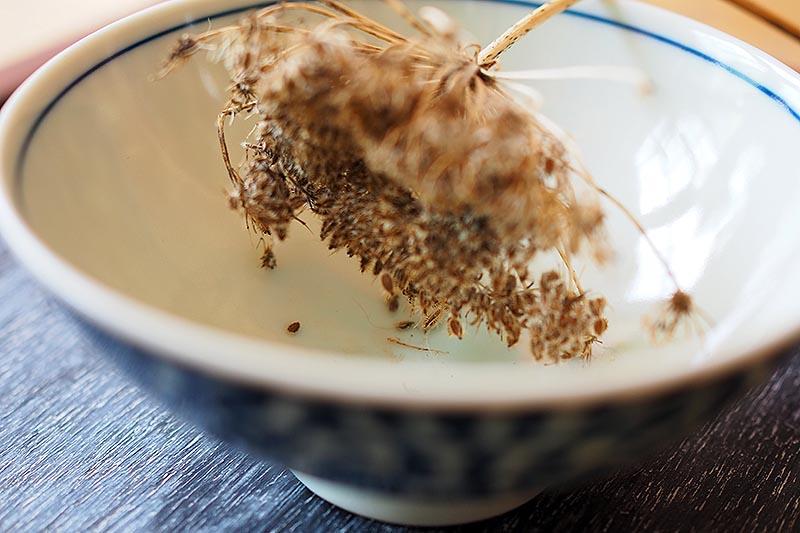
First, you want to remove the seeds from the umbel.
Get a bowl or plate, place one of the umbels over it, and rub them between your fingers to loosen the seeds from the flower head.
Generally, good quality seed will not have any problems being handled this way. If it disintegrates when rubbed, it is likely not viable anyway.
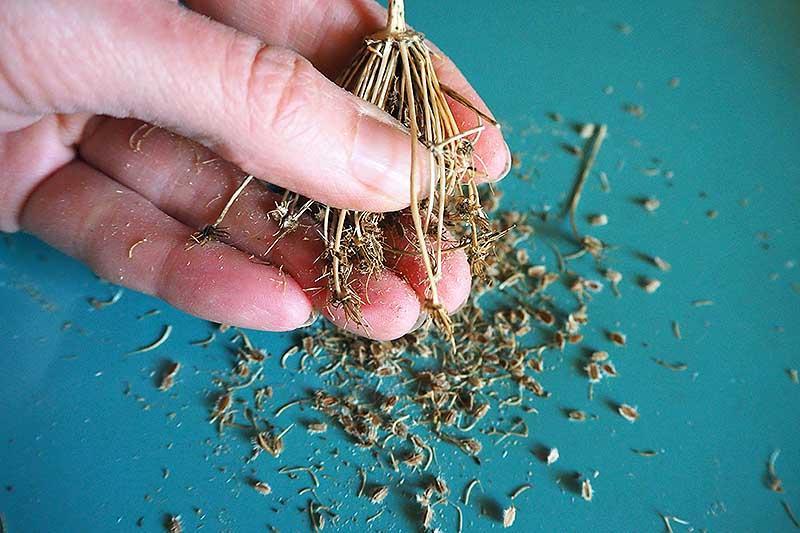
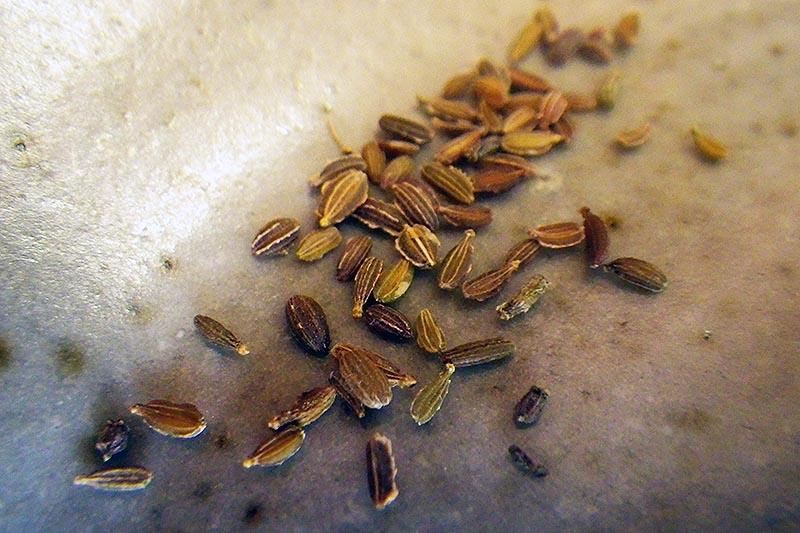
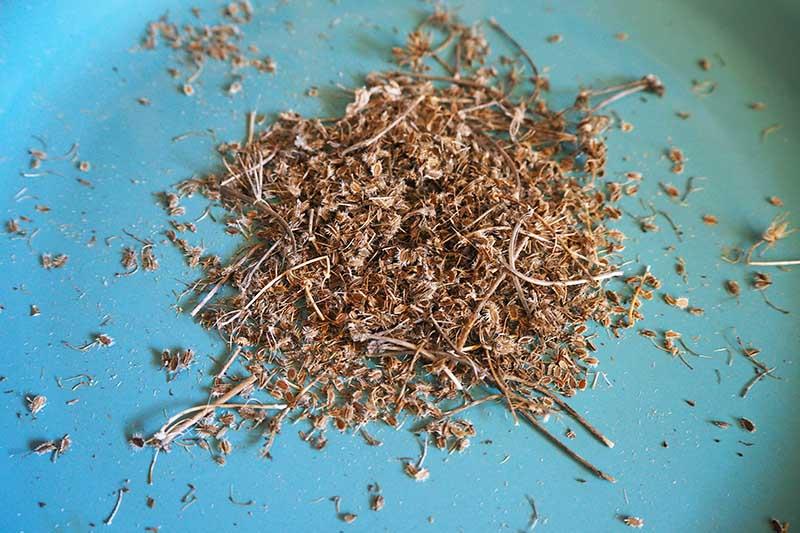
Rubbing the umbel in this way will produce a pile of spiky carrot seeds mixed with larger debris – or chaff.
Pick out the larger pieces of chaff until you are left with just the spiky carrot seeds.
Typically seeds are separated from chaff by winnowing, as many plant seeds are heavier than chaff. This is not the case with carrot seeds, which are quite light.
Professional growers use screens to let carrot seeds fall through and filter out the larger debris, but for most home gardeners this is not a necessary tool.
After removing large pieces of chaff, then use your fingers to rub the spikes off the seeds.
These spikes are the plant’s way of ensuring its seeds are dispersed.
Much like the spiky hooks on burs, the spikes on these seeds can easily get caught on animal fur, and transported to a new location where a new plant can grow.
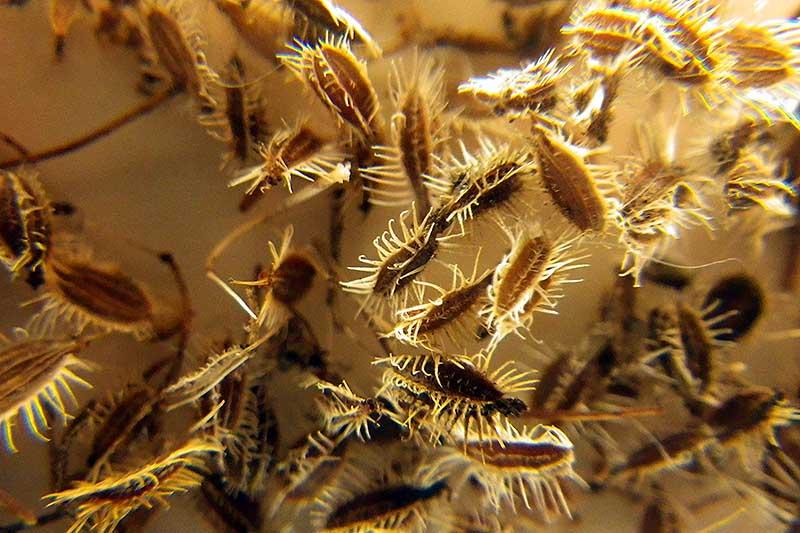
Removing these spikes is not absolutely necessary for growing new crops, but it will make for more compact storage.
Once the seeds are clean, I like to place them in a sieve and rub them against the mesh to continue removing any remaining spikes, and filter out the smaller pieces of dust-like debris, so that it doesn’t go into my seed packets.
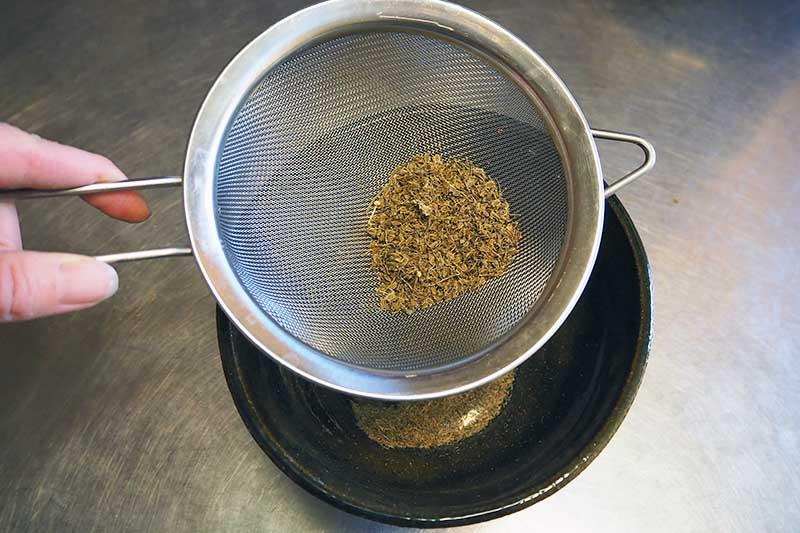
Continue picking larger pieces of debris out of the sieve and gently shake the sieve to remove small particles of dust.
By this point, you should have some fairly clean carrot seed that’s ready to go into storage for planting next season.
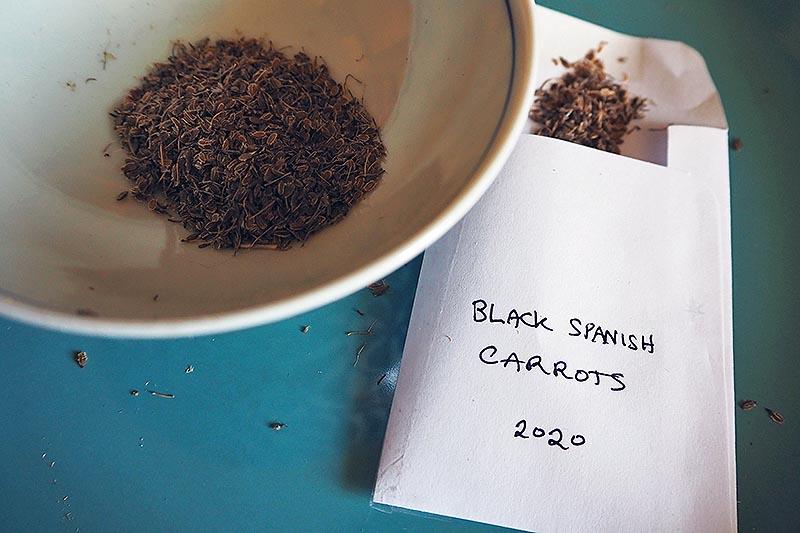
How to Store
Next, you’ll want to store your clean and dry carrot seeds. While you can store them in any sort of container, I prefer to store mine in small paper envelopes.
While airtight containers like jars have the advantage of keeping out mice, they take up more room and are more prone to mold problems if the seed isn’t completely dry.
If you live in a humid climate, you can place some silica packets next to your seed envelopes or inside the jars to help keep humidity down.
You can count on these being viable for about three years, on average.
If you have too many to use yourself within that period of time, I recommend sharing them with other gardener friends.
Source: https://t-tees.com
Category: WHERE