Oh no, another batch of mugs with black turned green!
I feel your frustration.
You are viewing: Why Is My Black Sublimation Turning Green
You’re creating these awesome designs with rich black imagery, only to pull your mugs out of the heat press to find black turned olive green or even brown.
Not exactly the stunning finished product you envisioned.
But don’t despair!
With a few tweaks to your sublimation process, materials, and settings, you can get beautiful true blacks on mugs time after time.
In this quick guide, I’ll answer your query on “Why is my black sublimation turning green” and the common culprits behind that, and simple tips to avoid it.
Let’s fix this so you can get back to creating!
Common Causes of Black Sublimation Turning Green
Before we dig into solutions, it helps to understand why your black sublimation results turn green in the first place. Here are the most common offenders:
1. Issues with Ink Quality and Age
The ink in your printer plays a crucial role. As ink cartridges start to run low or the ink degrades:
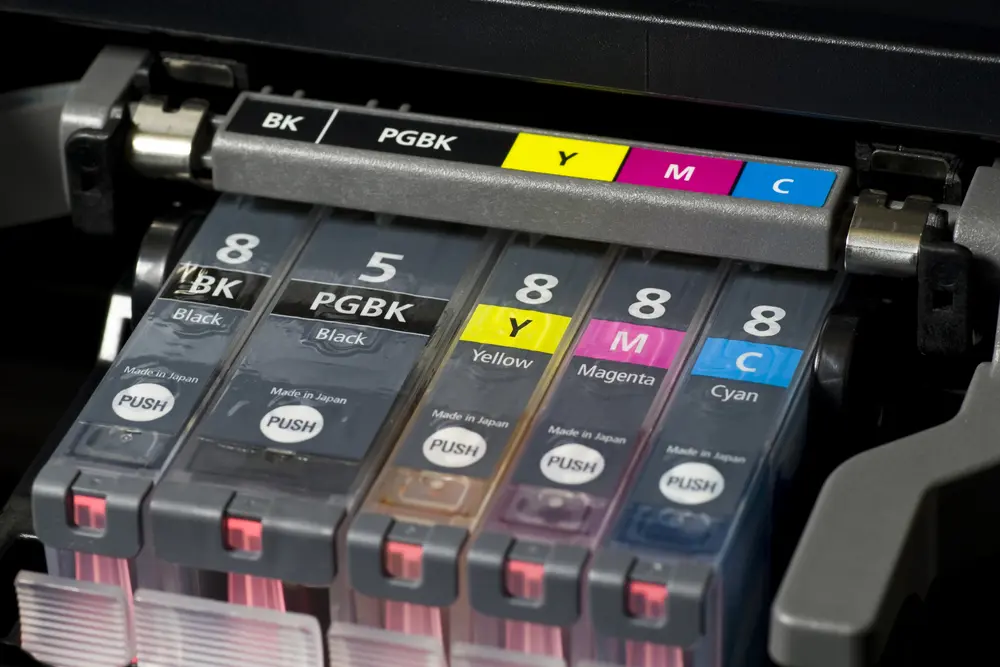
- Using old or off-brand inks can cause pigment changes not ideal for sublimation.
- Ink expiration and degradation over time reduces vividness.
So if you haven’t replaced cartridges in awhile or notice other colors looking faded, your ink may not be producing true deep blacks.
2. Inaccurate Time and Temperature Settings
Read more : Why Did Noah Build The Ark
Even with high quality ink, you need sufficient heat and dwell time to properly vaporize and bond black dye to your mugs.
- Undercooking due to too little heat or pressing time leads to incomplete sublimation.
- Without enough heat and dwell time, you’ll likely end up with greenish blacks indicating the sublimation process isn’t finishing.
3. Incorrect Printer Color Profiles and Image Settings
Your printer and image color settings can also impact black ink output:
- Are you using the incorrect color space like CMYK instead of richer RGB?
- Do you have color correction enabled in your print driver interface?
Incorrect color handling can prevent true blacks from ending up in your final sublimation prints.
Here is an easy test to try:
- Convert your image to greyscale mode. This makes it use only black ink to print.
- Print the greyscale image and do the sublimation process.
If the black still looks green, then the issue is likely with the black ink or your heat press time/temperature settings.
Try pressing another greyscale print for more or less time. See if longer fixes it. Black turning green usually means not enough heat or time.
If the greyscale image prints black properly, then the issue is with your computer printer color profiles instead.
Testing with greyscale prints helps narrow down if the issue is the black ink and heat press or your print setup.
4. Low Quality and Improper Sublimation Materials
And finally, the substrates themselves make a difference!
- Good quality substrates with property polymer coating can hold black ink properly as compared to poor and unbranded substrates.
- Non-sublimation-ready substrates or low-quality blanks can undermine results.
Now that you know the likely suspects behind black sublimation turning green, let’s get your true blacks back!
Troubleshooting Black Turning Green
With so many potential causes, systematically ruling out the root issue is key. Here are tips on troubleshooting and dialing in true black sublimation results:
1. Carefully Examine Materials and Process
Read more : Why Does My Screen Randomly Go Black
Start by inspecting your materials and current sublimation process:

- Use an infrared thermometer to verify your heat press temperature reaches the desired settings.
- Test different substrates from different brands
This helps identify if problems stem from inaccurate heat or sub-optimal mug blanks.
2. Adjust Time and Temp Settings
Next, tweak your time and temp settings in small increments:
- Try longer dwell times first in 10-15 second increments.
- Slightly increase heat by 5°C increments.
Slowly dialing in additional heat and dwell time often helps complete sublimation, avoiding under-processed greens.
3. Ensure Optimal Printer Settings
Double-check your printer and image editing software as well:
- Enable color correction and black enhancement options in printer driver settings.
- Use RGB color space for richest true blacks instead of CMYK.
Optimizing printer and software profiles brings out vivid blacks before sublimating.
4. Swap or Refresh Inks and ICC Profiles
Finally, give your printer ink and setup an overhaul:
- Install fresh inks from reputable brands with confirmed expiration dates.
- Generate an updated ICC color profile tuned for sublimation with your printer.
Fresh ink and calibrated print profiles help achieve deep true blacks.
With a few systematic tweaks to heat press settings, materials, image editing, and inks, you should start seeing gorgeous true blacks instead of frustrating green or brown shifts.
Pay special attention to dialing in additional time and temperature first. Then address printer settings and ink quality if needed.
Let that stunning black dog photo or bold black text come out just the way you envisioned!
Frequently Asked Questions
Still have some lingering questions about preventing black sublimation from turning green? Here are answers to some common FAQs:
Source: https://t-tees.com
Category: WHY