
How To Fix An Android Phone That Won’t Charge Properly
Nothing is more annoying than having a phone that won’t charge properly. As Android users, this is one of the most common charging problems that most people usually complain about and that needs to be repaired immediately. Android phone charging issues can range from the phone battery dying easily after every small use to the phone charging slowly, all the way to the Android phone not charging at all or the battery won’t charge to 100%. This thus prompts the users to repair or replace either the battery or the charging port of the Android device for diagnosing the charging problems depending on where the fault lies. In this article thus we will look at some of the common fixes for your phone when your device is refusing to charge. Having said that it is also true that sometimes the issue can be deeply technical and will require a certified professional technician to repair your charging issues in such cases it is recommended that you consult the best Android mobile phone service center in your area.
Why Your Android Doesn’t Charge
You are viewing: Why Won’t My Phone Charge To 100
Before we move on to the steps that show how to fix the charging problem of a phone that won’t charge, we must first understand why this issue occurs. Sometimes, you might find that your phone doesn’t charge when it is plugged in or it is charging so slowly that the battery is draining faster than it is gaining power, thus preventing it from ever reaching up to 100% of charge. Most charging problems are related to your USB cable or charger, or even the charging port itself or it can occur due to a temporary software crash. Another reason for phones not to charge normally or charge slowly is an inappropriate power source or defective charging cable and adapter. Moreover, a corrupted device cache or ultimately the battery problem can also be the cause of such issues. However, in this article, you will find easy solutions that will help you resolve the charging issues of your device. Nevertheless, if you still find that the problem remains you should contact a proper mobile repairing service center who can fix your device.
Steps To Fix Your Charging Problems
Check And Fix Your USB Socket
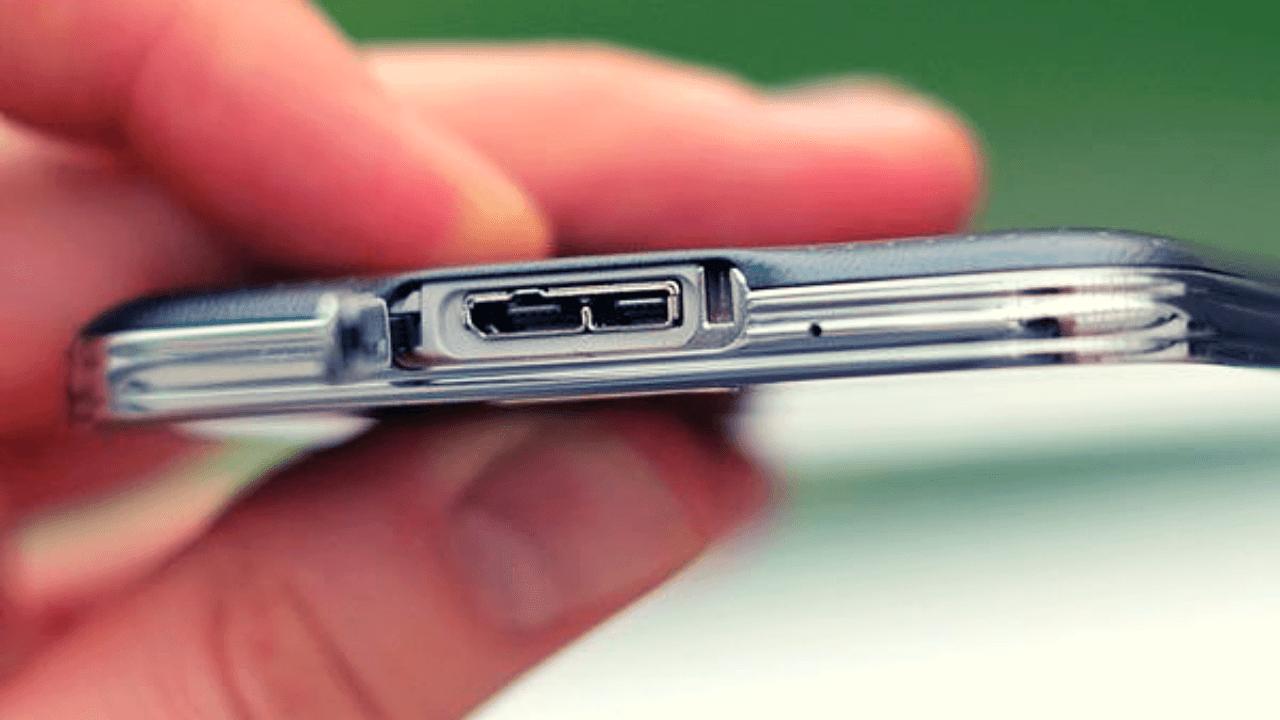
This is the quickest, easiest, and often the most successful solution, that will cure your phone in no time. Most of the time the problem lies with the small metal connector in the USB port, which may be slightly bent in a way that prevents it from making proper contact with the charging cable thus making the phone not charge properly. To fix this you will first need to Switch off your phone and remove the battery. After this take a pin and straighten the small tab inside the USB port on your phone so that it again comes in contact with the charging cable. Make sure you carry out this process very gently and carefully otherwise you will irreparably damage the USB Port.
Another probable cause can be something stuck inside the USB port, like pocket lint or dust. Often your Phone USB port can get choked with bits and pieces of lint from your clothes or from dust, this will clog the port and thus causing your Android device to not charge properly. In order to fix this, take a can of compressed air and blow out whatever the particles are inside the USB port thus making it clear and fixing the charging issue.
Clear Device Cache
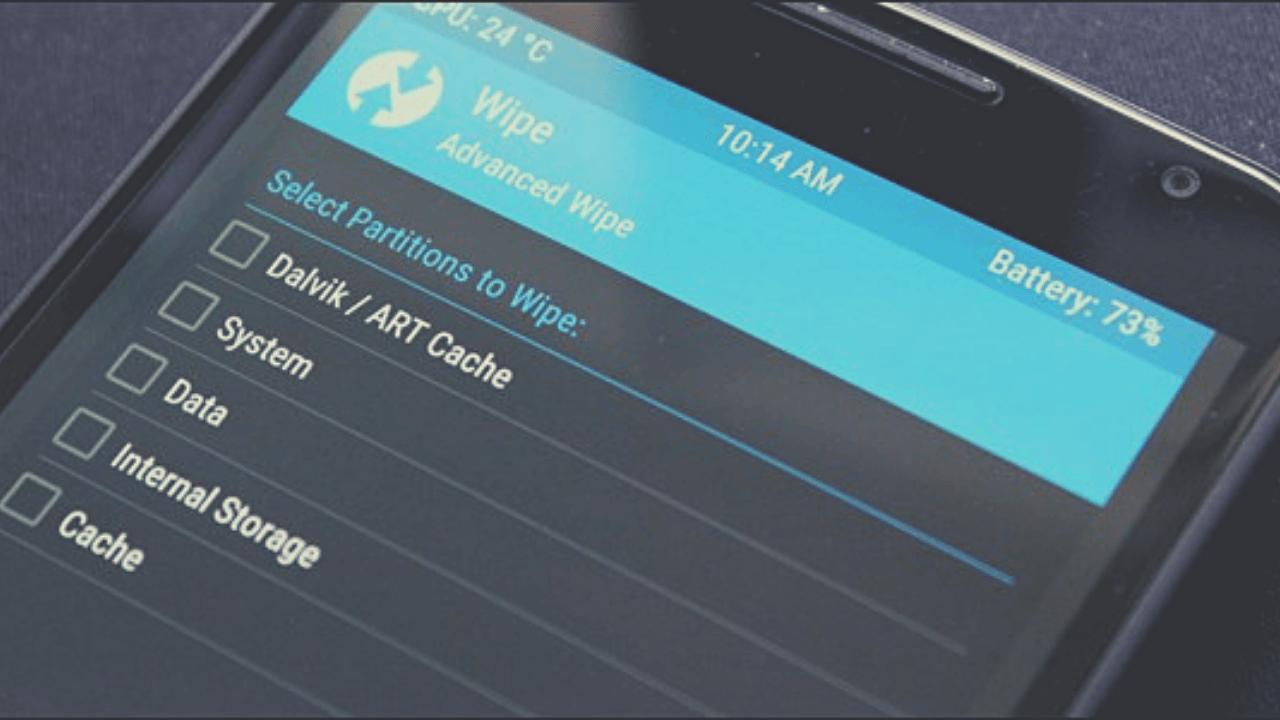
Unwanted Cache data stored inside your device can cause your phone software to malfunction and prevent it from recognizing certain functions. Here clearing the cache can solve the charging problem of your Android phone as it cleans your device and all its partitions thereby stopping any technical glitch caused by error files. Here are the steps to clear your device’s cache:
Visit “Settings” and find “Storage”
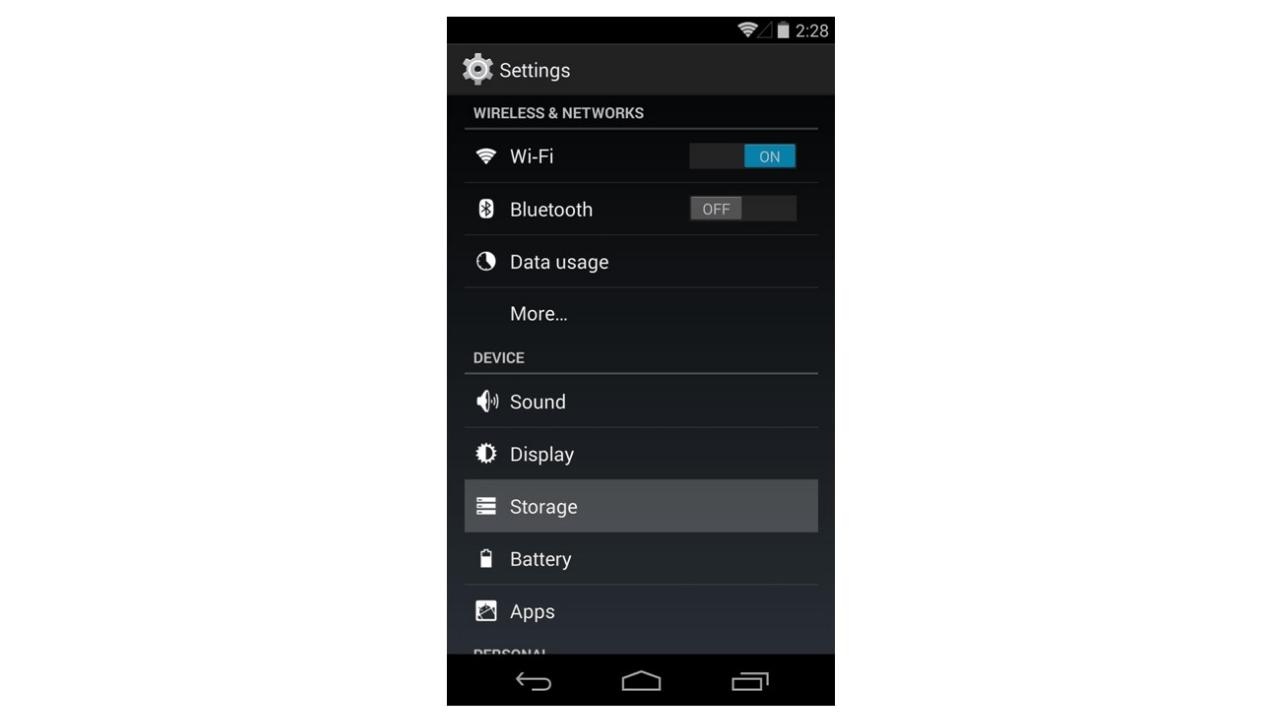
Now tap on “Cached Data”.
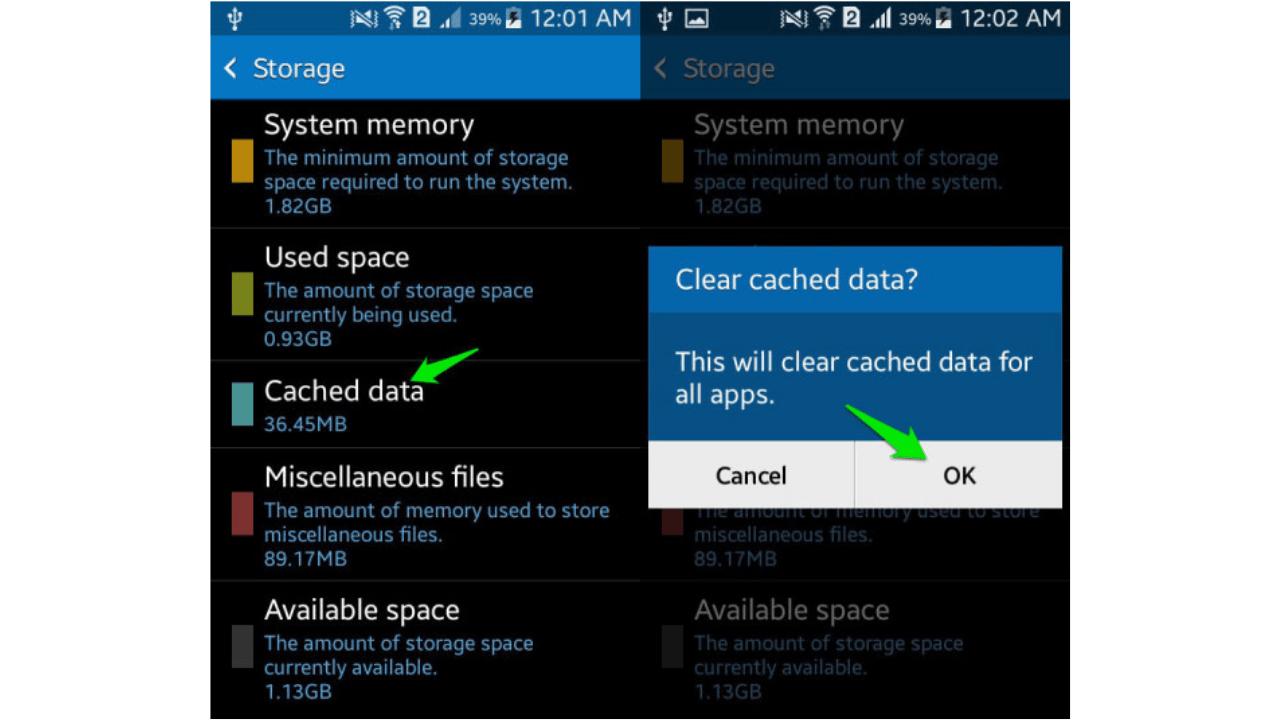
Click “OK” to clear all unwanted cache from your device as shown above.
Try charging your phone after clearing the cache. If your phone won’t charge even then, then try to other methods from this article or visit a professional technician who can repair or replace the charging port or the battery to resolve the charging problem.
Power Source Might Be The Problem
Sometimes, it might be possible that the problem isn’t even in your phone but rather in the power outlet or the power source you’re trying to charge from. It may be the case that your phone is absolutely fine and the source from which you are charging your device is actually at fault. In such cases, you should try charging from a different power source and check whether your phone is charging or not. If you are charging from the wall, try a different socket. In case, you’re charging from a USB port on your computer, switch to another port or try using a wall adapter. If your device starts charging as soon as you change the power source then the problem is from outside the phone. However, if you still find that the problem remains you should contact a proper mobile repairing service center that can fix your device.
Check And Replace The Charging Cable

This is by far the most common cause that causes the issue of the Phone not charge properly. Most of the time the charging problems occur as the charging port itself gets damaged. This is logical since the charging cable has to go through a lot starting from the stress it receives from unwrapping and rewrapping, flexing, and people trying to plug them in at weird angles. Sometimes the charging end of the cable which gets connected to the charging port of the device also gets damaged thereby preventing the current from flowing to the phone. The easiest way to repair this problem is to use a different charging cable and see if the device is charging or not. If it is, well and good, if it is not then trying some of the other mentioned steps. If the problem still persists then you will need to visit a proper mobile repairing service center that can fix your device.
Check And Replace The Charging Adapter
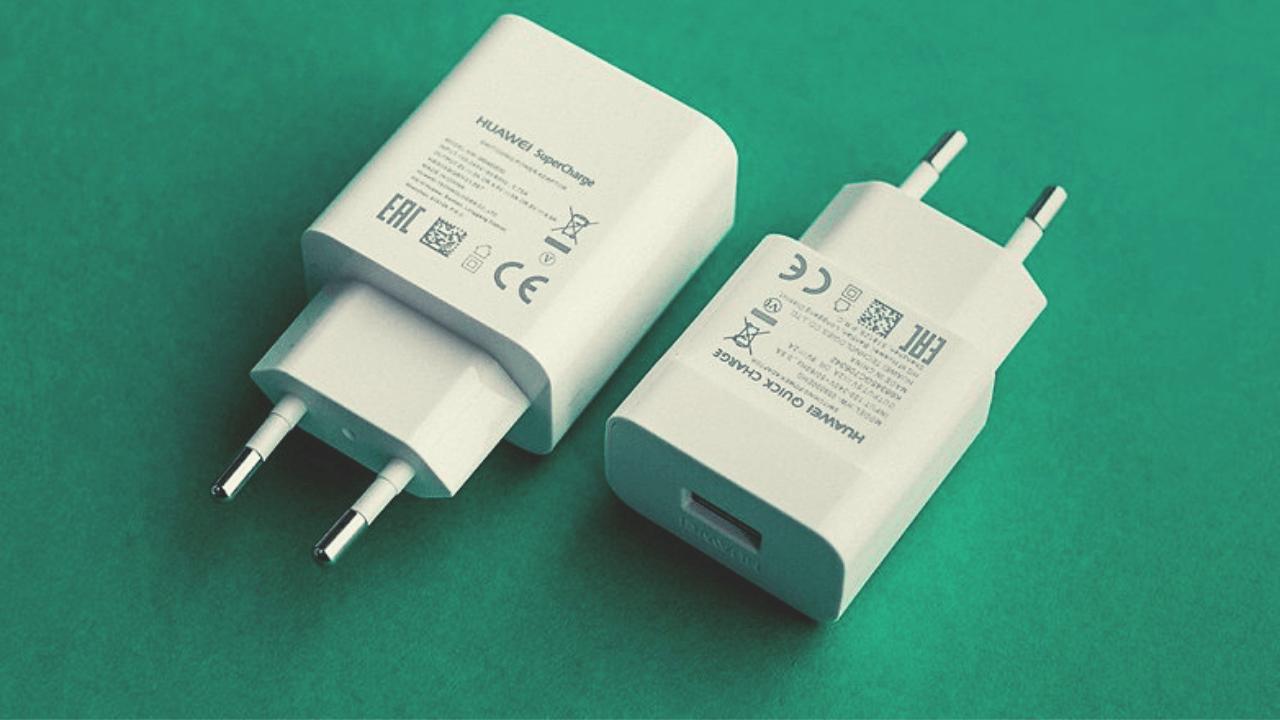
As we discussed above, about replacing the charging cable of your Android Phone, sometimes the problem might not be with the charging cable at all. On the contrary, maybe the charging adapter of your phone is at fault and can be easily solved if you one of those adapters that have a removable USB cable. Often in these kinds of adapters, the USB port becomes a little loose or gets broken due to the endless plugging in and unplugging of the cable. In order to fix this problem of your Android phone not charging you can check if the adapter is at fault by simply trying to charge it from a new unfaulty adapter using the same charging cable. Here if the charging starts, you will know that your charging adapter is at fault and you will have to replace it to get your device to charge properly. However, if the problem still persists then you will need to visit a proper mobile repairing service center that can dig deeper into the issue and fix your device.
Turn Off And Restart Or Reboot Your Phone
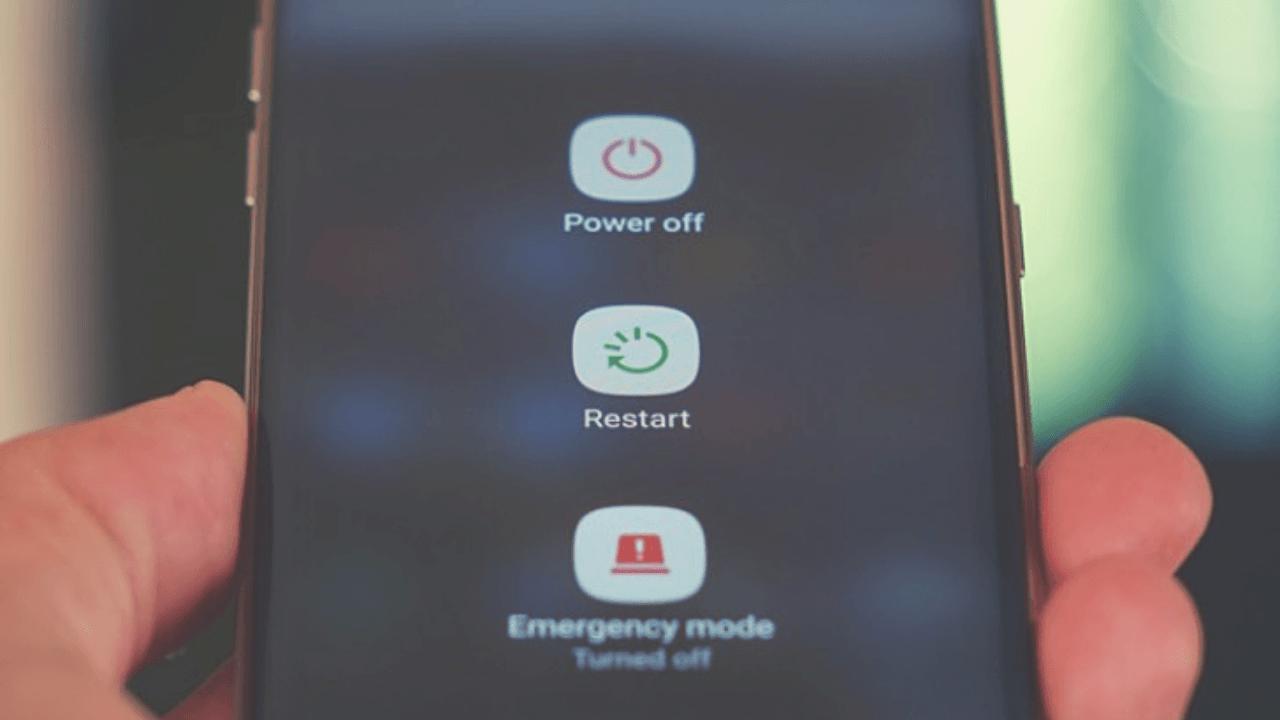
Sometimes, battery-intensive apps/features, while you are charging your device, will affect how quickly it gains battery life. For instance, if you are playing graphic-intensive games while you are charging your phone battery might lose its charge faster than it gains and thus making it seem like your android phone not charging properly or not charging at all. Other instances, where your activities can affect the charging of the phone are when you are Skyping while charging or when you are on a call while you are charging, in such cases you will never see the battery reach its 100% charging limit. The best way to fix the this is to switch off your phone or put it into the Airplane Mode that will stop the network connection making it unavailable in your phone and can reduce power usage. Instead of completely switching off you can also Restart or Reboot your device. Below I will lay down the steps as to how to reboot or restart your android phone. But before you do that you can try some basic fixes like reducing your screen brightness or turning off the Wi-Fi and 4G Data connection while charging and see whether the charge is happening properly or not. Usually following these basic steps will speed up your battery life if not then try restarting your phone following these steps:
Long press the power button of your device.
From the options that appear, click on “Restart”/ “Reboot” as shown in the image below.
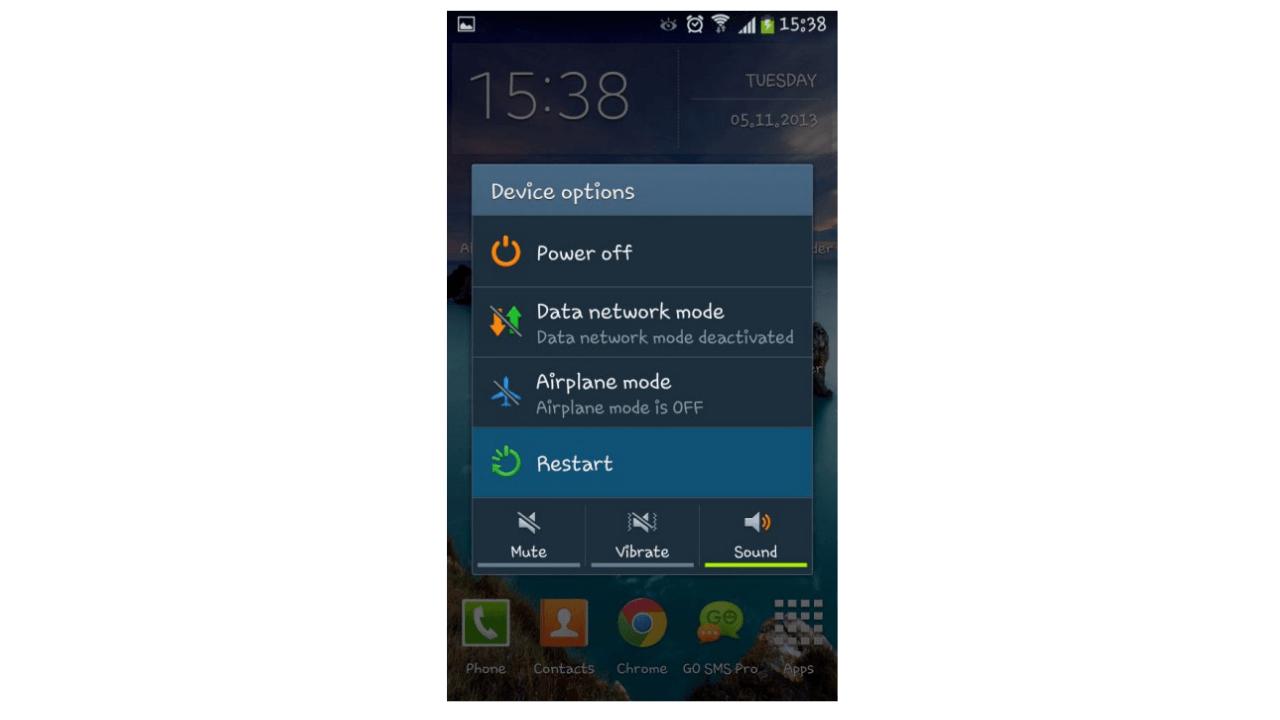
To restart your device, you may also press the power button for about 20-25 seconds for the phone/tablet to automatically reboot.
However, if the problem still persists even after following all these steps then you will need to visit a proper mobile repairing service center that can dig deeper into the issue and fix your device.
Update Or Roll Back Your OS
While the new-age Android are designed and optimized to deal with heavy software while using only a little battery, often the older OS versions can’t take newer software updates without wreaking havoc on the battery life. You will face this problem especially when you are upgrading an old device to current software. This is because the newer devices are often optimized to take advantage of the latest software, whereas a two-year-old device can struggle when it gets updated. In order to fix this, you can disable the automatically enabled software updates on your phone or you can uninstall updates from the Apps that are on your phone.
Here is the way by which you can Stop automatically enabled updates:
Visit “Settings” and select “Software Update”
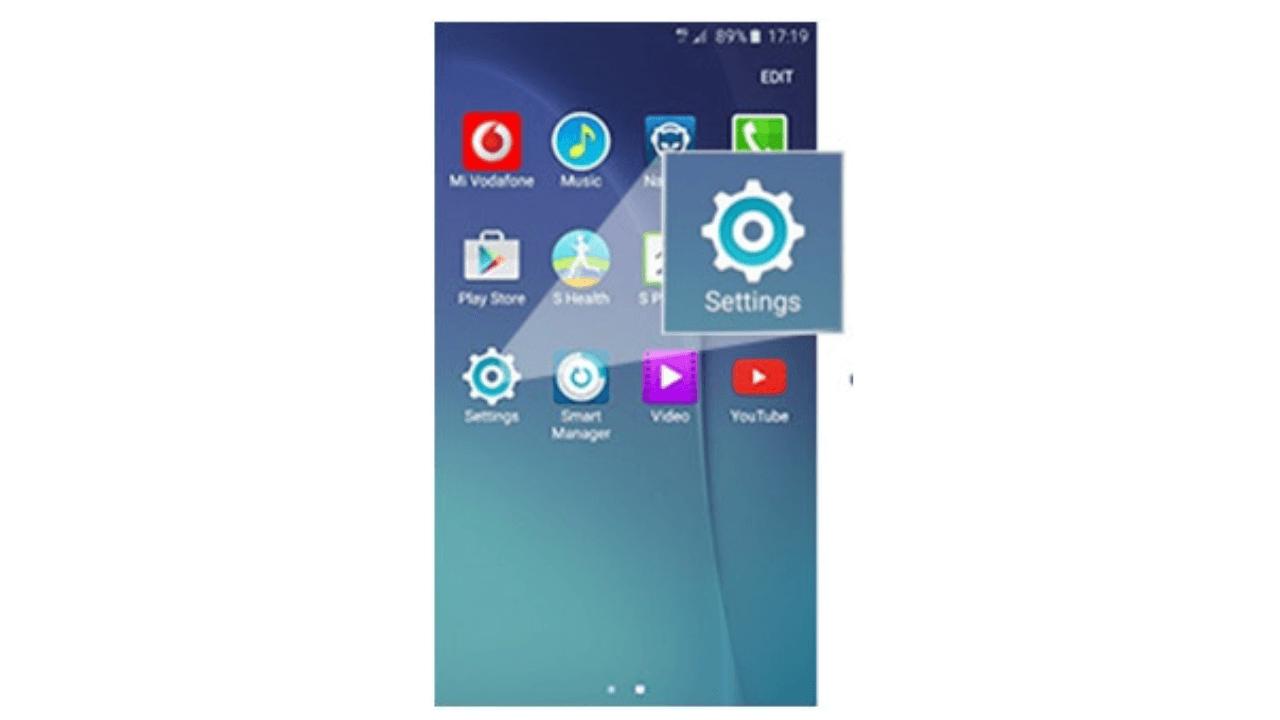
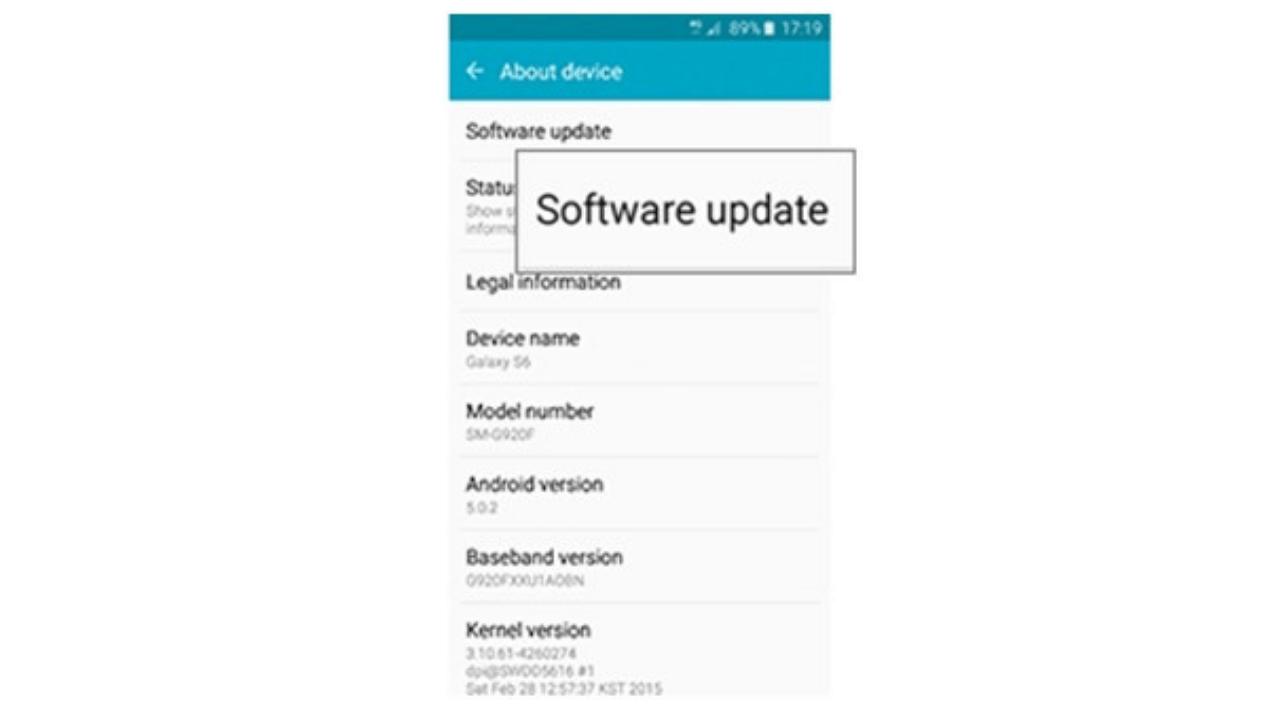
Here you will find the option “Download Updates Automatically”. If the lever is blue then it is enabled, slide the lever to the left to disable your device from automatically downloading the latest updates.
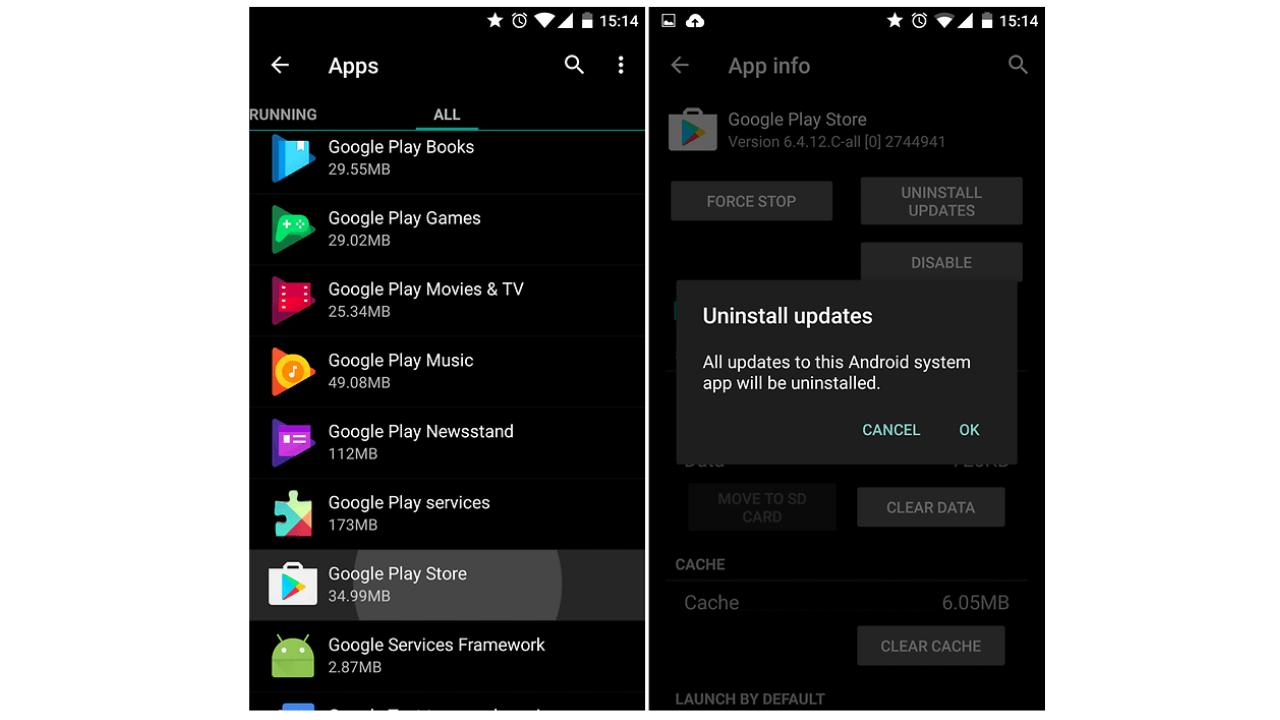
In order to uninstall already installed updates, follow these steps:
Visit “Settings” and select “Apps”
Then Select the Apps that installed the updates and select “Uninstall Updates”
Alternatively, if you’re running an older version of Android, it’s worth upgrading to see if that helps with the charging issues. However, if the problem still persists even after following all these steps then you will need to visit a proper mobile repairing service center that can dig deeper into the issue and fix your device.
Factory Reset Your Device
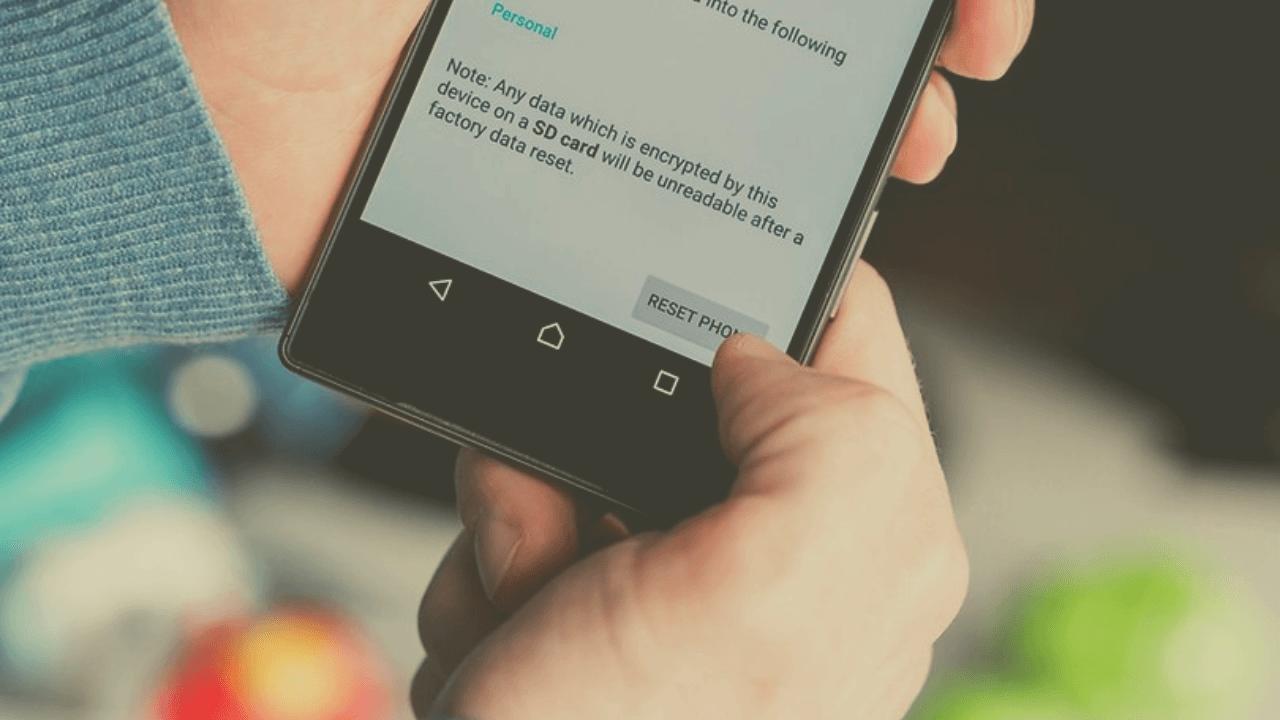
Our Android SmartPhone is not only our calling device but is a reservoir of vast data and functions to ease up our life. In such cases, often our phone becomes faulty due to the storage of damaged or corrupted files or files that are taking too much of the strength from the OS thus leading our phone to have issues that won’t let it charge properly. In such cases in order to fix this, it is recommended that you Factory Reset Your Device.
Below are the steps to Factory Reset Your Device:
Visit “Settings” by clicking the settings icon as shown below
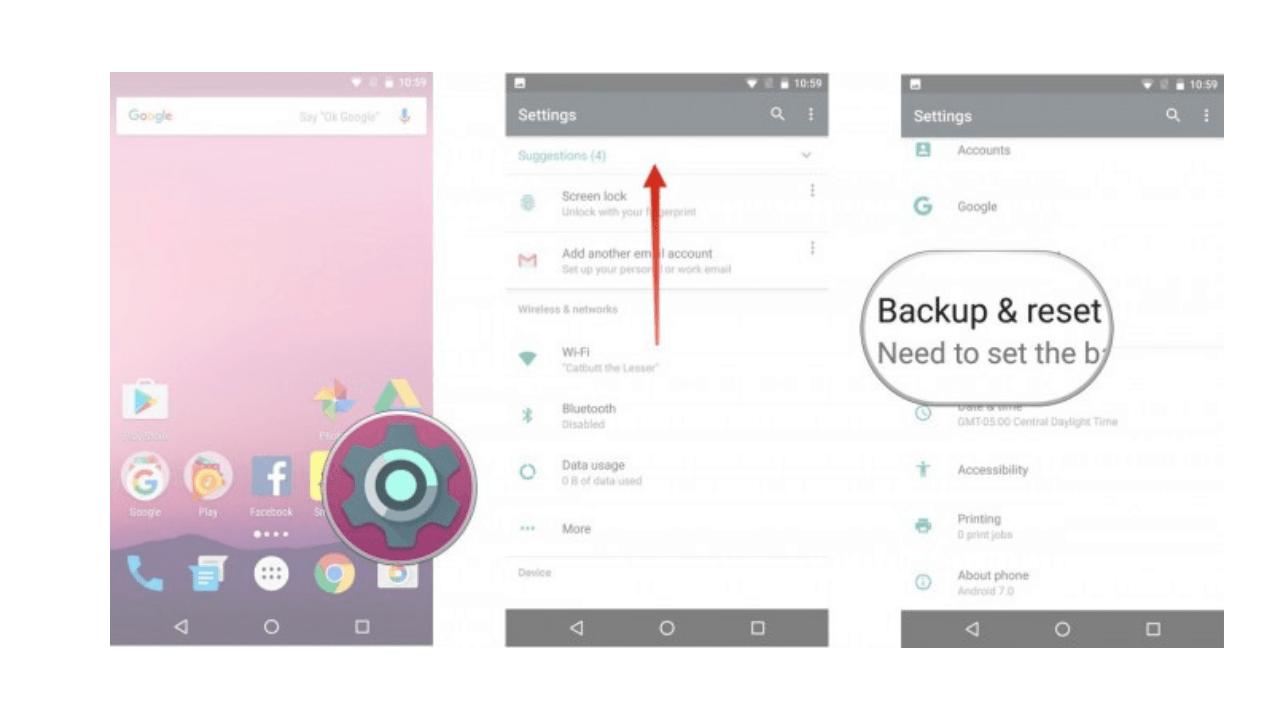
Now select “Backup and Reset” and move on.
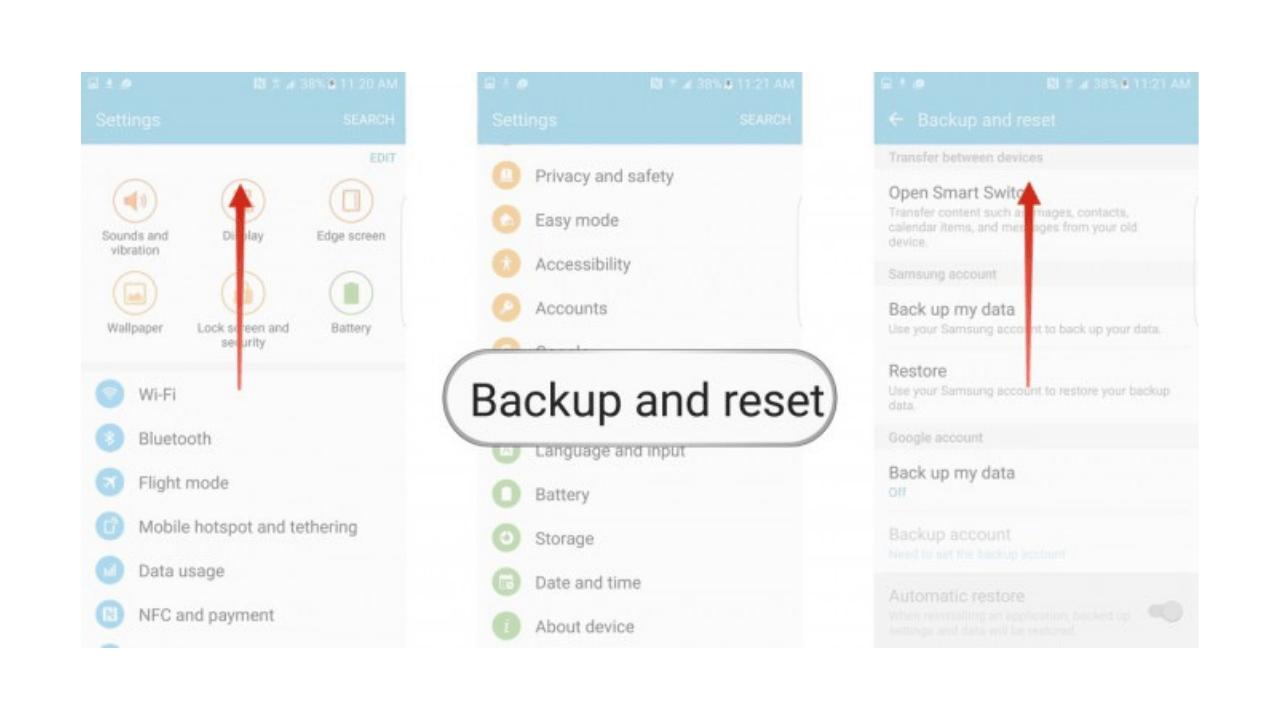
In this step, select “Factory data reset” and then “Reset Device”.
Finally, tap on “ERASE EVERYTHING” as shown below to Factory Reset your device.
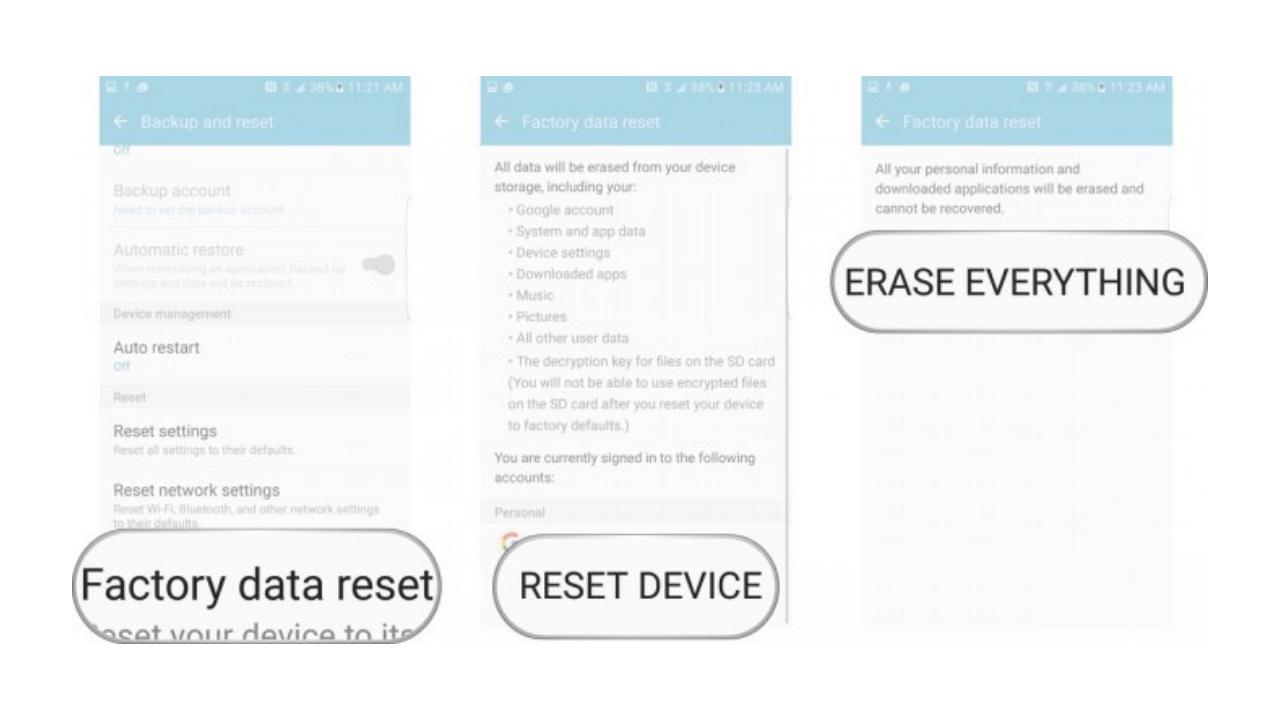
Note: Once the factory reset process is complete, your device will automatically restart and you will have to set it up once again.
However, if the problem still persists even after factory resetting then you will need to visit a proper mobile repairing service center that can dig deeper into the issue and fix your device.
Calibrate Your Battery
Every Android Phone has battery stats in it that display the battery information like how much charge is left in the battery, how the power consumption is happening, and how to save the battery charge. However, sometimes this function might go wrong and the battery level your device ‘thinks’ it’s at is wrong. The effect of this is that your phone may function differently, including limiting performance before it needs to or taking an hour to chew through the last two percent of the battery. In order to fix this, you will need to calibrate your Android phone’s battery.
Here are two ways by which you can Calibrate the battery:
Process 1 – Calibrate a phone battery without root access
- Discharge your phone fully until it turns itself off.
- Turn it on again and let it turn itself off.
- Plug your phone into a charger and, without turning it on, let it charge until the on-screen or LED indicator says 100 percent.
- Unplug your charger.
- Turn your phone on. It’s likely that the battery indicator won’t say 100 percent, so plug the charger back in (leave your phone on) and continue charging until it says 100 percent on-screen as well.
- Unplug your phone and restart it. If it doesn’t say 100 percent, plug the charger back in until it says 100 percent on screen.
- Repeat this cycle until it says 100 percent (or as close as you think it’s going to get) when you start it up without it being plugged in.
- Now, let your battery discharge all the way down to 0 percent and let your phone turn off again.
- Fully charge the battery one more time without interruption and you should have reset the Android system’s battery percentage.
Note: Performing this process regularly may damage the battery.
Process 2 –Calibrate a phone battery with root access
- Discharge your phone fully until it turns itself off.
- Turn it on and let it turn off again.
- Plug your phone into a charger and, without turning it on, let it charge until the on-screen or LED indicator says 100 percent.
- Unplug your charger.
- Turn your phone on. It’s likely that the battery indicator won’t say 100 percent, so plug the charger back in (leave your phone on) and continue charging until it says 100 percent on the screen as well.
- Unplug your phone and restart it. If it doesn’t say 100 percent, plug the charger back in until it says 100 percent on screen.
- You want to repeat this cycle until it says 100 percent (or as close as you think it’s going to get) when you start it up without it being plugged in.
- Now, install a Battery Calibration app, and before you launch it, make sure your battery is at 100 percent again, then restart.
Note that if the problem still persists even after battery calibration then you will need to visit a proper mobile repairing service center that can dig deeper into the issue and fix your device.
Replace the battery
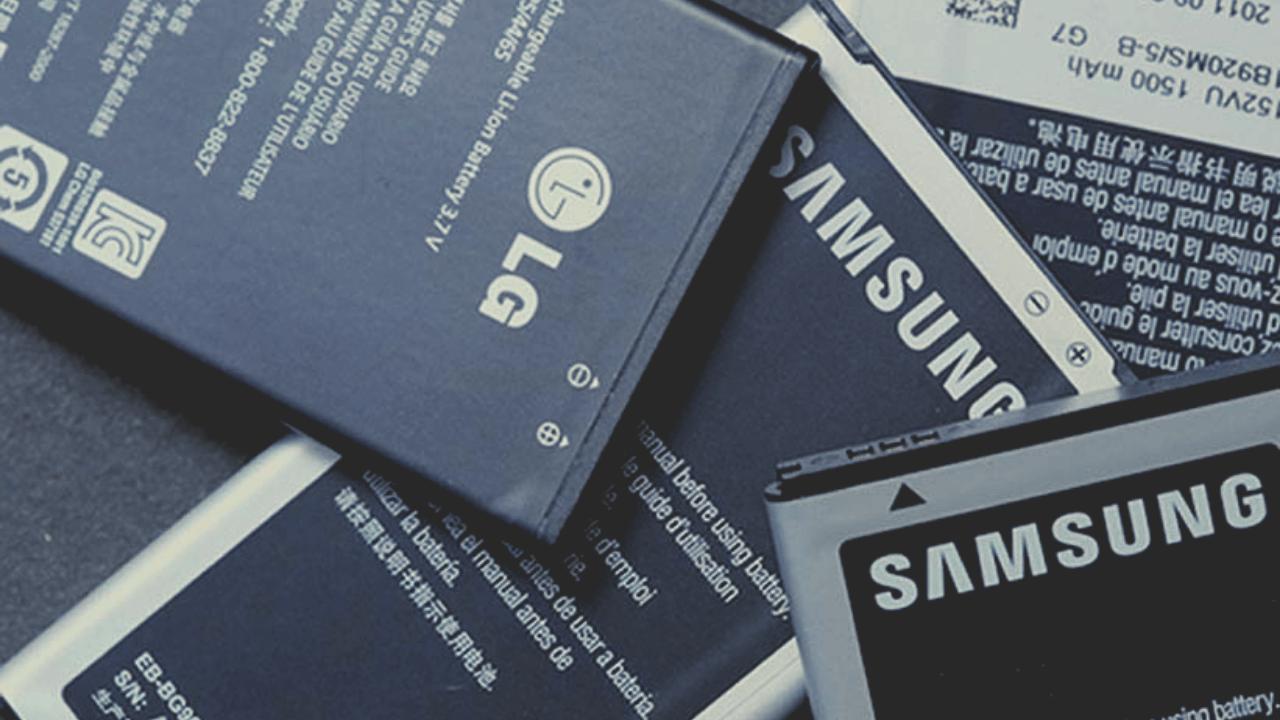
This is the ultimate step in the process if your android phone won’t charge and all the above steps have failed to solve your problem. In such a case, you will be left with no other option but to replace your Android phone battery. Some defective batteries are easy to spot because they start to bulge or leak fluid. If nothing like that is obvious from the outside, remove your device’s cover and inspect the battery. If the cover doesn’t come off, you could try laying the device on its back and spinning it. A bulging battery will deform the case – you might not be able to see this bulge, but it might be enough to allow your phone to spin. If you suspect your battery has a problem, consult a technician before purchasing and installing a new battery in your device as different phones and tablets have different types of battery requirements.
Live Chat With Us | Call 9088888835 | Book Your Repair Job Here.
These are thus the steps to resolve the phone not charging properly. While most of the steps are easy enough to be DIYed, it is recommended that you take professional help from technicians since a wrong move can permanently damage your phone. So if you are looking for skilled technicians who can repair your Android phone, you can call Techyuga and book a repair for your device.
Source: https://t-tees.com
Category: WHY